Methods for decoupage chests, recommendations of specialists
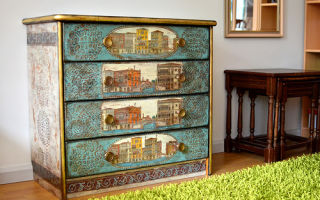
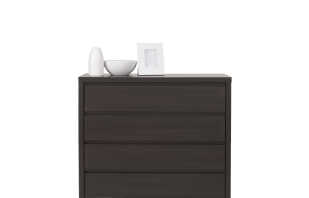
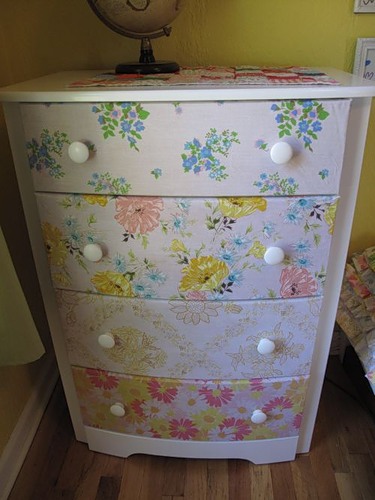
You can breathe new life into any product or simply make it original and unique thanks to various decoupage techniques. Now few people can afford to recklessly part with an old piece of furniture. Any, at first glance obsolete, stool can be turned into a matter of pride. In particular honor old dressers. In order to make a chest decoupage with your own hands, you first need to familiarize yourself with the basics of this creativity.
Content
Technique Options
The biggest plus of working in this technique is a highly artistic result, even in the absence of art education. This is achieved thanks to the main feature of decoupage - applying the finished image to the product. For these purposes, there are an incredible variety of options with a ready-made flawless pattern:
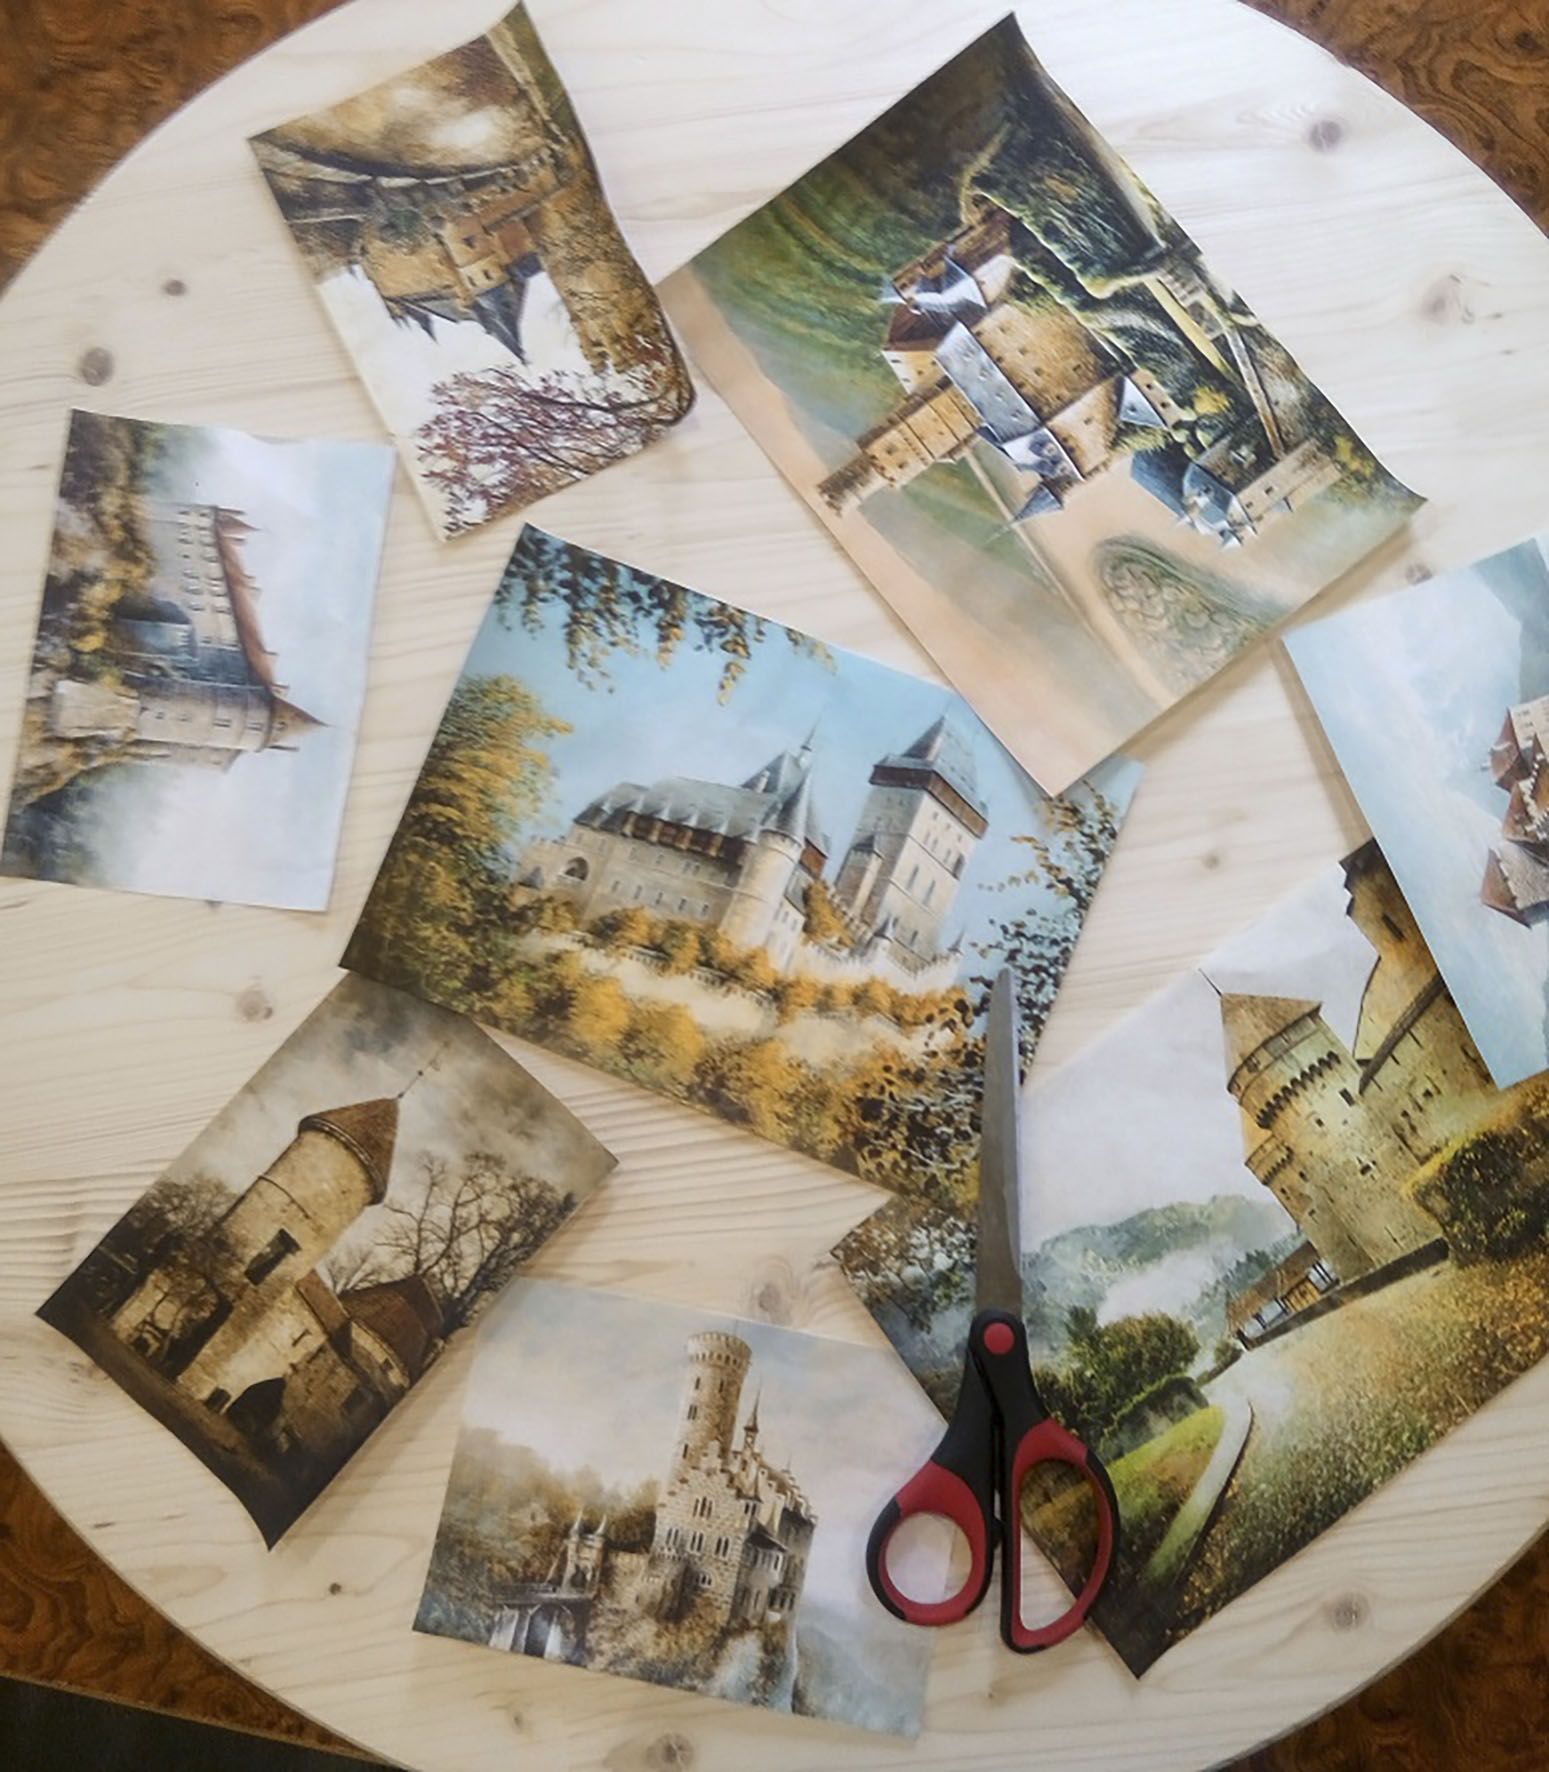
- decoupage cards;
- napkins;
- the cloth;
- wallpaper;
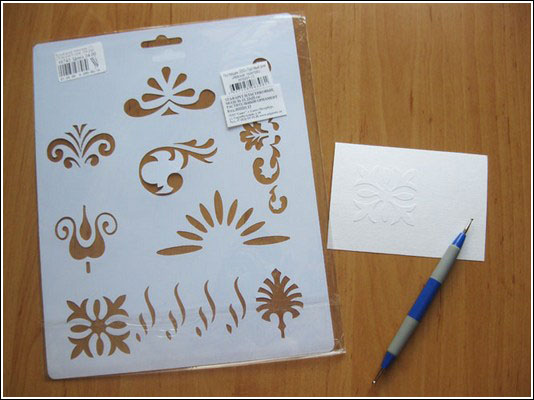
- stencils;
- Photo;
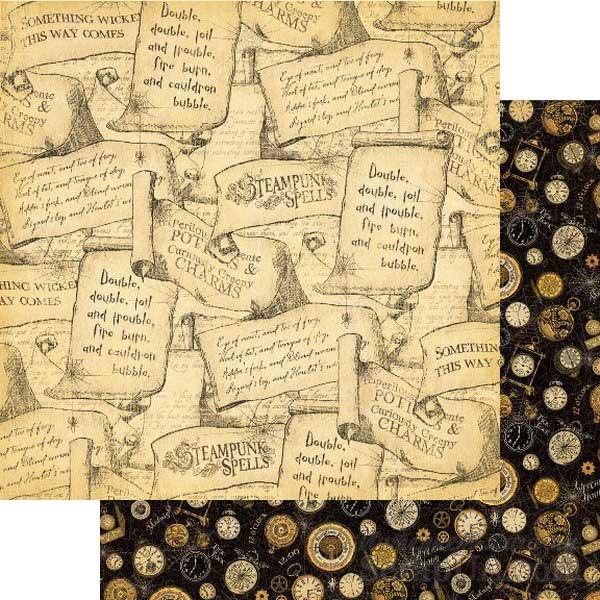
- scrapbooking paper;
- postcards;
- magazine and newspaper clippings;
- Pictures printed on plain office paper.
Every year, decoupage is gaining more and more popularity, the choice of special cards impresses with its images, all new devices, styles and effects are added. Thanks to this development, this decoration technique will remain relevant and in demand for a long time to come.
You can do decoupage on absolutely everything, from a home T-shirt to furniture in a house. The only thing that needs to be taken into account is that each specific type of decoupage has its own execution technique, style and, accordingly, devices.
| Technique Name | Short description |
| Craquelure | Decorative cracking of the surface, in order to create the effect of antiquity. |
| Fabric decoupage | The easiest way to decorate large solid surfaces. |
| Painting | The technique of art painting is suitable for those who are familiar with the basics of fine art. No less interesting is painting using stencils. |
| Gilding | This technique involves working with the most delicate |
| Restoration | Transformation of an old product (with chips, cracks and other defects) into a new one, by masking them. |
| Aging | Giving the subject scuffs to achieve a special charm of past years. |
| Lace decoupage | In this technique, lace acts as a stencil. |
| Traditional decoupage | A more familiar technique is using paper pictures (decoupage napkins, special cards). |
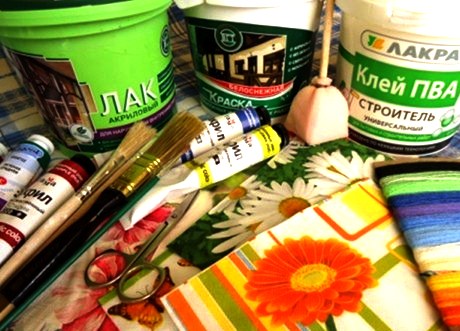
Materials and Tools
To begin the magical transformation of the old chest of drawers you need to have at hand:
- emery paper of two types - coarse-grained and zero;
- putty (it is useful if there are defects on the product that need to be hidden);
- white acrylic primer;
- PVA glue or special decoupage glue;
- white acrylic paint (other colors may also be needed);
- watercolor for tinting (optional);
- wide flat brush for applying a primer, paint, varnish.
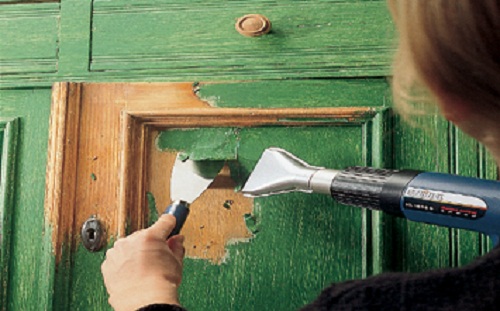
Preparatory stage
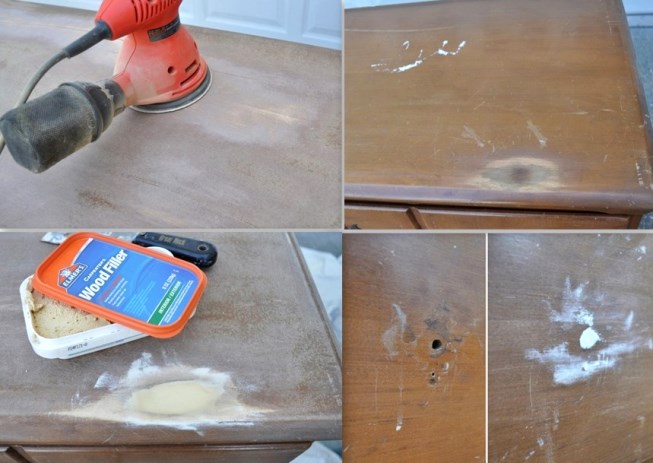
First of all, it is necessary to get rid of the old varnish. To do this, remove the handles and all removable decorative elements, clean the surface of the chest of drawers with coarse sandpaper. If there are places of chips they need to be masked with putty. After drying, white acrylic primer is applied. In some situations, black soil is required, in other cases, white has much more advantages.
After the soil has completely dried (at least three hours), all roughness and unevenness are erased with fine-grained emery paper. All dust generated during grouting is blown off the surface of the product. Now the chest of drawers can be painted. Most often, white acrylic paint is taken - on it, any image looks bright and clear, the colors of the picture are not distorted. If desired, the area around the picture can be tinted with watercolors. Acrylic tinting (even with diluted water) is more dense, which does not allow to achieve the desired effect of a light veil. This option is not suitable for the Provence style.
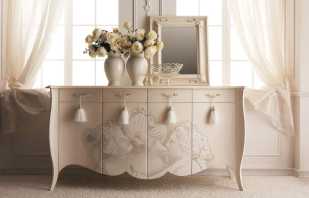
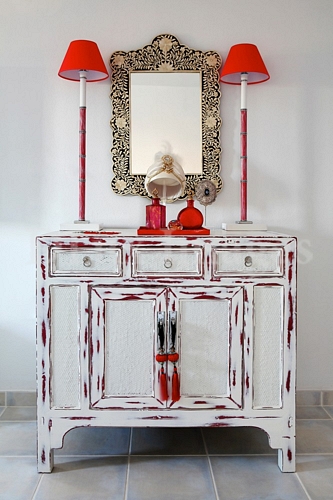
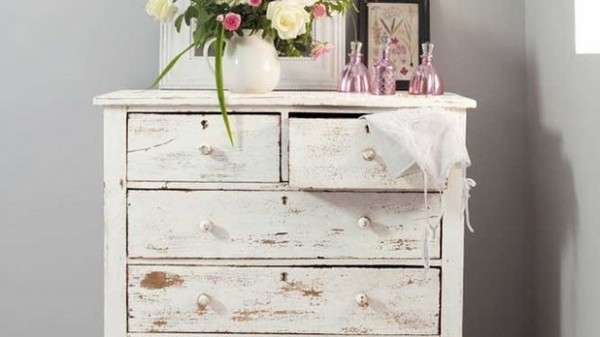
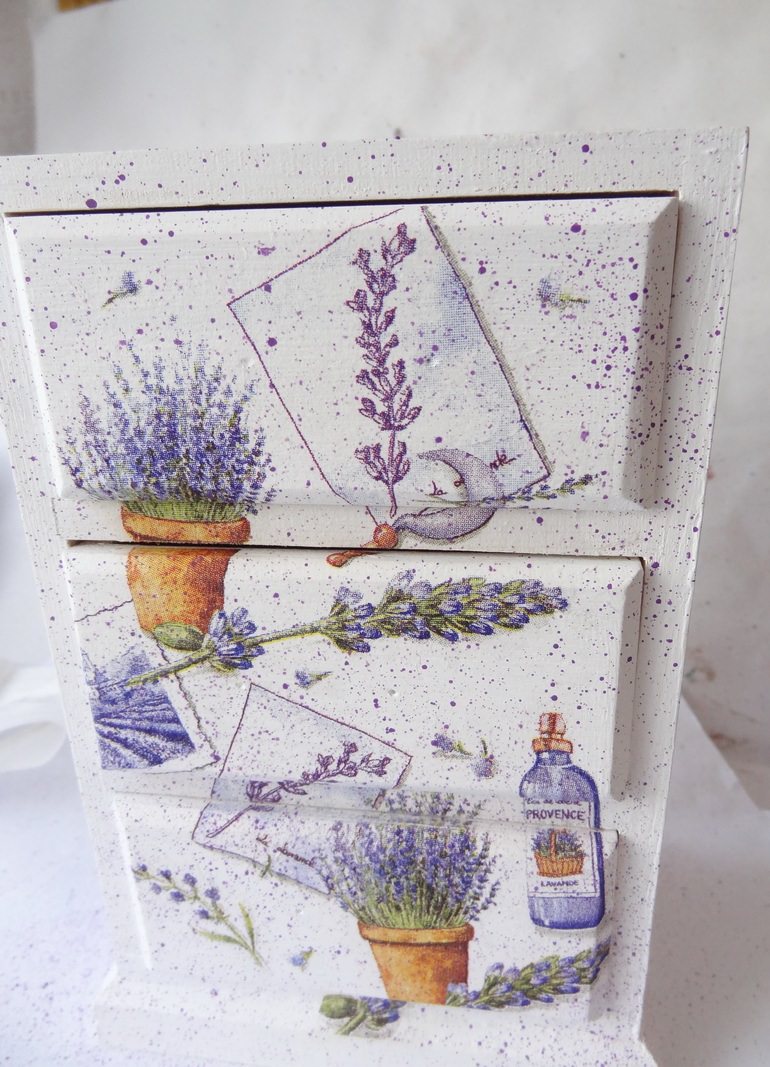
It is important to remember that for decoupage of a dresser in the Provence style, all tones should be muted, discreet. Even the white color should not be bright, but rather faded. This style is very similar to the style of shabby chic. The main fundamental difference is that Provence is the lavender lightness of the French countryside, delicate flowers and herbs, and shabby chic is a frankly chic worn out antiquity. The tone, color scheme and execution technique are the same in both styles. The preparation of the dresser is over, you can go directly to the decoration.
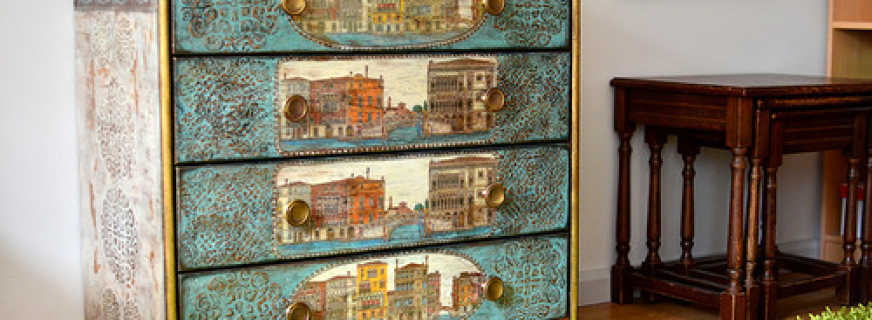
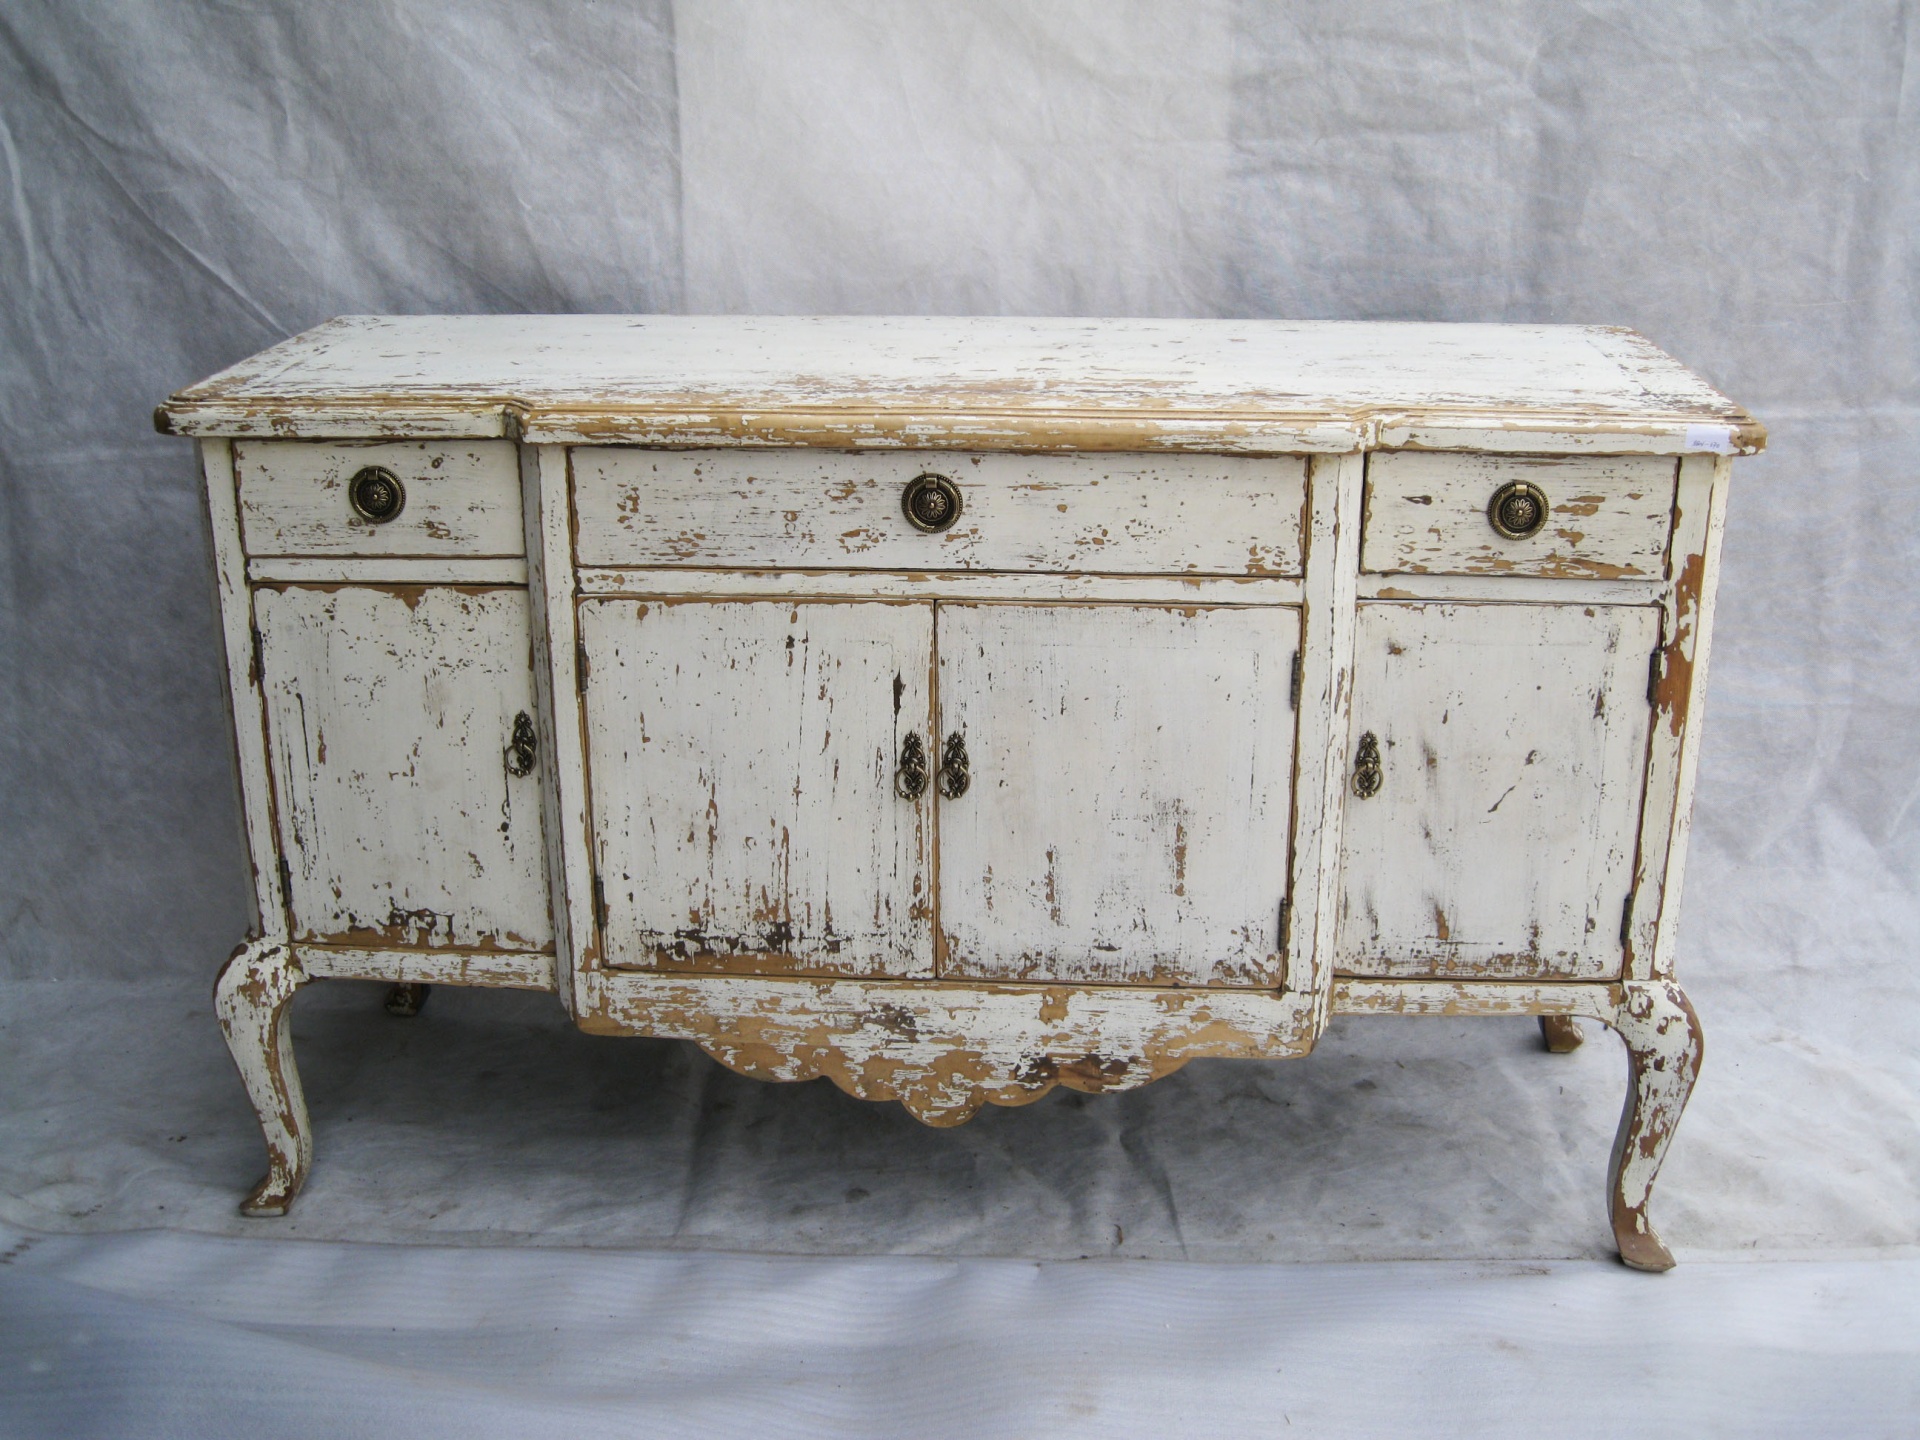
Aging and gilding
Aging gives the product sophistication and imitates antique value. Very often, craftsmen combine this technique with gilding to get an expensive antique piece of furniture at home. To age the dresser, you need to make scuffs on its protruding corners. For this, at least two contrasting layers of acrylic paint are applied to the already prepared surface. After complete drying, the corners are carefully cleaned with sandpaper.
To give the product a luxurious golden shine, a potal is used. This incredibly delicate and thin foil allows you to achieve the necessary gilding effect, but in the aging technique you only need to use it for emphasizing.
A small amount of glue is applied to the selected places, potal is laid out on top. After complete drying (it is better not to rush, but wait about two hours), excess potal is removed, the desired shape is given. At the end of the work, the chest of drawers should be covered with acrylic topcoat. The number of layers of varnish depends on its quality, as well as on the intensity of use of the chest of drawers. Usually, 3-4 applications are sufficient with an interval of two hours between each layer. Acrylic varnish can be replaced with good quality furniture varnish.
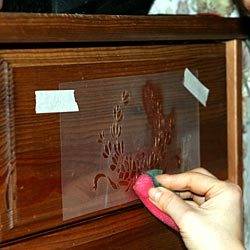
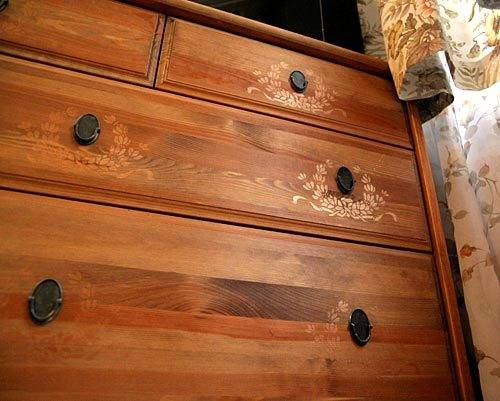
Stencil painting
Using a stencil, you can very quickly and easily create intricate monograms and more. To decorate a chest of drawers in this way, you need a minimum of devices:
- stencil;
- sponge;
- acrylic paints;
- topcoat;
- Scotch.
Adhesive tape is needed to fix the stencil so that it does not move during operation. The technique itself is quite simple - with the help of a sponge acrylic with the desired color is applied to the fixed stencil. At the end of the work, the stencil should be carefully removed and washed. The finished work is varnished in three layers, allowing each layer to completely dry.

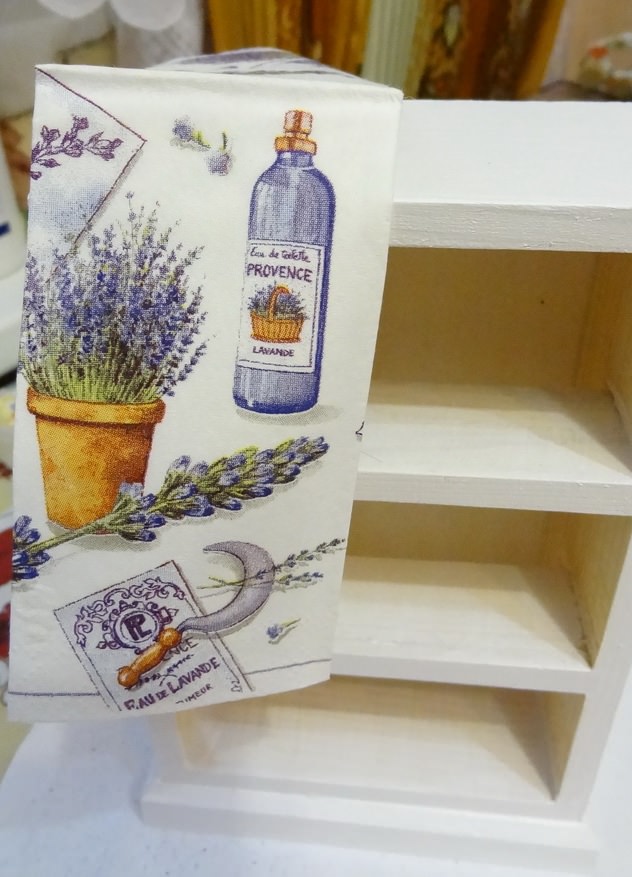
Using napkins and cards
When planning to decorate a chest of drawers with the help of a decoupage card, it will be useful to know that they come in at least three types. The selected map will determine the technique for further work:
- map on rice paper with high density. This is a dense map (more than 20g / m2) with an original pronounced texture and a special arrangement of coarse rice fibers. Using PVA glue, the motif is glued to the product, and is coated with topcoat on top. When cutting out a motif, rather thick edges remain, which does not look quite neat. The way out - the edges can be hidden by applying glitter based on glue along their contour, but this is not always appropriate. It is better to use the card, not cutting out the motive pointwise, but transferring the image holistically “butt to butt”;
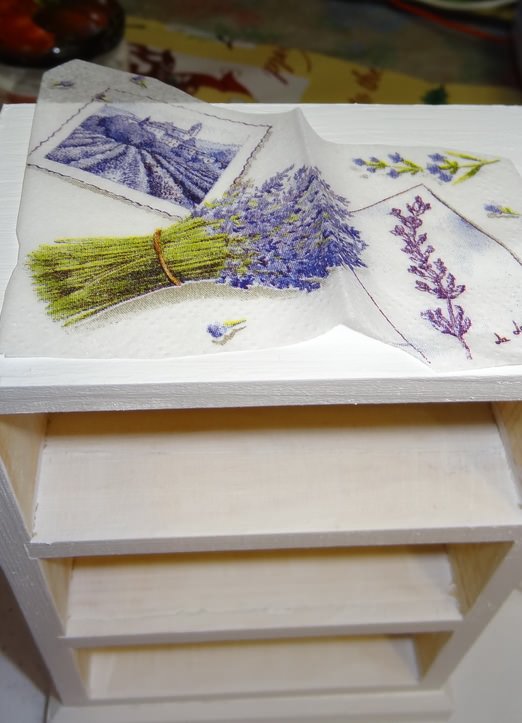
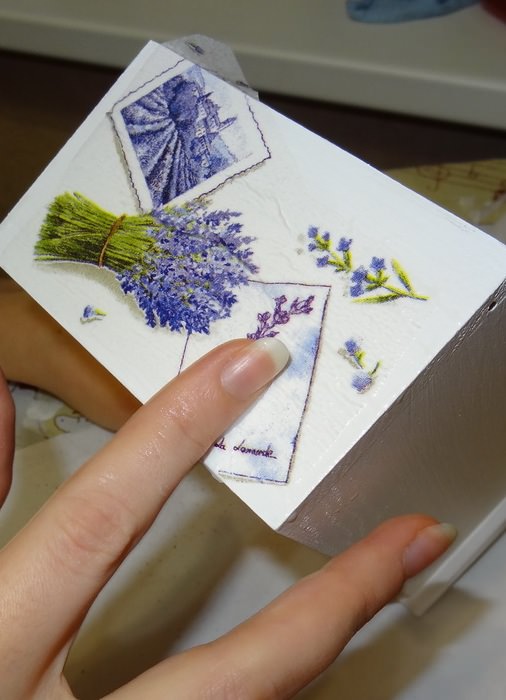
- card on thin rice paper. Decoupage chest of drawers with a rice card with a density of 5-15 g / m2 looks very neat and gentle. Working with such material, you can achieve the most sophisticated work. The cut fragment is placed on a regular file with the back side out. The product itself is smeared with glue, after which the image file is carefully applied to it, smoothly smoothing it. Thanks to this method, unaesthetic wrinkles and creeping motifs can be avoided. The paper is very thin, this causes some difficulties in working with it. Transfer the image through a file, do not use too much glue;
- decoupage card on plain paper. The most affordable, but also more troublesome to use. Acrylic varnish is applied to the front of the card. It is advisable to make 3 layers, with an interval between each per hour. After the last layer has completely dried, the card should be placed in a container of water. When the paper dries, remove the card and carefully roll the excess paper from it. Thus, only the image fixed with varnish remains. A card on thick office paper (80 g / m2) will have to roll up excess paper to thin out the motif, it will take some time. While the paper is soaking, you can prepare the working surface of the dresser to be decorated.
With decoupage napkins, everything is much clearer. Most often, wipes with three layers are used. All you need to do is remove the extra two and cut out the fragment you like. The specifics of working with a napkin is the same as with a thin rice card.
To decoupage the chest in the traditional way, you must have:
- decoupage card or napkin;
- PVA glue or special decoupage glue;
- acrylic top coat;
- wide brush for applying varnish;
- watercolor paints for tinting;
- acrylic paints (for emphasizing the composition);
- thin round brush for drawing details (optional);
- sponge (sponge).
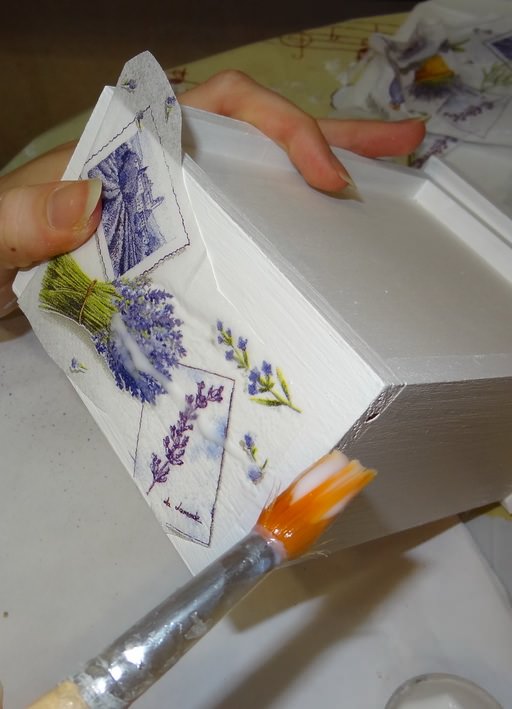
Depending on the type of card or napkin, we choose the method of its application (all methods are described above). We transfer the motive to the already prepared surface of the dresser. At this point, you can tint the area around the image. To do this, you need to dilute the selected watercolor color with water and apply a sponge on the primed chest of drawers painted with white acrylic. When the watercolor dries, you can bring the tint to the desired result with a damp sponge (remove excess, blend, make the transition smoother).
To make the composition look more voluminous and clear, individual elements of the image should be painted with acrylic paint. Thus, you can get the effect of art painting.
When the work is completed, the dresser must be covered with acrylic varnish in several layers. Each layer should dry well. You can use an acrylic finish in the form of an aerosol, but this option is more suitable for working in the air.
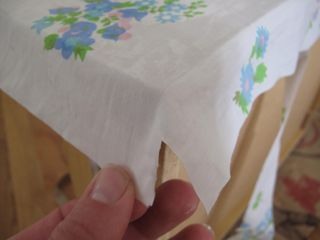
the cloth
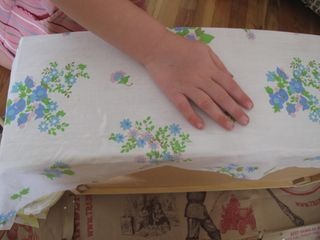
The preparation of the dresser is the same as described above. The fundamental difference between this decoration method is that the fabric covers the area from edge to edge to hide the cut scar.If you cut individual fragments, then their edges will need to be beaten (hide with glitter, braid, rhinestones).
Material required for work:
- dense cotton fabric;
- PVA glue;
- acrylic lacquer;
- wide flat brush.
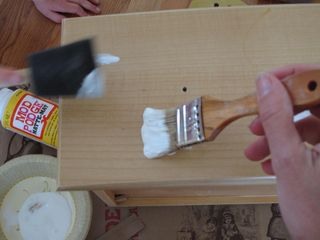
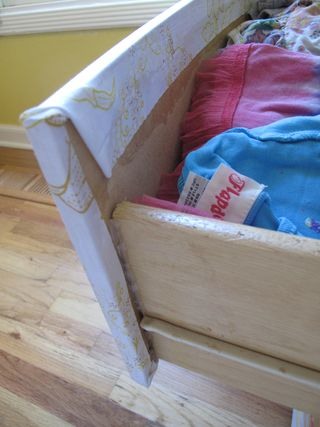
On the surface of the chest prepared for work, glue is applied, after which matter is neatly laid. To go to the next stage, you need to wait for complete drying (several hours). Then the fabric needs to be coated with PVA glue using a wide brush. After complete drying, the work can be opened with a finish varnish (again, observing the time intervals between each layer). This technique is different from traditional decoupage and the finished product looks very unusual.
Video