How to make a wooden bench with your own hands, simple workshops
Wood furniture will always be popular, because this material has a lot of advantages, it is natural. It produces products for the home and the street. In any park, you can see the wooden benches standing on the footpaths. You can use them on your own personal plot. With self-production, you need to pay attention not only to the appearance, but also to functionality.
Content
Design features
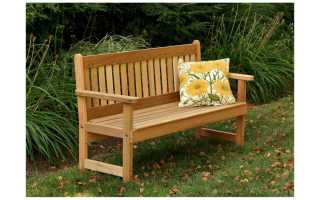
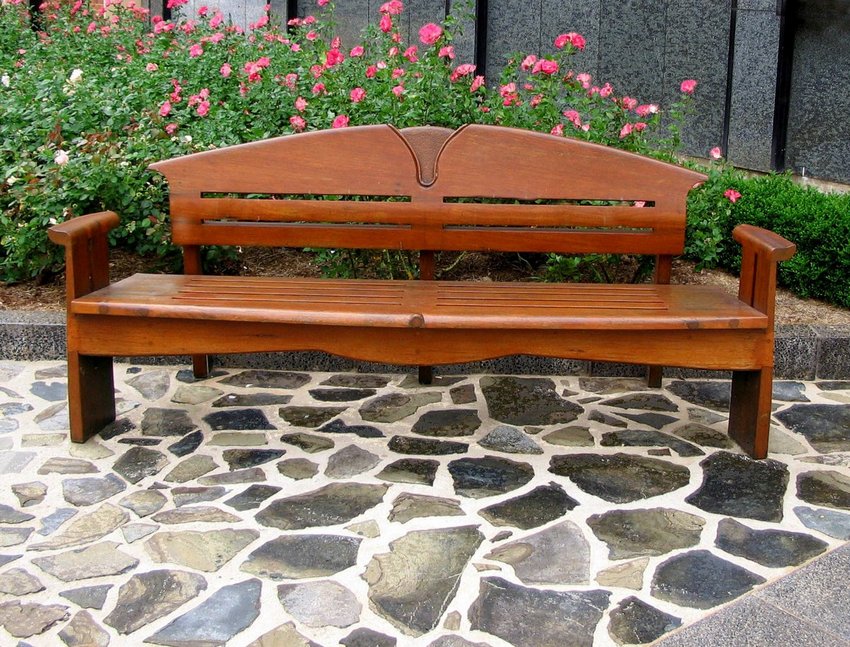
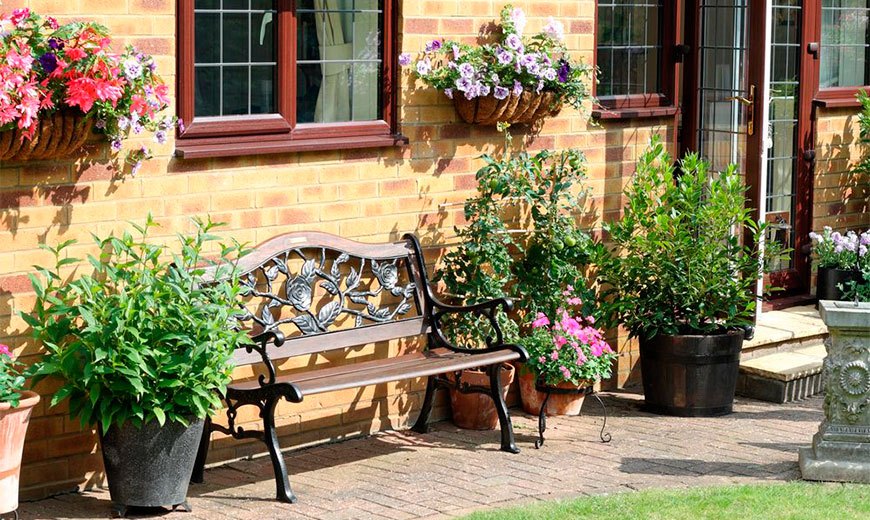
Wooden benches are usually installed in recreation areas: in the garden, on the edge, at the fence of the house, near the garage. Such products are mounted in parks and squares, on platforms under a canopy and in arbors, on a porch, at reservoirs. You can highlight the following advantages of wooden benches:
- availability;
- wood has high strength;
- the possibility of self-manufacturing;
- in case of breakage are easily repaired;
- convenience and comfort;
- have less thermal conductivity than metal benches;
- environmental Safety;
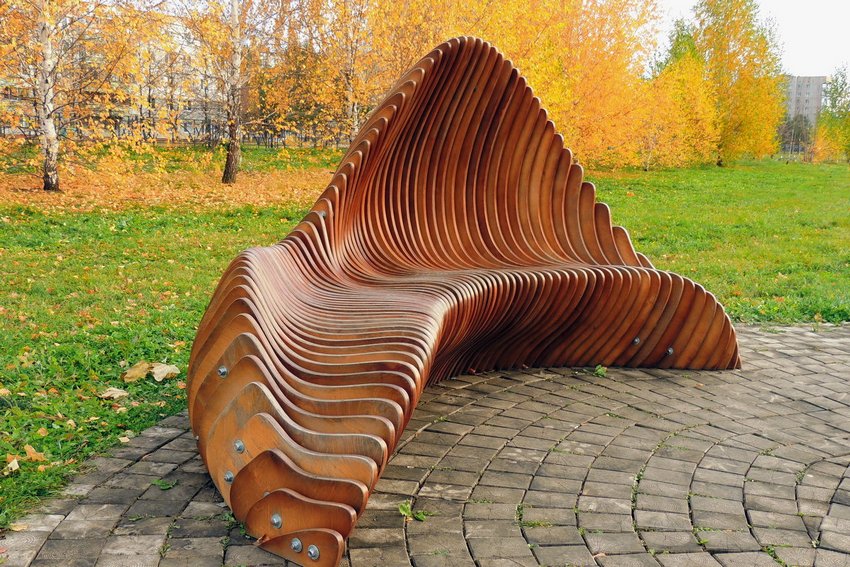
- beautiful appearance, the ability to realize the most unusual project.
Over time, wooden benches can become rotten, and therefore require additional protection. When choosing a finished product, not only its ergonomics and size, but also design, purpose of use, installation location are taken into account. Its service life will depend on this.

Product Varieties
Wooden benches vary in design and installation location. First of all, they are stationary and mobile. The first option is a static fragment of landscape design, and the second can be moved and mounted anywhere. By design features, the following types of products are distinguished:
- Street Most often they are made according to the standard design and rarely differ in the originality of forms, however they are durable and functional. They can be found in parks and squares.
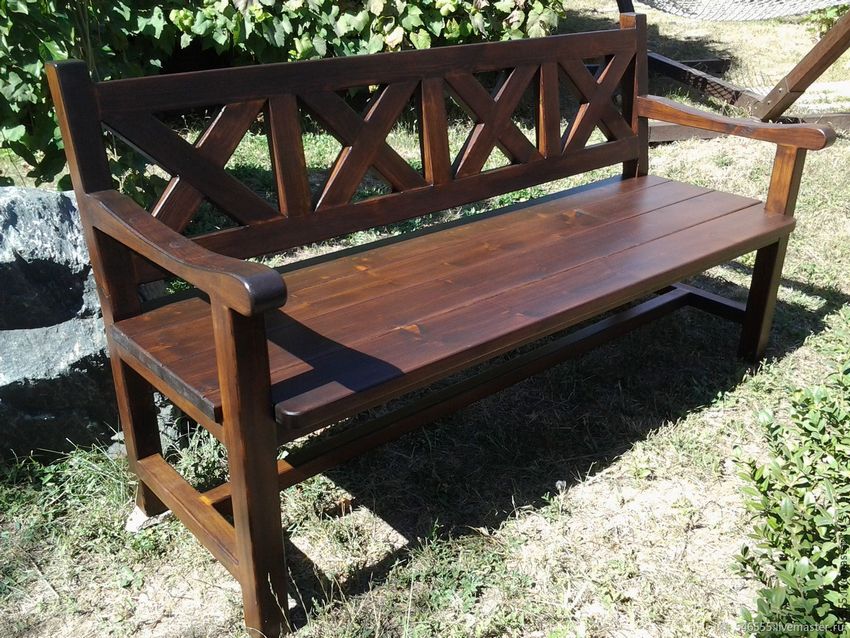
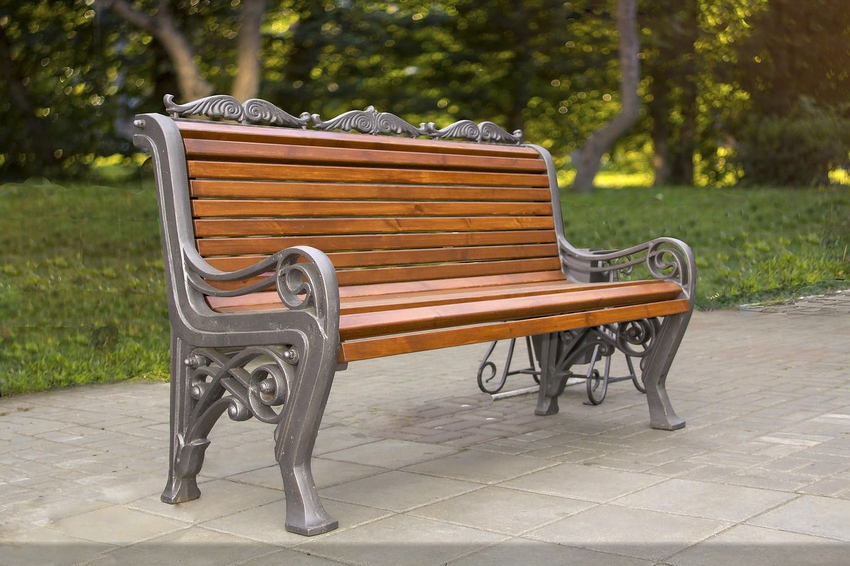
- For garden. Products may contain additional metal parts, openwork drawings, decorative elements, carvings. Such a bench adorns the garden, makes the space functional.
- Country. They differ in species diversity.
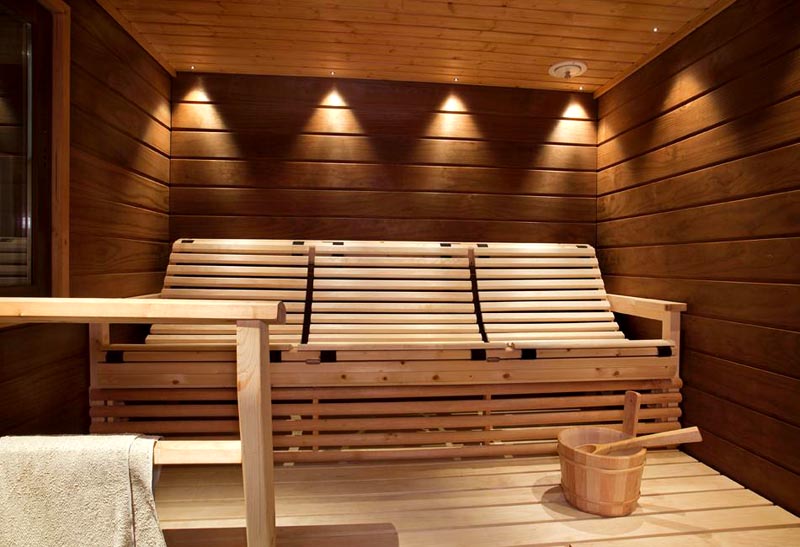
- For the bath. Here the design can be simple, stepwise or in several tiers. Such a bench is intended for sitting or lying and does not differ in a decorative variety.

At the location, several types of products are distinguished. All of them have distinctive features. The main varieties and their characteristics are presented in the table.
|
Varieties |
Characteristic |
|
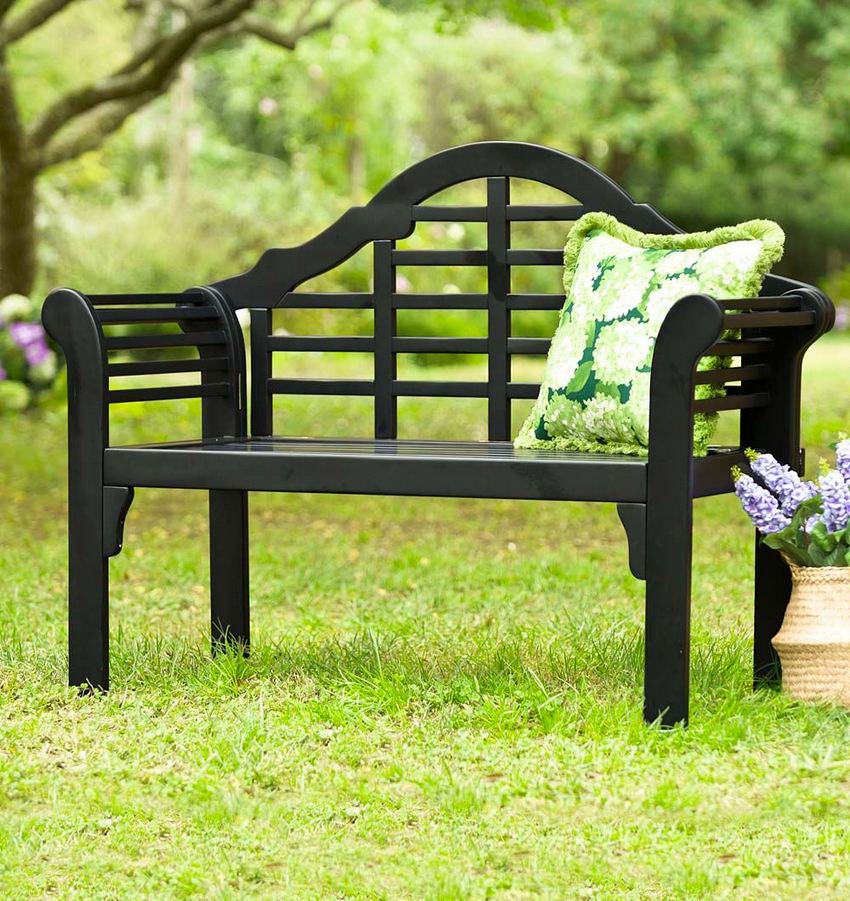
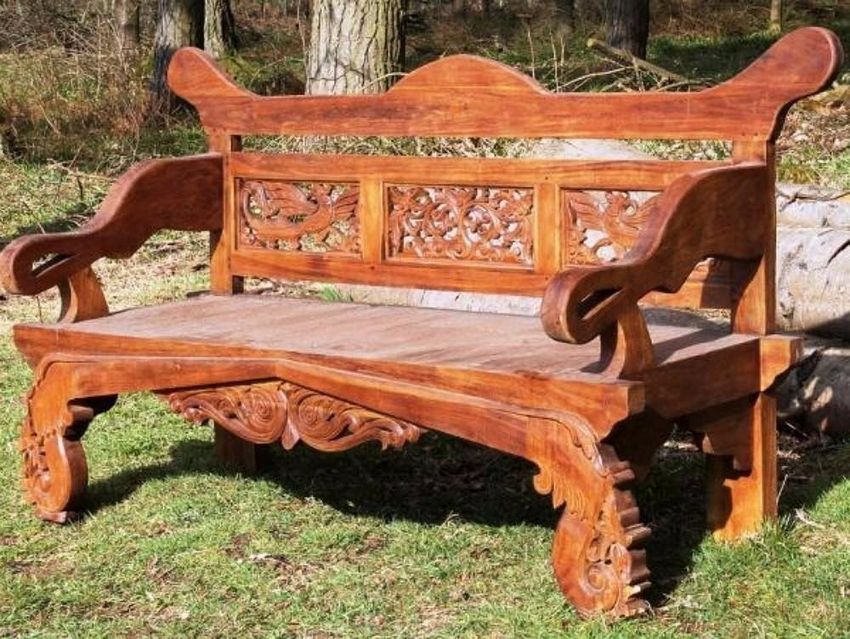
Ceremonial |
Mounted near the porch at the entrance. They are often decorated with carvings or forged decorative elements. |
|
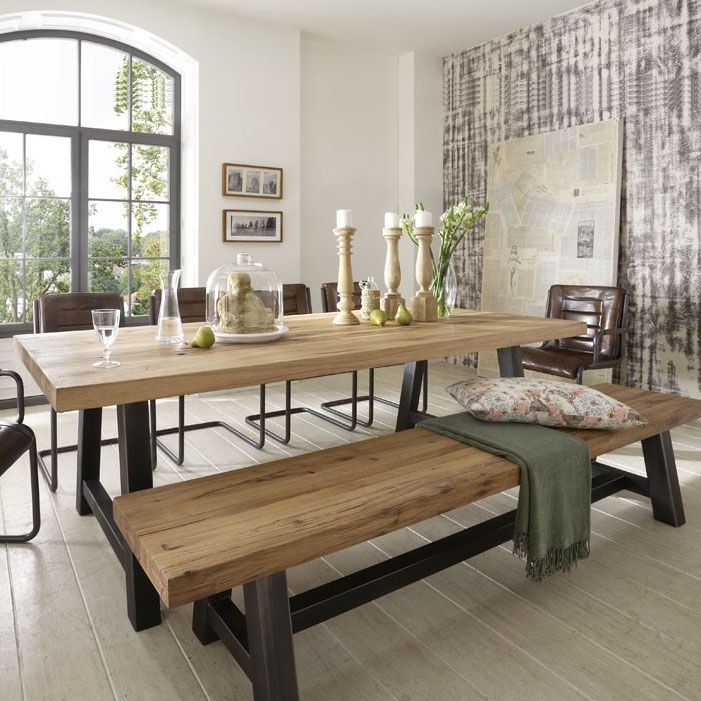
Dining |
Wanted where the family gathers at the table: on the terrace, by the barbecue. For the manufacture of products used wood of different species. |
|
Seasonal |
They are mobile and can be transported from one place to another, for the winter they are cleaned in a room protected from moisture. |
|
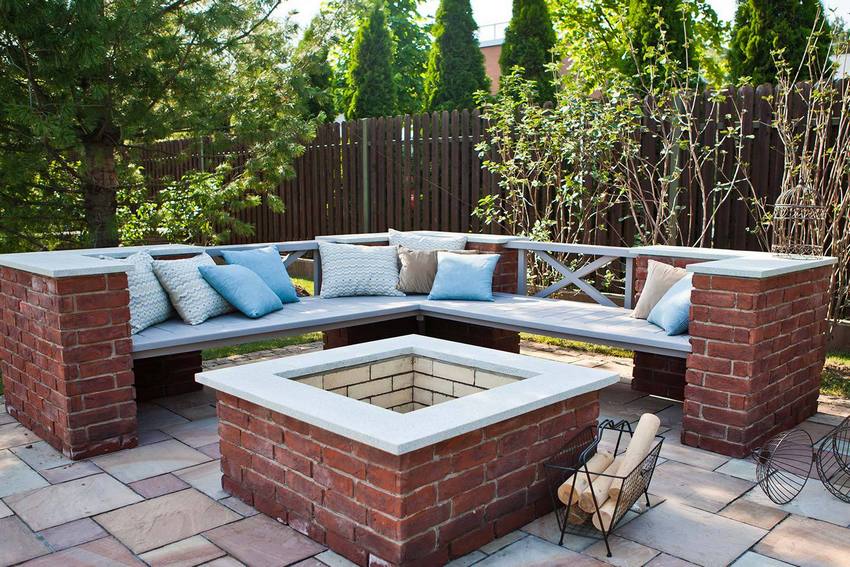
For installation near a reservoir |
Their manufacture requires wood species that are resistant to moisture. Additionally, they are treated with protective compounds that prevent rotting of the material. |

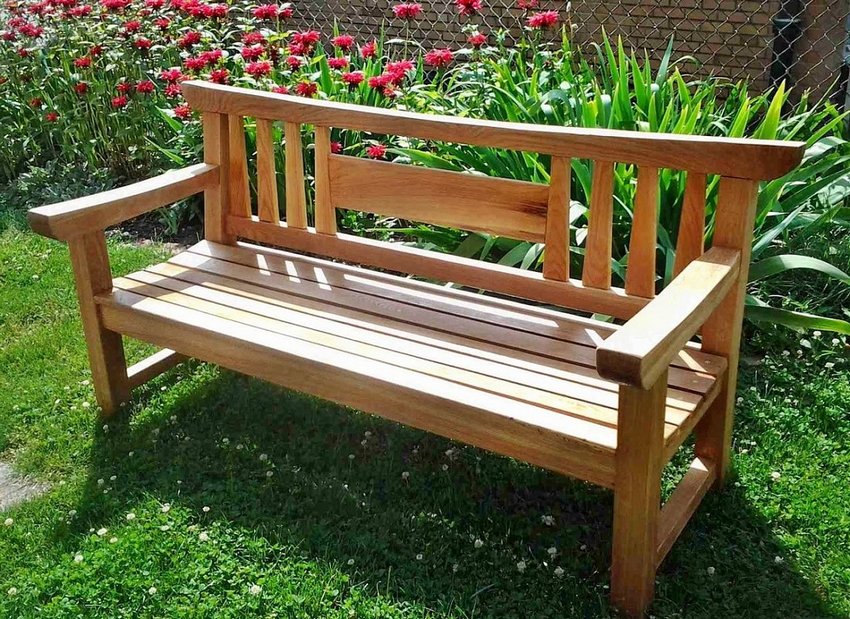
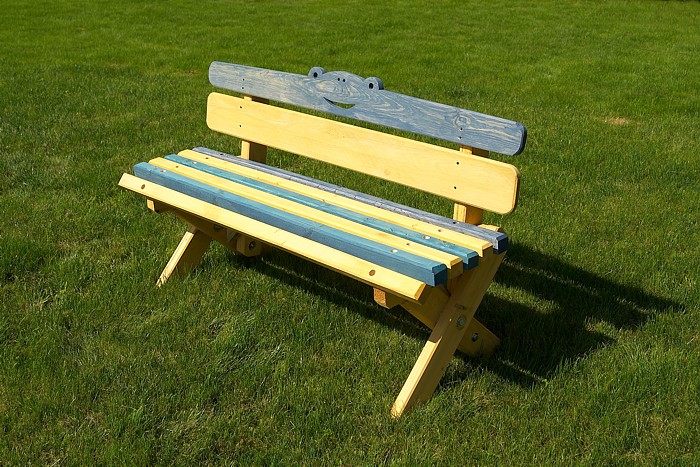
The simplest is a wooden bench with a back, it can be made with your own hands.
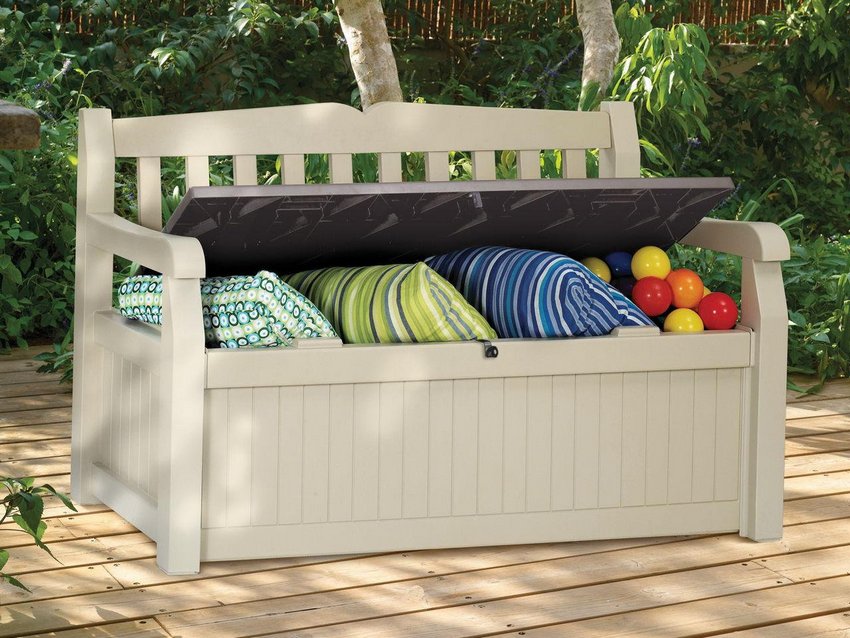
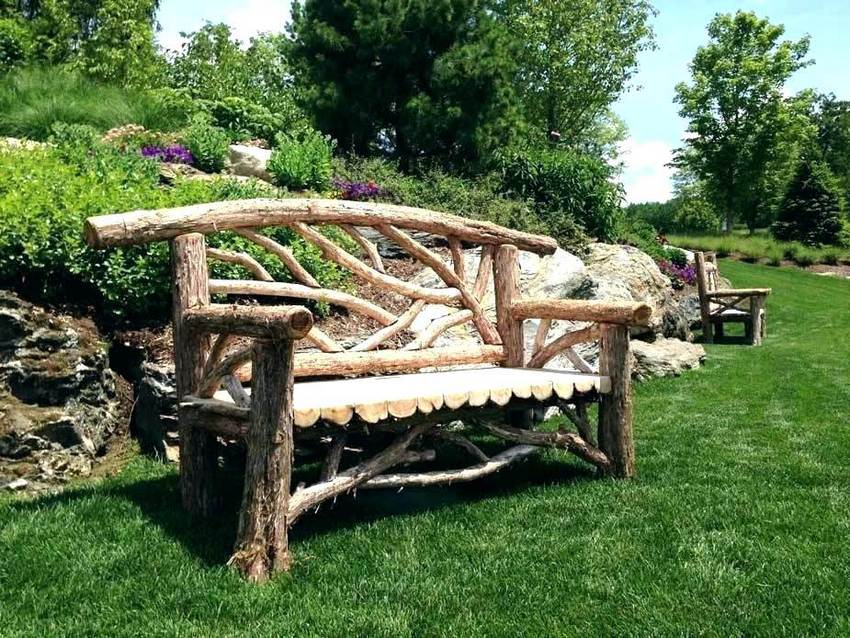
Often you can find unusual products: corner, with cut elements, folding, with drawers for storing things. Original models with bizarre curved shapes, unusual legs from tree branches, an asymmetric seat will make the exterior individual. Designer benches are one of a kind, but are quite expensive.

How to do it yourself
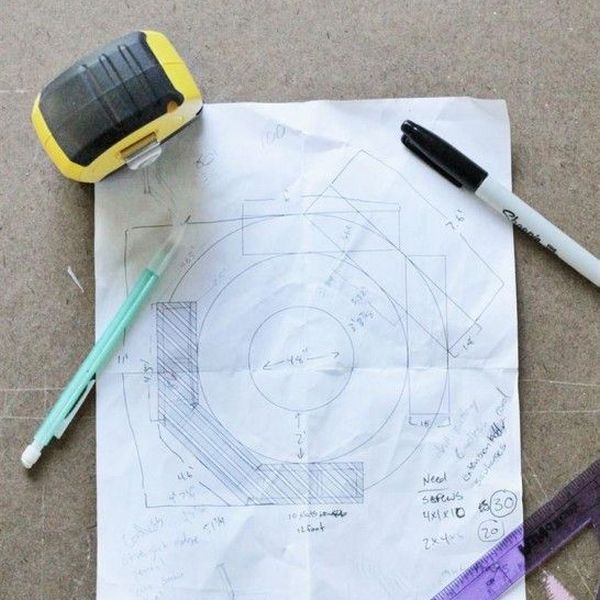
To make benches made of wood yourself, you need to decide on the project of the product, collect the necessary tools and draw a drawing. If a person does not have experience in working with wood, then it is better to give preference to the simplest option. Assembly diagrams can be found on thematic forums.
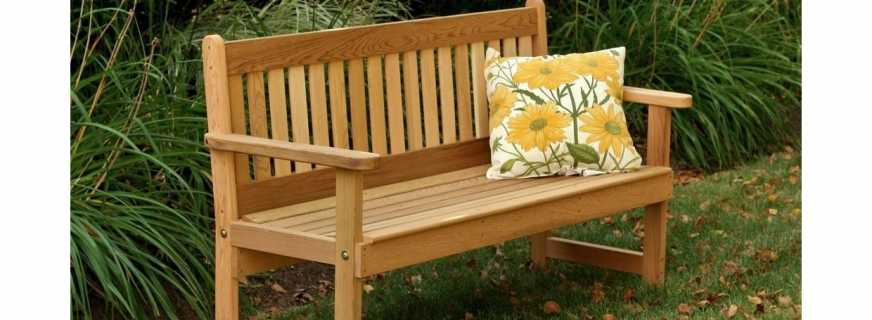
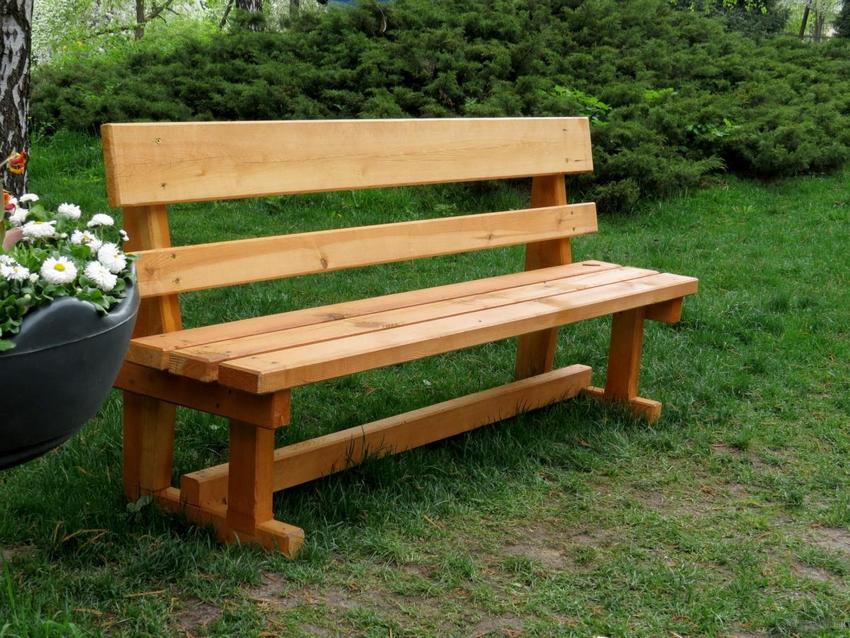
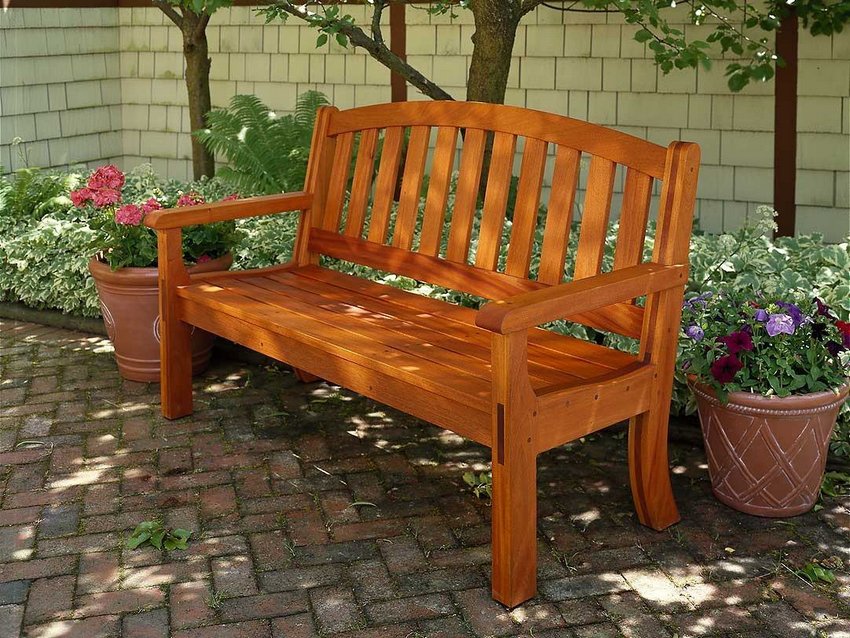
Simple garden bench
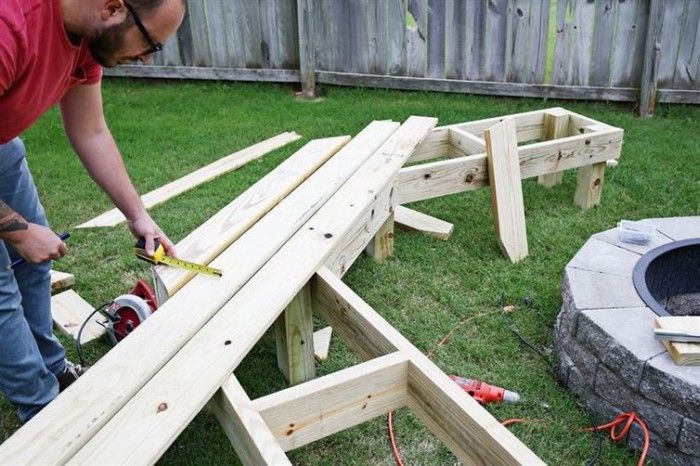
To build a garden bench of wood, you need to prepare a drawing. At the same time, it is necessary to use such standard sizes: seat height - 40-50 cm, backrests - 35-50 cm, seat width - 50 cm. For further work, you will need tools:
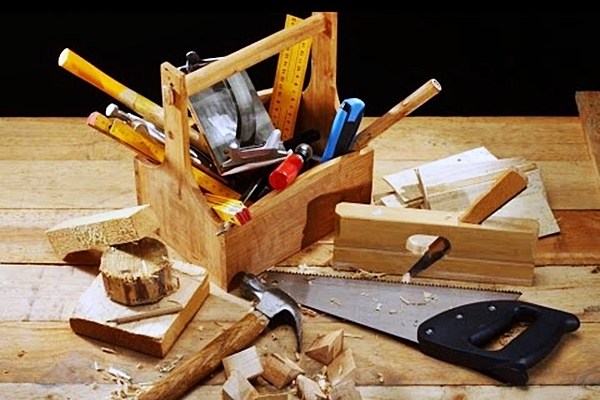
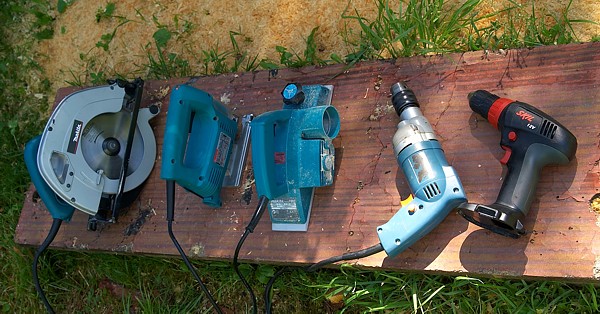
- level, ruler, pencil or marker, tape measure;
- Grinder;
- a screwdriver or a hammer with nails;
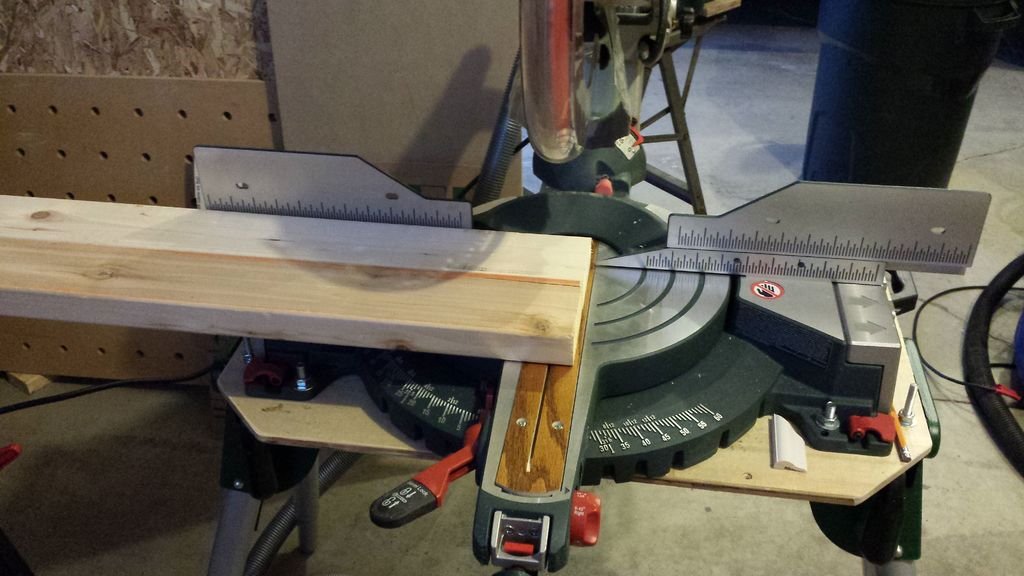
- jigsaw or hand saw on wood;
- plane.
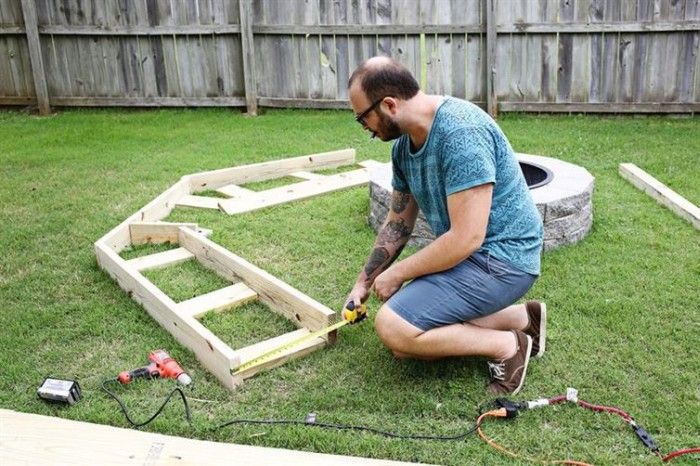
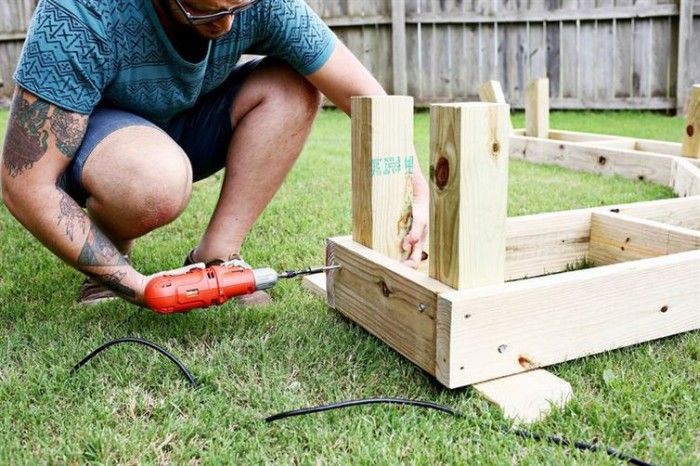
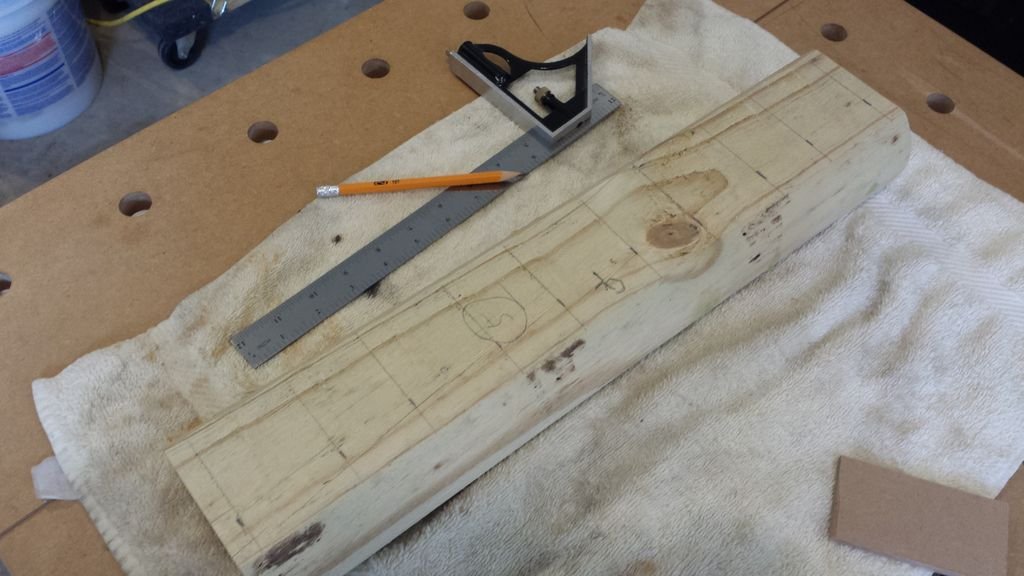
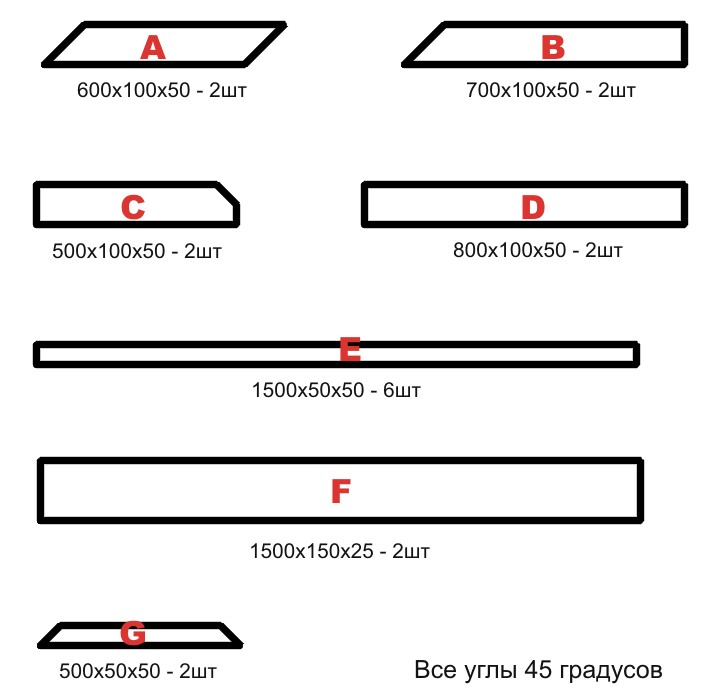
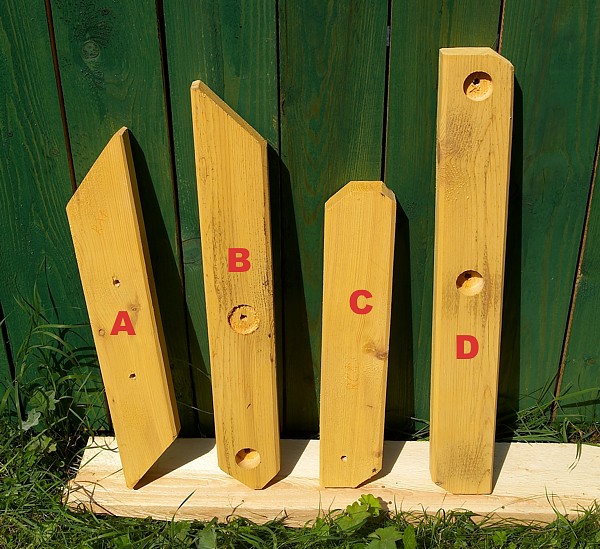
Boards selected for work must be dry. Do not take material with knots or cracks. For assembly, you need to prepare the front and rear legs, transverse and longitudinal beams, as well as rails for the seat and back. The most common fasteners: nails, self-tapping screws, bolts with nuts. The work process consists of the following stages:
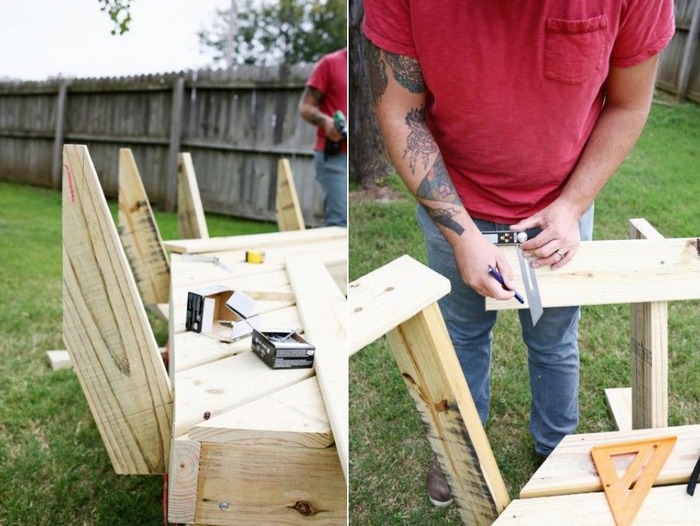
- Marking up the finished elements. The points at which fasteners will be fixed are applied to them.
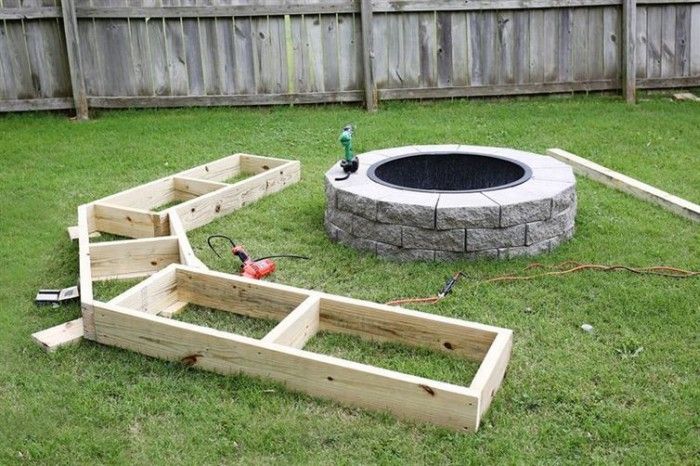
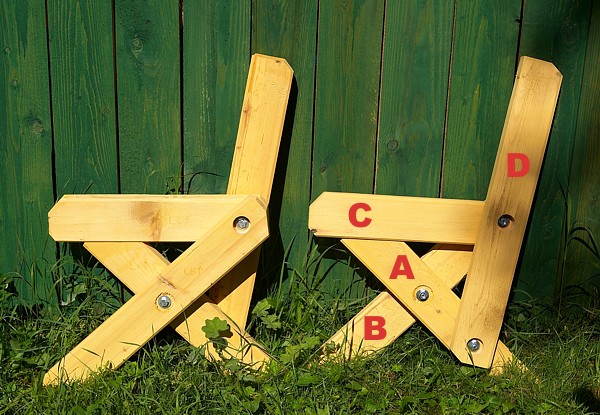
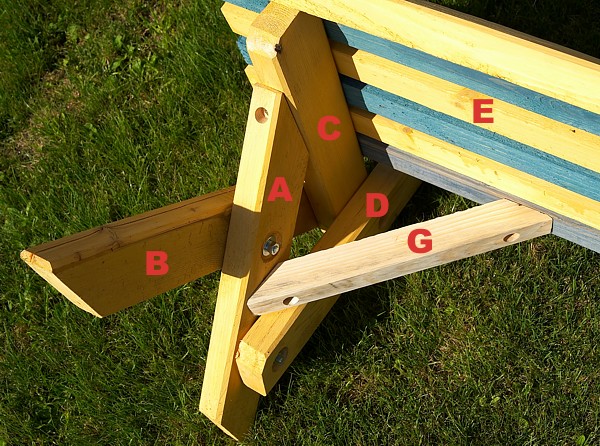
- Foundation construction. To do this, the cross beams are connected to the front and rear legs.
- Strengthening the design. Then a longitudinal beam, transverse bars are screwed to it.
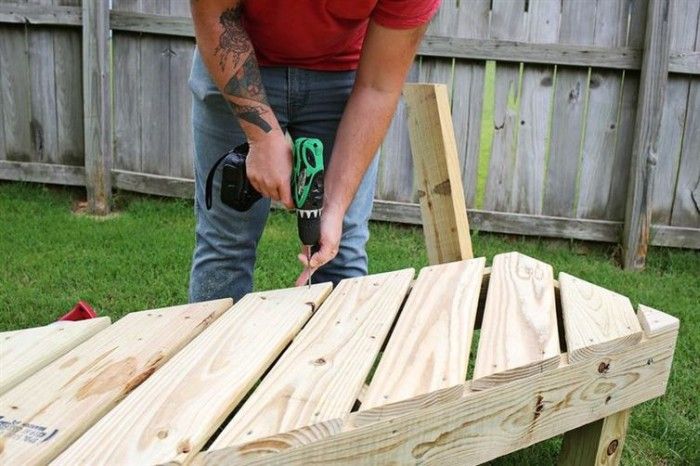
- Mounting the seat and backrest. At this stage, wooden battens are attached to the base.
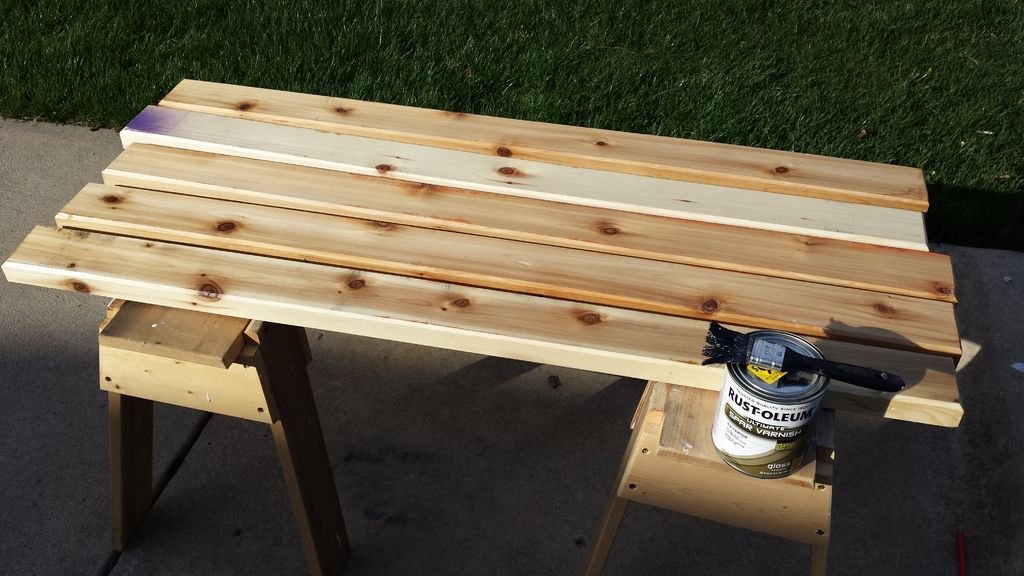
Lastly, the product is finished. But you need to ensure that all elements are well polished.

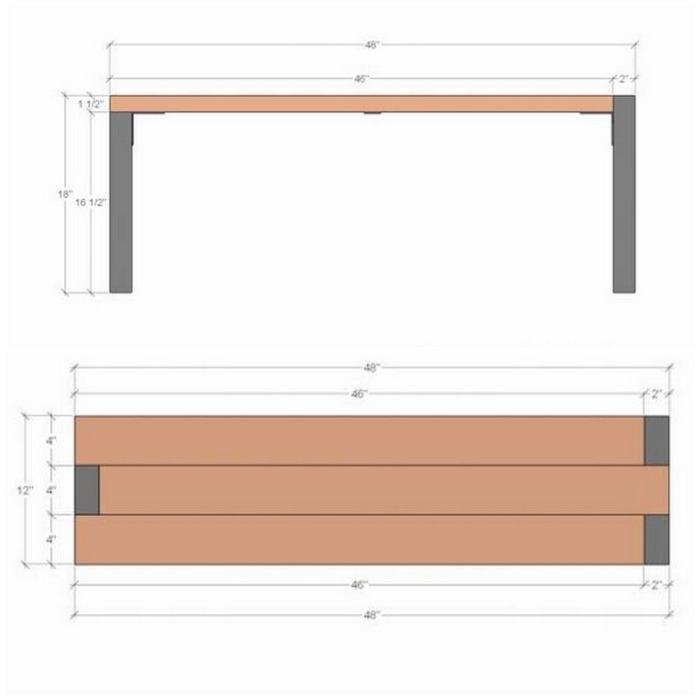
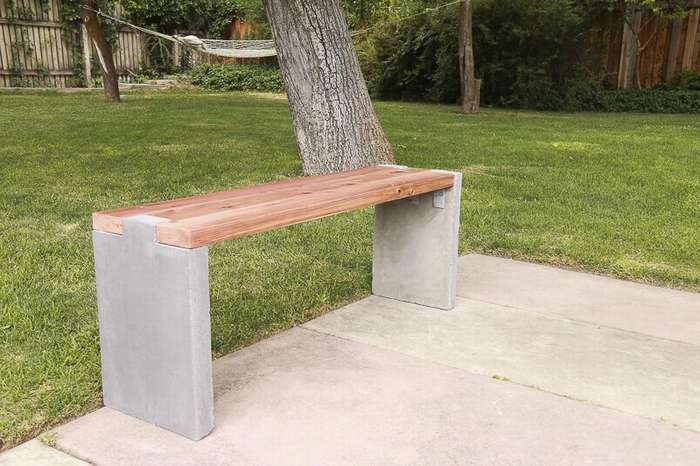
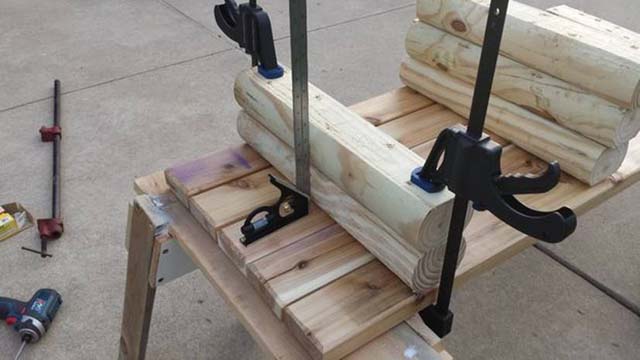
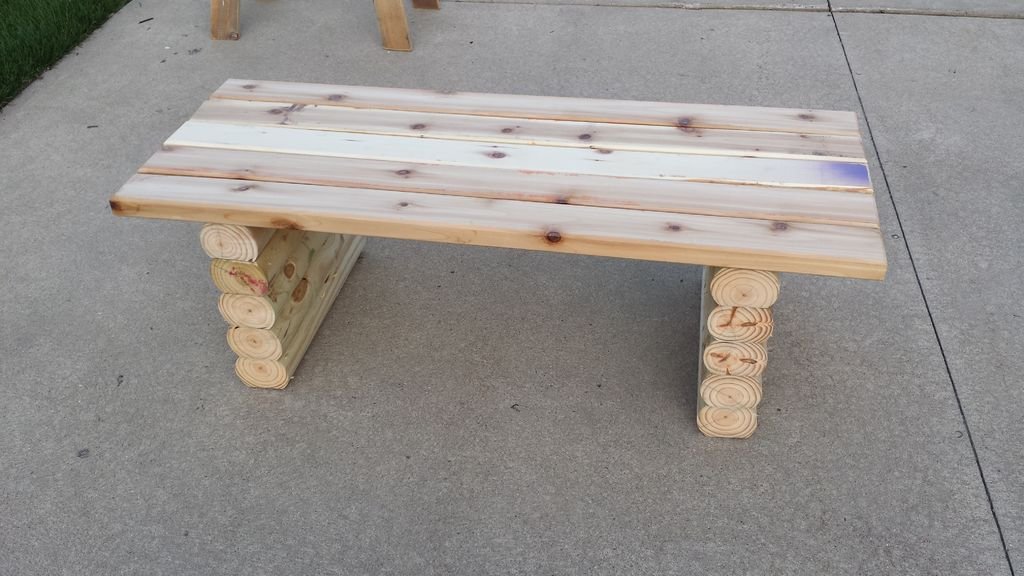
On concrete base
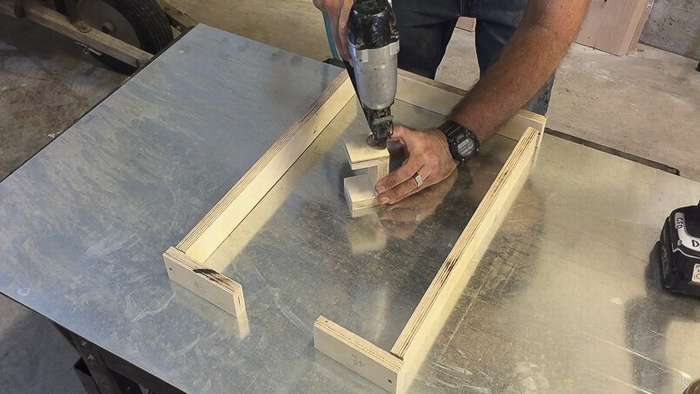
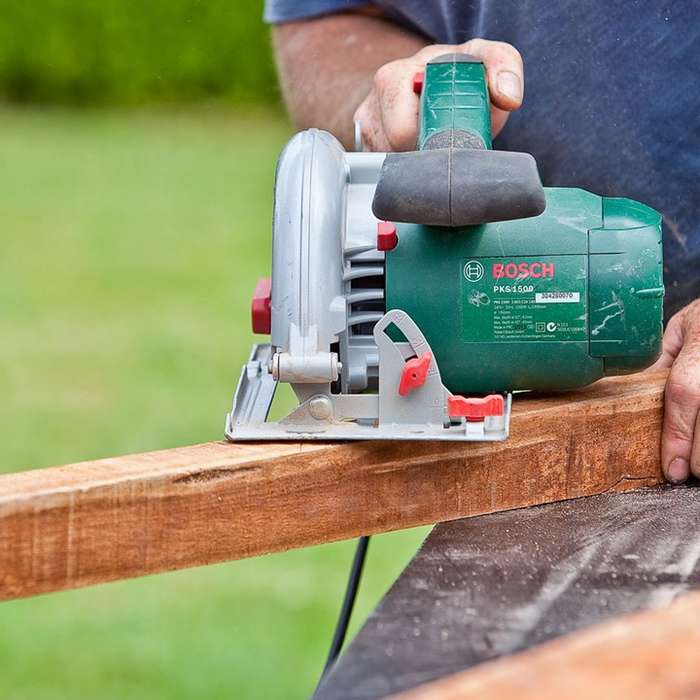
Such benches for a summer residence can be made independently, but more time will be required. First you need to prepare the mold for pouring the solution. They have a width of 5 cm and a thickness of 2 cm, but these sizes can be changed. With the help of forms, the legs of the future product are made. Their height is determined by the master. As for the seat, 3-4 boards with a length of 117 cm will be needed to make it.
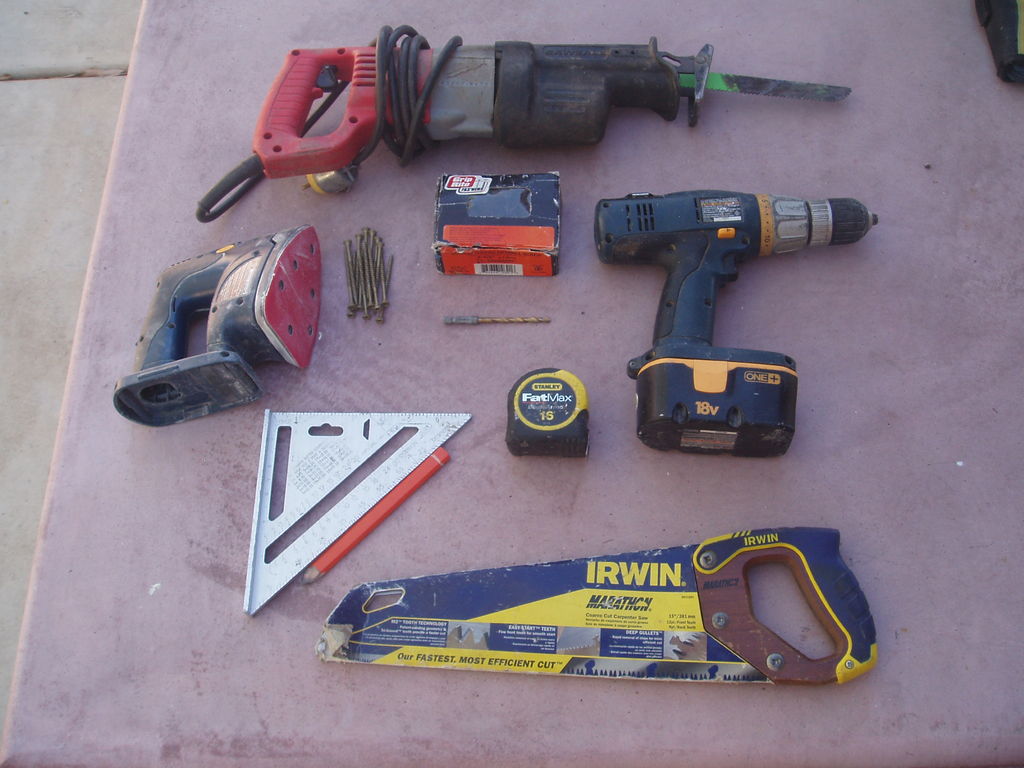
To work, you will need molds, concrete mortar and boards for constructing a seat, brackets, screws, tape measure and level, a pencil, a wood hacksaw, a grinder, finishing materials, a screwdriver. You will also need building glue.
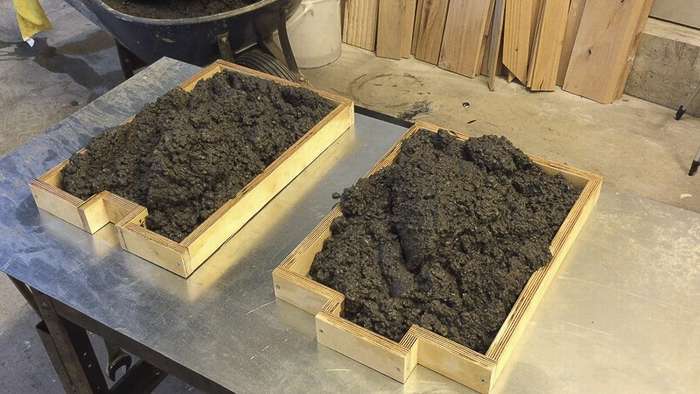
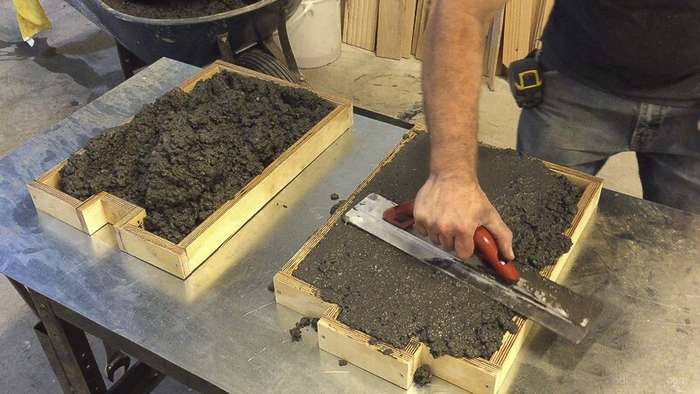
The sequence of work is as follows:
- Making legs. The solution must be applied to the form with a shovel, starting from its central part and distributing it at the corners. Excesses must be removed, smooth the surface with a spatula.To remove air from the mixture, after 20 minutes after laying it is easy to knock on the side of the workpiece with a hammer. After the solution has solidified, the molds should be removed and the edges smoothed. Then the supports must be left overnight for complete hardening.
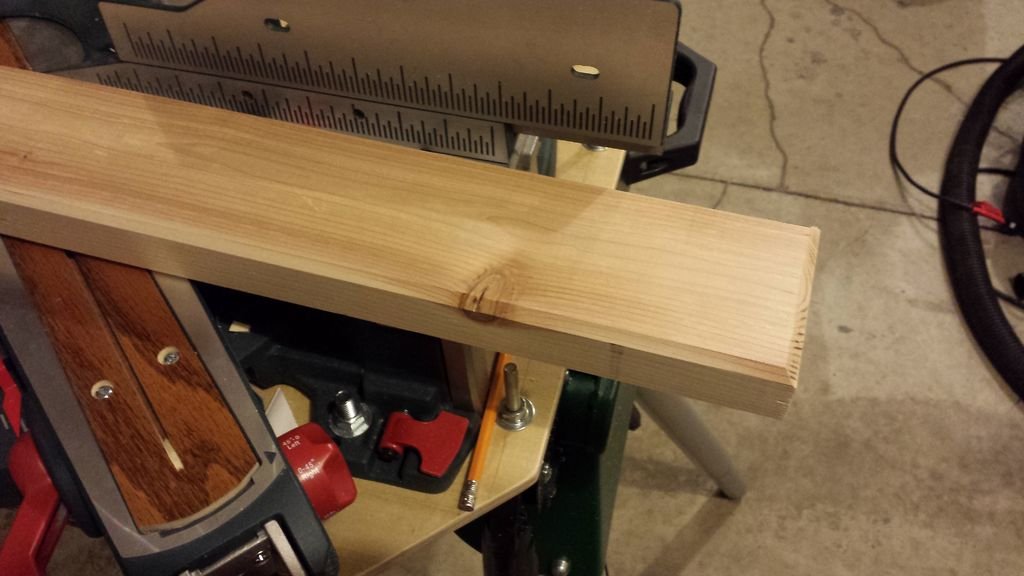
- Board processing. They must be cut to size and sanded. If necessary, cover the material with protective impregnation.
- Mounting brackets at the edges of the boards.
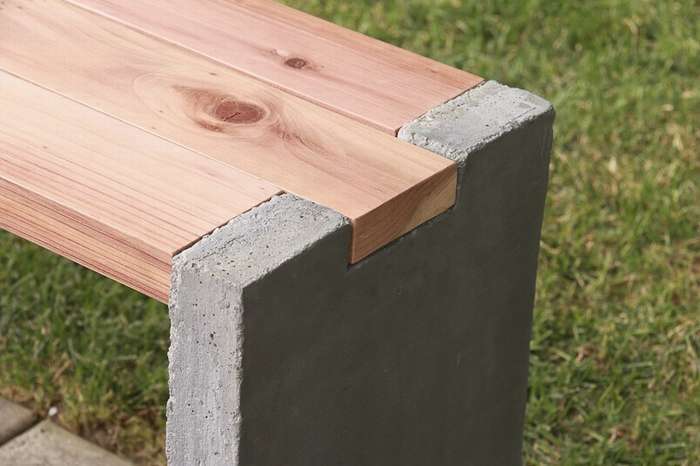
- In all places where the tree will come into contact with concrete, you need to apply building glue.
- Fixing fragments of the seat. For fixing, use self-tapping screws or screws.
For finishing, you can use varnish, and for metal elements - paint, the shade corresponding to the color of concrete.

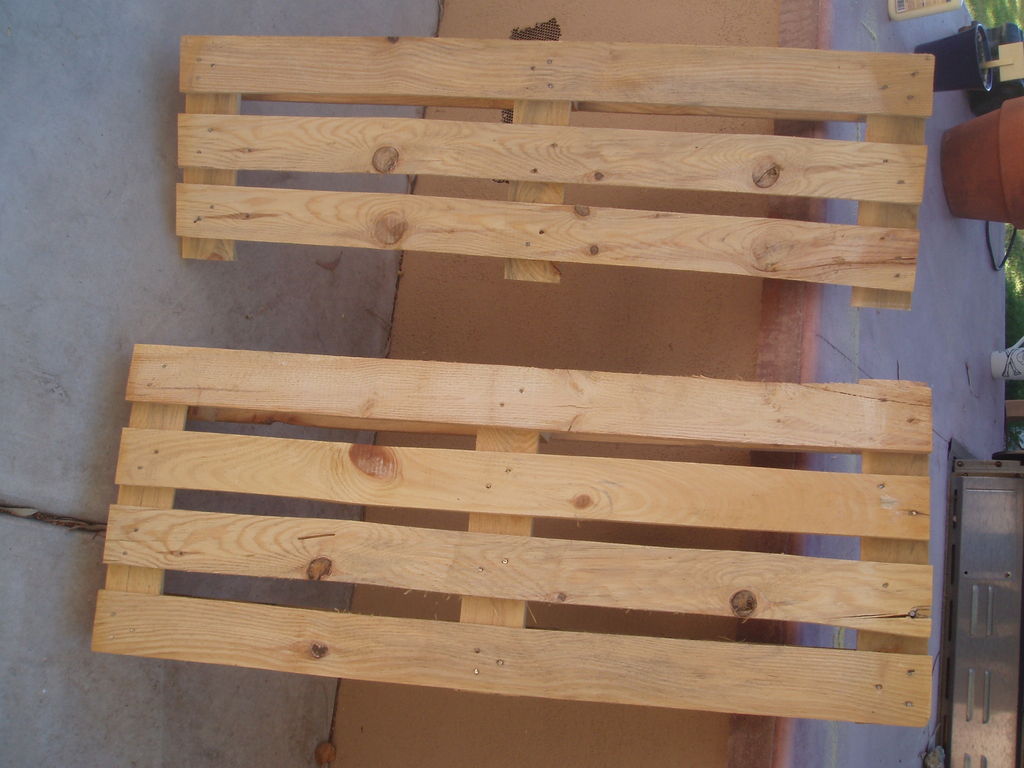
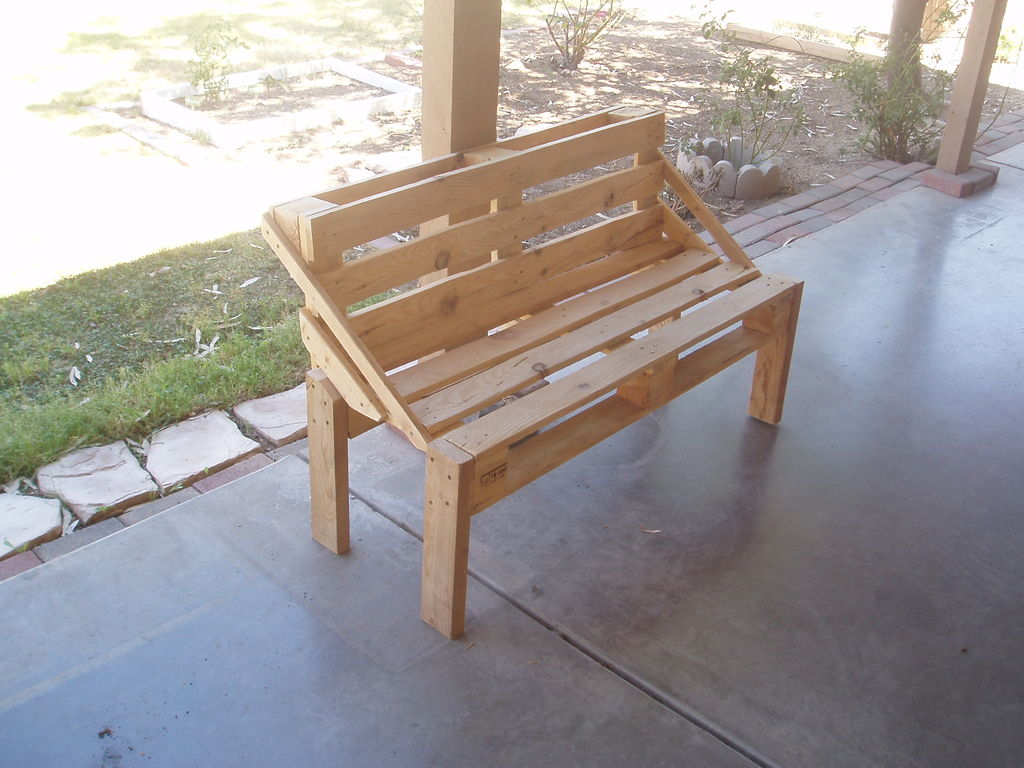
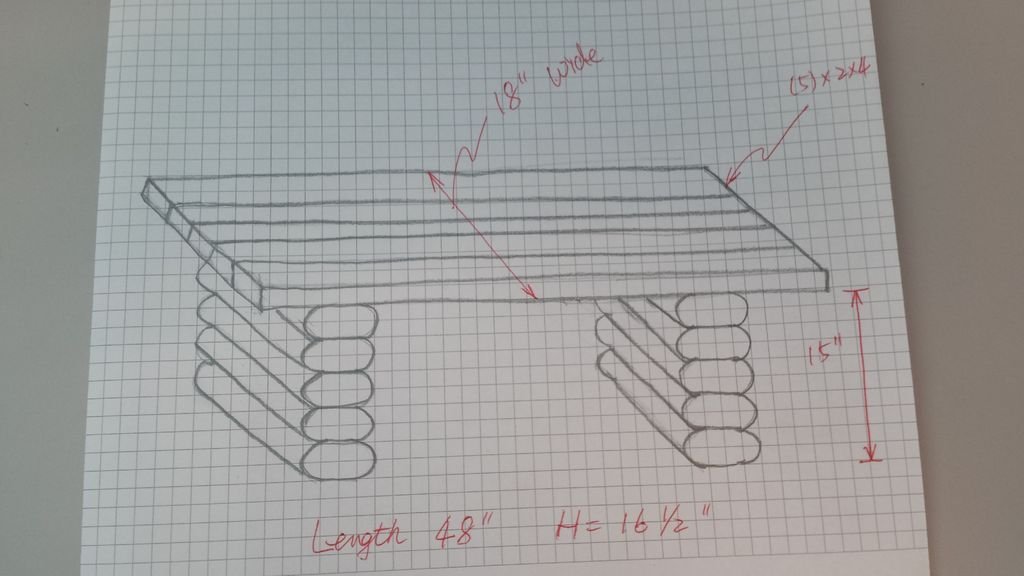
From pallets
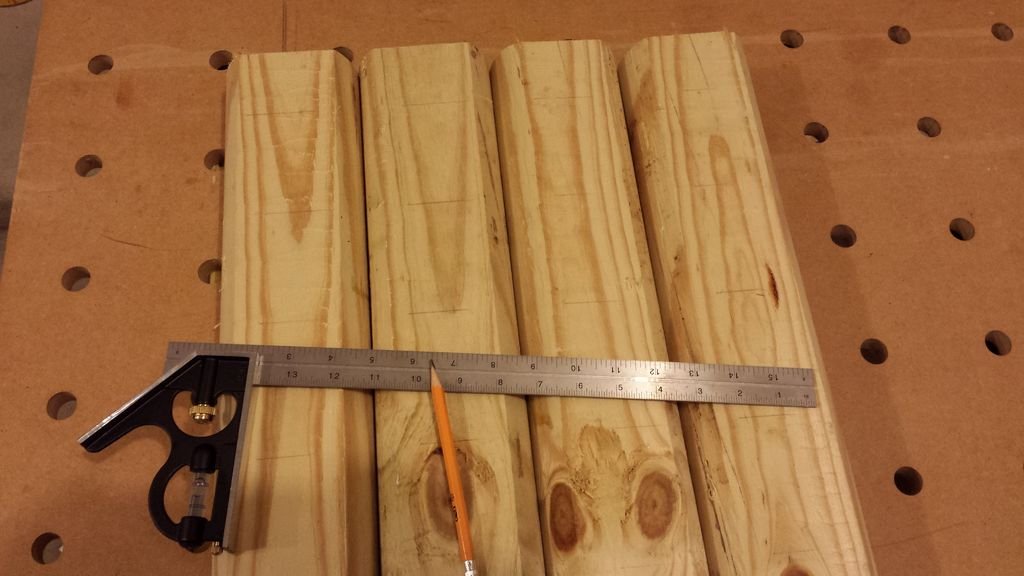
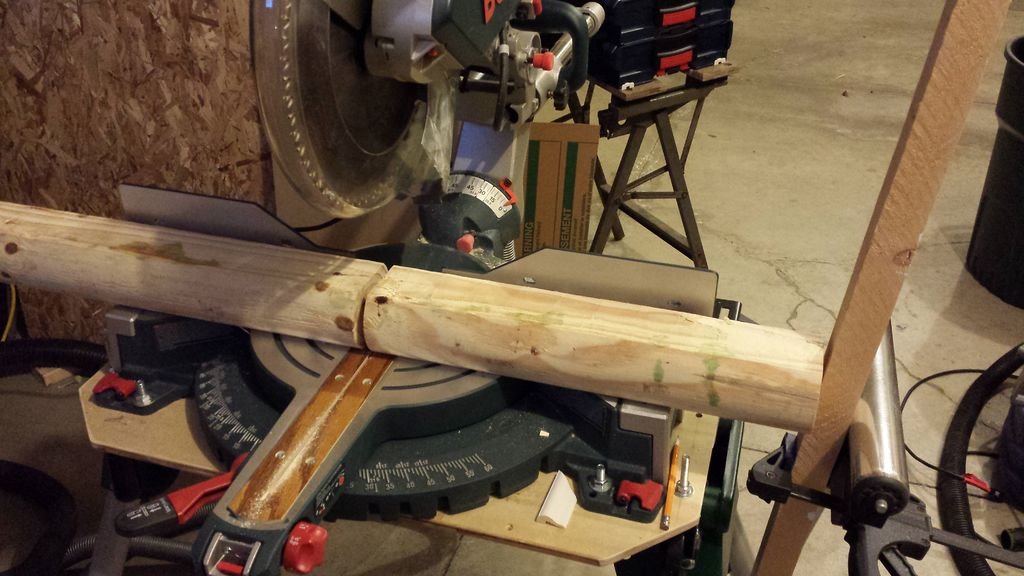
Unusual benches can be made from pallets. To create a beautiful product, they should be disassembled (pull out the nails), and the beams do not need to be disconnected. To work, you will need such tools: an ax, a hammer, a hacksaw, a nail puller, and pliers. To build the bench itself you need:
- self-tapping screws, screwdriver;
- bars for armrests and legs;
- corners made of metal;
- drill;
- tape measure, pencil, construction level;
- protective clothing and glasses.
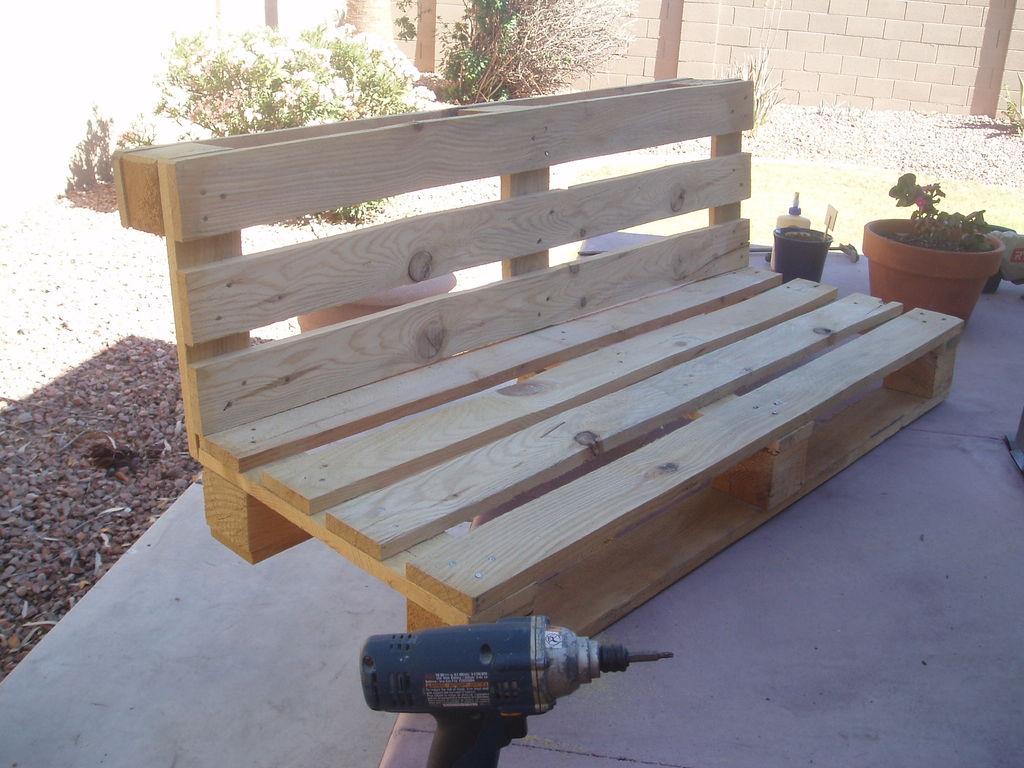
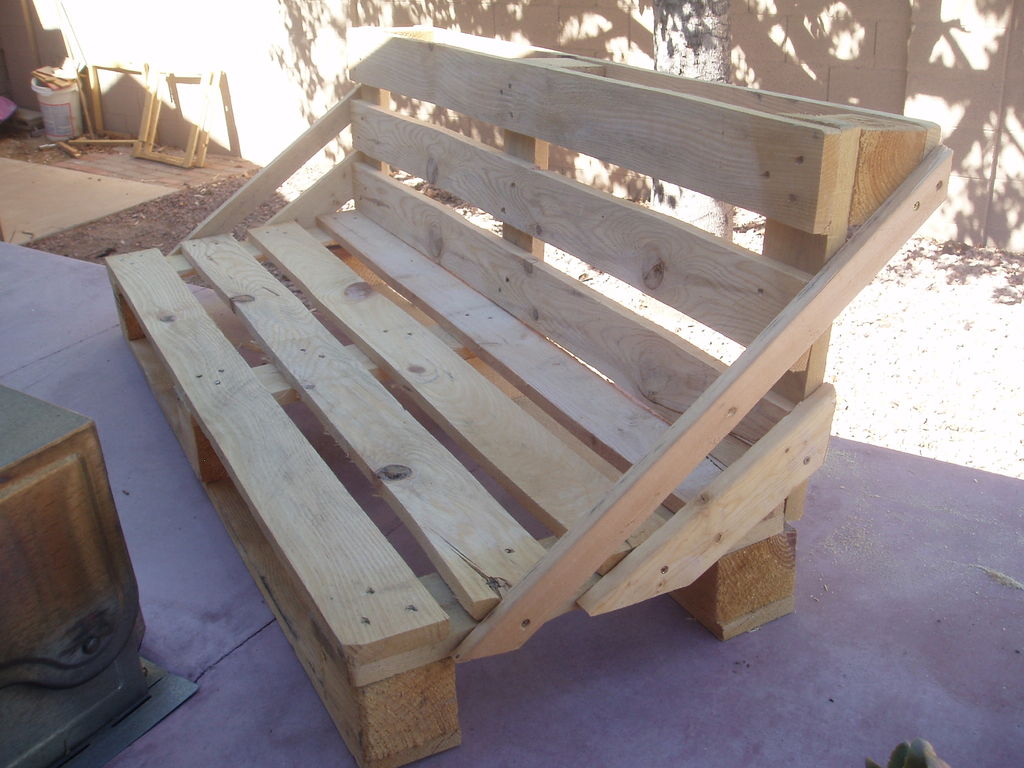
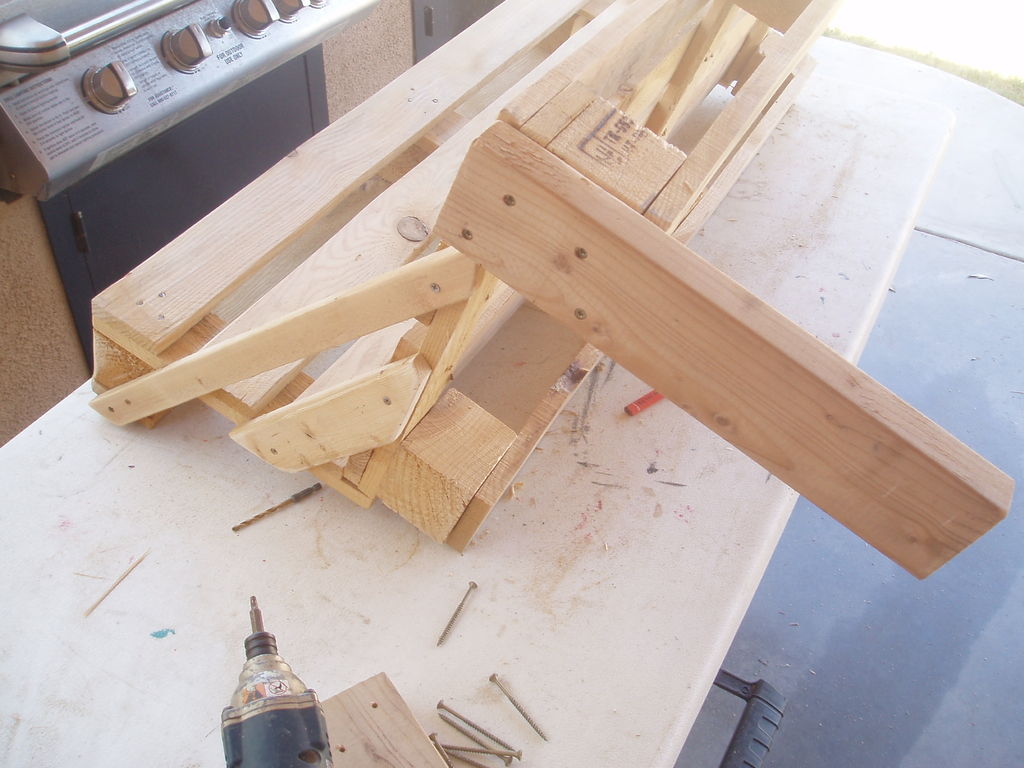
The pallet must be divided into 2 halves: its wide part is the future seat, and the narrow one is for support. All elements should be carefully sanded, and only the upper part can be processed. Next, fasten the halves of the seat together using self-tapping screws. This fixation will ensure the strength and reliability of the product. The backrest and seat must be connected using double rails. To make the bench stable, it is recommended to make the legs low. For their fastening you need to take metal corners.
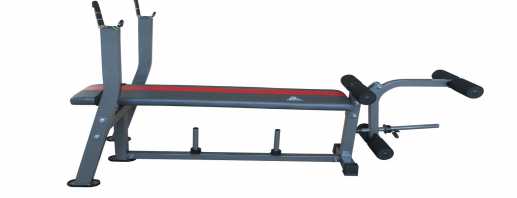
To the bath or sauna
Benches and benches in the bathhouse are a must. They are used not only for sitting, but also for lying. The easiest option is a portable design with or without a backrest. Work requires 150 x 20 x 5 cm boards, 5 x 5 cm cross-sections, 10 x 2 cm strips, and self-tapping screws.
The bars are divided into 4 elements, the length of which is 50 cm. Legs will be made of them. 4 more 40 cm components are also required for horizontal struts. Next, the legs and racks are connected in the upper part, and the fasteners are on the same level. The lower stand is fixed on the inside at a height of 5 cm from the floor.
Seat boards are screwed to the finished frame with screws. A gap of 1 cm is left between them for unimpeded drainage of water. It is better to screw fasteners from the inside of the product or deepen their caps into the body of the tree and putty it. To make the bench stable, thin strips are fixed on the lower crossbars. After the bench is made of wood with your own hands, it must be treated with protective impregnation.

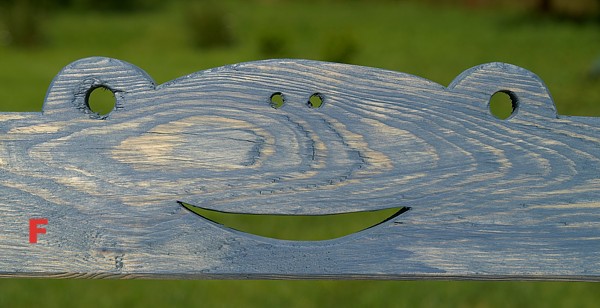
Children
Here you can choose the most interesting options that children will like. The main characteristics of such a product: maximum safety, appearance. To work, you need such tools and materials:
- board 2.5 x 30.5 cm, length 1.5 m;
- strap 2.5 x 5.1 cm 1.5 m long;
- wooden fasteners;
- wood glue (environmentally friendly);
- tape measure, building level, pencil and ruler;
- jigsaw or saw on wood;
- sandpaper;
- drill and screwdriver.
First you need to grind all the details, round the corners. Then cut the side legs of the rack. From their lower edge you need to measure 7-8 cm and put a mark with a pencil on the inside. After that, set up a shelf for marking.
For fastening you need to use nails, construction glue. Lastly, it is recommended that you lock the product seat. For finishing, you can use multi-colored paints that are safe for the health of the child.
Dressing
Wood is a strong and durable material, but under the influence of external factors it can deteriorate, rot, mold, fungus. For protection, you need to purchase an antiseptic impregnation, which will prevent the appearance of the already mentioned problems, as well as damage to the product by insects. Good formulations produce a complex effect. They contain oil, wax. Some of them are used instead of decorative coatings.
If there is no impregnation, then a primer with antiseptic properties is suitable. Its advantage is increased adhesion of the topcoat to the base. Before processing, the bench must be cleaned of dust, sanded with fine sandpaper. Usually the procedure is repeated 2 times. If the bench is used in a bath, then it should additionally be treated with flame retardants. And in order for it not to darken, it must be covered with a bleaching composition containing strong oxidizing agents.
Any piece of furniture should be not only functional, but also outwardly attractive. If you need a decorative bench, there are several basic ways to decorate:
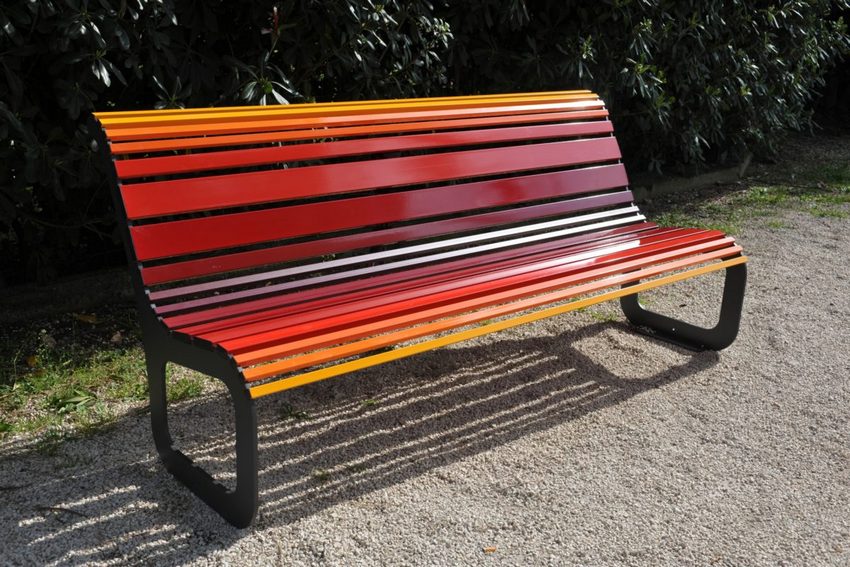
- Staining. Here, these types of compositions are used: water-dispersion, alkyd or polyurethane enamels, oil paint, varnish on a water or polyurethane basis. Important criteria for choosing a material are its safety, resistance to external factors, and the absence of chemical components. The composition should be intended for wood processing.
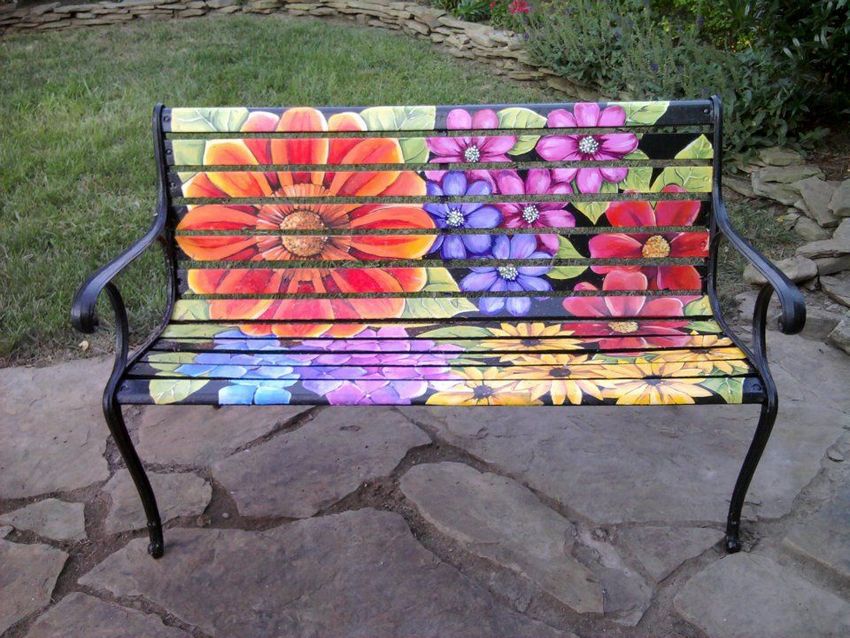
- Painting. For this, artistic acrylic compositions are used. The product is pre-coated with white paint. After it dries, mark the pattern on the base. After painting, 1-2 layers of clear varnish are applied to the bench.
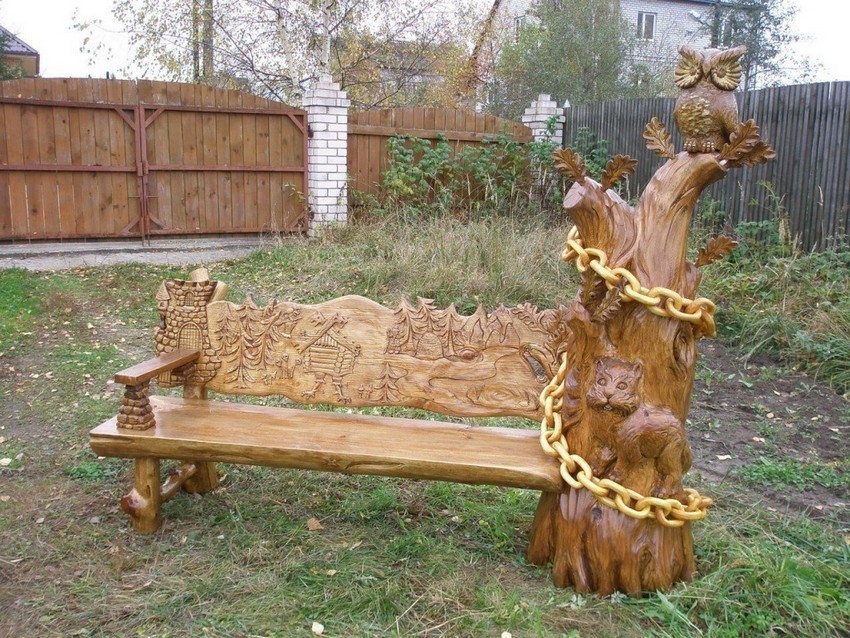
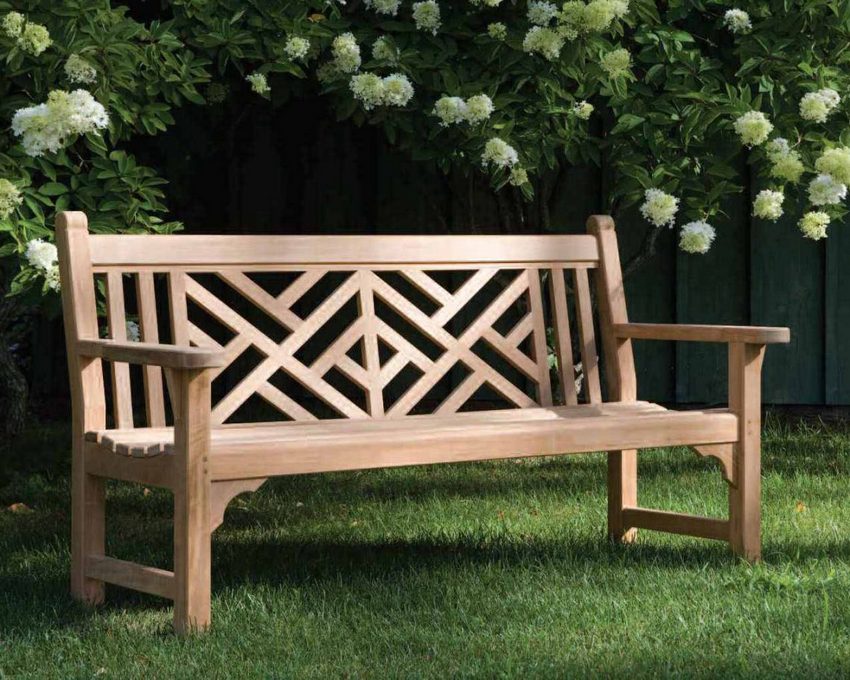
- Thread. The carved shop looks very impressive. And in this way you can decorate any part of the bench. It is also allowed to install additional elements, figures of fairy tale heroes.
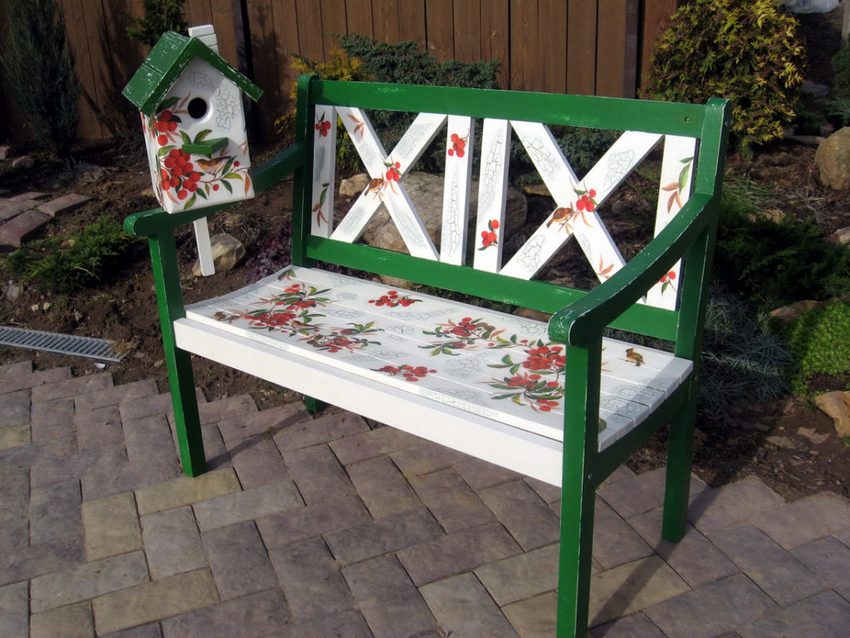
- Decoupage. Here you can use napkins with a pattern, plant leaves. Also, work requires glue and a brush, sponge, scissors.
A beautiful wooden bench is a common element of landscape design intended for relaxation. The material of manufacture allows you to realize even the most daring projects. An exclusive do-it-yourself thing will help create an atmosphere of comfort and warmth on the site.