Step-by-step instructions for sewing a cover on a chair with your own hands
Without upholstered furniture it is impossible to create the comfort of home. But over time, its upholstery begins to wear out, lose its appearance or just bothers after prolonged use. Therefore, some craftswomen think about how to sew a cover on a chair with their own hands, step-by-step instructions will help to do this quickly and correctly. If you study the master class in detail, even a beginner needlewoman will cope.
Content
Benefits of using seat covers
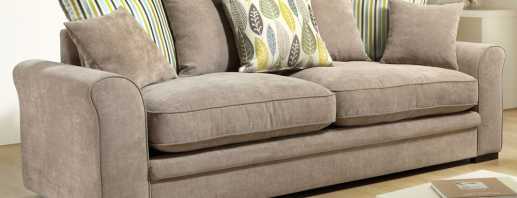
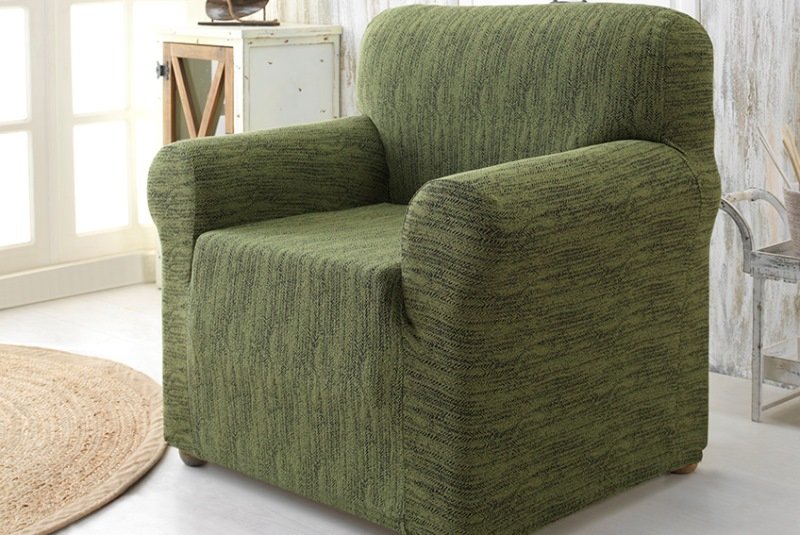
A cover for a computer chair or upholstered furniture can radically change the interior, become its main element, and improve the atmosphere as a whole. He completely covers the upholstery, giving it a neat look. So that the material does not slip from the armrests, it can be fixed with additional decorative elements or ribbons.
Making bedspreads on classic furniture and a cover for a computer chair with your own hands has the following advantages:
- Cost savings. There is no need to pay for a professional seamstress whose services are expensive. In addition, you can choose a fabric that is affordable.
- Choosing the right fabric and product design. Here the craftswoman has the right to realize all her fantasies within the chosen style. Additionally, she can decorate the cloak with decorative elements.
- The acquisition of new skills. Decorating your home is an exciting experience. Having learned to sew, the hostess can often refresh the interior.
- The manufacture of the cover is strictly according to the parameters. No need to fit the finished wrap. The risk of product alteration, material damage is excluded.
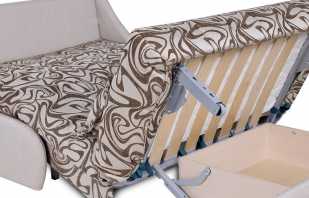
Covers for chairs not only decorate furniture, but also protect it from pollution, damage by pets, quick erasure of the original upholstery.
Choosing the right product design
Before sewing a chair cover with your own hands, you should consider what fabric to choose so that the furniture fits into the overall interior. Product design may be different, but each style has its own characteristics. They are presented in the table.
| Design type | Characteristic |
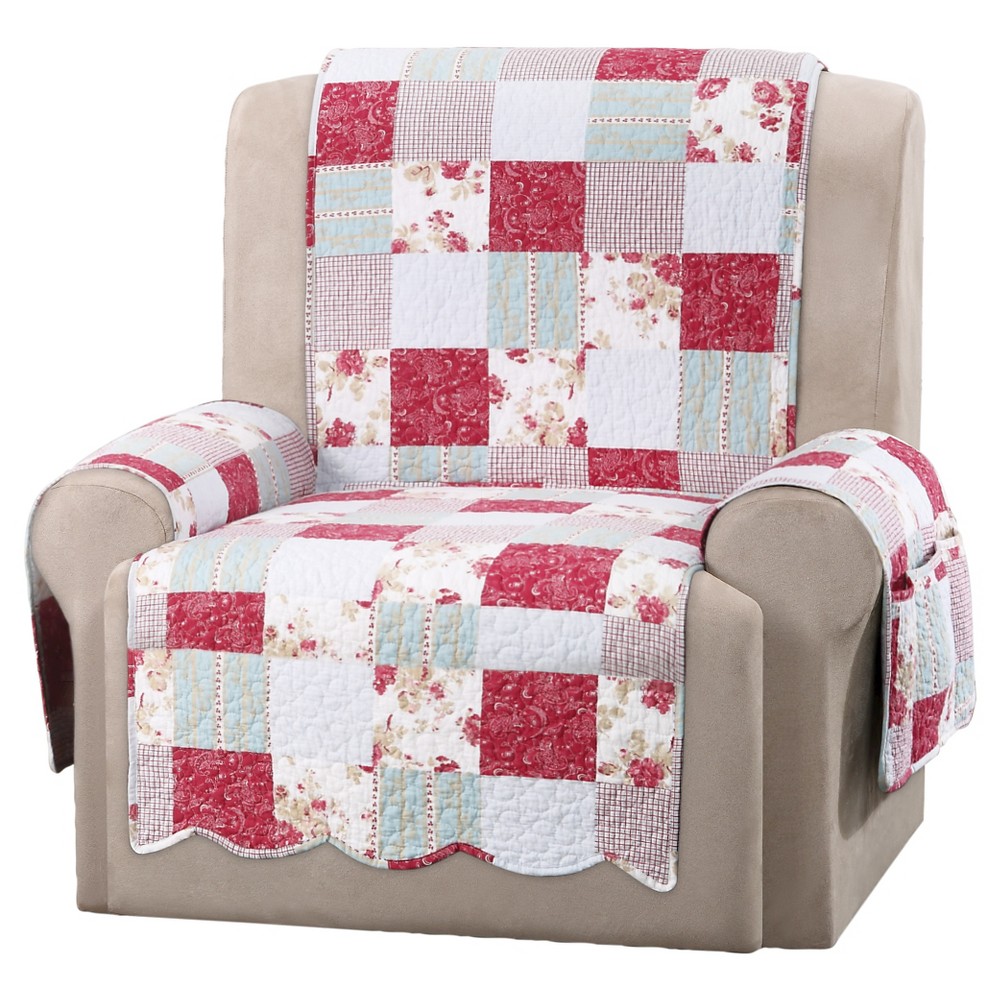
| Patchwork | Such a cover is a combination of a large number of rags of different color and shape. The palette of shades is usually bright, but if the product will be used in the style of Provence or Scandinavian, it is better to give preference to pastel, muted tones. Such a bedspread for a chair with your own hands will give the room a personality. It looks festive and spectacular. For a beginner, tailoring a product in the patchwork style will be somewhat complicated, as it involves stitching a large number of fragments, which must be pre-folded in a specific order and trimmed. |
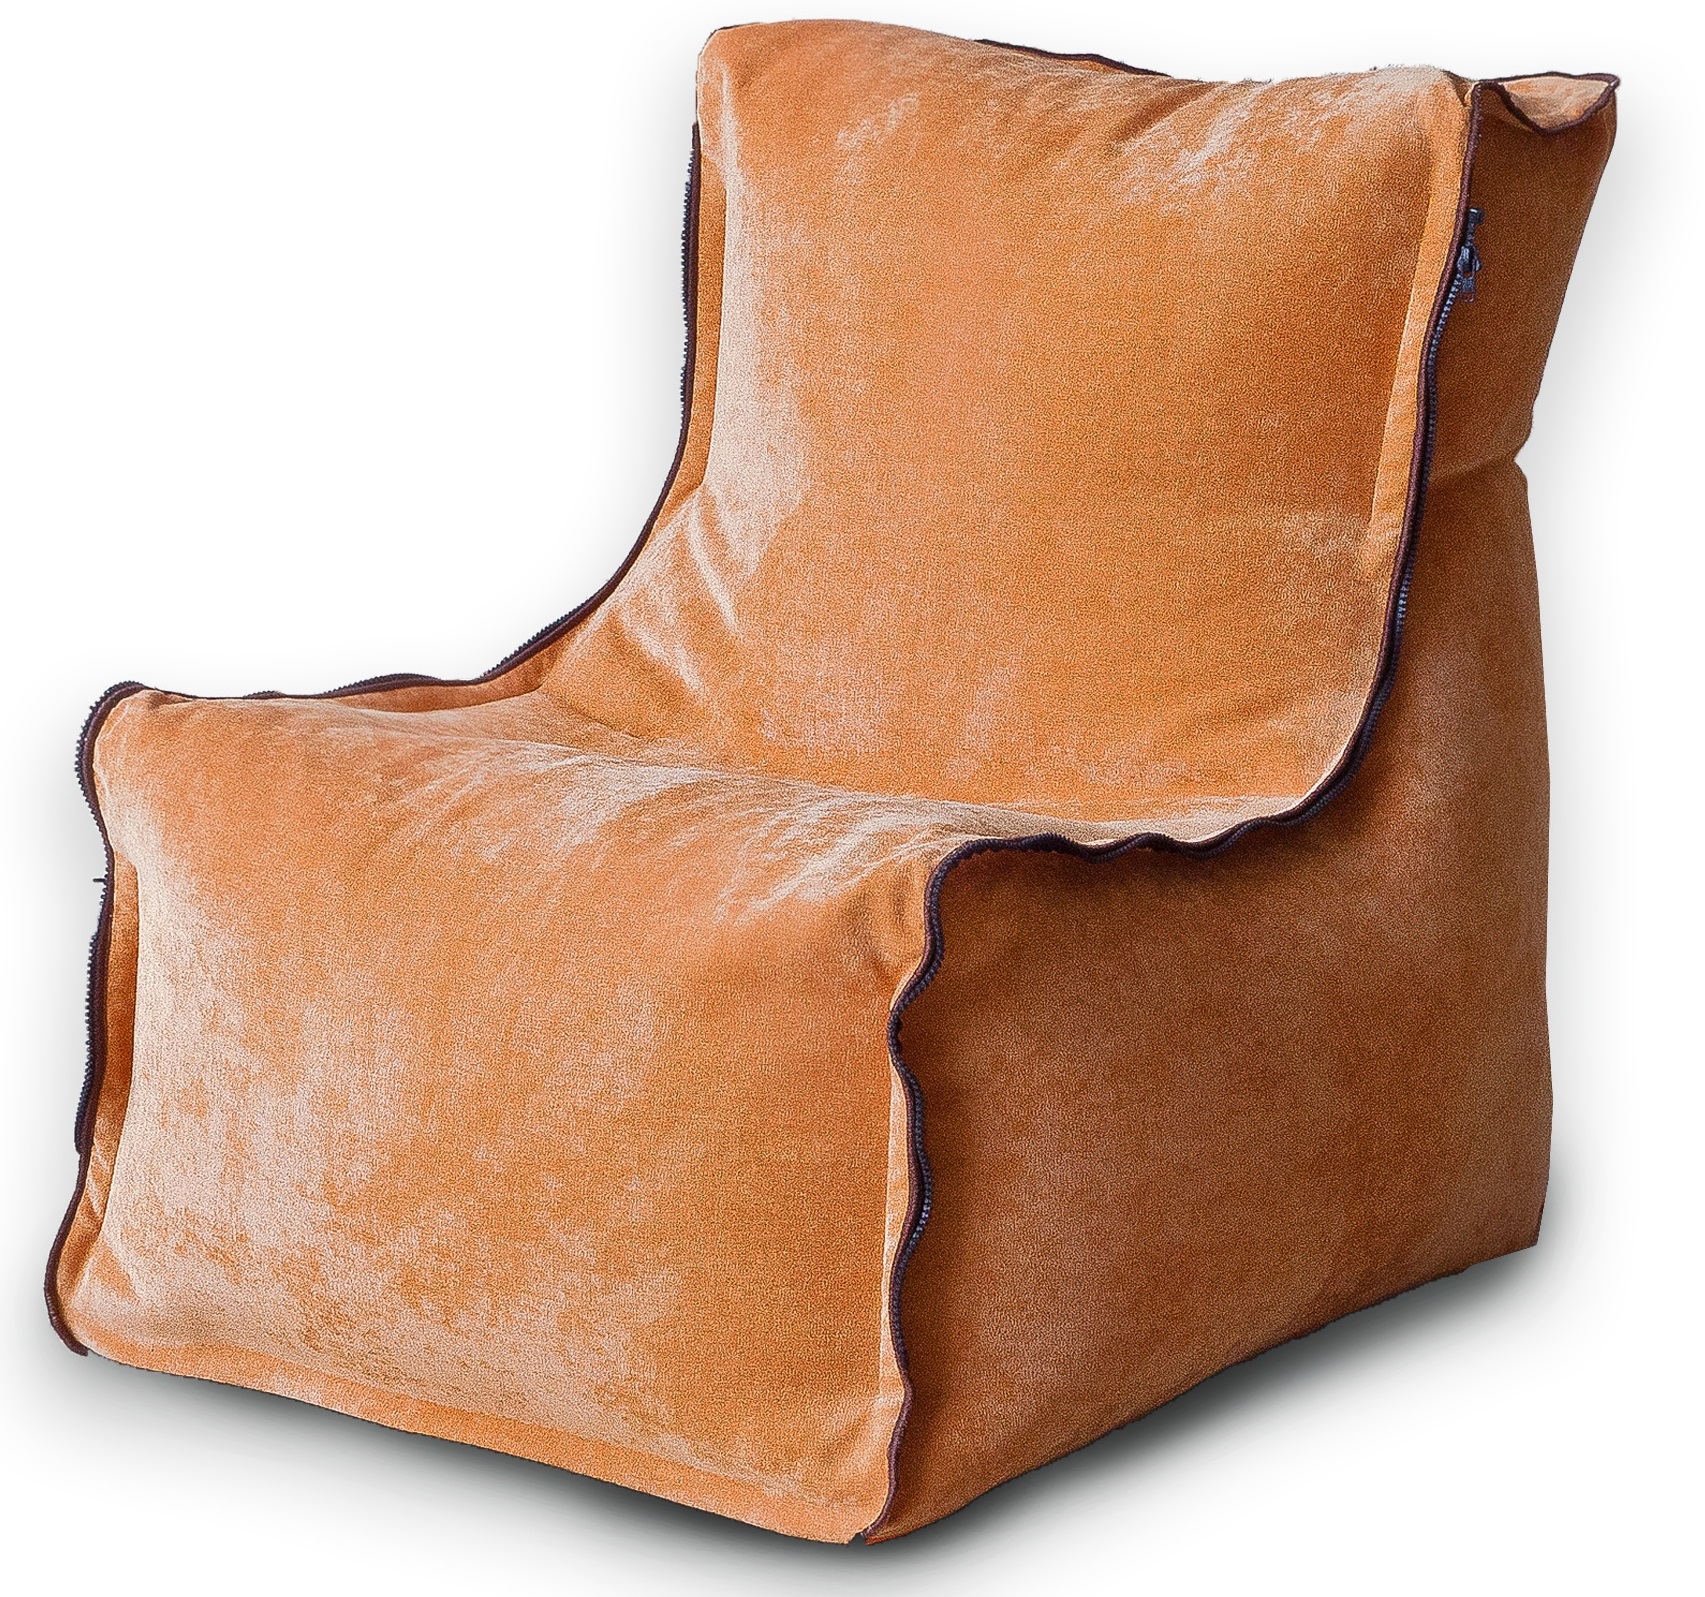
| Loft | The loft style combines wide open spaces, a maximum of sunny color and rough wall decoration (brick, concrete). Fur products are especially popular for him. Such a cover for a chair with your own hands needs to be done carefully. Natural material is expensive, but it is soft, comfortable and warm. The properties are not inferior to him and high-quality artificial fur. The length of the pile can be different. As for color, in this style it is better to use light, airy shades. The fur cover will make the interior richer, more presentable, but it is important not to overdo it. |
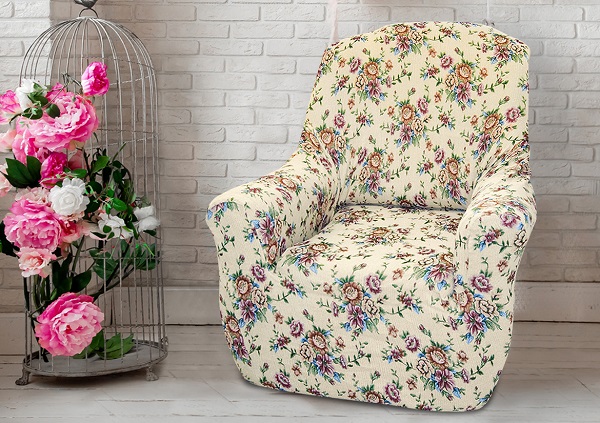
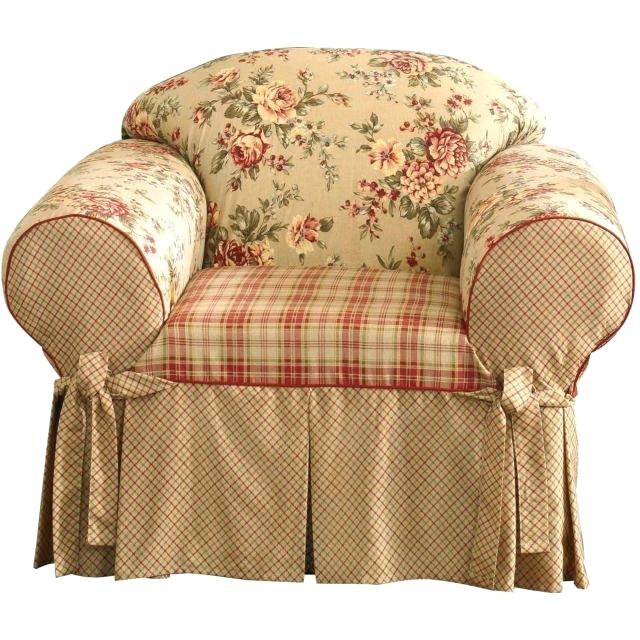
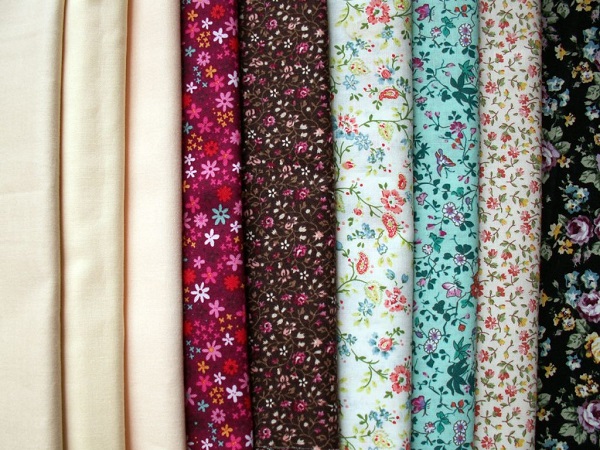
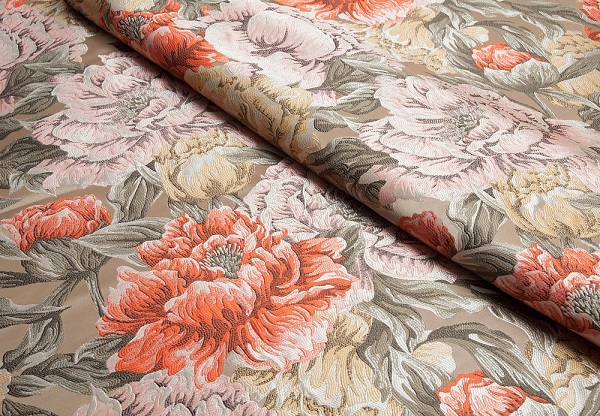
| Shabby chic | This style is characterized by the use of faded and shabby fabrics to create the effect of antiquity. Here it is better to use muted shades and light floral ornaments. Geometric patterns in this case are inappropriate, as are bright colors. For sewing a cover, you can use silk or satin fabric. Brushes, frills are suitable for decoration. |
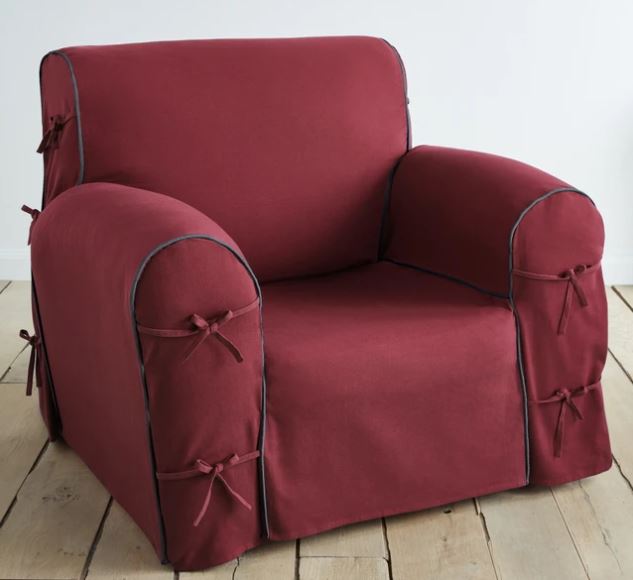
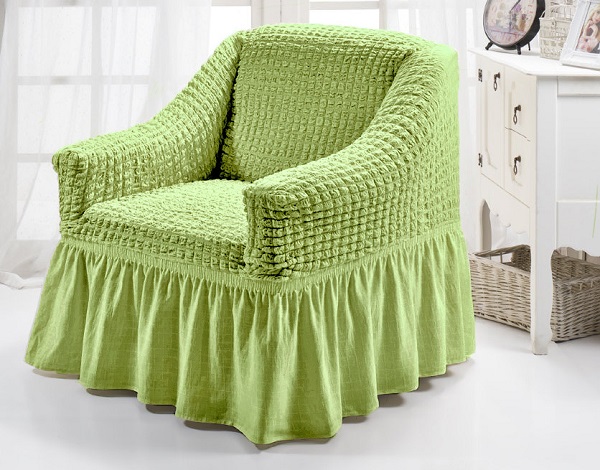
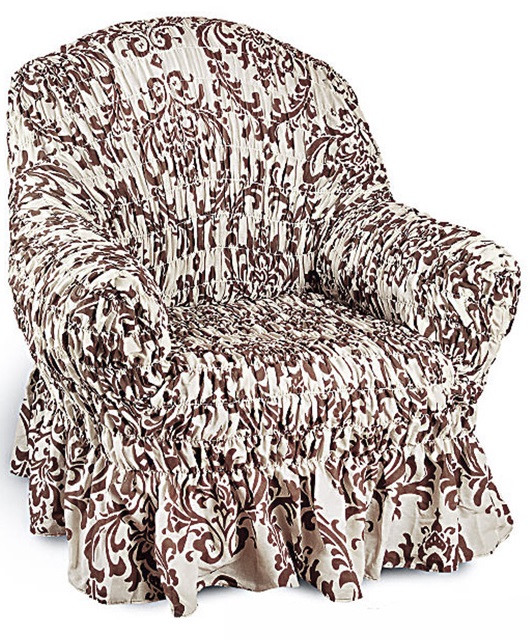
| Baroque | For this style, covers with frills, flounces are appropriate. They add romance. Folds are full and incomplete, can be on the front of the chair, on the sides. |
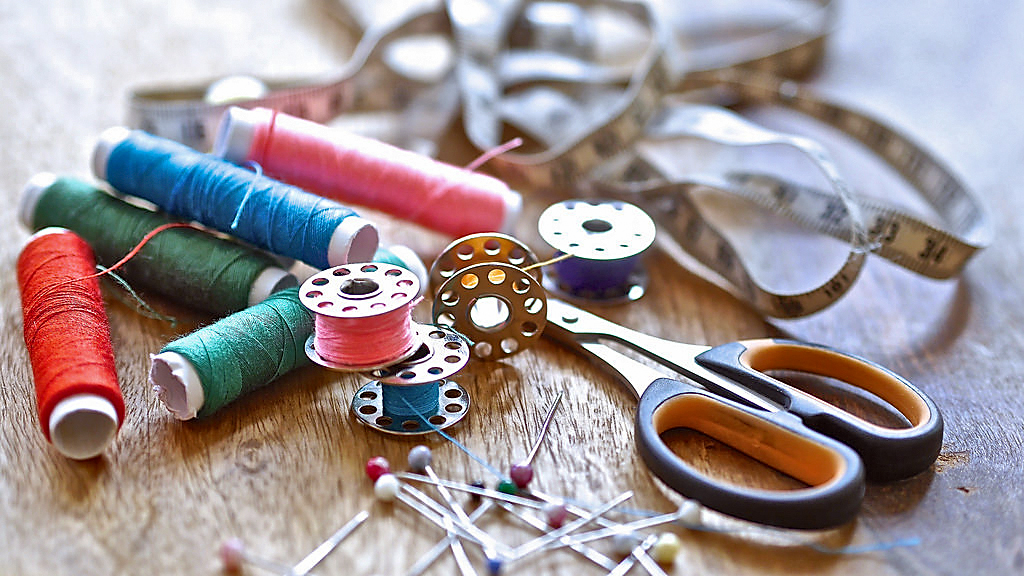
Preparation of materials and tools
To properly make a bedspread on a chair with your own hands, you need to prepare for work, as well as carefully choose the material. For sewing you will need the following tools:
- sewing machine, needle and pins for pinning a pattern cover on a chair;
- staples for furniture;
- a piece of paper;
- threads
- pencil, chalk, soap;
- scissors;
- measuring tape;
- graph paper;
- zippers, decorative elements, fasteners.
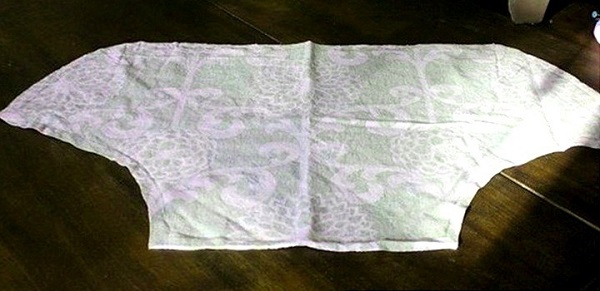
Of course, you can try to sew a cover for the chair with your own hands, but you need to do this so as not to spoil the expensive fabric. To get started, it’s better to work out using rough material - a regular sheet.
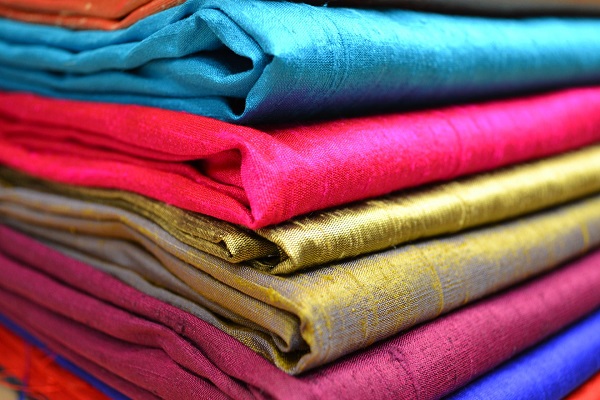
In order for the furniture to look presentable, you need to choose the right material. It should lie down well on the base, not crumple, be resistant to abrasion, easy to clean or machine wash. Typically, such fabrics are used for sewing:
- Cotton. The advantage of this material is its naturalness. It passes air well, does not cause allergies, but it is quickly worn out and torn, because there are no artificial fibers in it. After washing, the cotton shrinks, so its size may decrease.
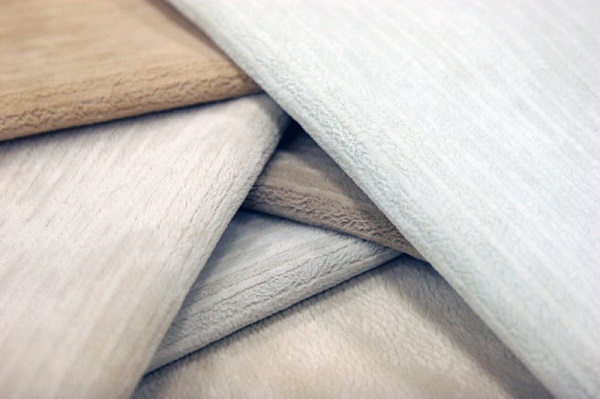
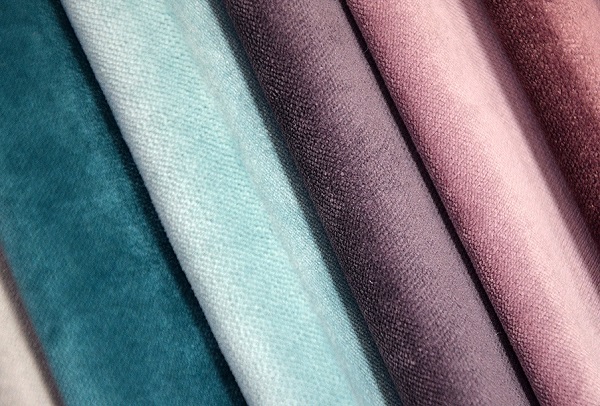
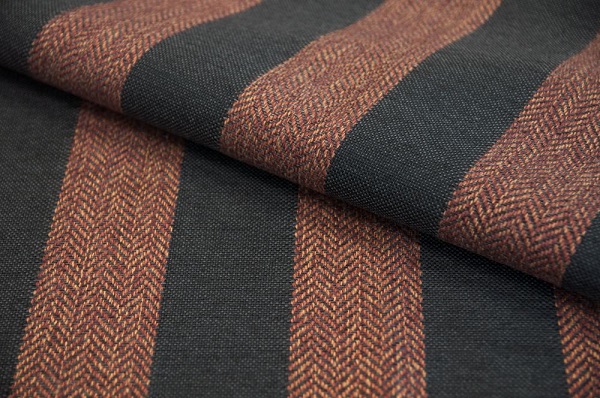
- Velours. The fabric is soft and has a beautiful appearance. The canvas is resistant to wear and tear, easy to maintain, but accumulates dust. Dirt stains cannot always be removed without damaging the material.
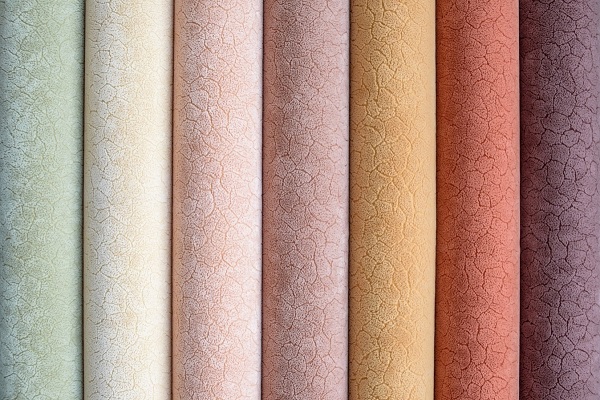
- Flock. It is dense, durable, but at the same time soft and tender. The material is not subject to deformation and can be used for many years. The product does not fade when exposed to direct sunlight, it is resistant to moisture.
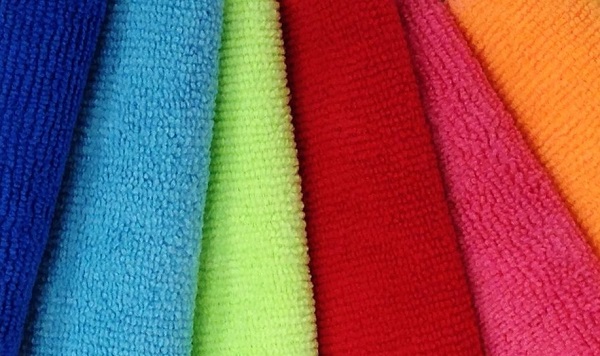
- Relax This fabric is easy to clean, resistant to abrasion. Its lower layer is made of cotton and polyester, the upper one is made of polyamide pile. Between themselves, they are connected using rubber. Such material can be cleaned with detergents.
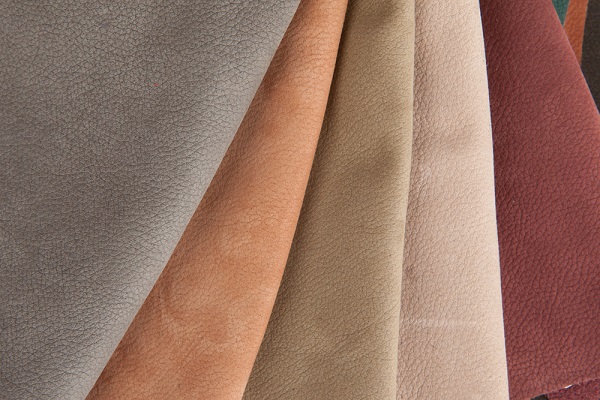
- Nubuck. It is pleasant to the touch, soft, has a beautiful, velvety surface. The fabric can last for decades.
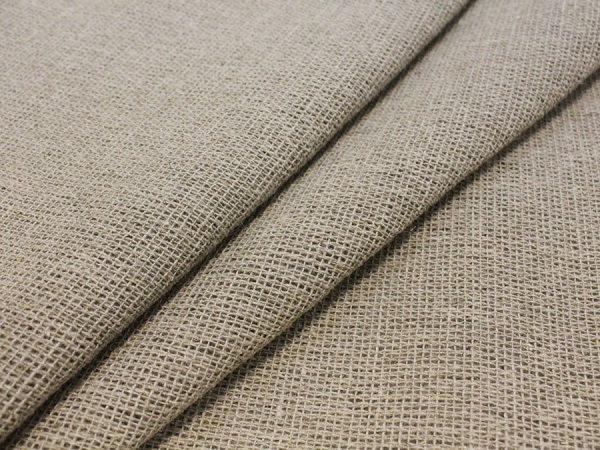
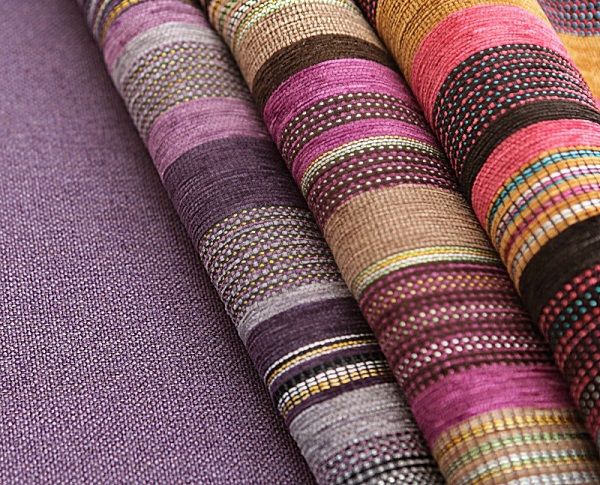
Using an easy way to sew a cover on a chair, you can apply other materials: linen canvas, jacquard, microfiber, chenille, satin, silk, upholstery fabric.
Sewing Stages
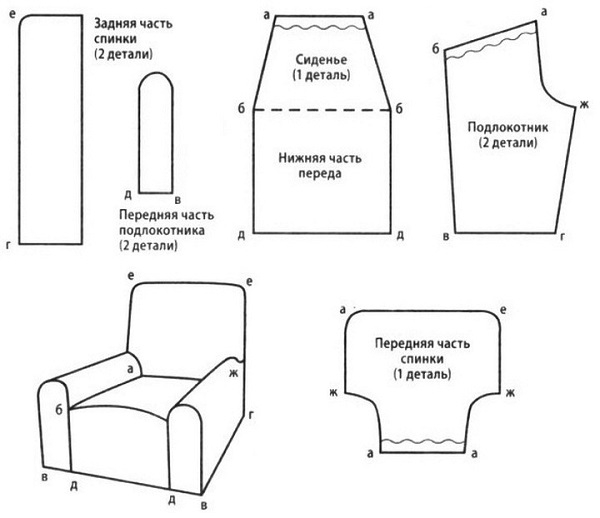
This section contains step-by-step instructions on how to sew a cover on a chair with your own hands. It will be useful for both beginners and experienced needlewomen. Furniture can have a different configuration, therefore, for sewing a cape in each individual case, you need to take measurements of all its elements. Also required patterns for sewing a cover on a chair. They are drawn by the craftswoman herself in accordance with the measurements obtained.
Creating a pattern and cutting
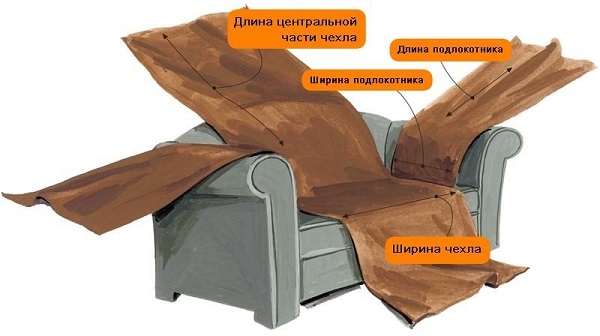
It is necessary to measure all parts of the chair: the back, armrests, seat and pillow.First you need to determine where the seams will be. They can be marked immediately on the rough fabric. If the cover will have a design different from the shape of the furniture, then the seams must be drawn directly on the upholstery, then to transfer to the material. At this stage, you need to consider inserts for alignment of the contour, bends, thickness.
In order not to confuse the sizes, you can write them from the wrong side of the cut out details. When cutting, you need to take into account tucks that allow the cover to perfectly fit the chair without tubercles. Do not forget about pinches, folds, frills and hem.
A simple pattern for a chair cover with armrests is made so that, in addition to allowances for the seams, there is still 20 cm of fabric for fitting the product, bends and overlaps. If some furniture details have an unusual shape, then the pattern is drawn like this: a thin fabric is superimposed on the fragment and crimped from all sides. After measurements are made, it is necessary to make patterns on graph paper. Next, the patterns are laid out on the material so that as little waste as possible remains. Patterns need to be circled in chalk or pencil, considering the allowances.
Cut out the details must be ironed from top to bottom along the equity line.


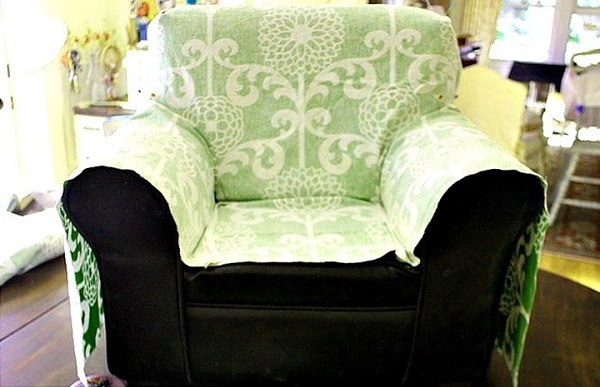
Fit
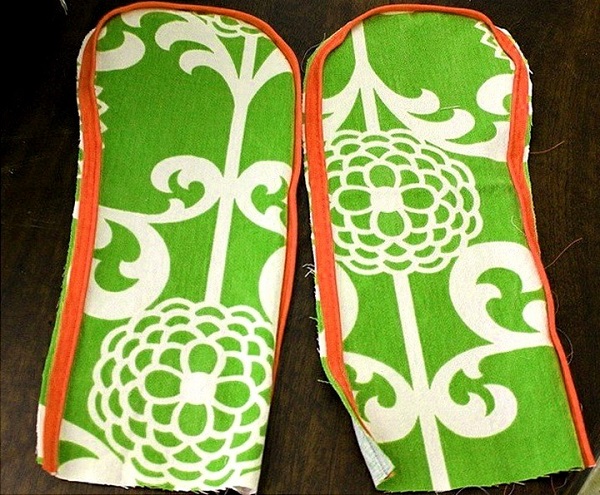
For armrests, you need to make 2 patterns: external and internal. Both fragments should be stitched together. At the same time, the fabric is folded in half, and the lines of the seam and the filament are applied on it with a pencil.
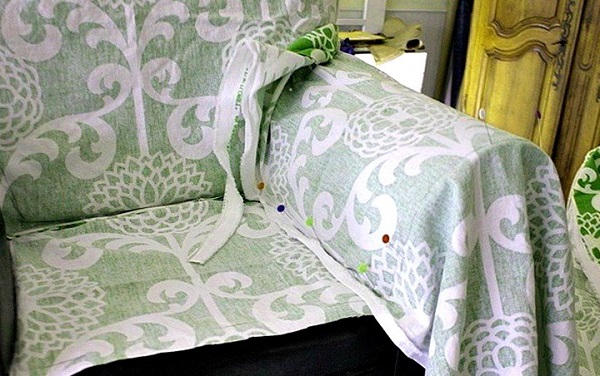
To fit the resulting patterns, they need to be attached to the chair and pinned with pins. In this case, all the bends are refilled, and the seam lines are marked on the material. All excess tissue fragments must be eliminated, tucks formed.
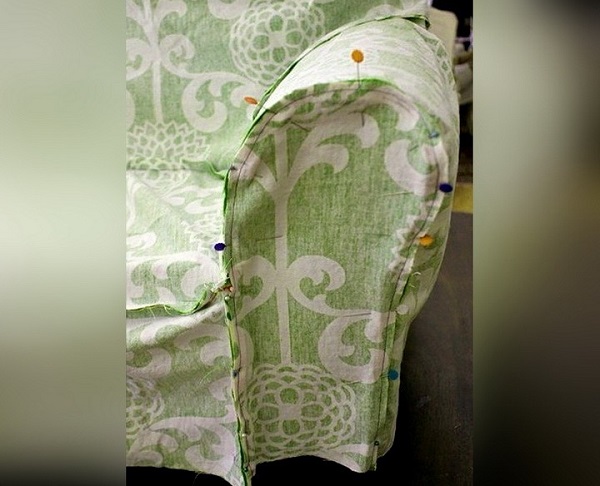
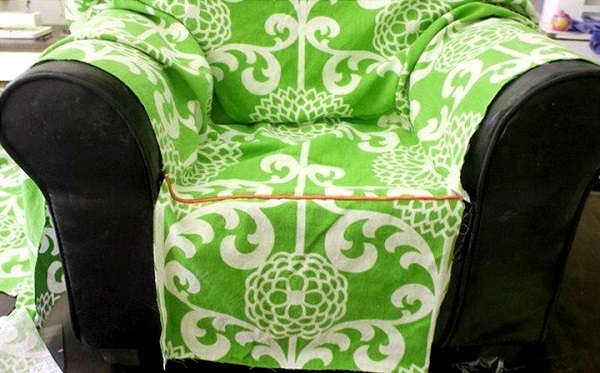
Since there will be pinches on the armrests, you need to wrap them on the outside for rounding. At this point there will be a lot of excess tissue that needs to be cut. The pinches are fixed with pins. The seat pattern must be put on the chair and combined with the rest of the details. At this stage, tucks are stitched. Cutting frills is made last.
Sewing
If the pattern for the seat cover is ready, you can start stitching all the fragments. The presented work consists of the following steps:
- Stitching tucks and frills. The seam must pass strictly according to the mark, otherwise the material may skew, as a result of which the cover will go down with folds.
- Sweeping all parts of the armrest. This work must be done on the wrong side so as not to damage the front. After this, the product must be turned out, while in the corners it is required to make small incisions.
- Armrest connection to the seat.
- Stitching the lower part of the inner backrest to the far edge of the seat. At the same stage, the outer part of the product is attached.
- Sewing hem details. Immediately you need to evenly lay all the assemblies.
- Installation of lightning. It is better to do this in place of the side seam.
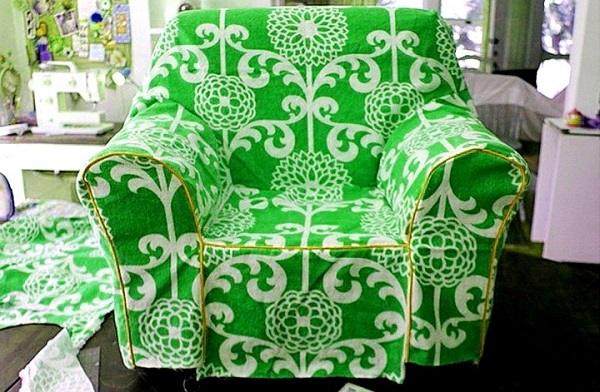
After stitching all the parts, the cover must be turned out on the front side and put on the chair. In this position, the product is adjusted to the ideal. If it sits well on furniture, and there are no folds, you can flash it on a typewriter. Lastly, the cover is decorated with ribbons or additional elements. If you have any questions, it is recommended to watch a video on how to sew a chair cover on your own.
Since it is not difficult to sew a cover on a computer chair with your own hands, each craftswoman can easily update the interior of the room, refresh the appearance of the furniture. If the product is well made of rough fabric, then the entire sewing process is made from expensive material. All work will take 1-2 days.
Video