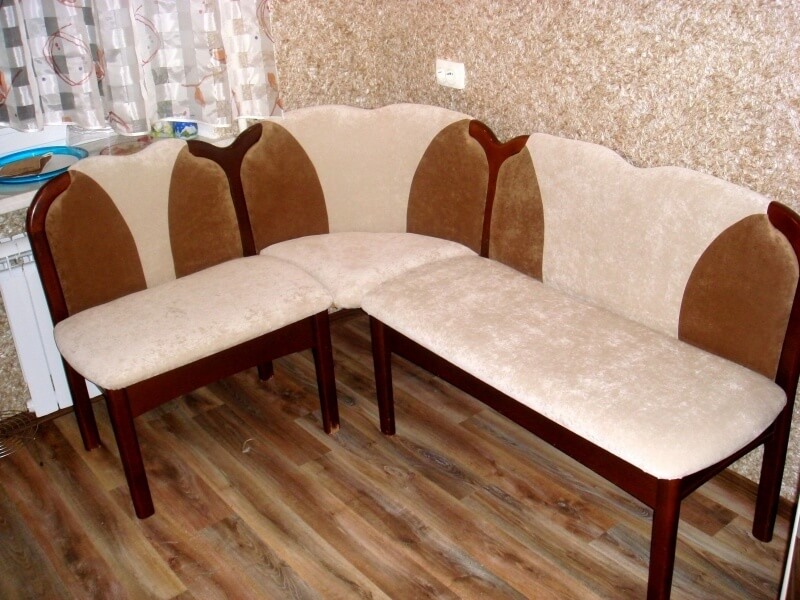
DIY recommendations for hauling a kitchen corner
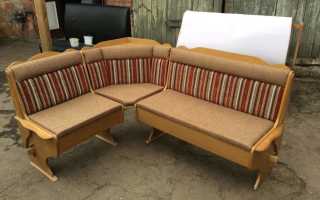
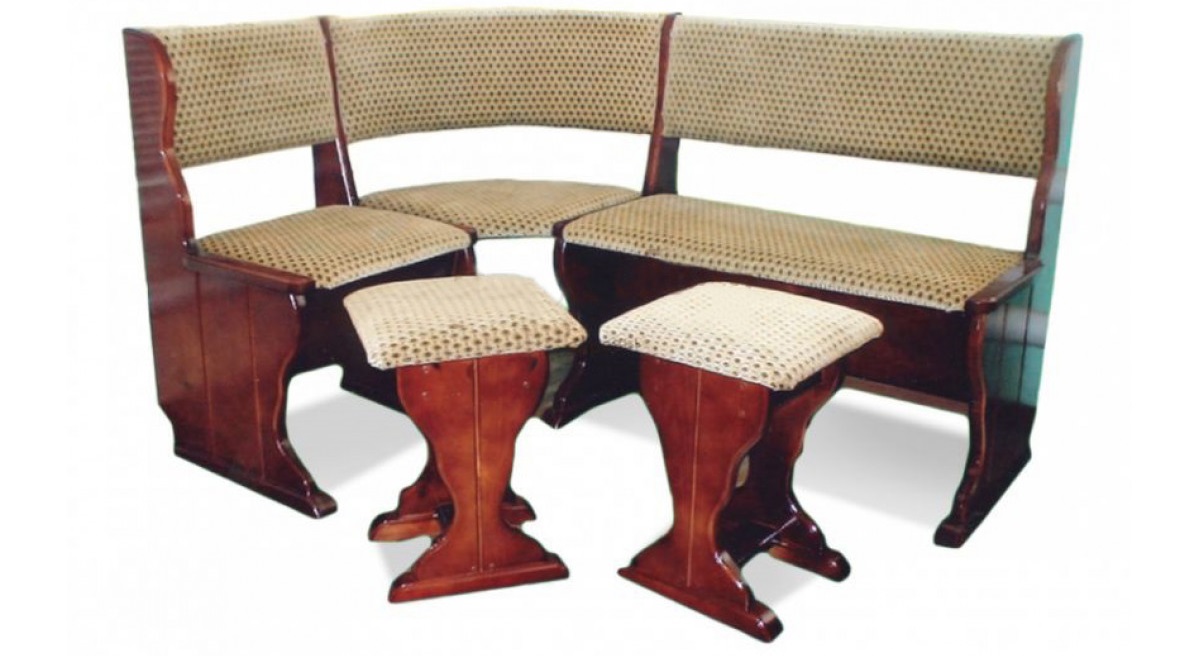
A kitchen corner decorates the room, but due to frequent use it quickly loses its attractive appearance. The fabric is erased, the structure is loose, stains appear. For this reason, for many, the constriction of the kitchen corner is an urgent problem. The process is simple if you prepare the tools in advance. It is not necessary to call a master, you can cope on your own.
Content
The benefits of self-hauling
For a novice home master hauling kitchen corners is not difficult. Simple design, accessibility of materials, simple manipulations simplify the process. Advantages of independent work:
- saving money without losing quality;
- gaining a new skill (after wear, restoration will be needed again);
- repair can be done at any time;
- the ability to choose the materials yourself.
Companies offer a home foreman call, measurements or removal of furniture for subsequent restoration. All this is not cheap, and it takes a lot of time. Therefore, independence is more appropriate here.
It will not be possible to achieve a high-quality result without disassembly, so you will have to spend time analyzing the structure and removing the elements. This will change the coating without damaging other surfaces.
The owner independently evaluates the condition of the structure. To strengthen, you will need accessories, suitable fasteners. To update the appearance of wood panels, you have to resort to the use of paint and varnish. To facilitate the process, tools and materials are prepared in advance.
Material selection
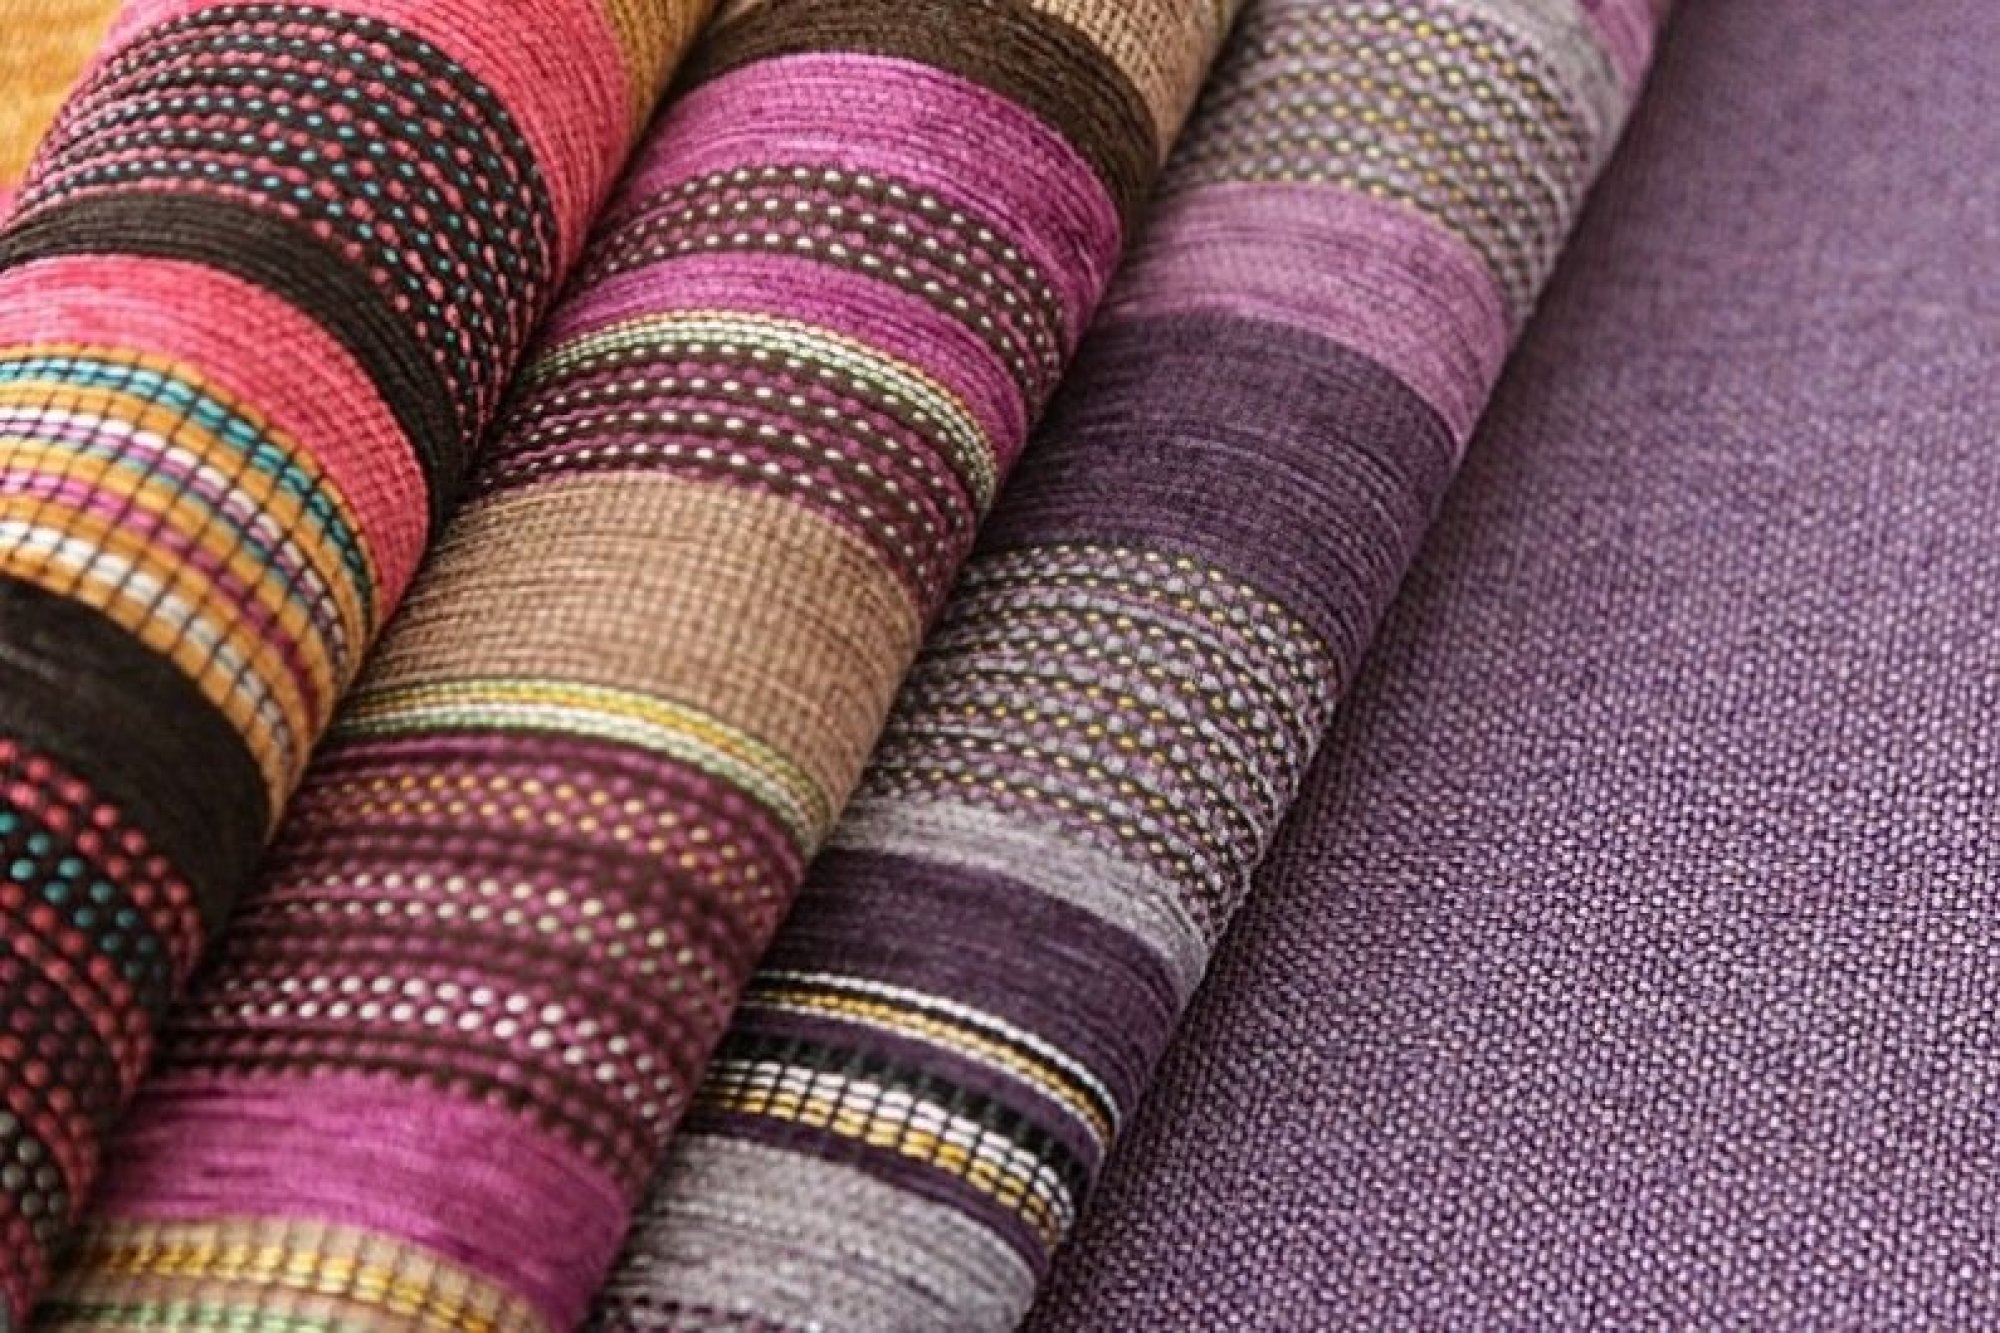
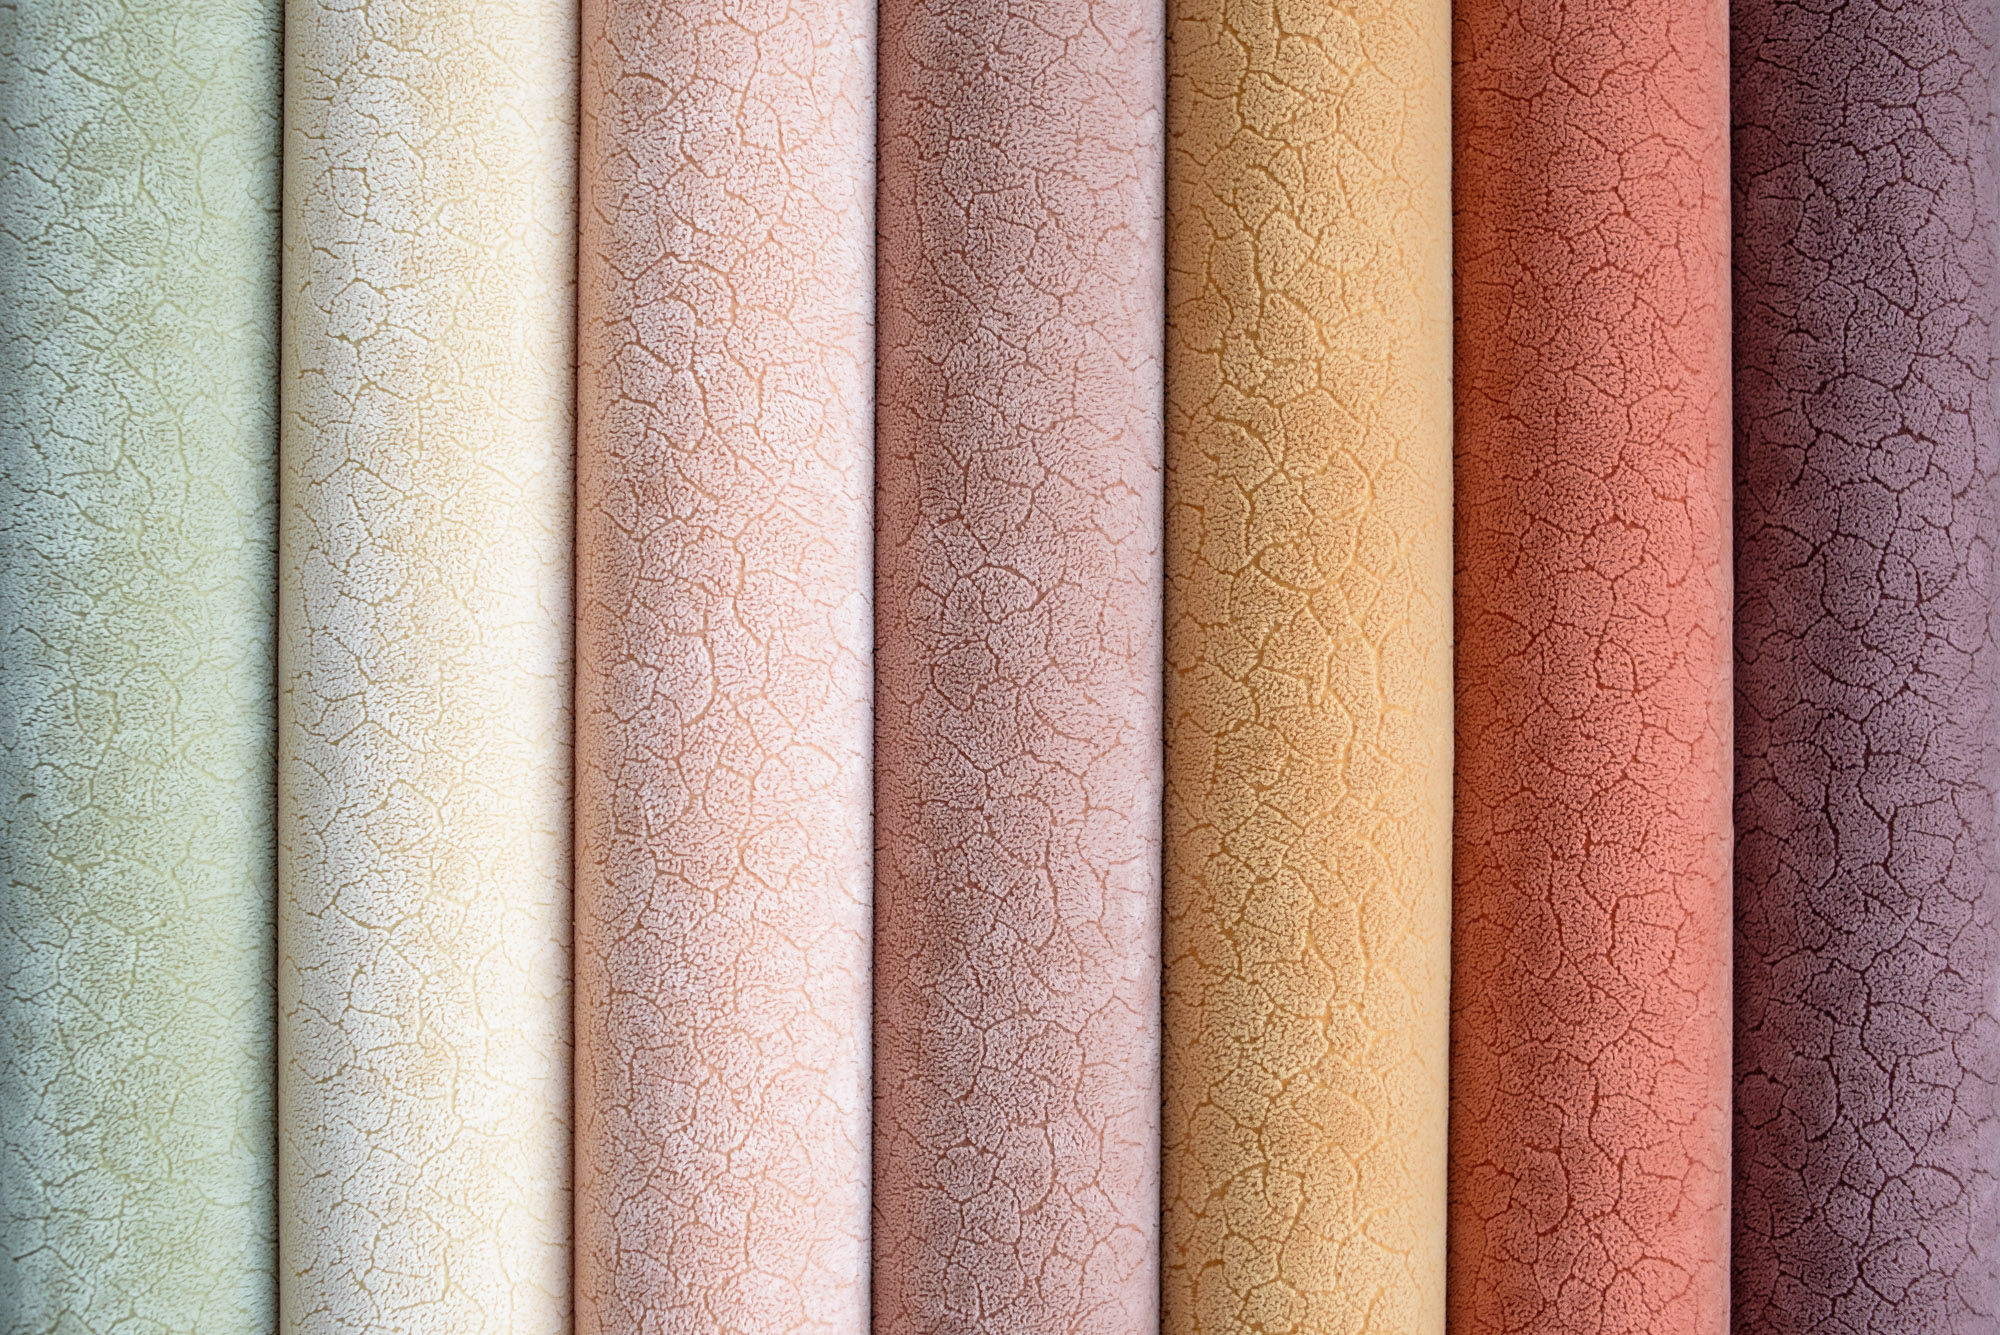
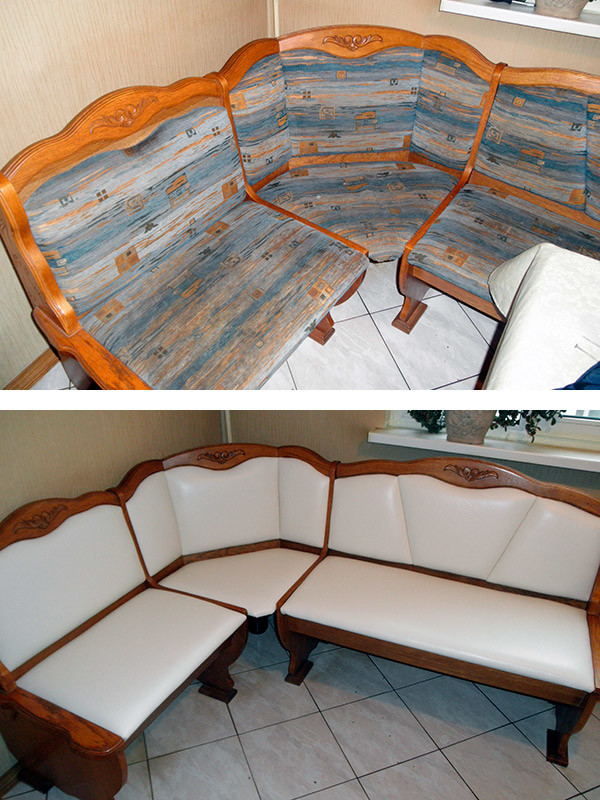
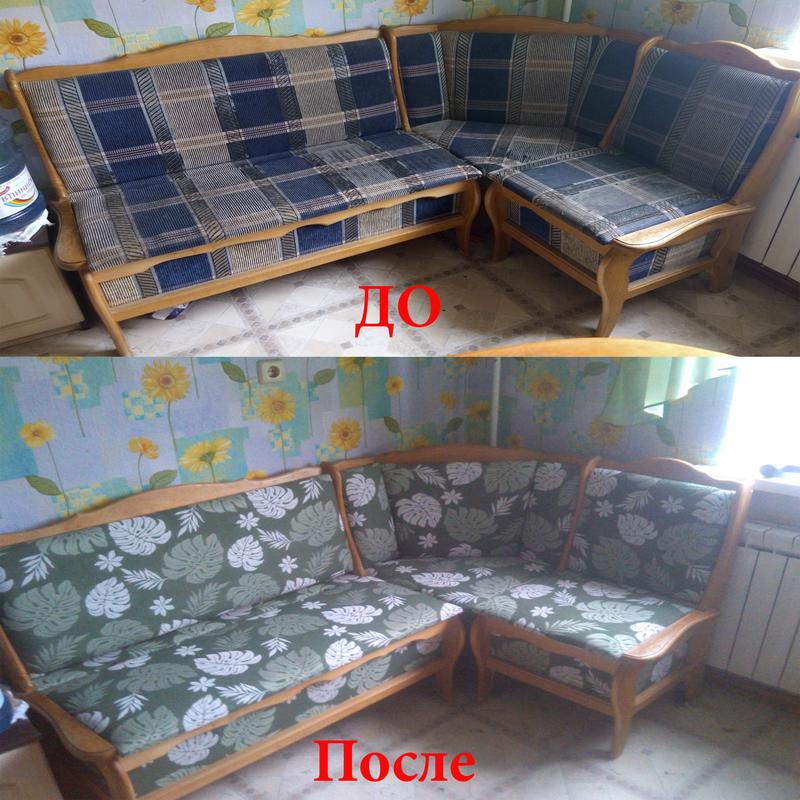
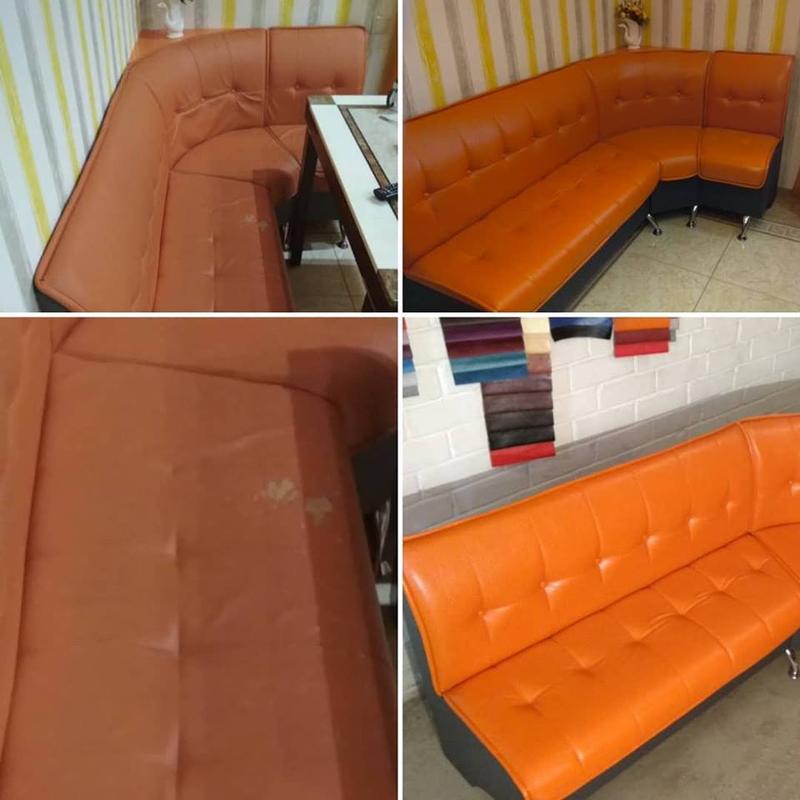
Restoring kitchen corners requires a careful approach to the selection of material, taking into account operating conditions. Coloring, unusual texture, original canvas design are less important than durability and quality. The material is chosen so that it does not have to deal with hauling annually, and the appearance is maintained for as long as possible.
Type of material | Description | pros | Minuses |
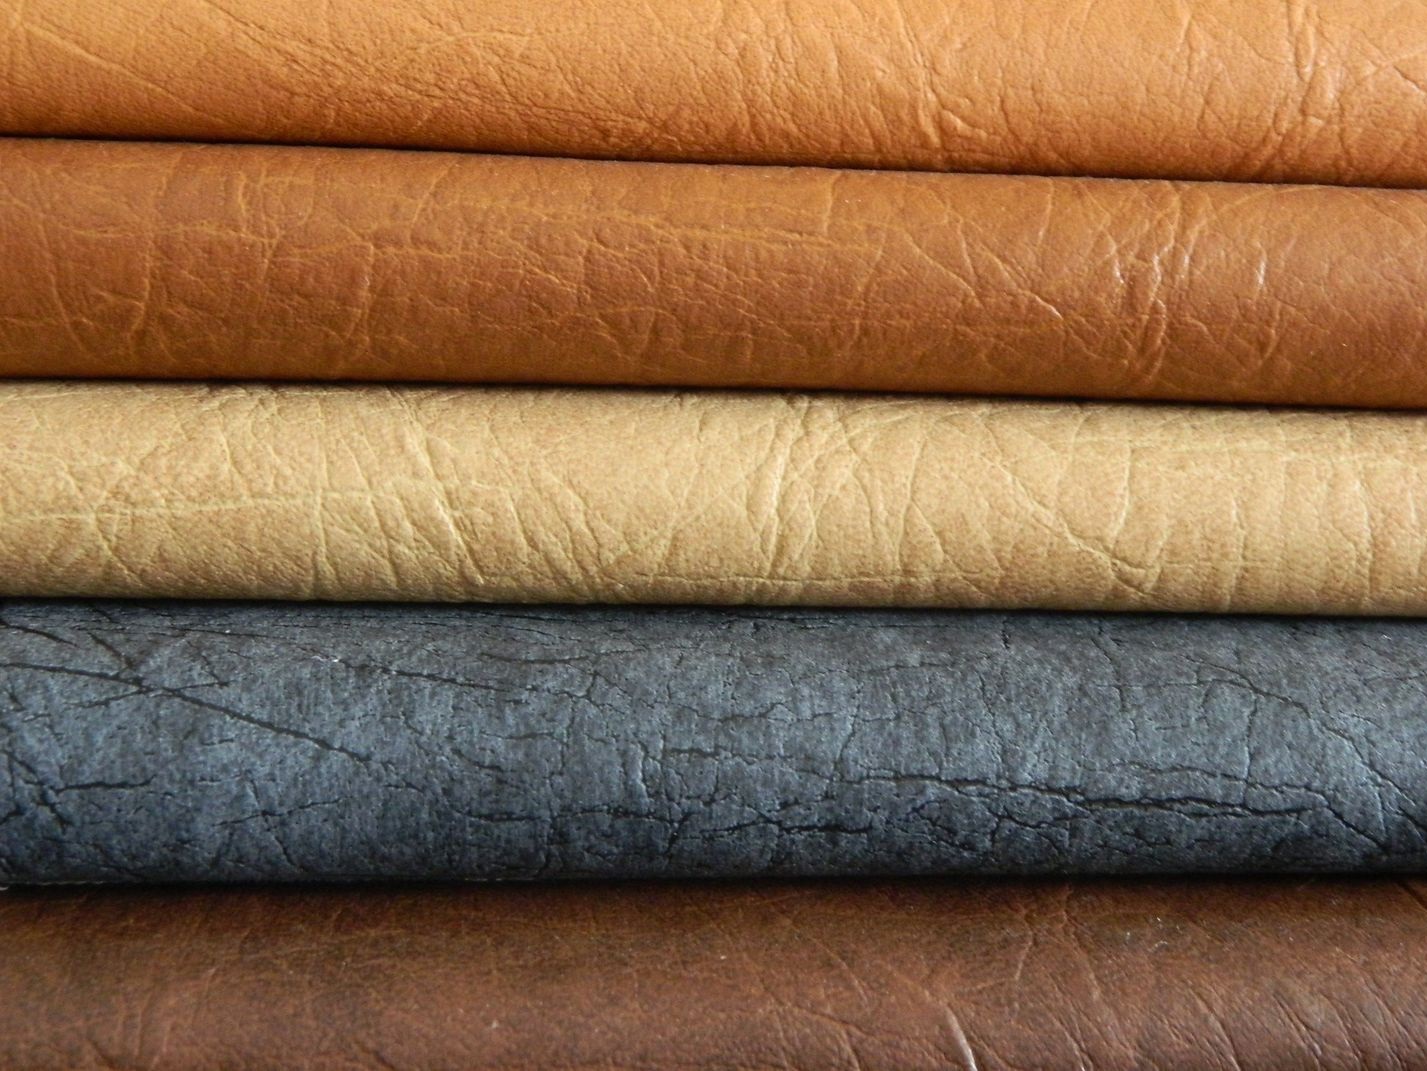
| Leather | It is better not to choose genuine leather for self-repair. There is a risk of spoiling the material. It is worth giving preference to artificial. | Durability, spectacular appearance. A wide range of colors, shades, ease of care. | Even artificial leather can be faked, and such a material has a significantly shorter life. |
| Tapestry | Ideal for frequent use. | Relatively inexpensive material, long life. Easy to clean with soapy water. | It becomes unusable after the appearance of oily spots.It fades with prolonged exposure to direct sunlight. |
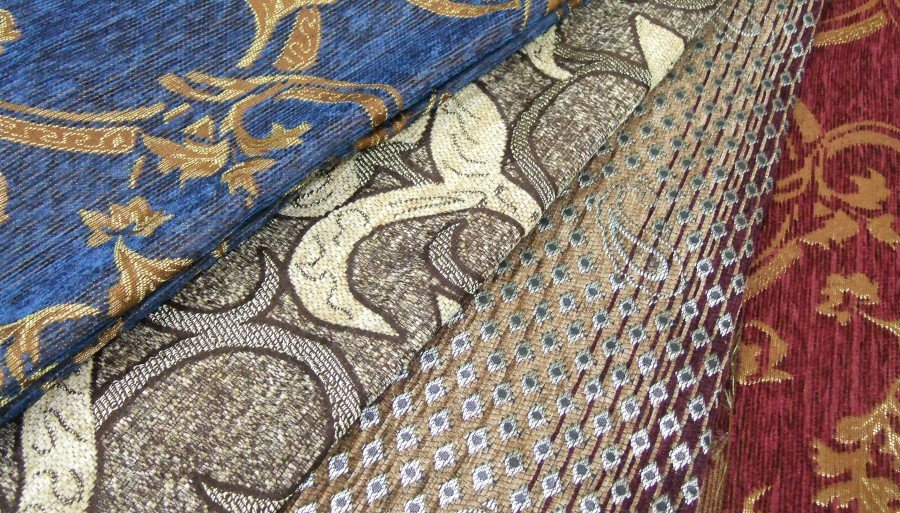
Shenill | Popular material for restoration. | Democratic cost. Pleasant to the touch surface. This upholstery is tear resistant, does not fade, does not absorb odors. | A wide range is presented only in large cities. In small choices are not rich. |
| Flock | Non-absorbent fabric. Suitable for those who decide to independently sheathe furniture for the first time. | The material is resistant to fading and pollution. | Short life: textured pattern quickly peels off the surface. |
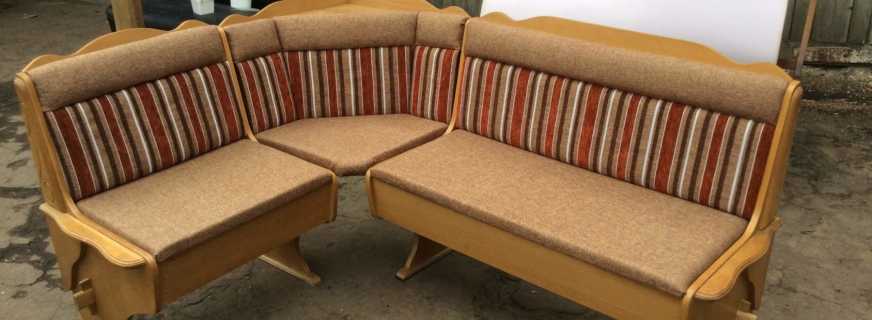
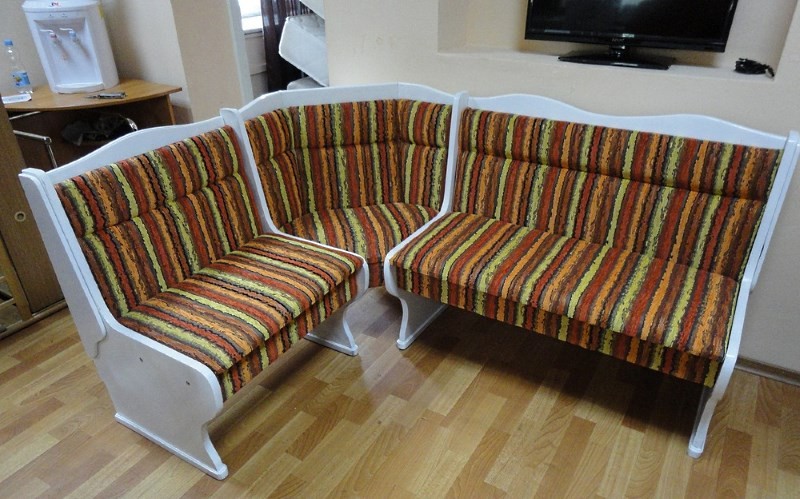
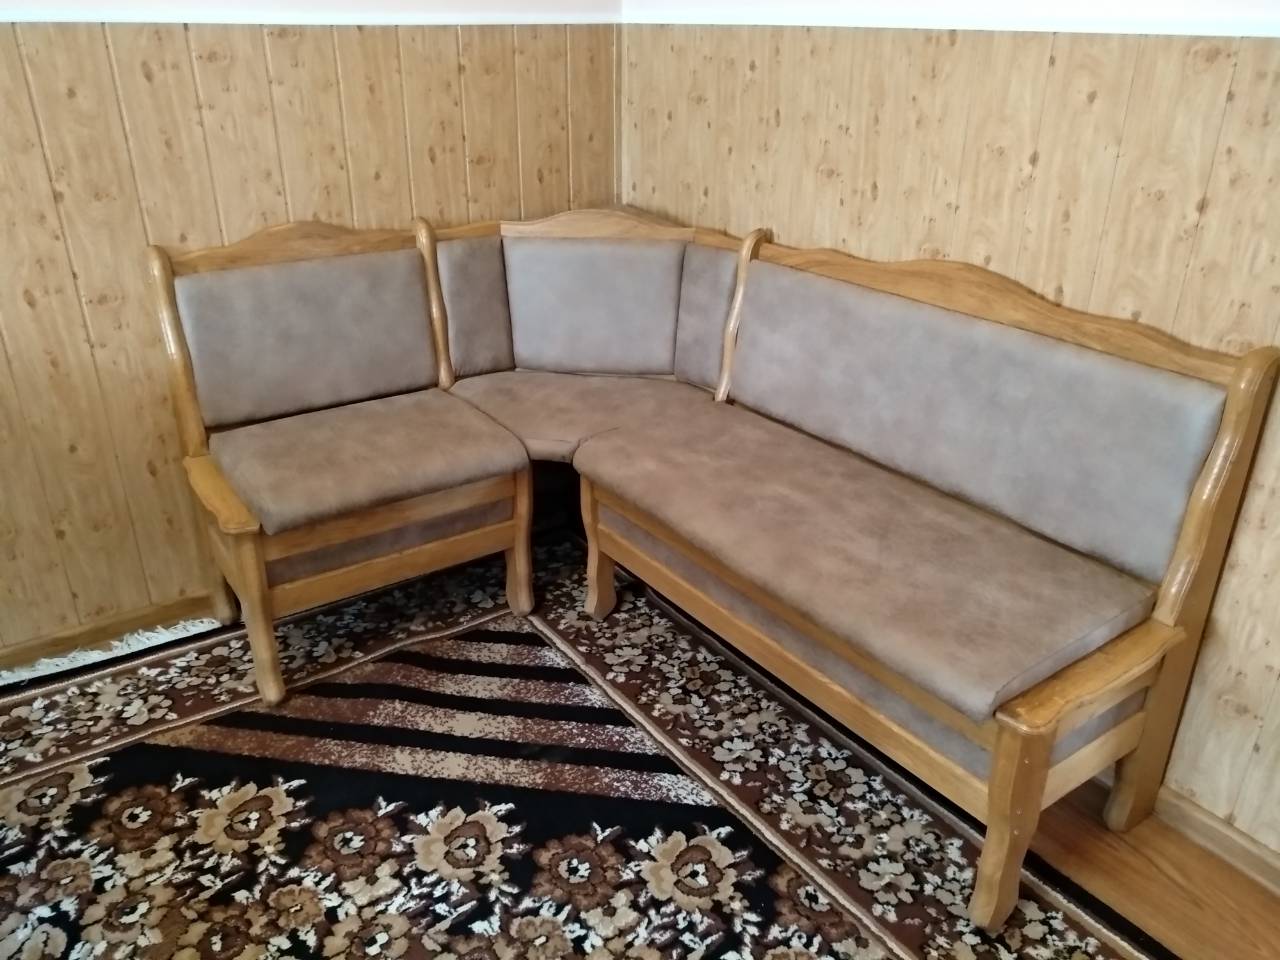
When choosing a material for the banner, preference should be given to non-marking colors. A high-quality canvas is easy to clean, a budget option to get rid of stains is more difficult. Measurements are best made according to the size of the removed upholstery. If the kitchen is made in the same style, then the material should match in color and texture. The use of contrasting shades for backs and seats is popular. In this case, the corner will become a fashionable accent in the kitchen.
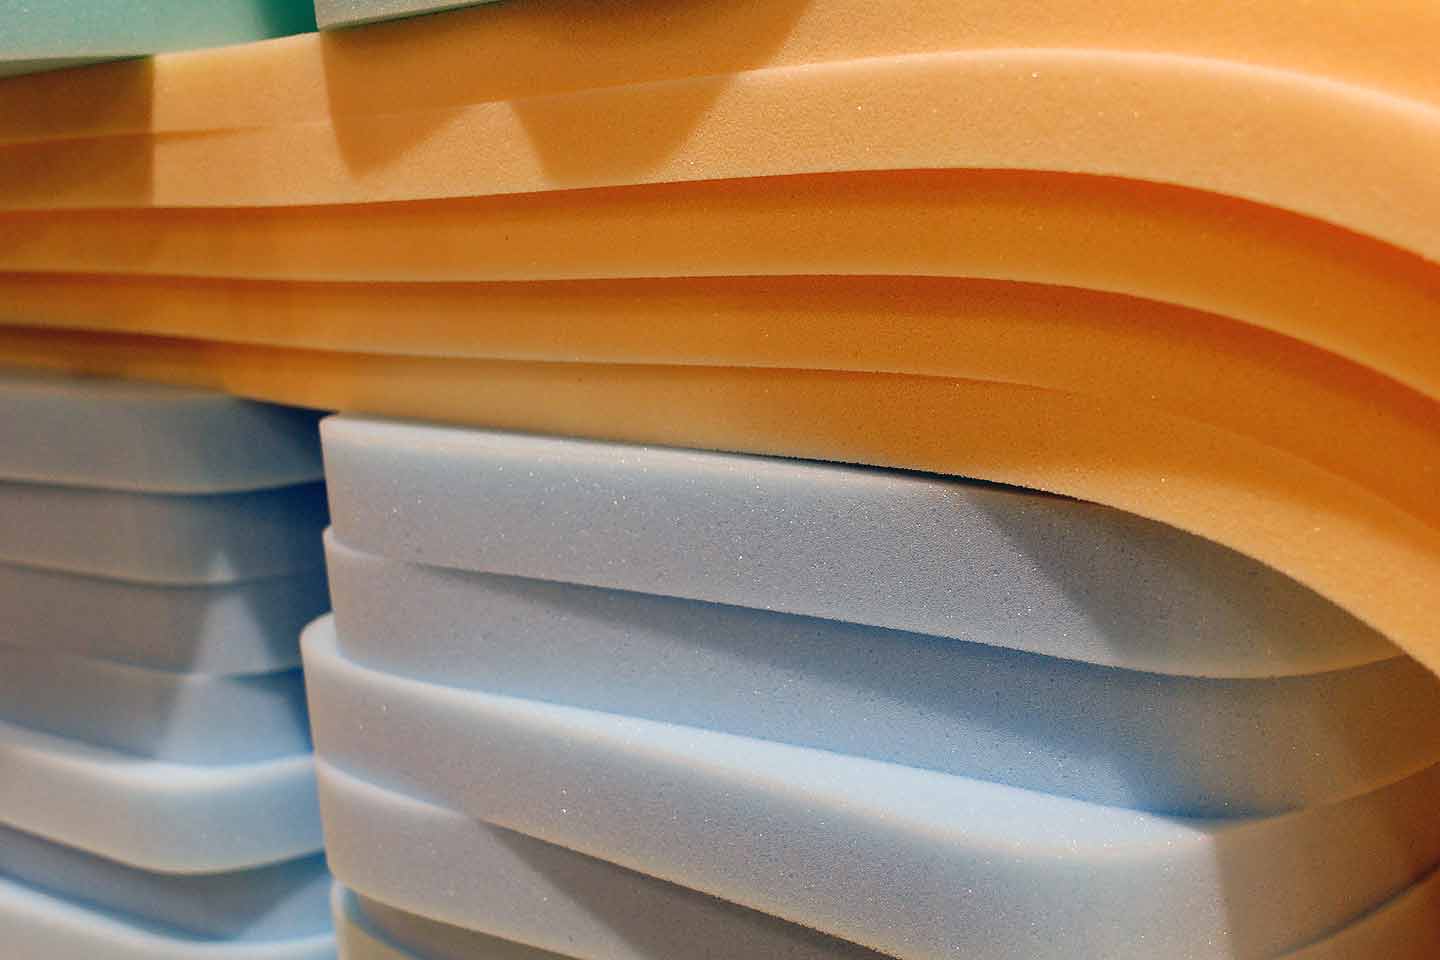
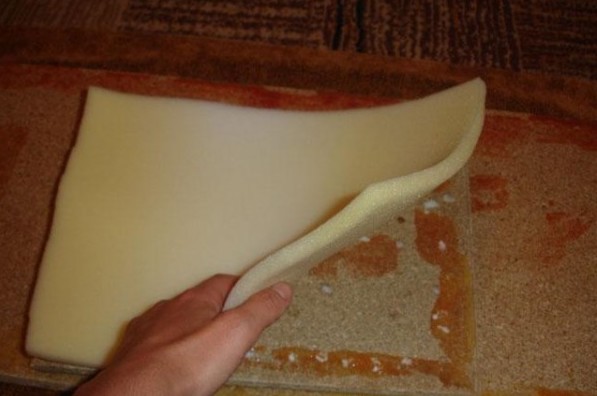
The upholstery of the kitchen corners suffers from frequent use, and the upholstery loses its elasticity. Inside, sheets of foam are laid. In order not to miscalculate with the size, they add a centimeter on each side to the measurements.
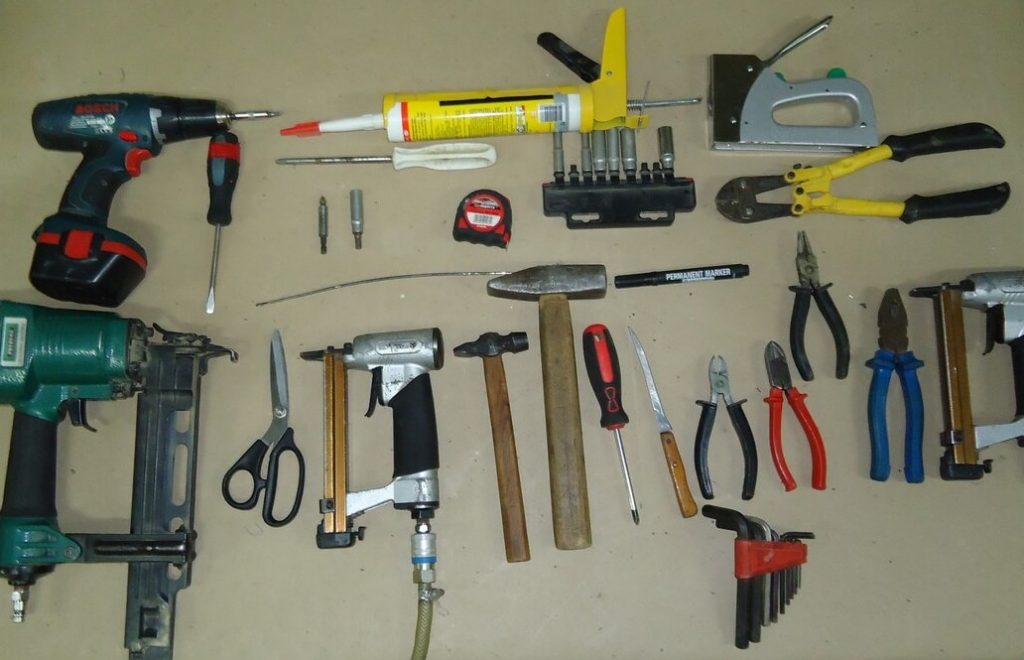
Necessary tools
The wizard will need tools:
- hammer;
- drill / driver;
- ticks;
- spanners;
- stationery knife;
- glue;
- stapler;
- anti-stapler;
- scissors;
- markup tool.
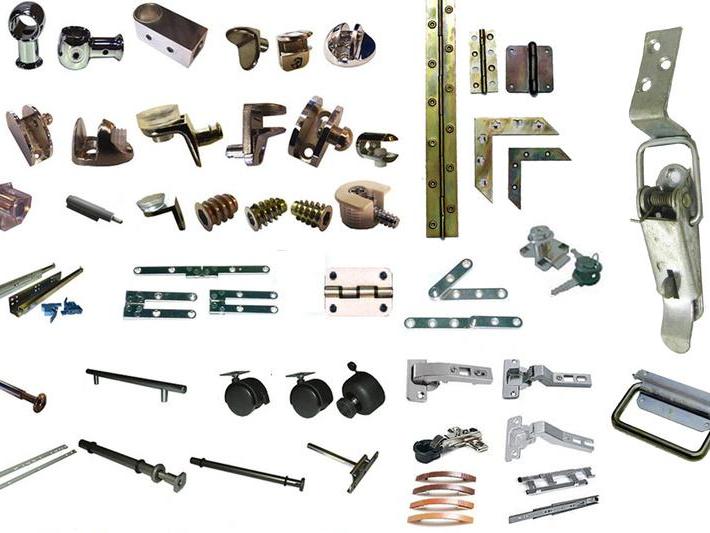
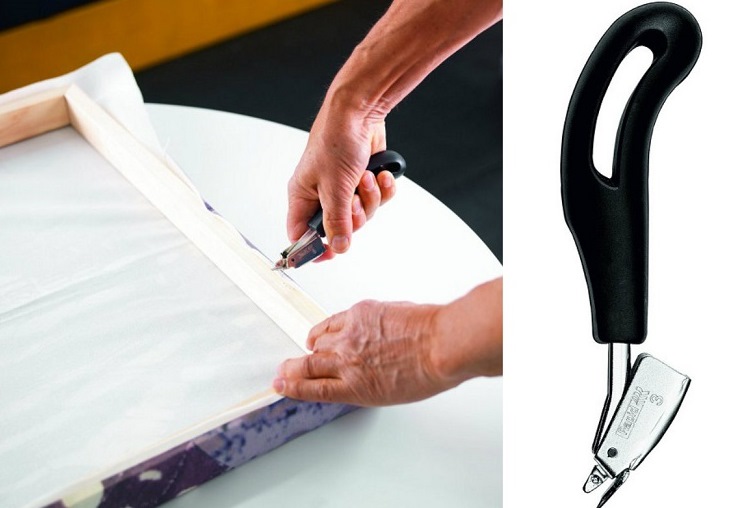
All of the above is a minimal set. If the design is too complex, then additional tools will be needed. As consumables use staples, glue, chalk, furniture nails. If the condition of the furniture is very deplorable, then you will need suitable fasteners, a jigsaw, sandpaper, a mount. A screwdriver and wrenches will help to disassemble the design. The staple remover and knife are useful for upholstery removal.
Filler is not always removed simply. If the manufacturer pasted the foam, you will have to remove it with a knife, then clean the surface. High-quality glue will allow you to glue the upholstery (a special one is used), and the stapler will fix the fabric (furniture nails will do). The knife is recommended for cutting material, and scissors and chalk - for cutting.
Work stages
Do-it-yourself hauling of a kitchen corner consists of the following steps:
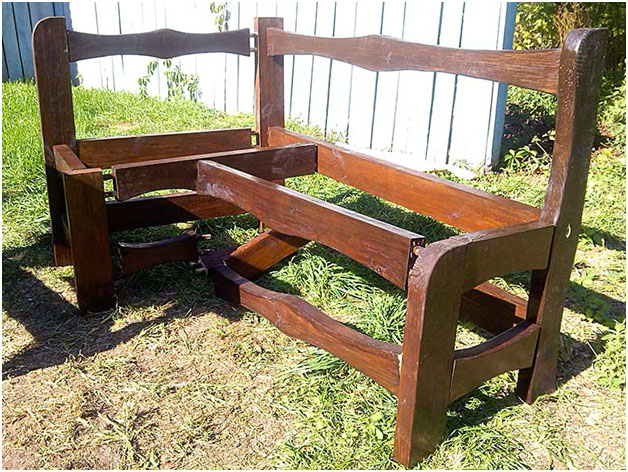
- structural analysis;
- removal of old upholstery;
- filler extraction;
- taking measurements and developing patterns;
- sewing pillow covers;
- strengthening the new filler;
- fixing new upholstery;
- decoration.
If the condition of the corner is unsatisfactory, then the replacement of boxes, panels and the restoration of wooden parts will also be added to the stages of work. In addition, you may need to purchase and install new accessories, strengthen structural elements (if they are loosened). Low-quality material wears out more with time, creating an additional problem - repair of weak bolt fastening. Broken nests are expanded with a drill, dowels are inserted (they are pre-coated with PVA). After the glue has completely dried, the assembly can continue to be assembled. For fastening it is necessary to use self-tapping screws.
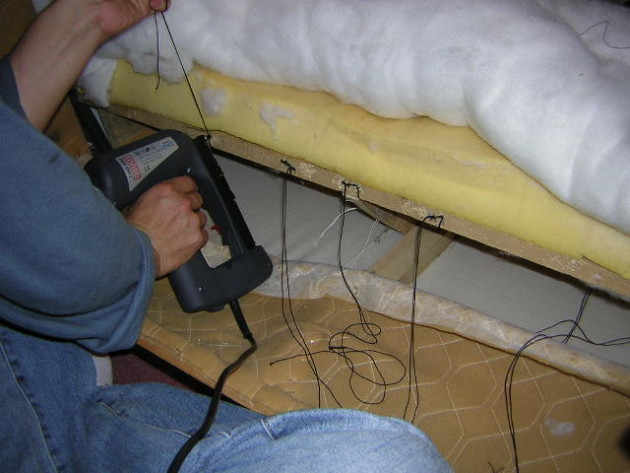
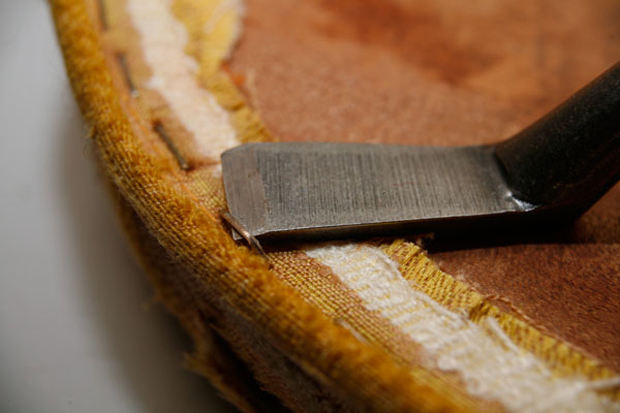
Upholstery Removal
A step-by-step instruction will help to drag the kitchen corner properly. Antistapler removes staples. It is better not to use the knife for such a procedure, otherwise the fastener elements may remain in the wooden sheet. To remove them, you will need pliers or pliers.
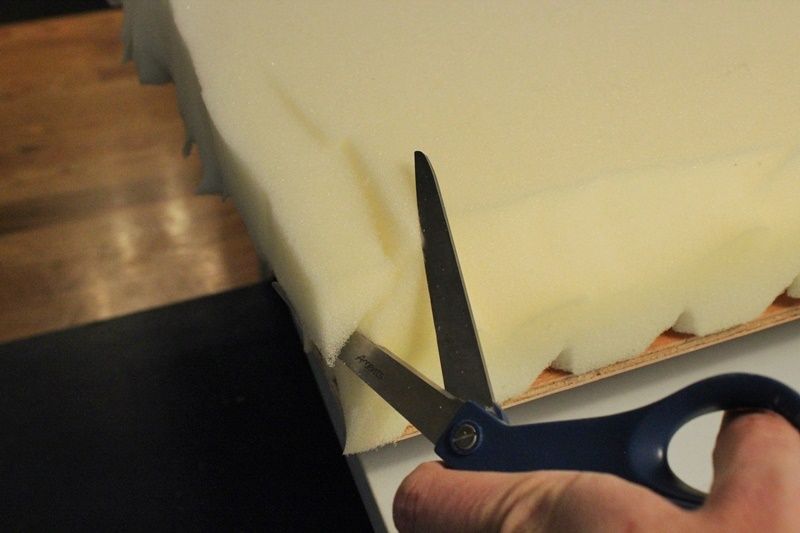
The upholstery is followed by the removal of filler. Foam rubber manufacturers often stick to the base. A sharp knife will help to gradually clean the surface, which then must be carefully removed. The remaining parts of the foam are also removed.
The entire upholstery removal process in the case when the design repeats a non-folding sofa and the corner is completely covered with fabric, is reduced to the following points:
- removing the seats by removing the fasteners on the hinges;
- analysis of the back;
- separation of the box from the legs;
- inspection of parts for fastening and accessories;
- staple removal with an anti-stapler;
- disposal of filler.

The process of removing the upholstery when the kitchen corner looks like a simple bench with a soft seat and backrest is divided into several stages:
- clear the free space around;
- the frame is taken apart;
- tissue is removed with an anti-stapler;
- check the corner itself for integrity;
- restore worn parts;
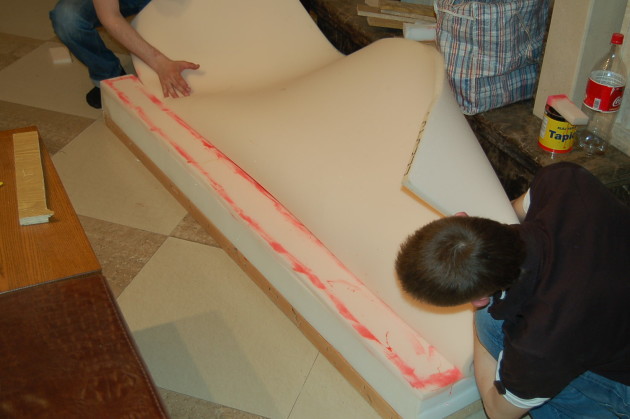
- remove the old foam;
- cut new foam and stick;
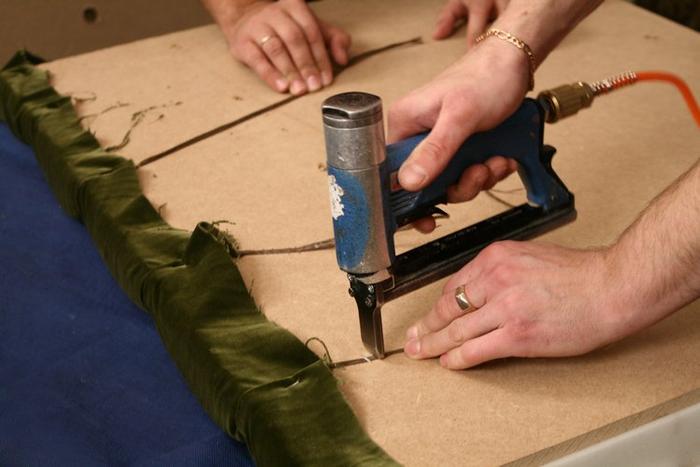
- covers are pulled on the frame;
- fixed with brackets on the back without distortion;
- assemble the product.
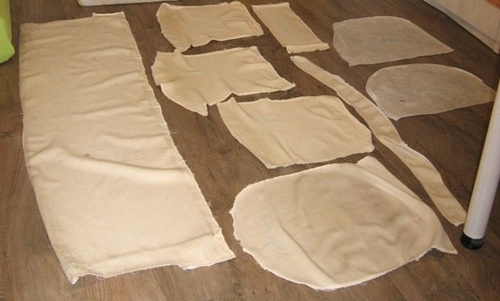
The removed fabric will be used to refine the measurements, therefore it is necessary to maintain its integrity. Damaged or torn material will not allow to determine the exact dimensions, for this reason the structure itself is measured with an allowance for bending.
Cutting fabric and filler
How to update the kitchen corner after parsing and removing the upholstery - this is recommended below. It will not be possible to achieve a qualitative result if you do not cut the fabric in advance, and do not cut the packing. As patterns use previously removed material. It is desirable that each element is sheathed in a single piece. If this is not possible, then it will be necessary to fasten the flaps together before laying out and tracing the pattern.
In the case when the new upholstery is much denser than the old, you need to add a couple of centimeters to the measurements. Too small flap will not allow enough tension on the fabric. As a result, the material will be spoiled, and you will have to take measurements and cut again.
The master must leave allowances that will be used for tucking and fixing. It is easier to work with the filler; it is simply cut off along the contour of a piece of wood or plywood, to which it will be glued. To keep the shape longer, one centimeter is added on each side when cutting the filler. When attaching, you can use glue or staples (fixation in increments of up to 100 mm).
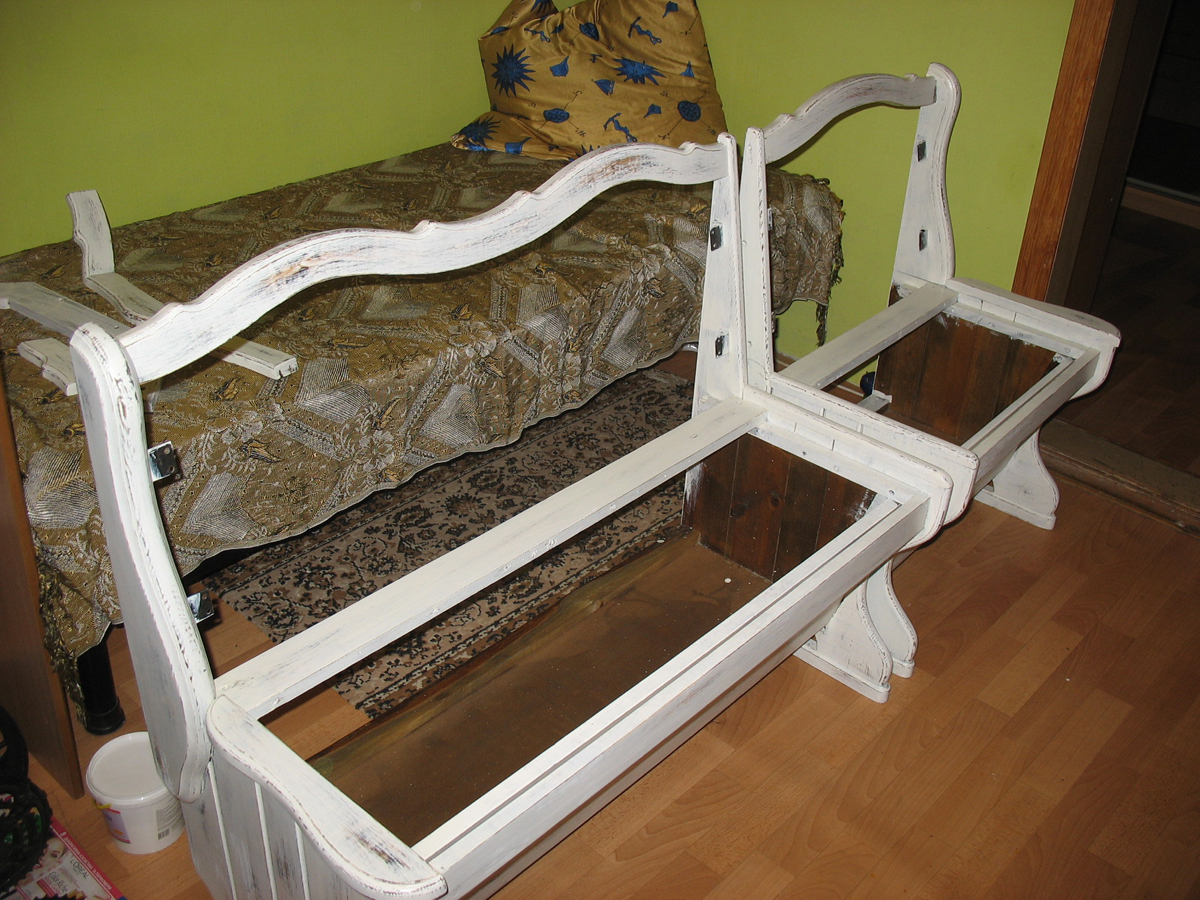
Frame repair
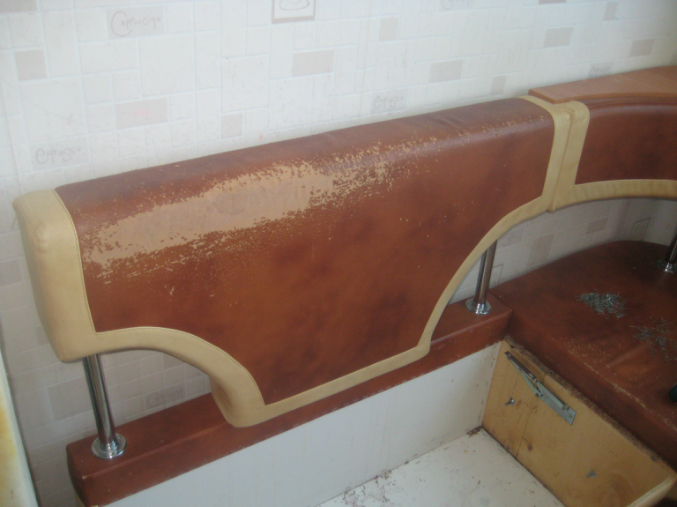
The design of most furniture quickly deteriorates. Before you drag the kitchen corner with your own hands, it is necessary to inspect all elements for wear. Accurate layout and careful, accurate work without rushing will help to avoid problems during subsequent assembly. One of the common problems is a peeling coat on the legs.
Restoration of wooden parts takes place in several stages:
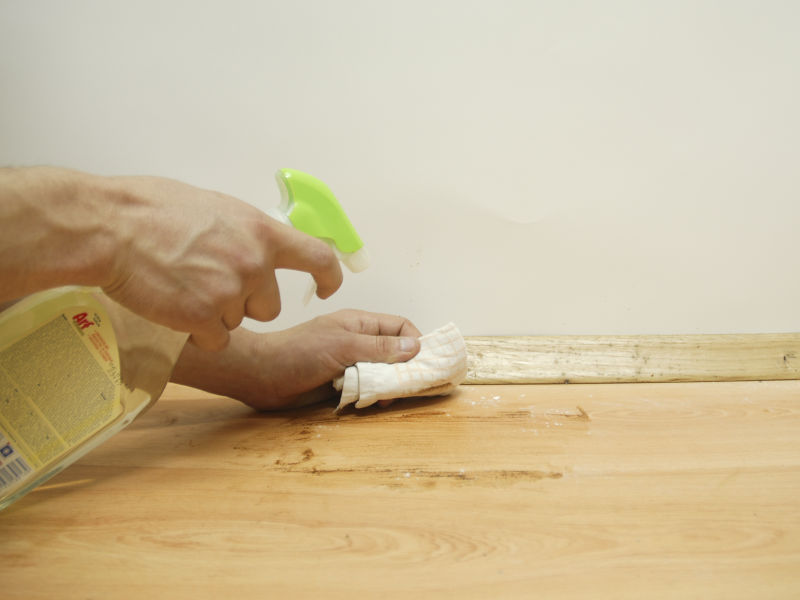
- cleansing from dirt and stains;
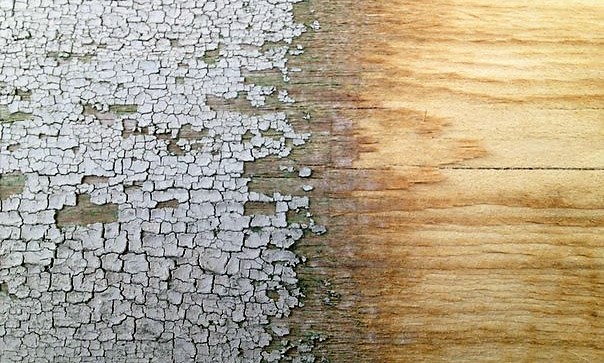
- removal of the remaining coating;
- skinning;
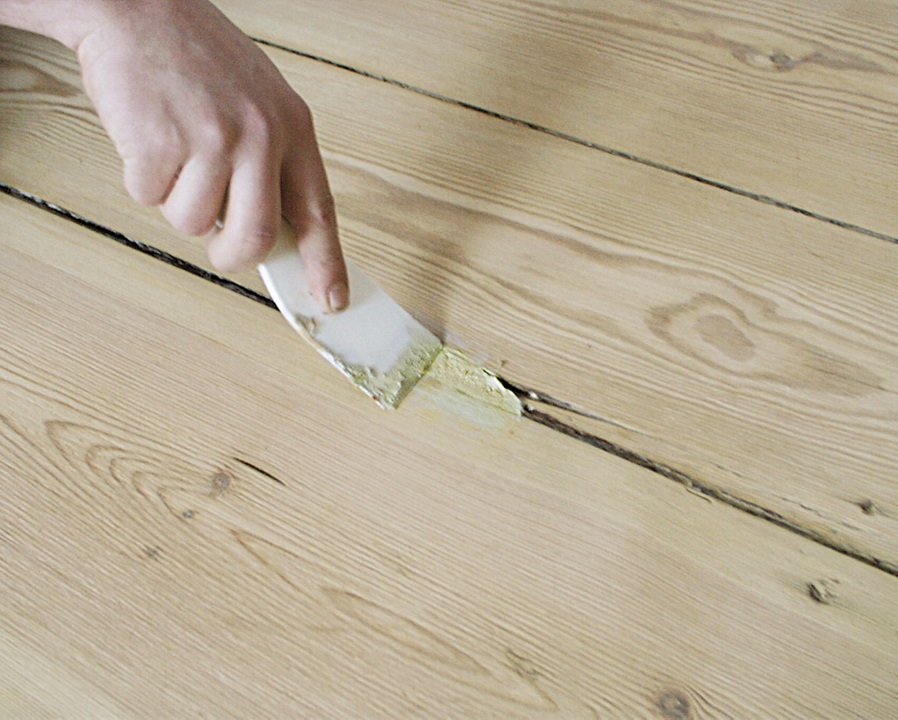
- filling glue cracks and delaminations;
- painting;
- fixing the result with varnish.
Any wooden element may require restoration, but a primer is needed before using varnish or paint. In the event that parts of the furniture are replaced with new ones, it is necessary to mark and drill holes for subsequent fastening in advance. Frame repair is a frequent necessity when hauling a kitchen corner. Worn out elements are being restored. If the wooden legs have lost their previous gloss or the coating has peeled off, then they are cleaned of external impurities, sanded, varnished or painted. If there are cracks or gaps in the frame, then they are filled with carpentry glue.
In case of significant damage, the part can be replaced as a whole by cutting it out of chipboard. Accuracy and accurate marking will facilitate the assembly of furniture with a new element. In this case:
- legs update;
- cracked plywood sheets are replaced;
- cracks and delaminations are filled with glue;
- scratched boards are polished.
To reliably glue parts of the structure, experts advise using clamps. They will crush the surfaces smeared with glue, do not have to hold hands. Clamps enhance the adhesive ability of the material and allow you to securely fasten parts.

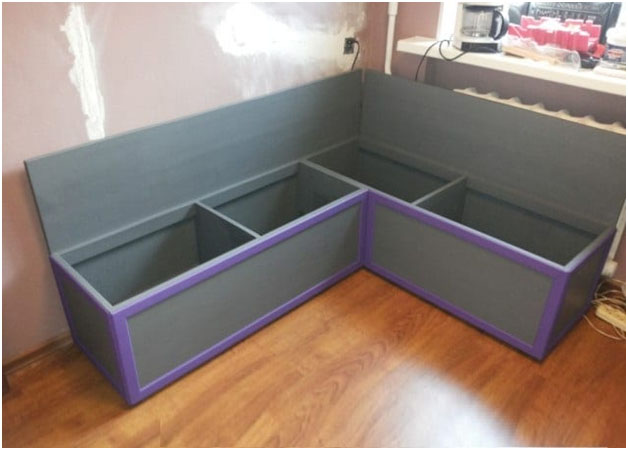
Hauling and assembly
Hauling and assembling is performed step by step:
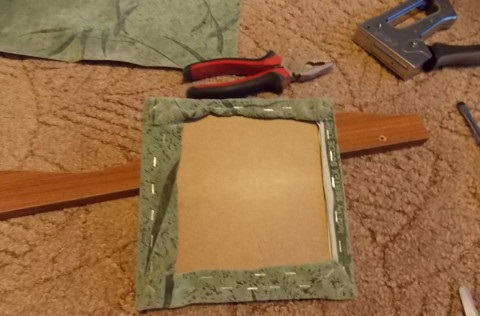
- Attach the filler with glue or staples. The standard step is from 5 to 10 centimeters. Fasteners will often have to be installed on a bent surface.
- Cut fabric is placed on the floor with the front side. A part is laid on top of it.
- On each side, the material is fixed in the center. Gently pull so that there is no skew.
- Fix in increments of 3 to 4 centimeters using brackets.
If the structure is complex or the packing is too thin, then we drag the surface with a carriage coupler. As fasteners, you can use furniture nails. This will increase the life of the new coating.
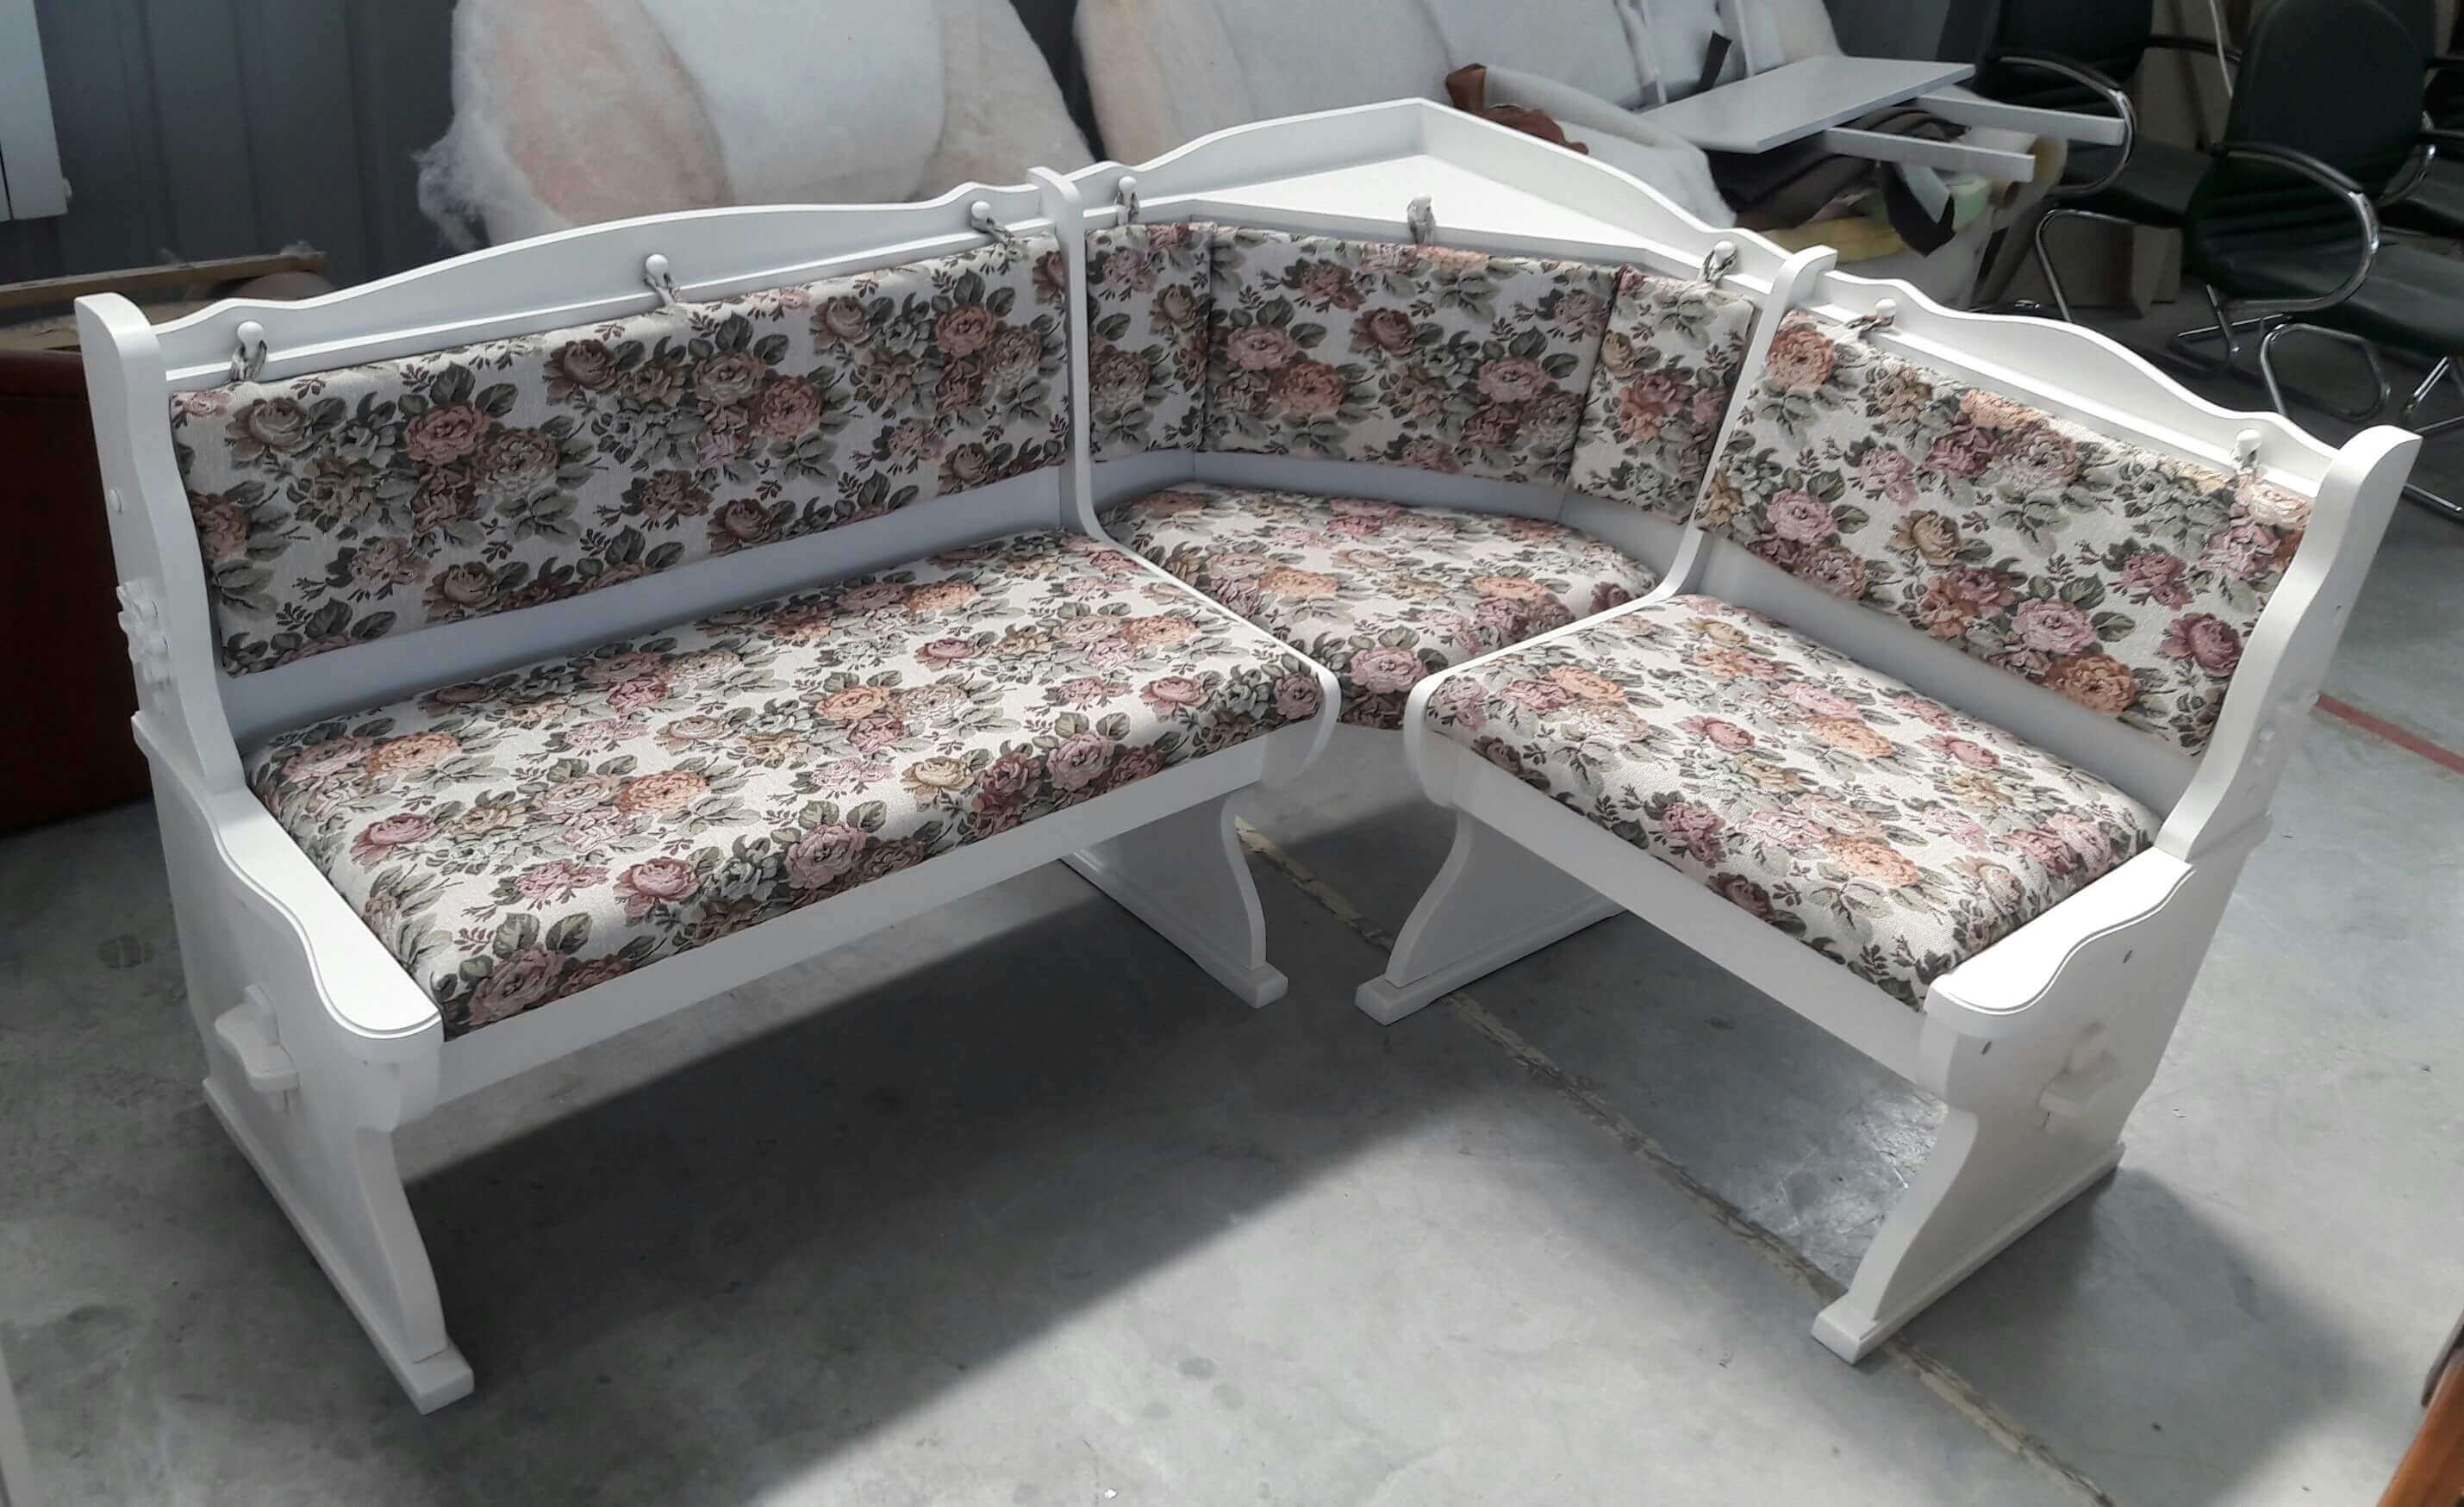
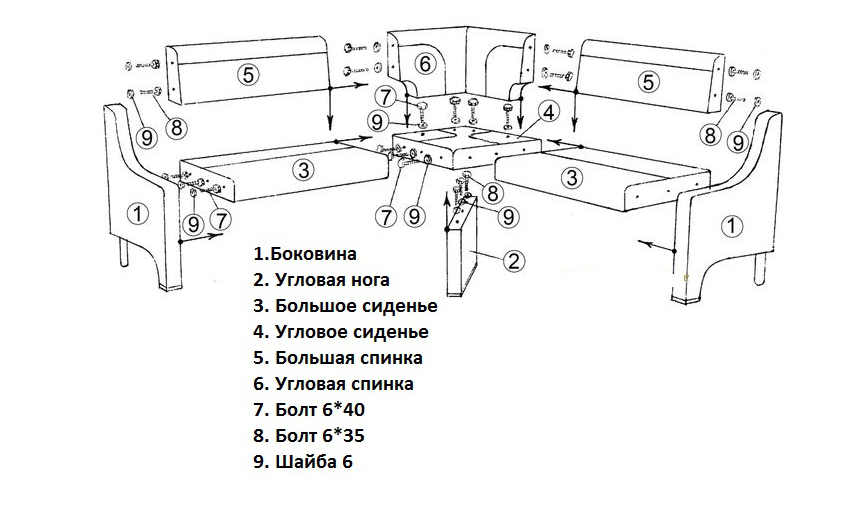
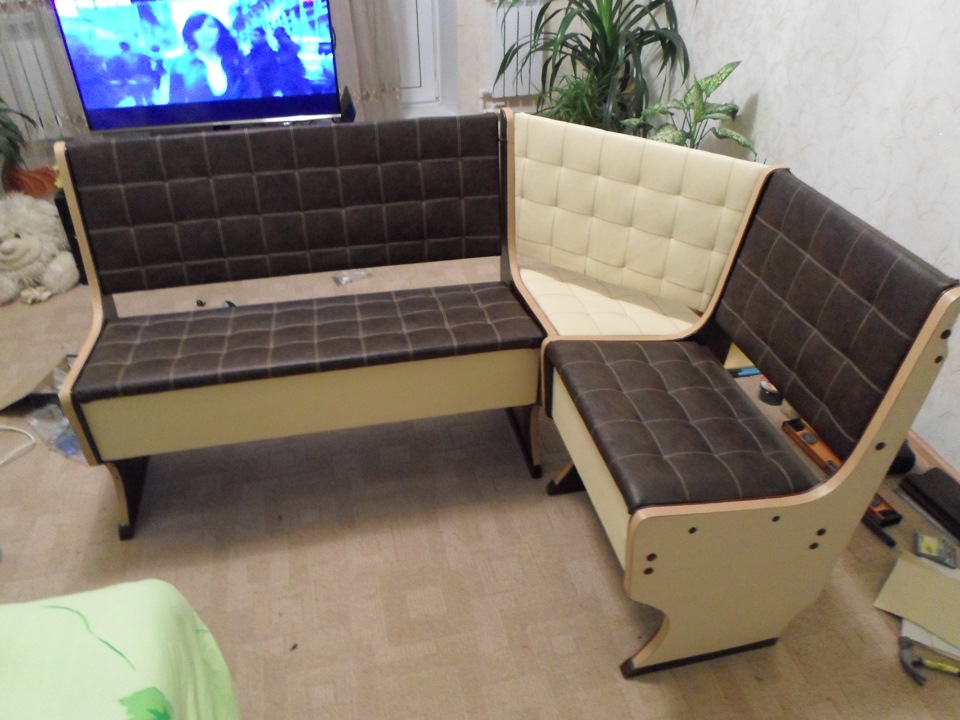
Assemble the kitchen corner in reverse order. Where there will subsequently be fasteners, all holes are drilled in advance. This will help to avoid damage to the upholstery, filler. The duration and complexity of the work depends on the design. For example, when assembling a sofa of three components, the sequence of actions does not change, only the corner part is assembled first, and then the side ones are assembled.
How to decorate
The updated kitchen corner can be left unchanged or resorted to decoration. Several popular decoration options:
- decoupage;
- pillows with contrasting covers;
- the addition of bright accents in the form of rollers or a plaid;
- decoration with genuine leather or suede inserts;
- the use of knitted wraps;
- hand painted;
- fastening of plywood ornaments.
For decoration use stencils that will help to put a picture of varying degrees of complexity on wooden panels. The use of fringe or tassels is no longer relevant. Repeated patterns are applied to pens, legs and small plain elements.
You should not use more than two ways to decorate a kitchen set. Busting with decoration will ruin the appearance of the corner. It is better to opt for a more concise version.
Decoupage technique should be used with caution. For decoration, one color scheme is used, a single type of pattern. If the kitchen already has furniture or appliances decorated in the same way, then it is better to abandon this idea. Otherwise, the appearance will be rustic.
The constriction of the kitchen corner is even for a novice master. The main thing is to clearly follow the step-by-step instructions, to do the work accurately and without haste. Renovated furniture will become a decoration of the kitchen.
Video
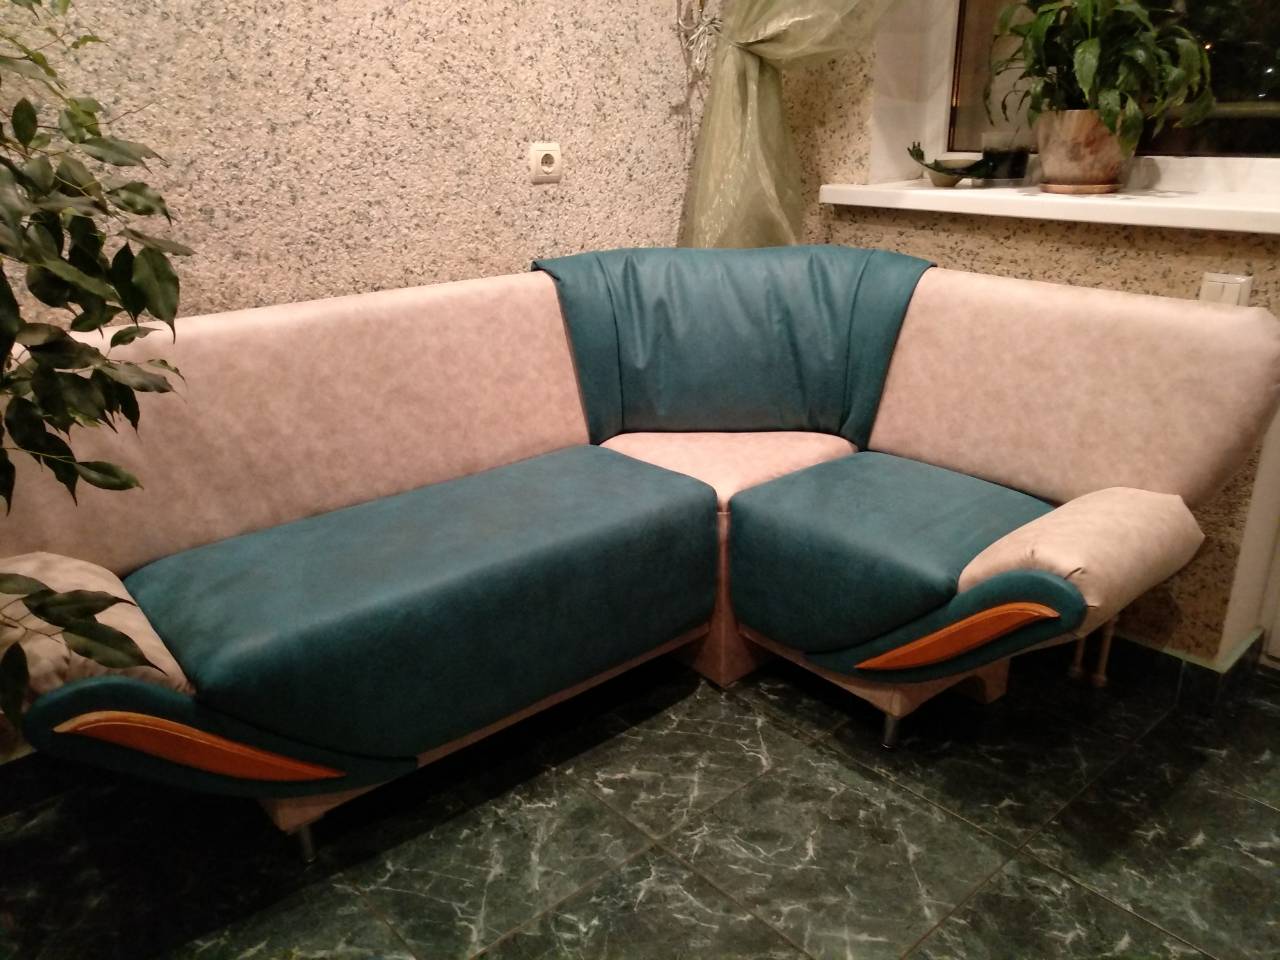
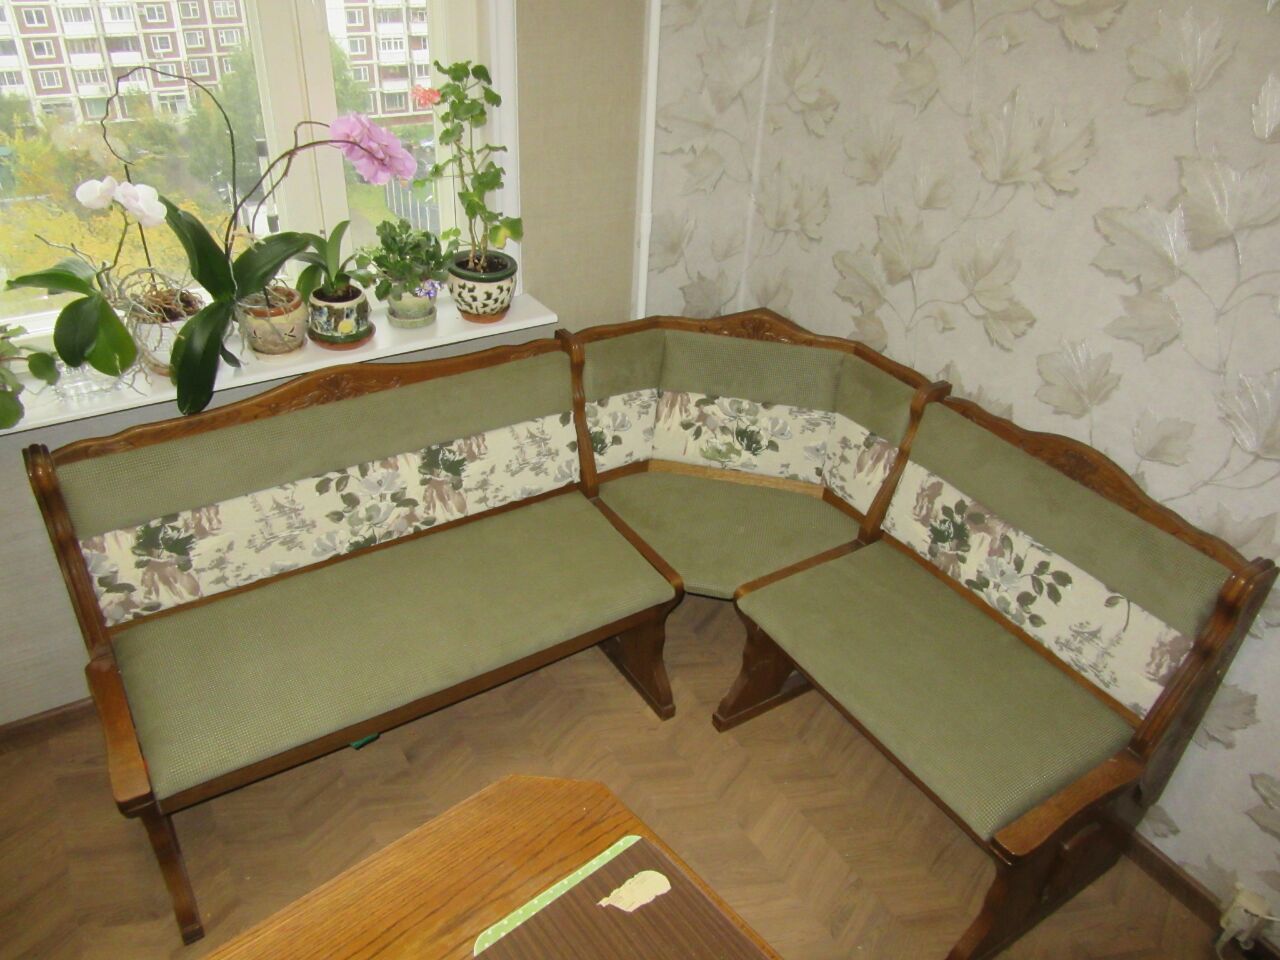
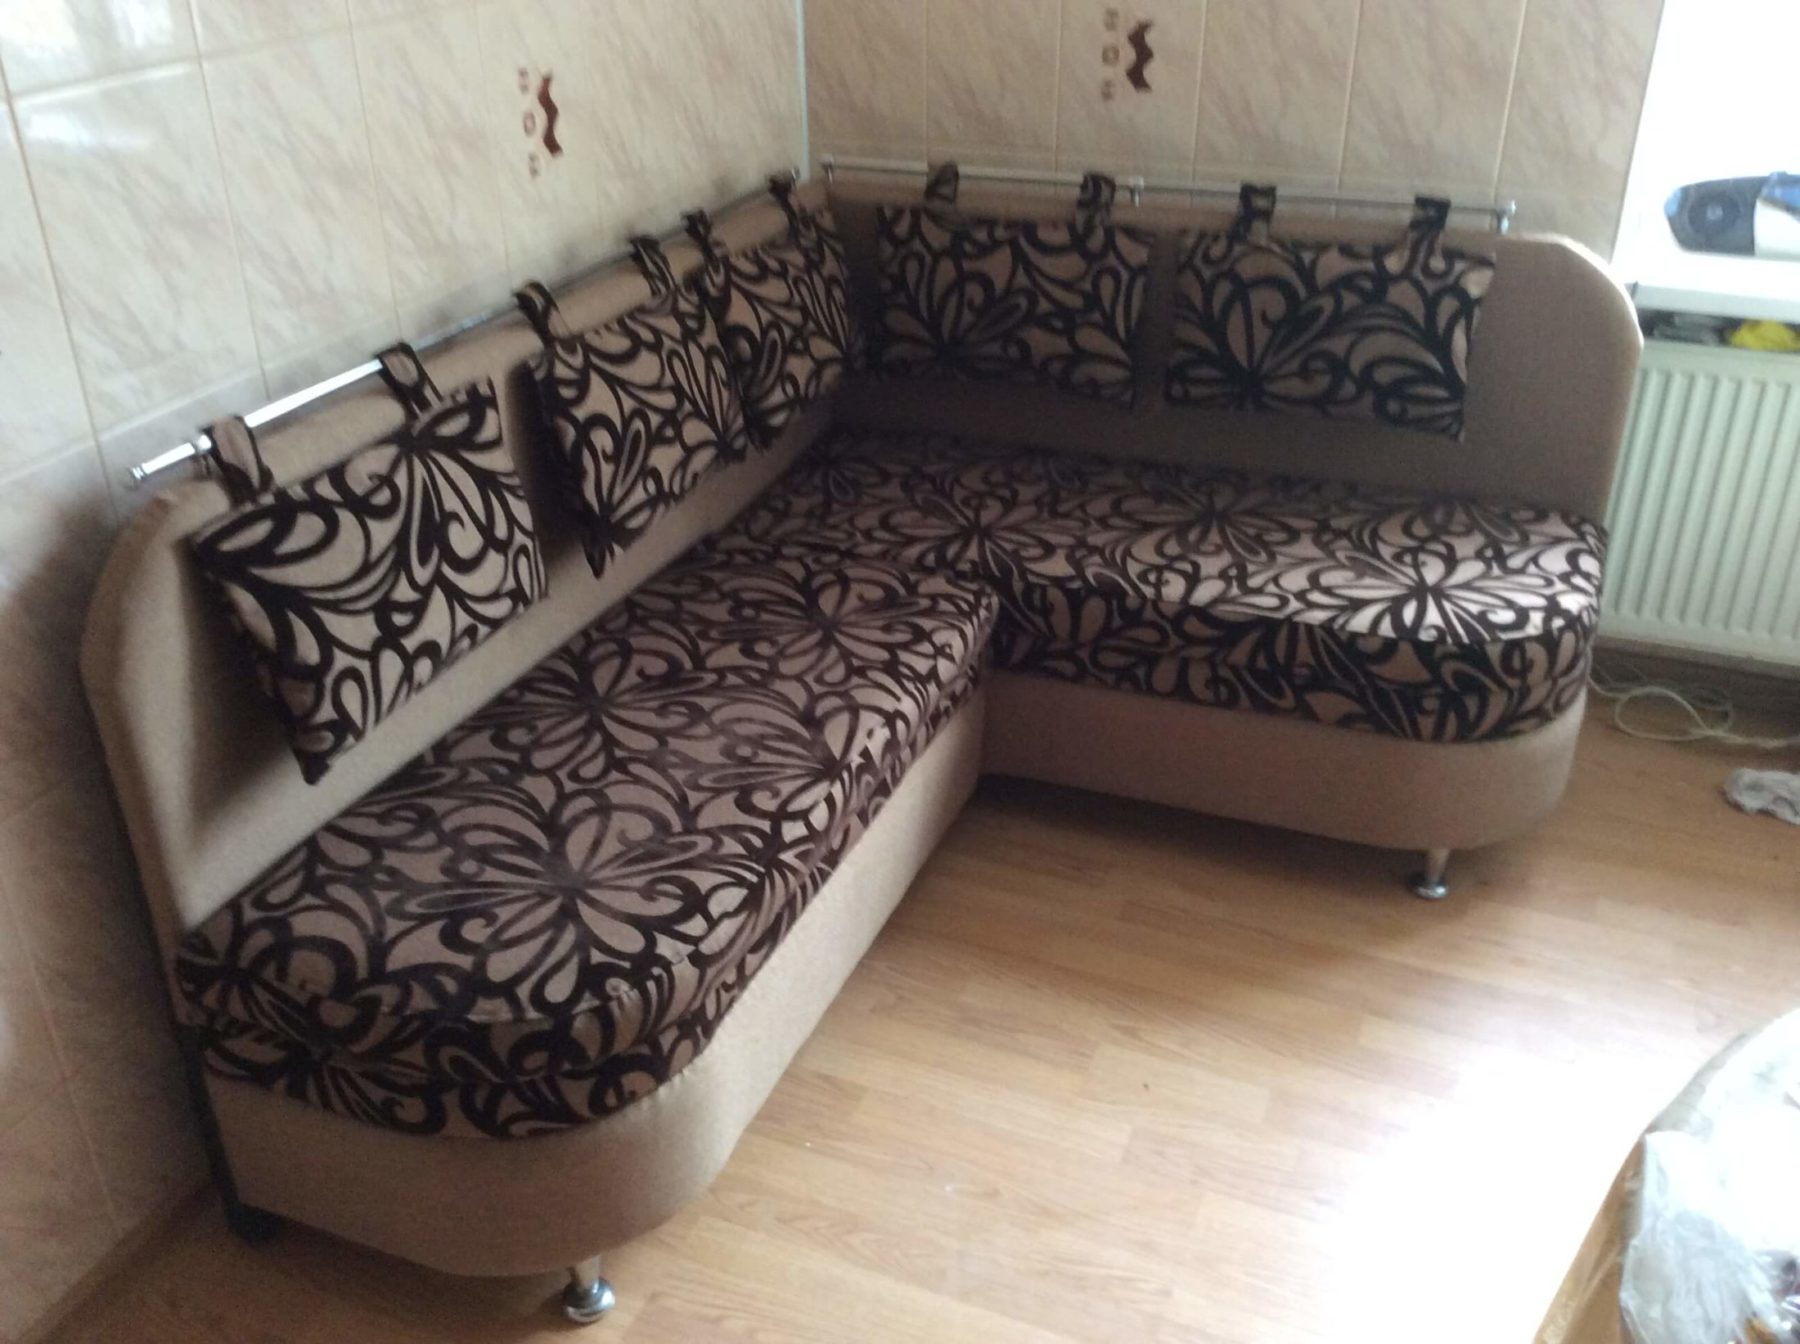
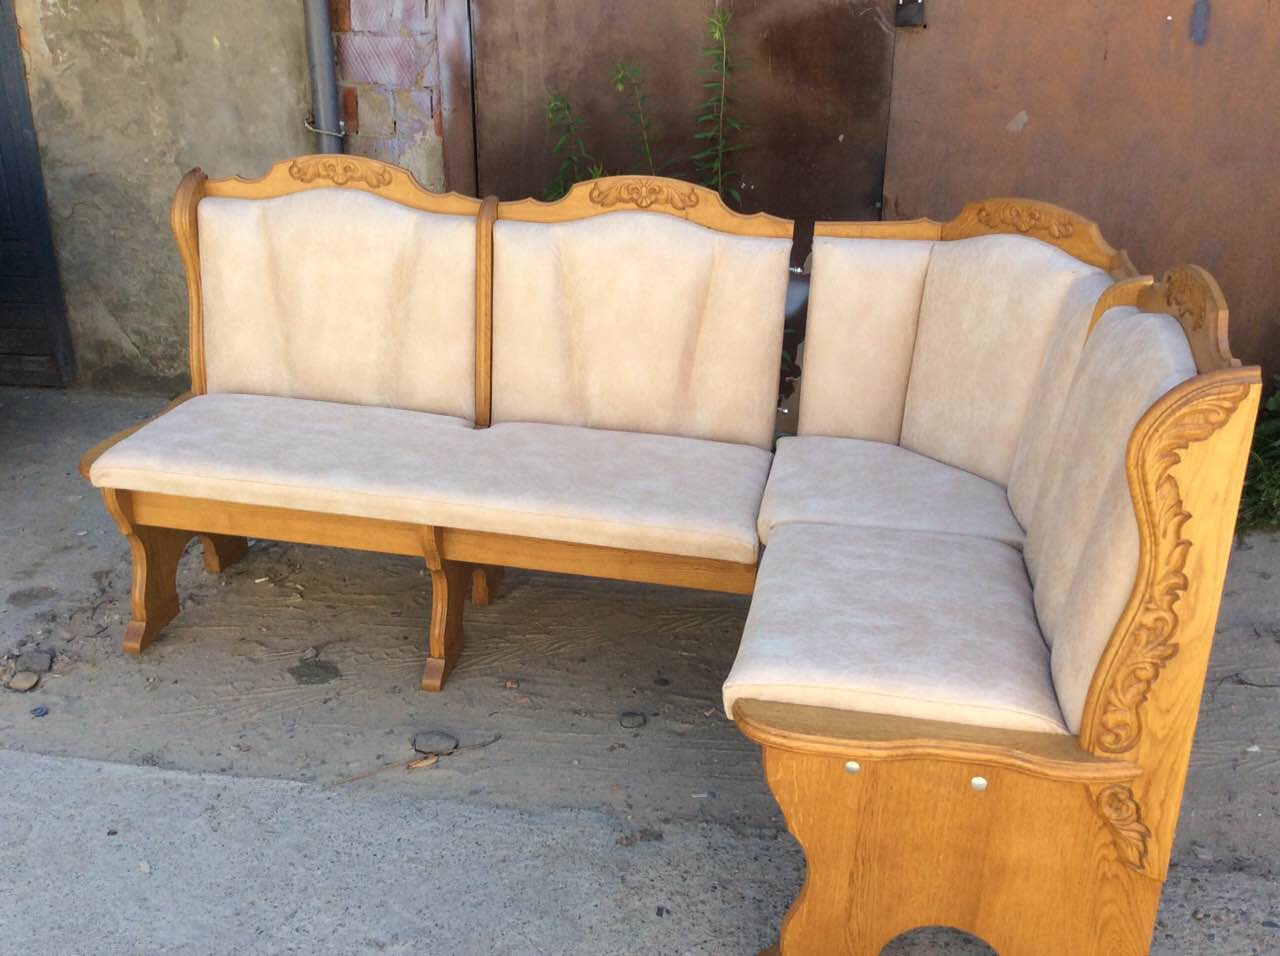
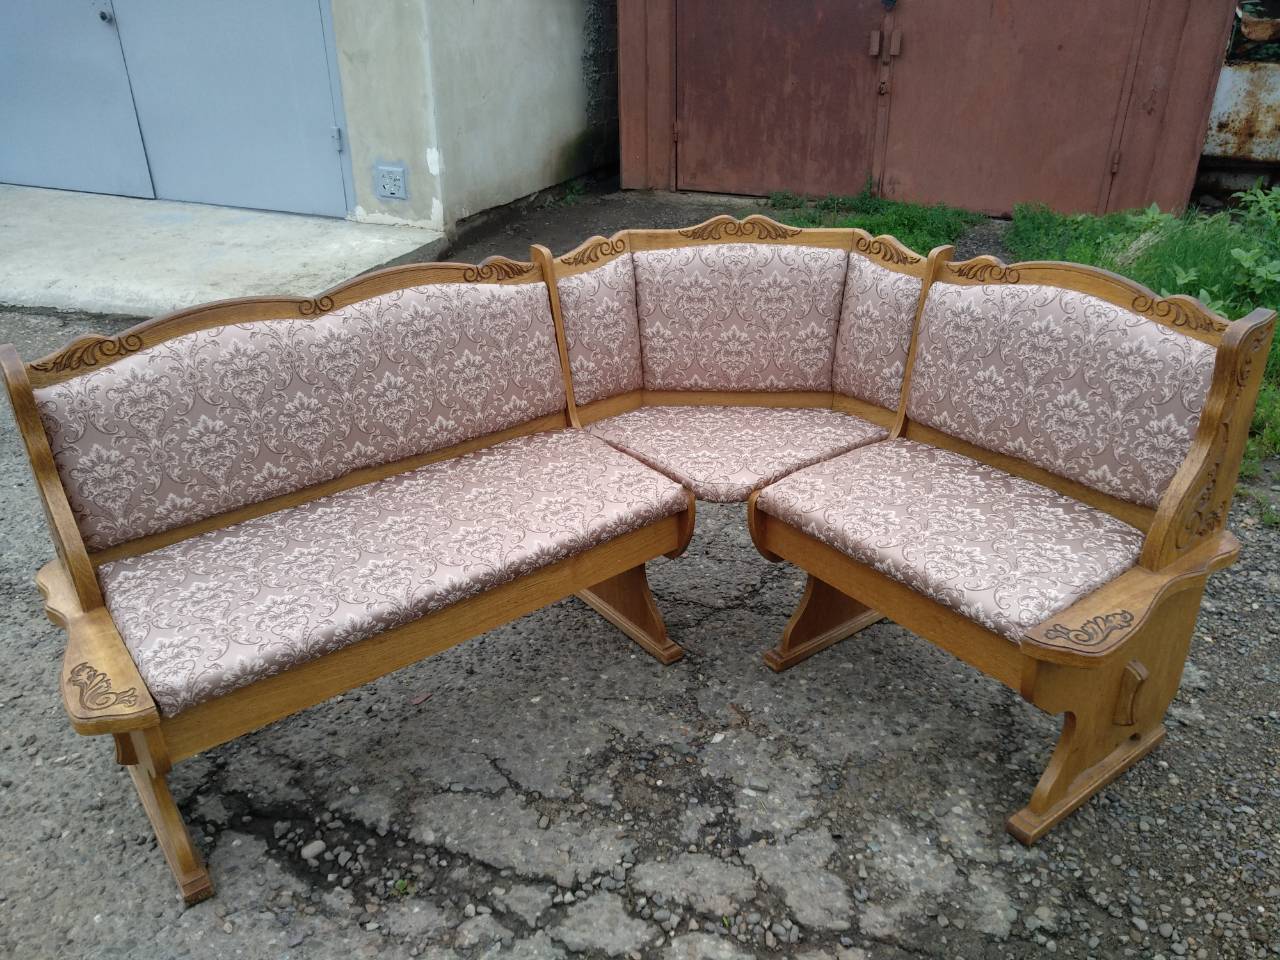
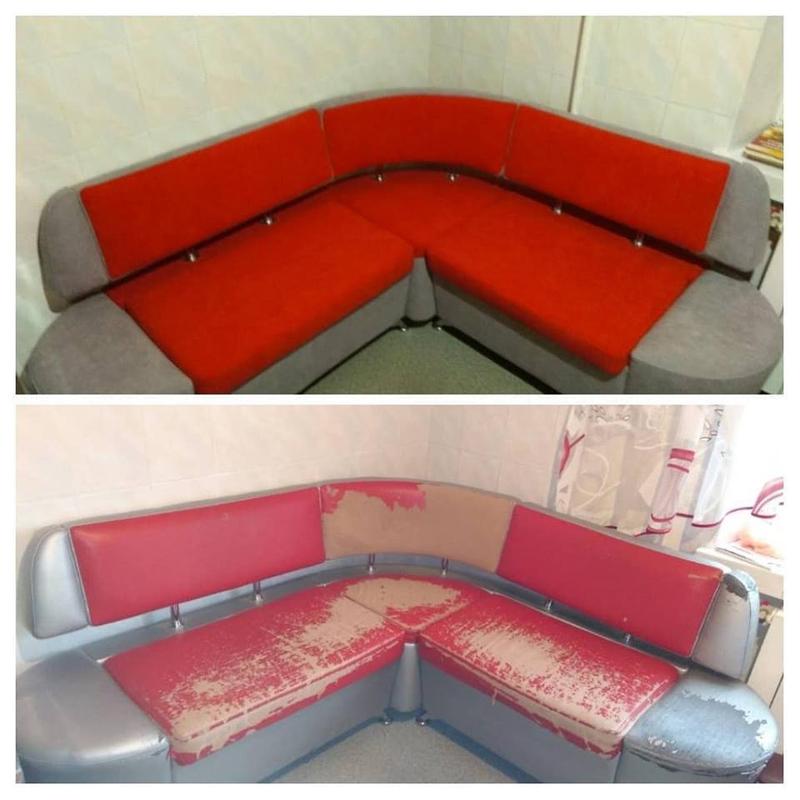
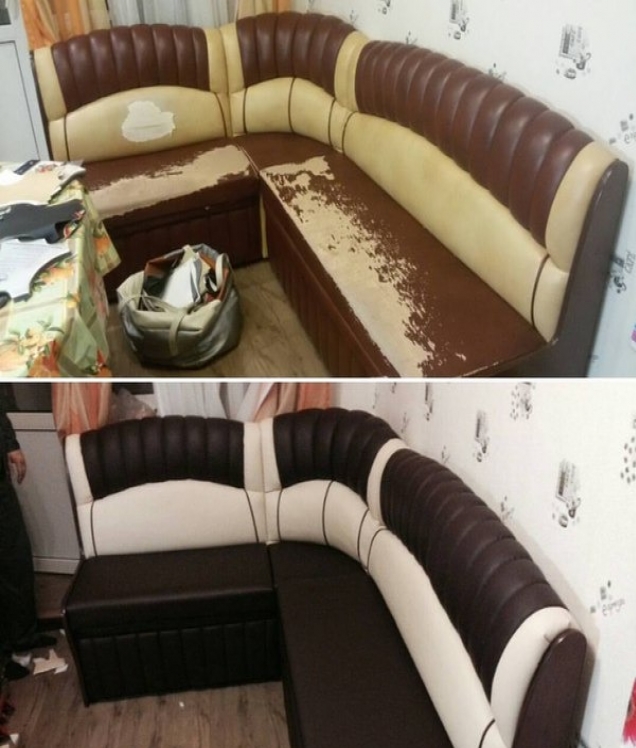
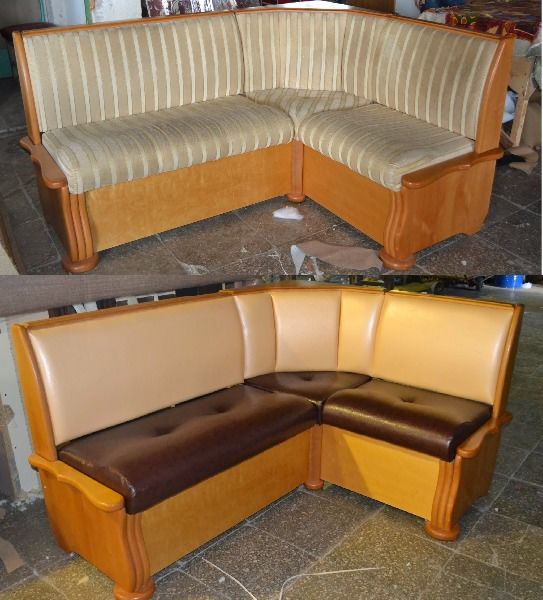
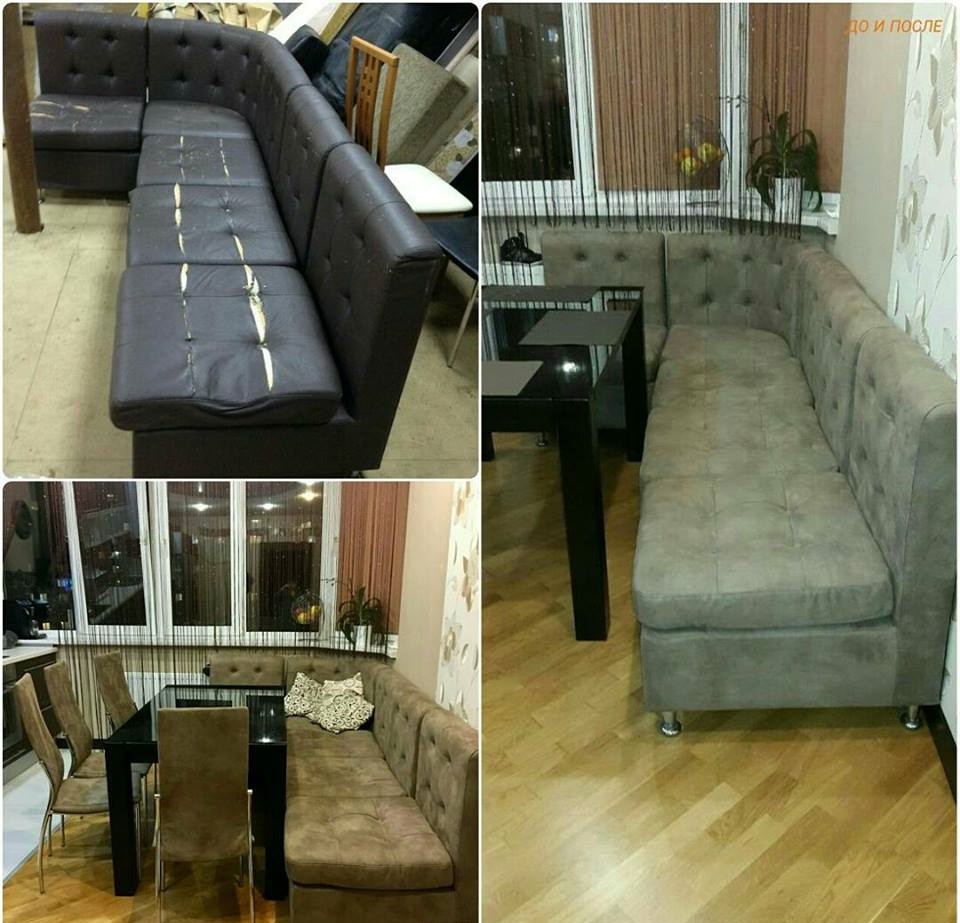
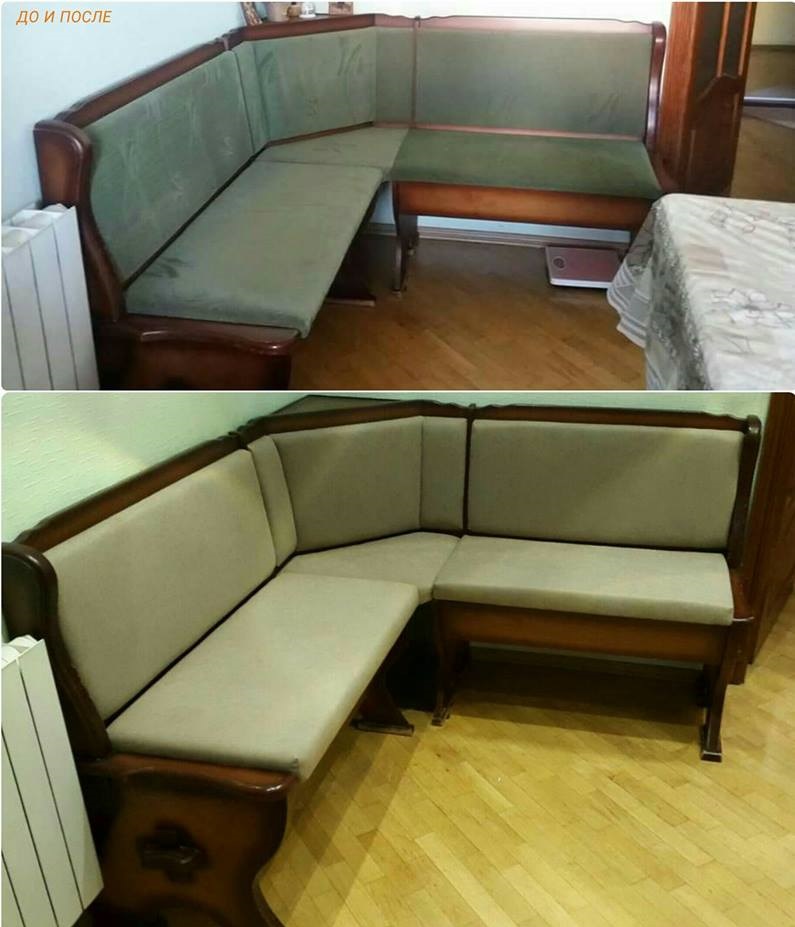
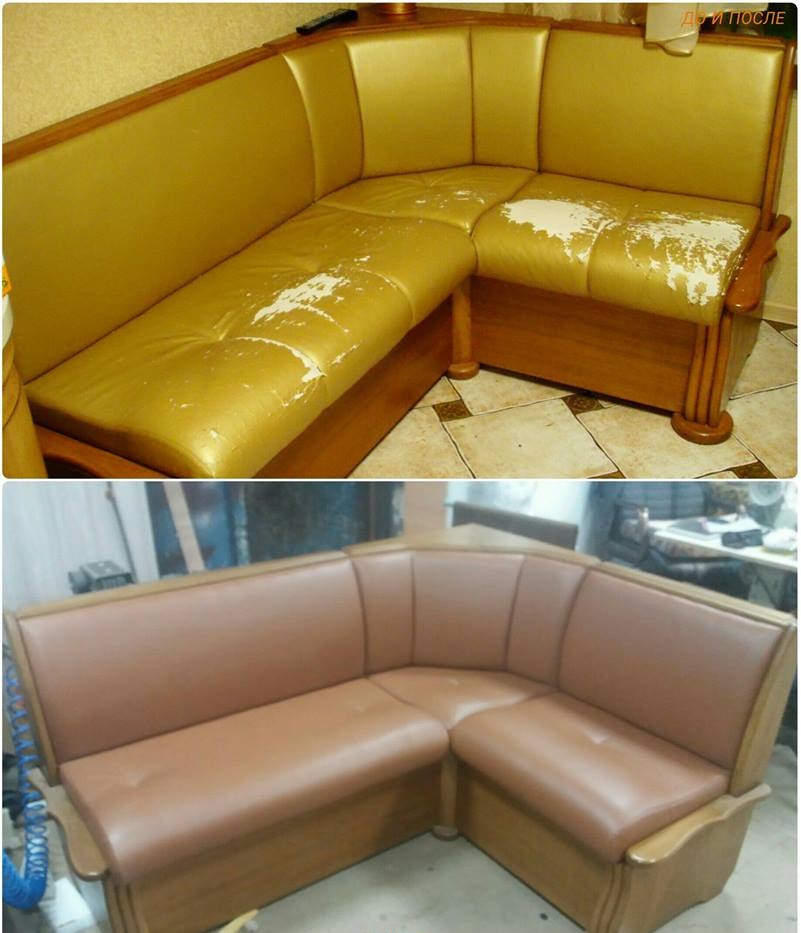
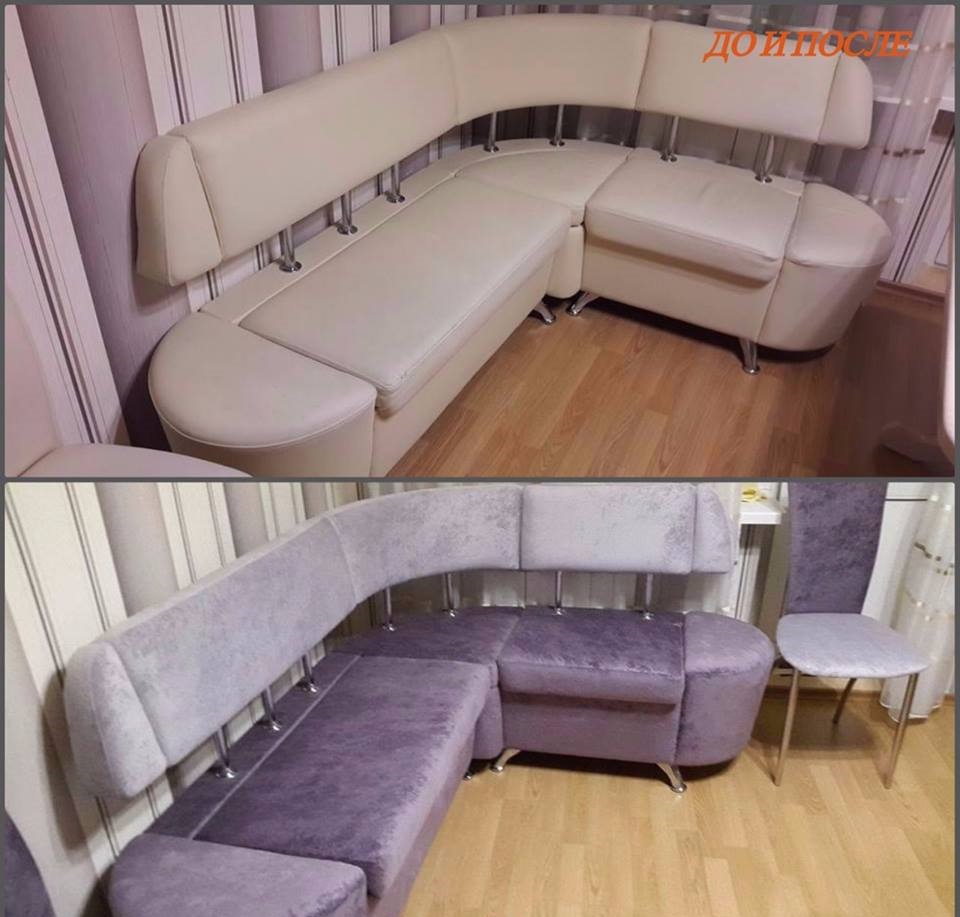
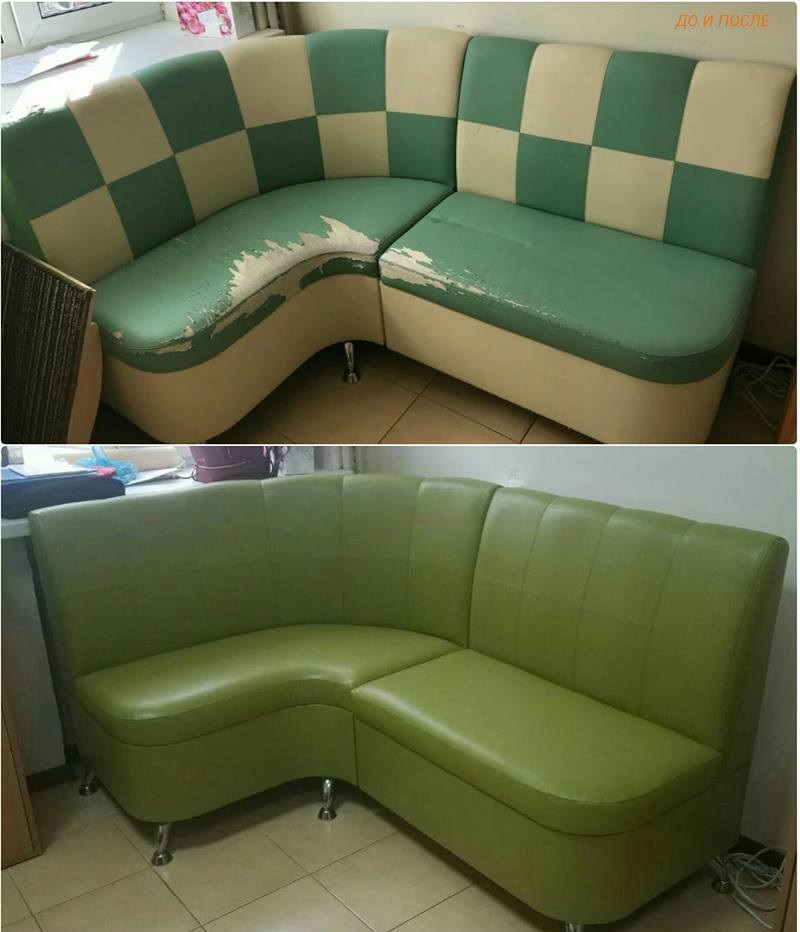
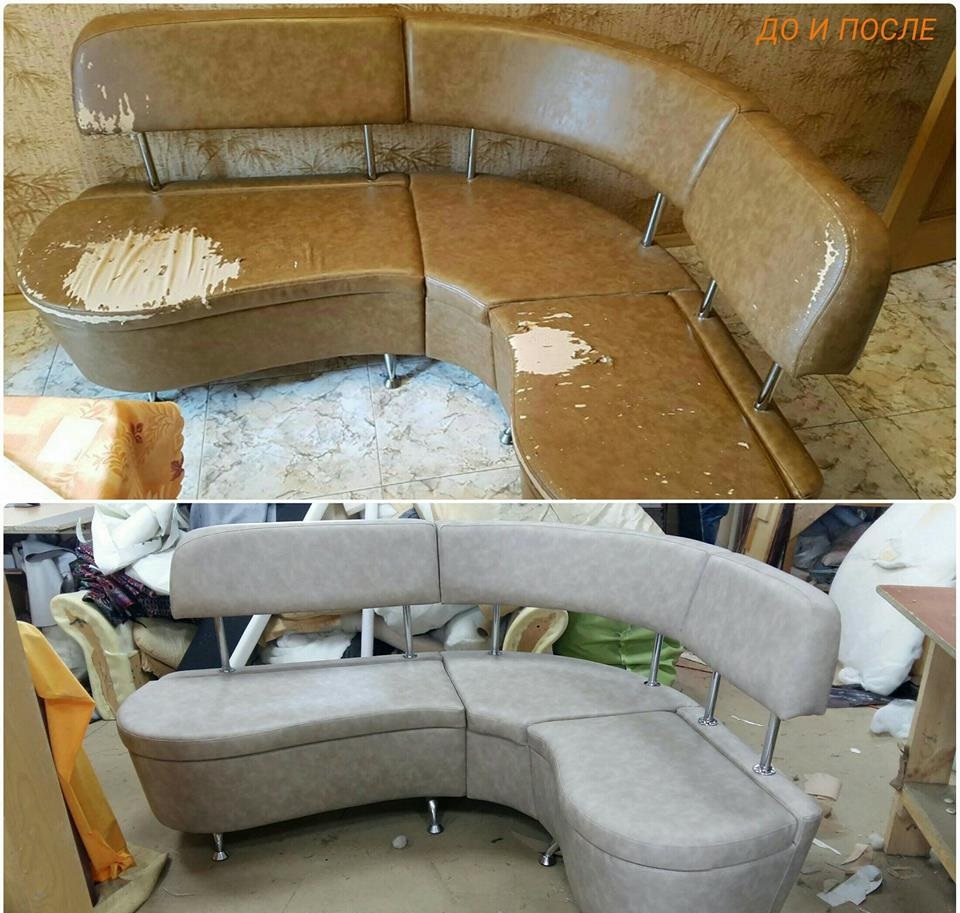
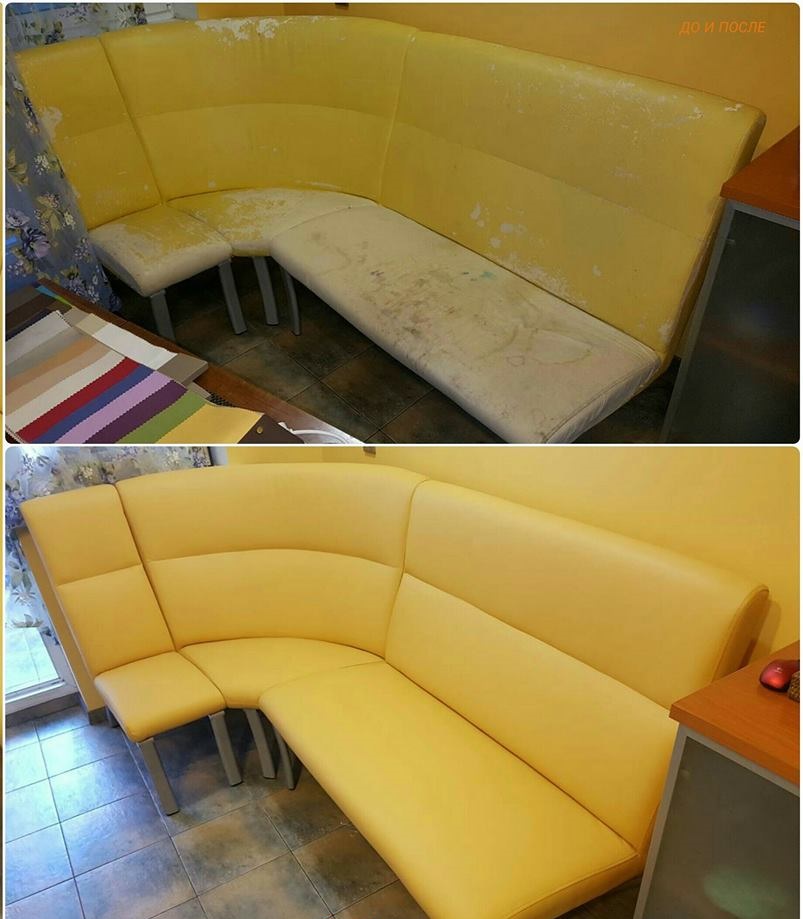
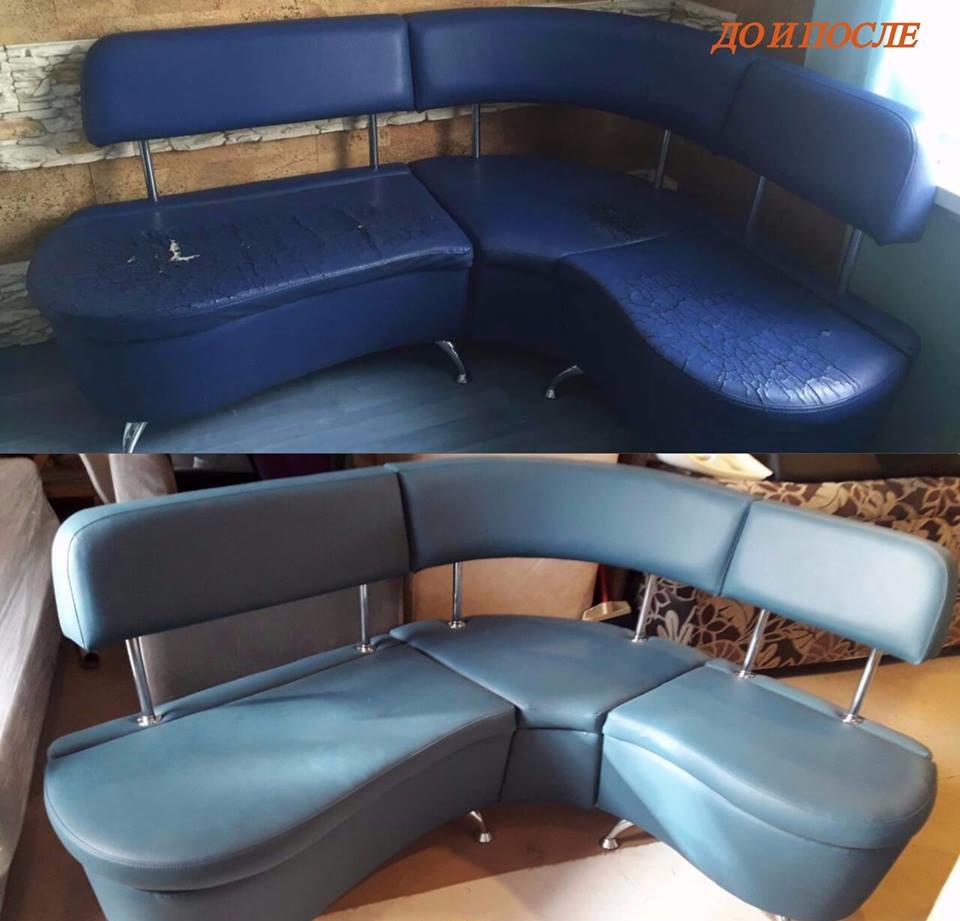
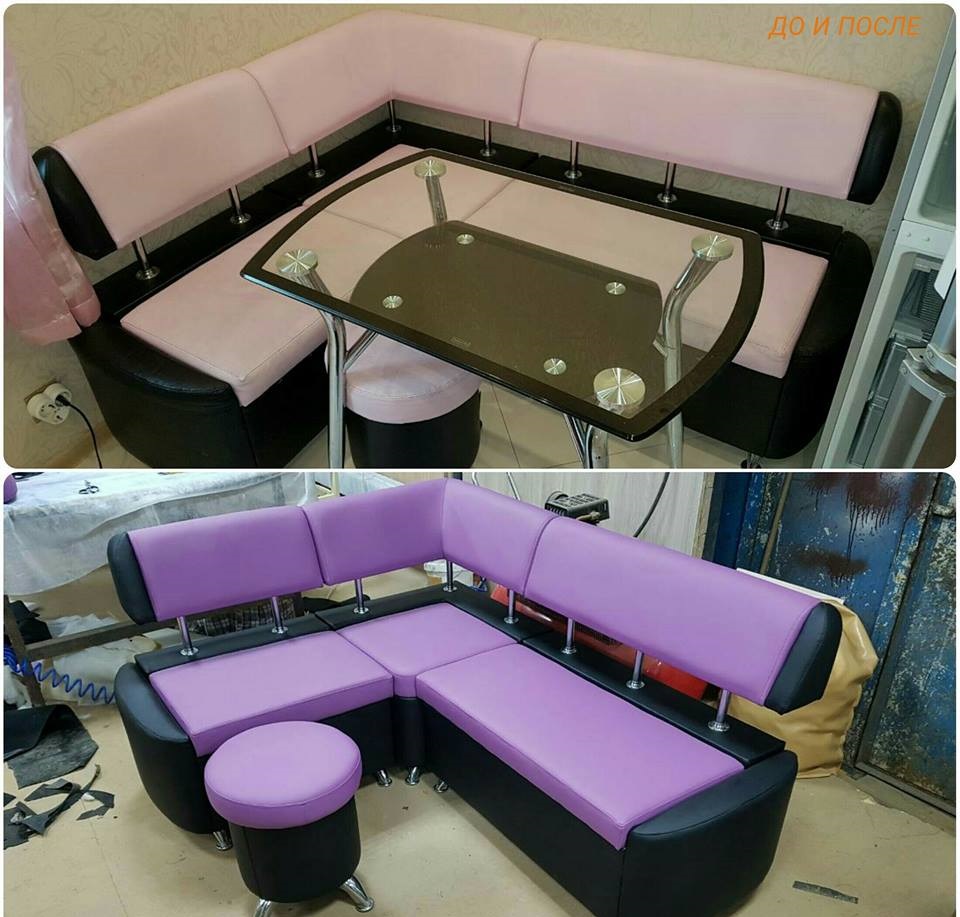
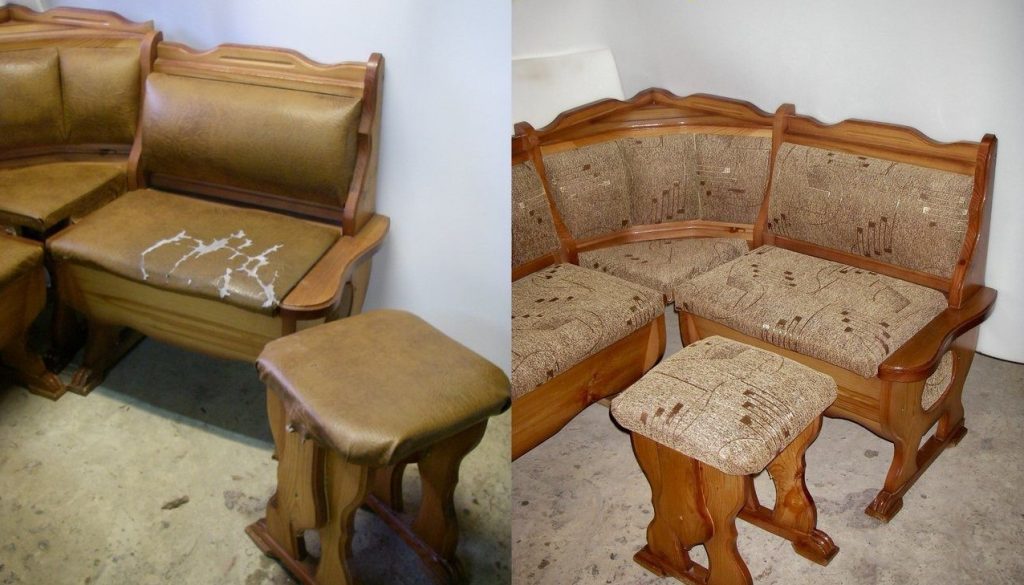
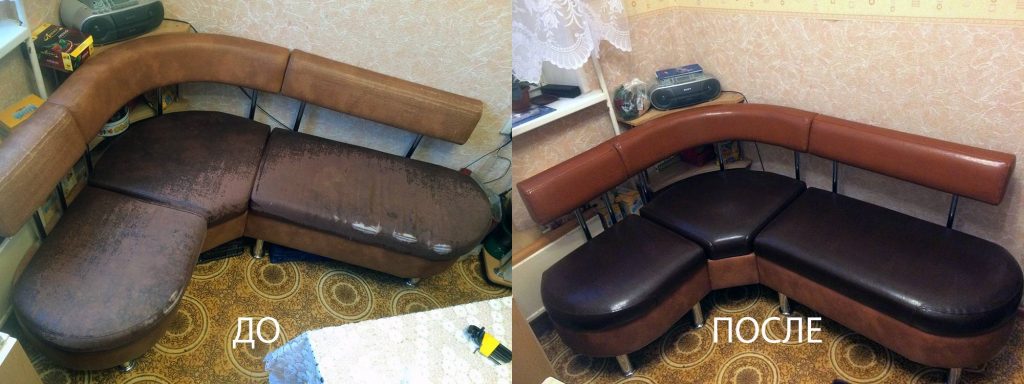
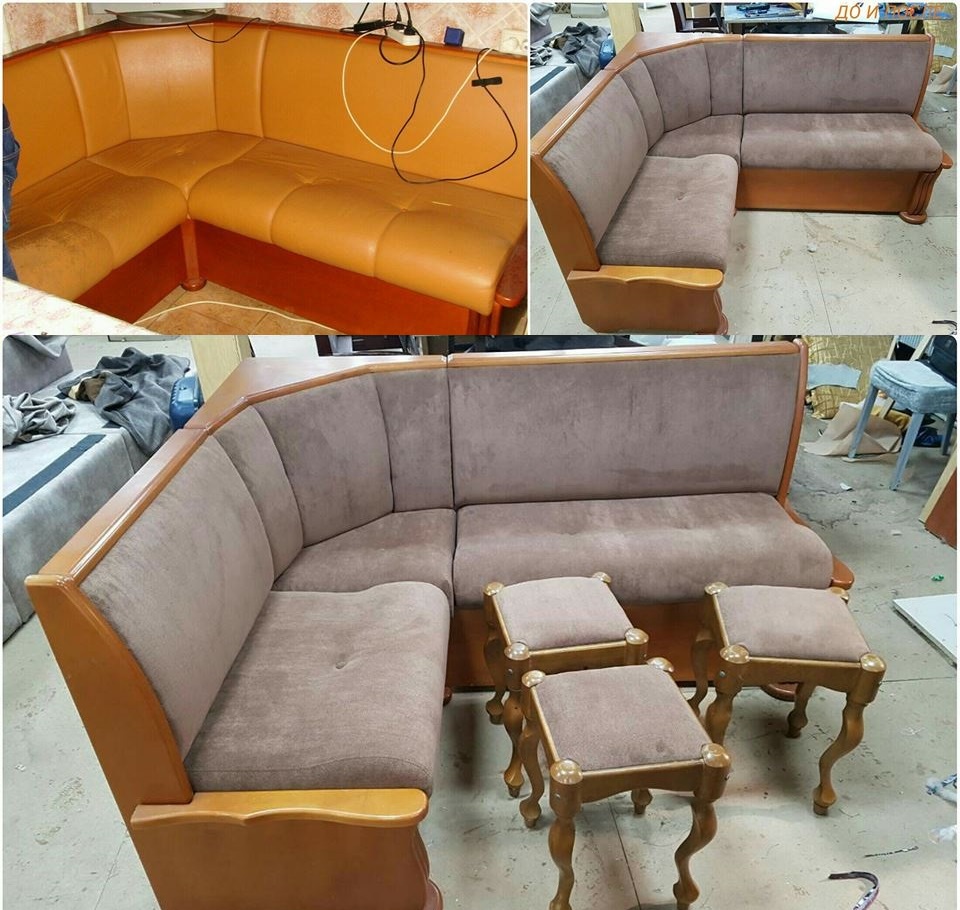
A photo


 (votes: 1, average rating: 5,00 out of 5)