Options for furniture restoration in the kitchen, expert advice
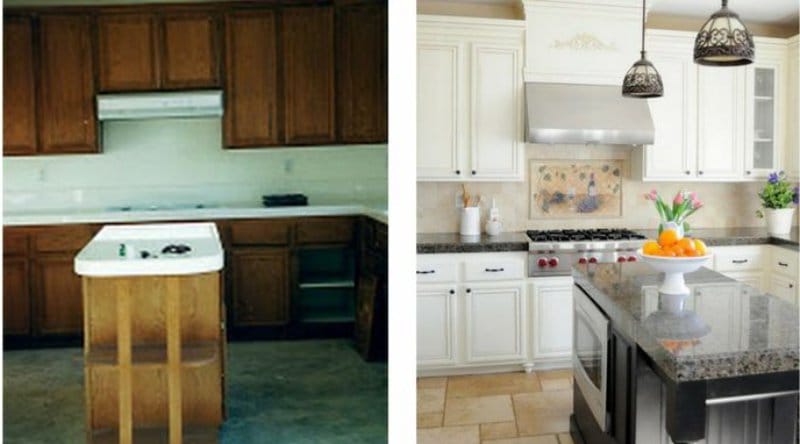
Sooner or later, any household item wears out and needs to be replaced or improved. It is the restoration of kitchen furniture that is the type of repair that everyone can do with their own hands, without using expensive materials or technologies.
Content
When restoration of a kitchen set is necessary
If your kitchen unit still properly performs its declared functions, but you began to notice that:
- the furniture case is still strong, meets all the necessary requirements, but the appearance of the furniture facades leaves much to be desired;
- some parts of the furniture became unusable due to external influences - the countertop cracked and deformed, traces of hot spots or greasy spots formed on the surface;
- the headset is just outdated and tired;
- You do not have the opportunity to spend money on the purchase of a more modern kit.
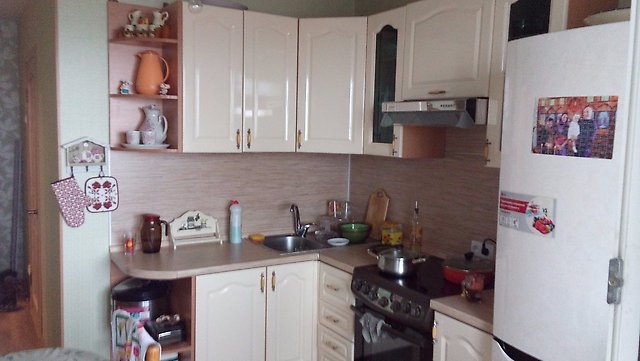
It is in this case that restoration is necessary. Do-it-yourself repair of kitchen furniture is a very real way out of the situation.

Restoration Options
There are many ways to give old furniture an elegant, updated look. Depending on your own creativity, you can create a real masterpiece of design art from an unremarkable model bedside table. Or you can just tidy up the outside of the kitchen. Our tips will help you translate your ideas, regardless of their degree of complexity.
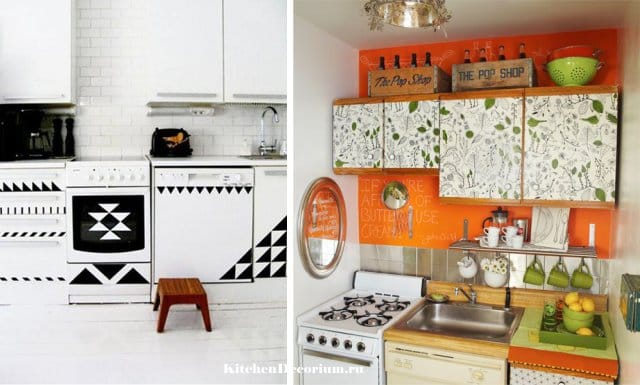
Self-adhesive film
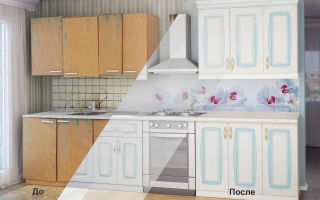
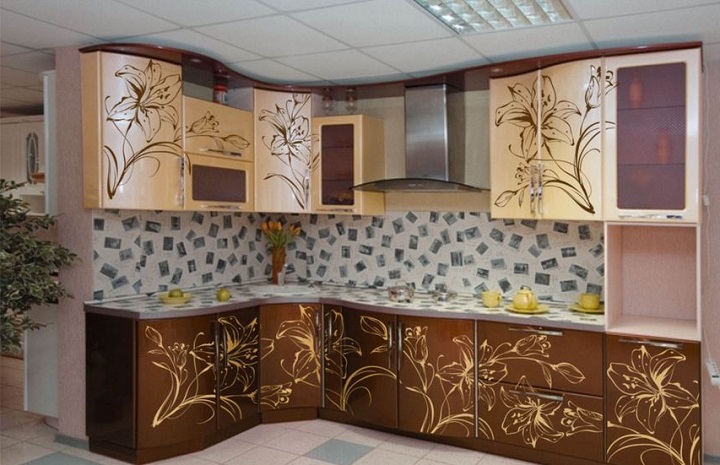
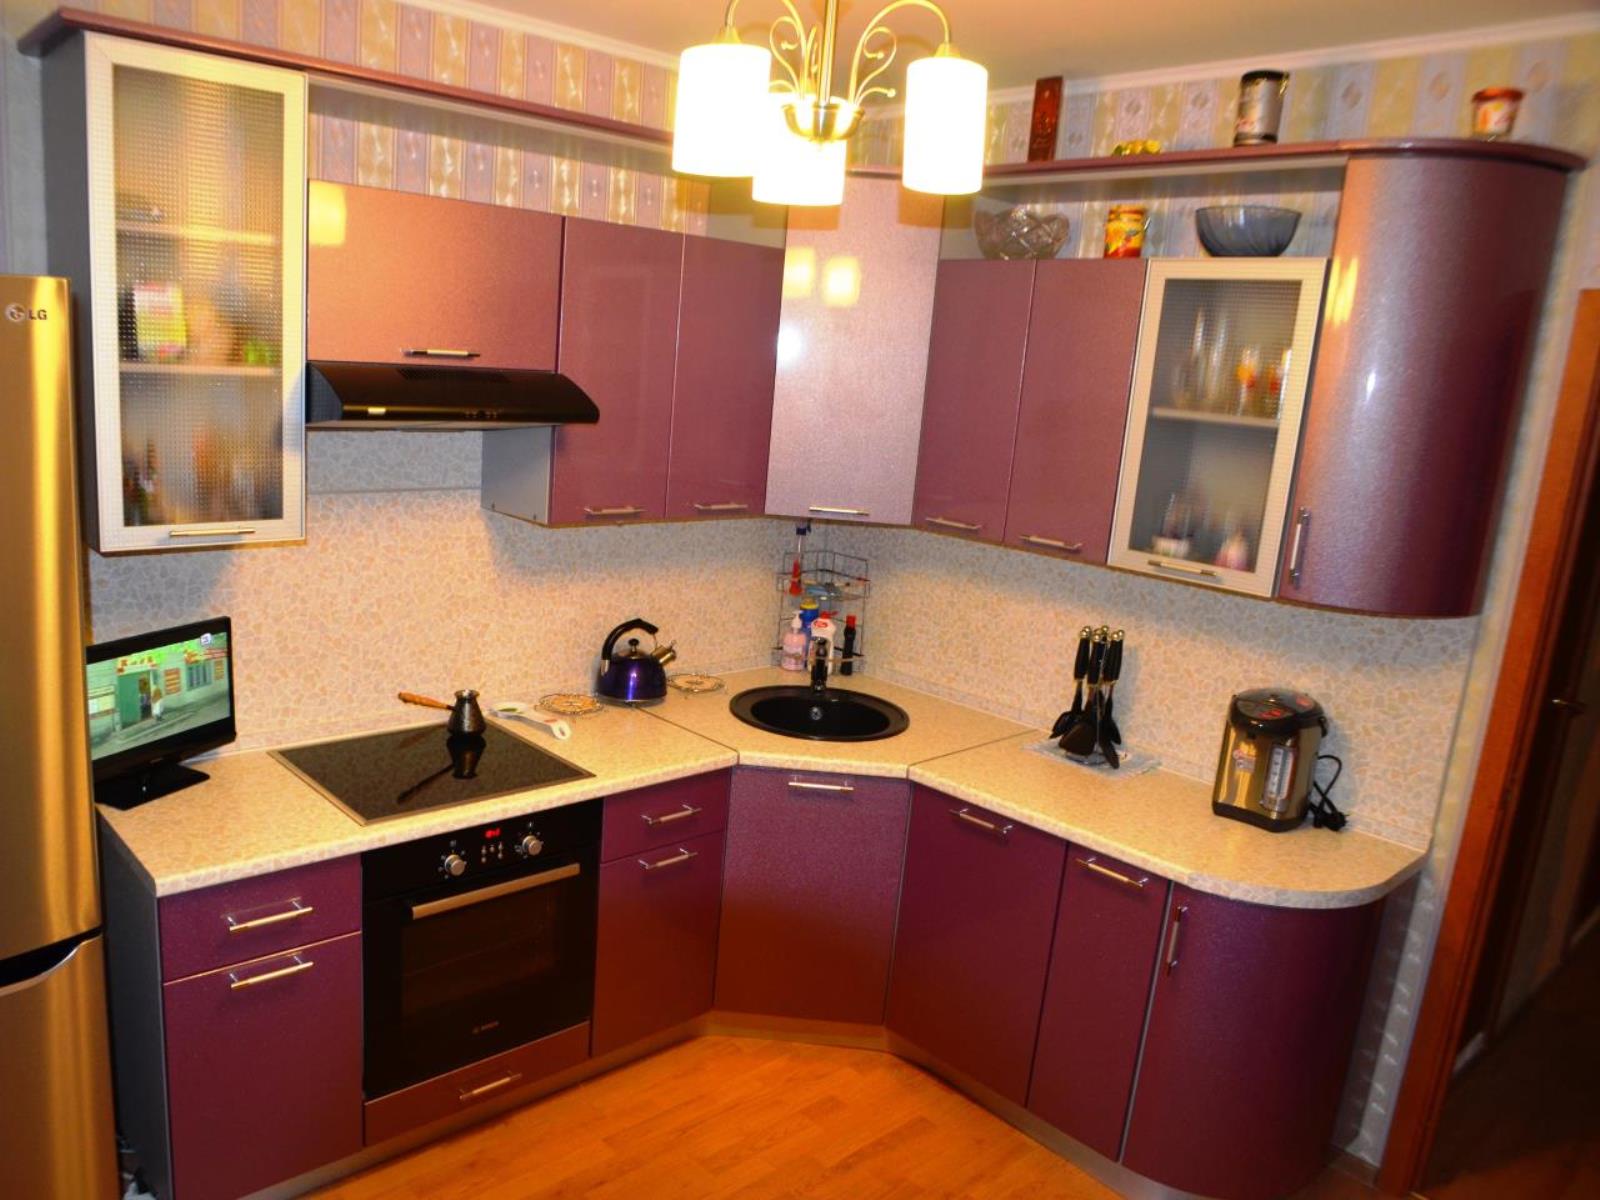
A simple and inexpensive repair option. Applicable in the case when you want to quickly and inexpensively update the appearance of furniture facades. To date, dozens of options for self-gluing of different quality, colors, at different prices are on sale. Self-adhesive vinyl films are durable, resistant to moisture and temperature changes, they do not lose their color and do not fade. In order for the film to smoothly and efficiently cover the surface of your furniture, first remove the facades, remove the fittings and degrease the surface. Having laid the boards out on a horizontal plane, carefully remove the protective layer, while straightening the film with your hand or a spatula. Air bubbles can be removed by carefully piercing them with a thin metal needle.
If you didn’t succeed in gluing the film correctly the first time, do not use the damaged piece anymore. With repeated use, the connection of the material with the surface will be even worse, and your furniture will become sloppy, messy. A photo of a kitchen set restored with a self-adhesive film can be seen in the selection.
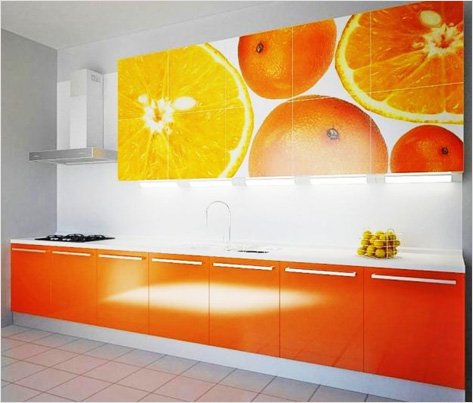
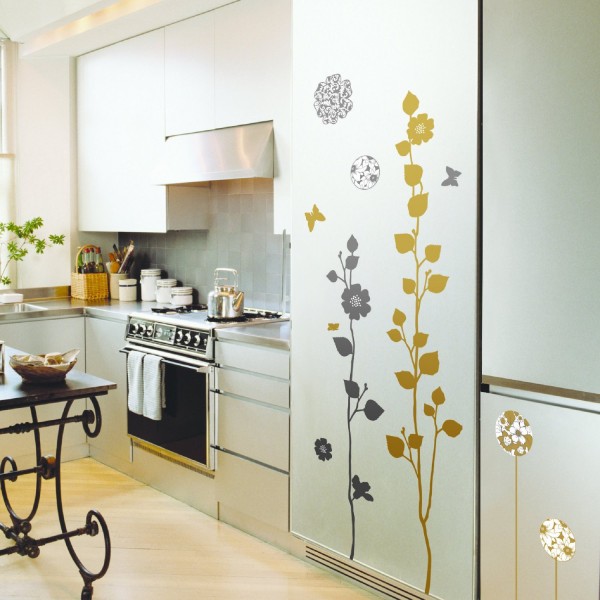
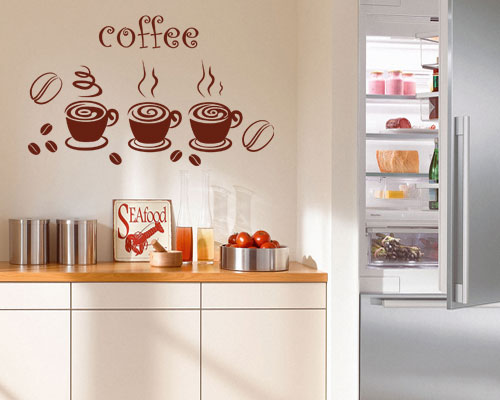
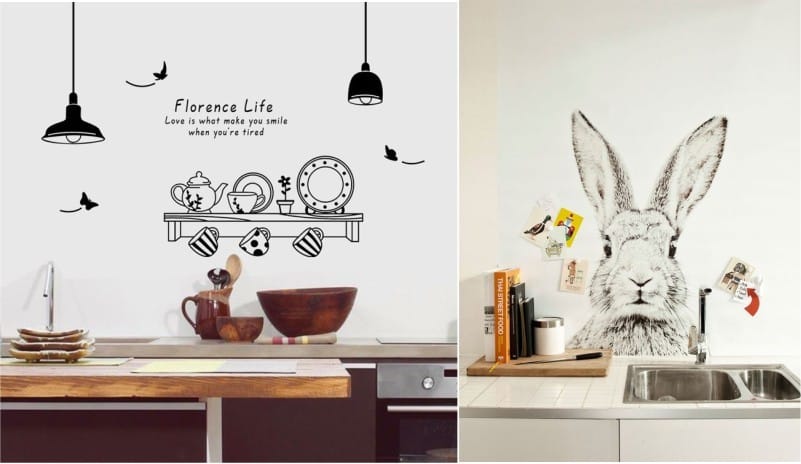
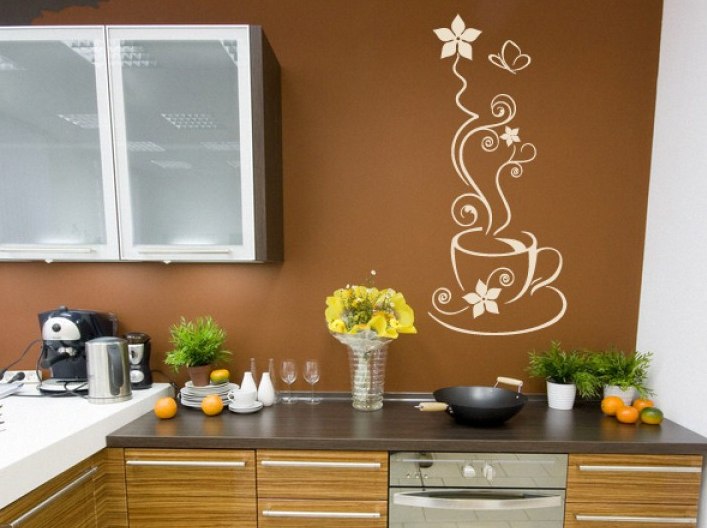
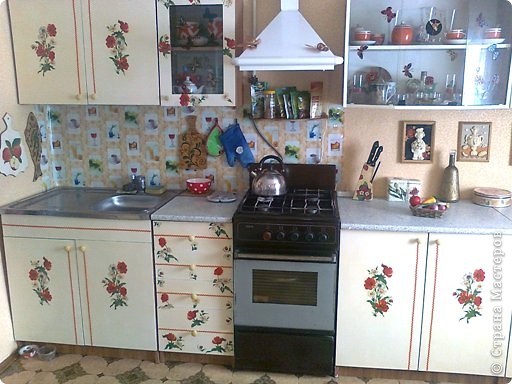
Interior stickers
Perhaps the best way to restore small, local furniture defects. You can choose stickers of various sizes and contents. To decorate the kitchen set, drawings on the restaurant theme are suitable - bright fruits, berries, sweets or beautiful dishes. Such stickers are a kind of self-adhesive film, but a reduced size. The principle of application is the same - remove the protective layer and carefully straighten it on the fat-free surface of the furniture. If necessary, the drawings can be easily removed using special alcohol-based degreasers for this.
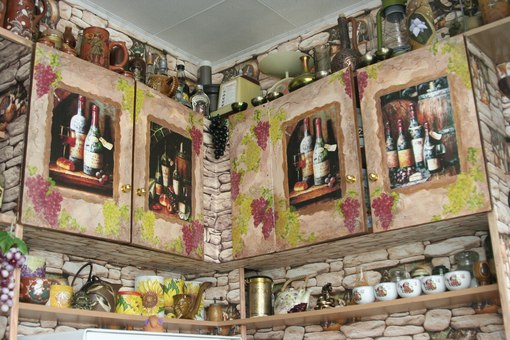
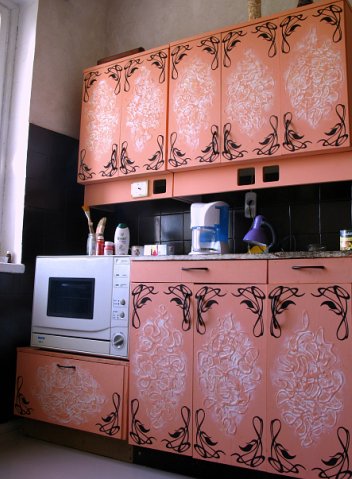
Decoupage
Decoupage is the most creative way to tidy up your old kitchen furniture with your own hands. Decoupage technique dates back to the 15th century Germany. Although the name of this method is French and literally means "cut." This is the main principle of the process - we cut out the pictures and apply them to the surface. You can decouple everything that has a sufficient plane. It can be dishes, clothes, books, decor items or, as in our case, kitchen furniture. Making such decorations is not difficult even for a beginner. You must choose the basis to your liking. It can be pictures from magazines, photographs, paper napkins. Kitchen cabinets decorated with old newspapers look very original. Apply a little special decoupage glue to the facade and distribute the clippings as you wish. After complete solidification (about 8 hours), the surface must be varnished.
An interesting solution will be the decoupage of the kitchen table with clippings from culinary publications. Then, sipping your evening tea, you will not only relax, but also spend time with benefits, learning new secrets of the art of cooking. Photos of the kitchen decorated using decoupage technique are presented below.

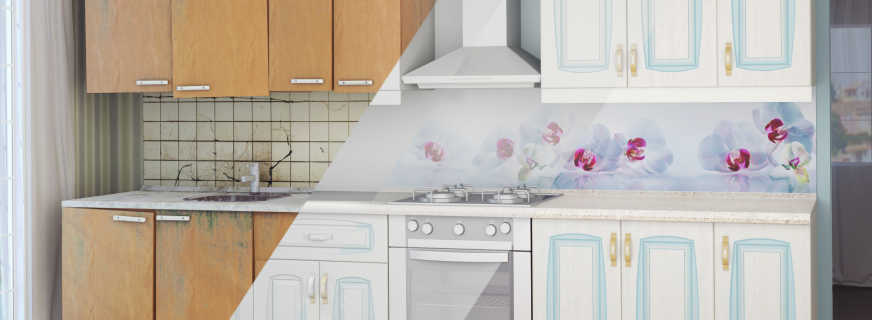
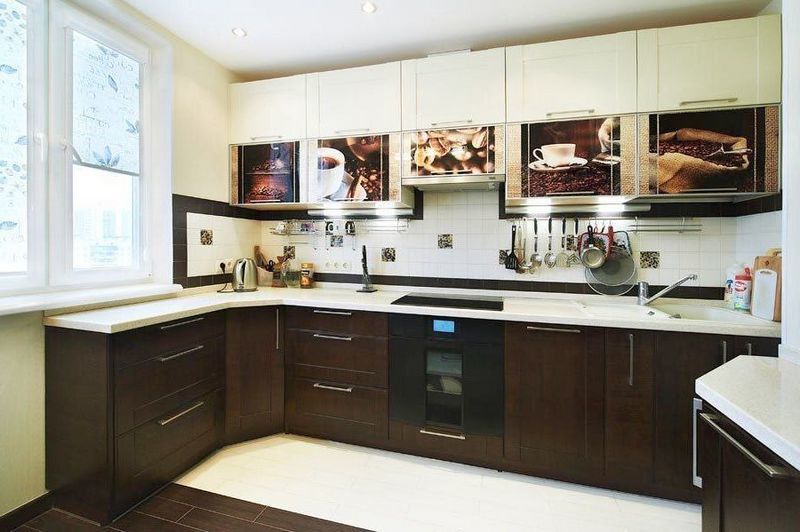
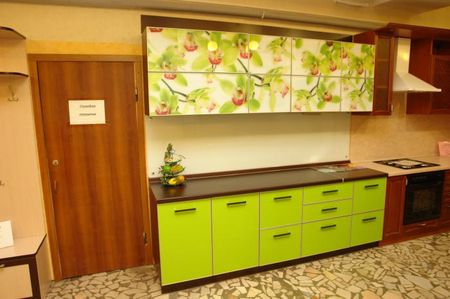
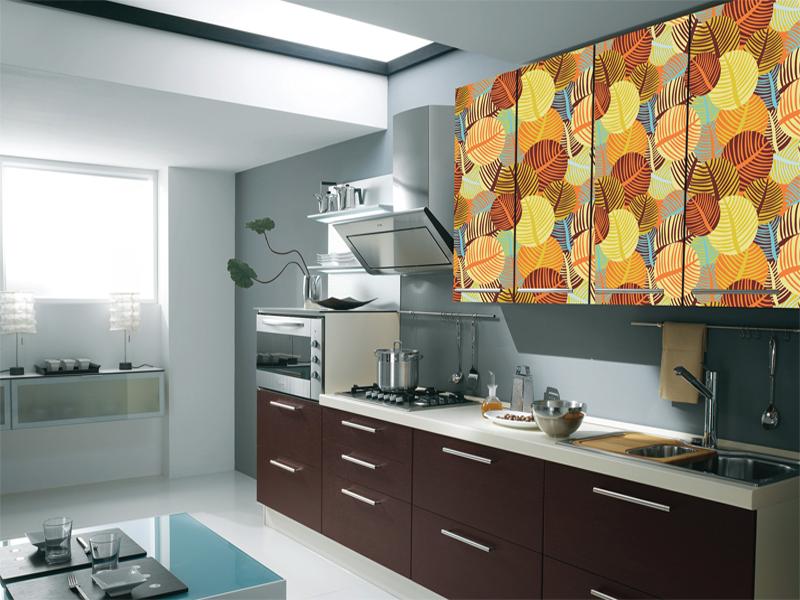
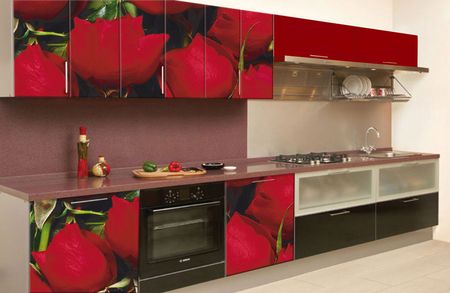
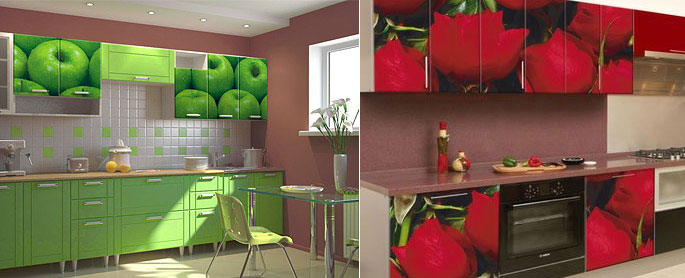
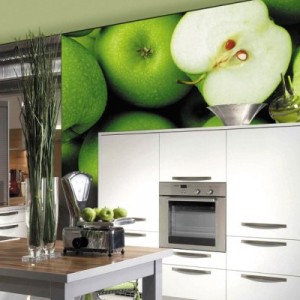
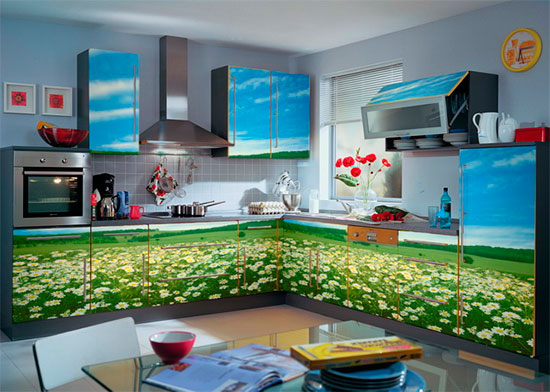
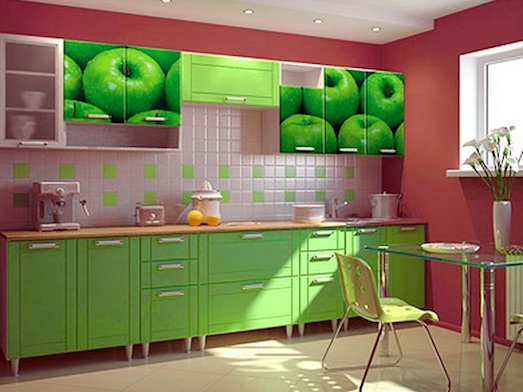
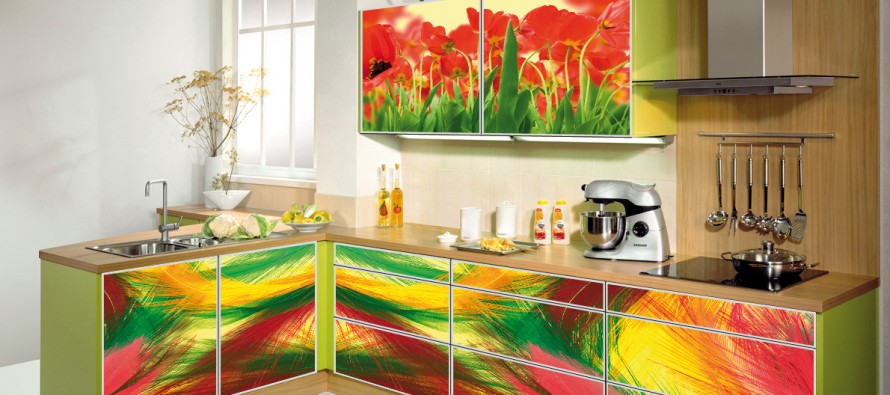
Photowall-paper
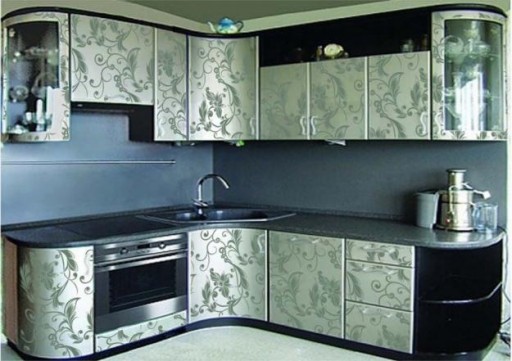
If you have chosen this option of restoring kitchen furniture at home, take seriously the choice of photo wallpaper for furniture. Do not forget that the kitchen is a place of high humidity and constant temperature changes. Thus, materials for the restoration of old furniture must be wear-resistant, moisture-resistant, not emit any harmful fumes under the influence of hot air. Under such criteria, vinyl-based murals with an additional protective layer are optimally suited. You do not need to choose a wallpaper for your kitchen set with a silky or linen texture. Such materials can quickly absorb odors and wear with constant contact. It is better to decorate the kitchen with wallpaper with a smooth surface - it will be easier to care for them.
If your set is located in a room with low ceilings - use wallpaper with an elongated silhouette in the furniture decor, for example, with towers, tall trees or flowers on long stems. All this will help visually increase the height of the room.
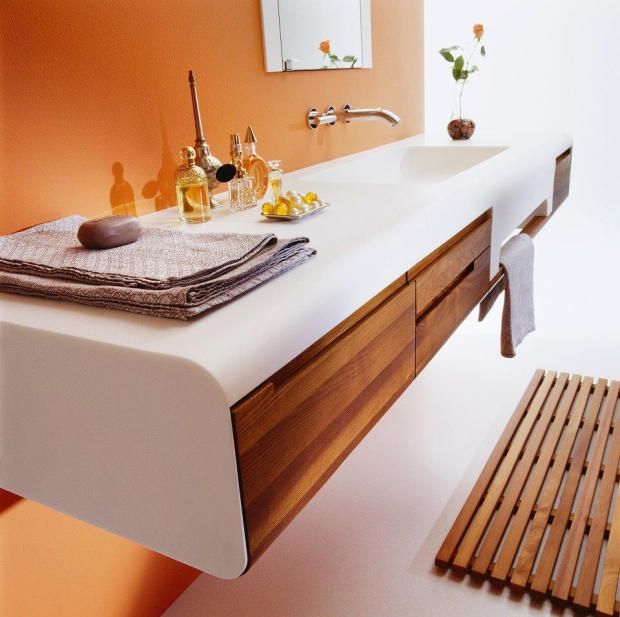
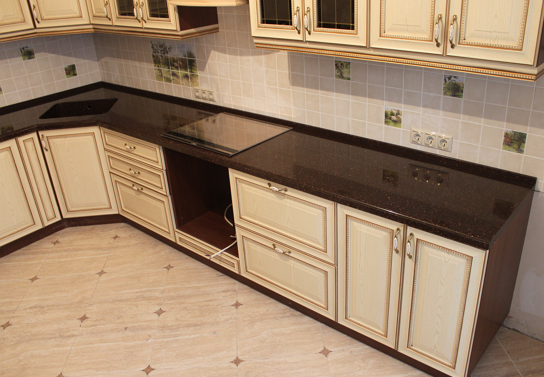
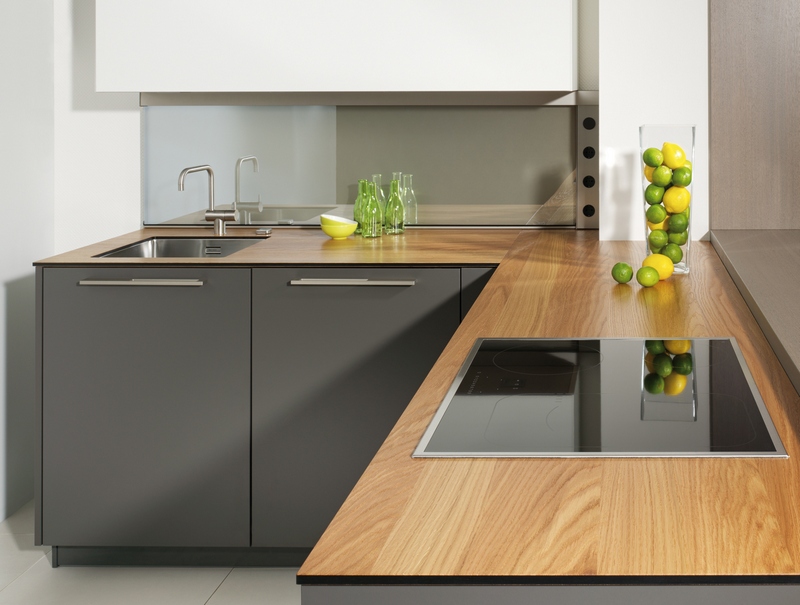
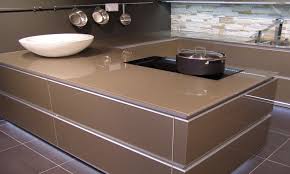
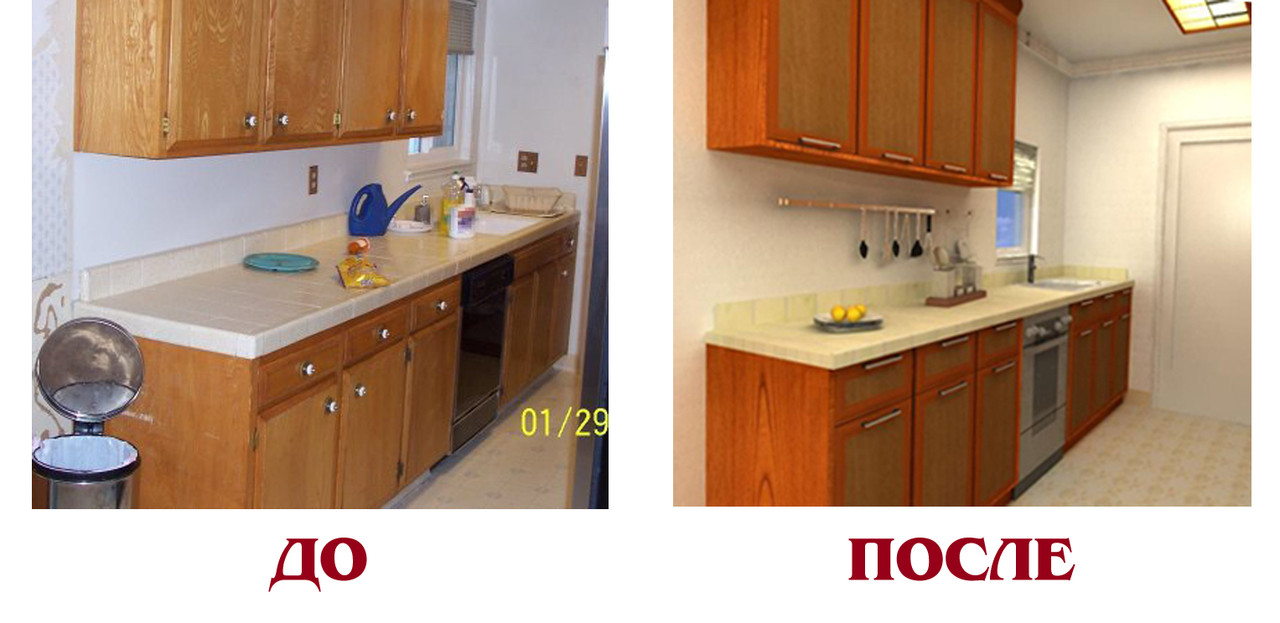
Installing a new countertop
A worktop is one of the most commonly used elements of kitchen furniture. It is on it that we cut food, beat meat, here we put heavy dishes or kitchen appliances. In general, a countertop is precisely that piece of furniture that we can not do without. Of course, not every material is capable of experiencing such a strong load for a long time. Therefore, in order to return functionality and beauty to our work surface, we update the countertop. There are several ways to do this:
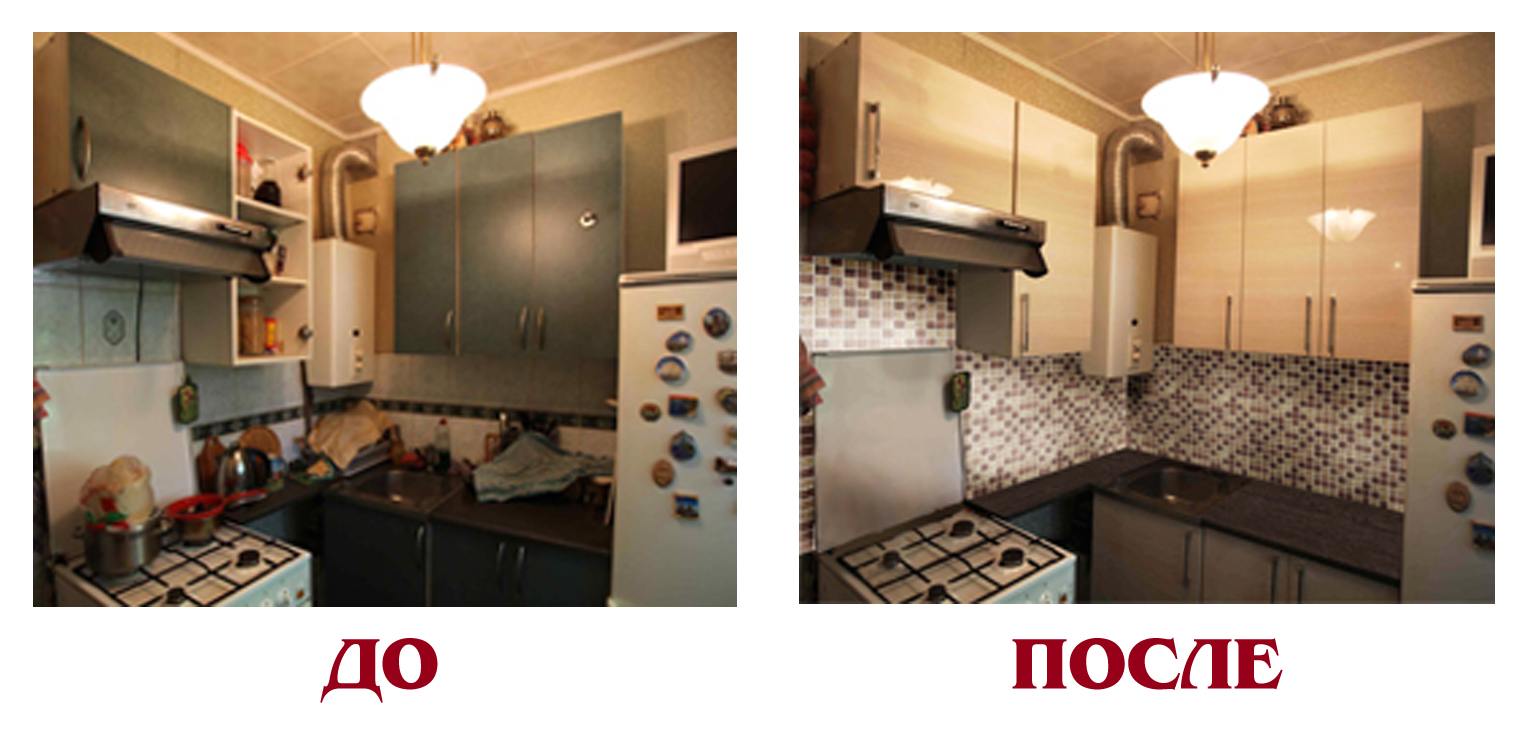
- decorating with ceramic tiles - clean the wooden surface well, use a grinder to eliminate all bumps and defects. After that, apply special glue and lay out the mosaic. The type and thickness of the tile depends on your preferences, but the laying method should be one - very tight, leaving minimal gaps. After the glue has dried and the surfaces will set firmly (it will take at least 6 hours), grout the joints. If desired, can be varnished on top - this will give additional attractiveness and serve as a protective layer;
- glass and fillers - this is an option for extraordinary, creative personalities who are trying to make every centimeter of space original and different. Gently glue several wooden slats placed on the edge onto a clean countertop surface. Thus divide the area into several sectors. Fill the pockets with fillers. Coins, beads, pebbles, shells or other small objects of the same shape can act as a filler. From above on all this beauty lay the tempered shock-resistant glass. Fasten or glue it — the original table is ready at no particular cost. Photos of countertops with filler can be viewed in a selection with examples;
- paint and varnish is the easiest and most common way for most of us to repair the old countertops. Remove the remaining varnish from the furniture with sandpaper, degrease and cover the entire surface with acrylic paint. In order to give this simple process a little variety - apply paint using stencils. They can be purchased at any hardware store. After the drawing has dried - open with varnish. If you want to leave a wooden thing its natural, natural shade - use a stain.
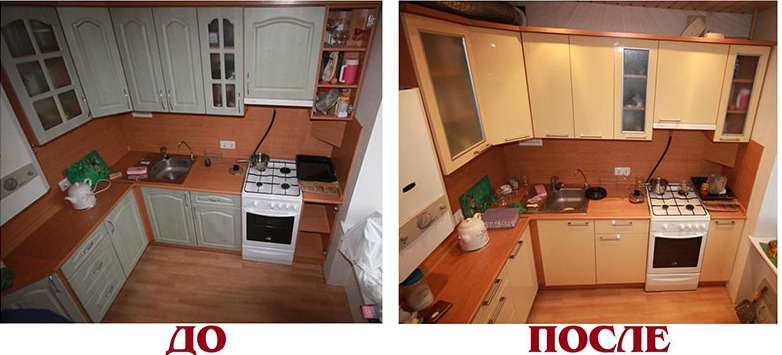
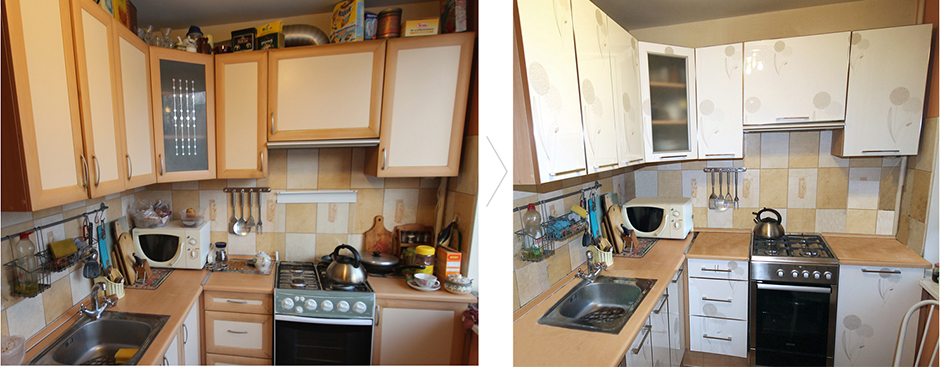
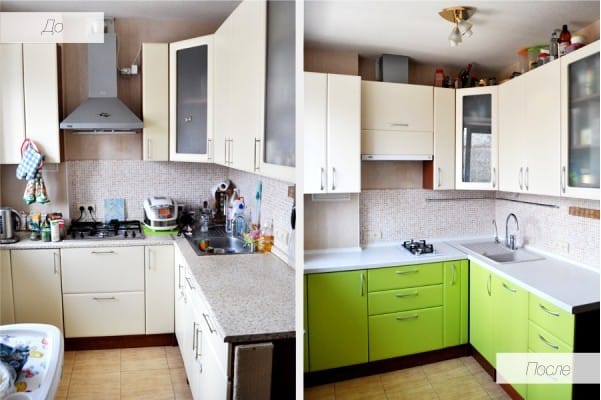
Facade replacement
Replacing a furniture facade is a way for those who are not happy with the restoration of kitchen furniture facades on their own. Factory furniture often has interchangeable elements. Therefore, picking up new facades in a furniture warehouse will not be difficult. The main thing is to correctly take measurements of old furniture designs. If you did not find suitable products for sale, you will have to make an order individually.
Although this repair method is the most expensive, but it is still several times less than the cost of a new kit. By updating the furniture facades in this way, you will get a practically new kitchen set, saving money.
The nuances of working with natural wood
Furniture made of real solid wood is a classic version that does not lose its appeal and practicality over the years. The tree is very durable, resistant to environmental influences, environmentally friendly material, having a presentable appearance and long service life.
When repairing kitchens made of natural wood, it is necessary to adhere to a few simple but effective rules:
- if we find scratches or small cracks on the tree, we immediately restore the surface with furniture wax. Otherwise, there is a risk that the tree will begin to dry out in a damaged place;
- if it is necessary to eliminate cleavage, a putty for wood will help. Apply it layer by layer until the surface is level. After complete drying, treat the defect with emery and varnish;
- restoration of the damaged lacquer layer - this often happens in places where the tree was subjected to severe mechanical damage. Just fill the deformed area with a layer of transparent varnish and let dry.
Natural wood is an expensive material, the work with which requires special knowledge and skills. In order to be sure of the correct approach to repair, it is better to contact professionals.
The main condition for extending the life of wood furniture and maintaining its external attractiveness is proper care of the products:
- Do not use abrasives or solvents. To clean the surface, use only soft tissue wipes moistened with a mild soap solution;
- Do not allow hot steam or moisture to accumulate in the kitchen. The optimal percentage of moisture for natural wood is not higher than 70 percent;
- Do not place hot utensils on the surface of solid wood furniture;
- carry out minor repairs of furniture regularly - overwrite scratches, cover the wood with mastic, and check the fasteners.
Making the restoration of kitchen furniture with your own hands, you will not only save the family budget, but also be able to realize your artistic ideas and ambitions. Original decor, choice of colors, own design will turn the work not into a banal furniture repair, but into a real creative process.
Video