How to attach a countertop to the kitchen table, step by step guide
Professional furniture repairs are quite expensive. Therefore, people often try to produce it themselves. Each master should know how the countertop is attached to the kitchen tables, because these products fail especially often, especially under intense loads. For successful work, you need to choose the right tools and materials. It is important to clearly understand the step-by-step algorithm of actions.
Content
Basic fasteners
To install the tabletop, you will need several varieties of fasteners. Their number depends on the size and shape of the plate attached to the table. The master must prepare in advance:
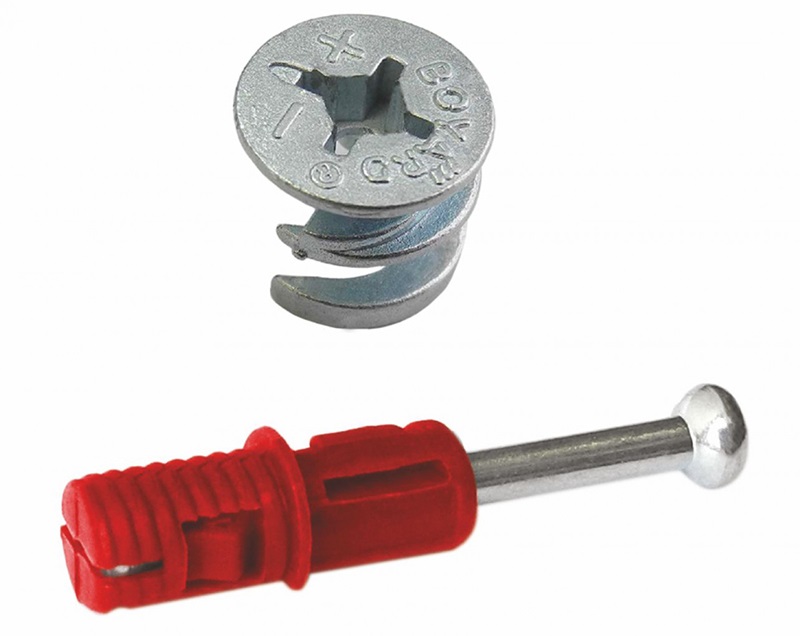
- Dowels These are elongated parts with locks connecting several elements into one monolithic structure.
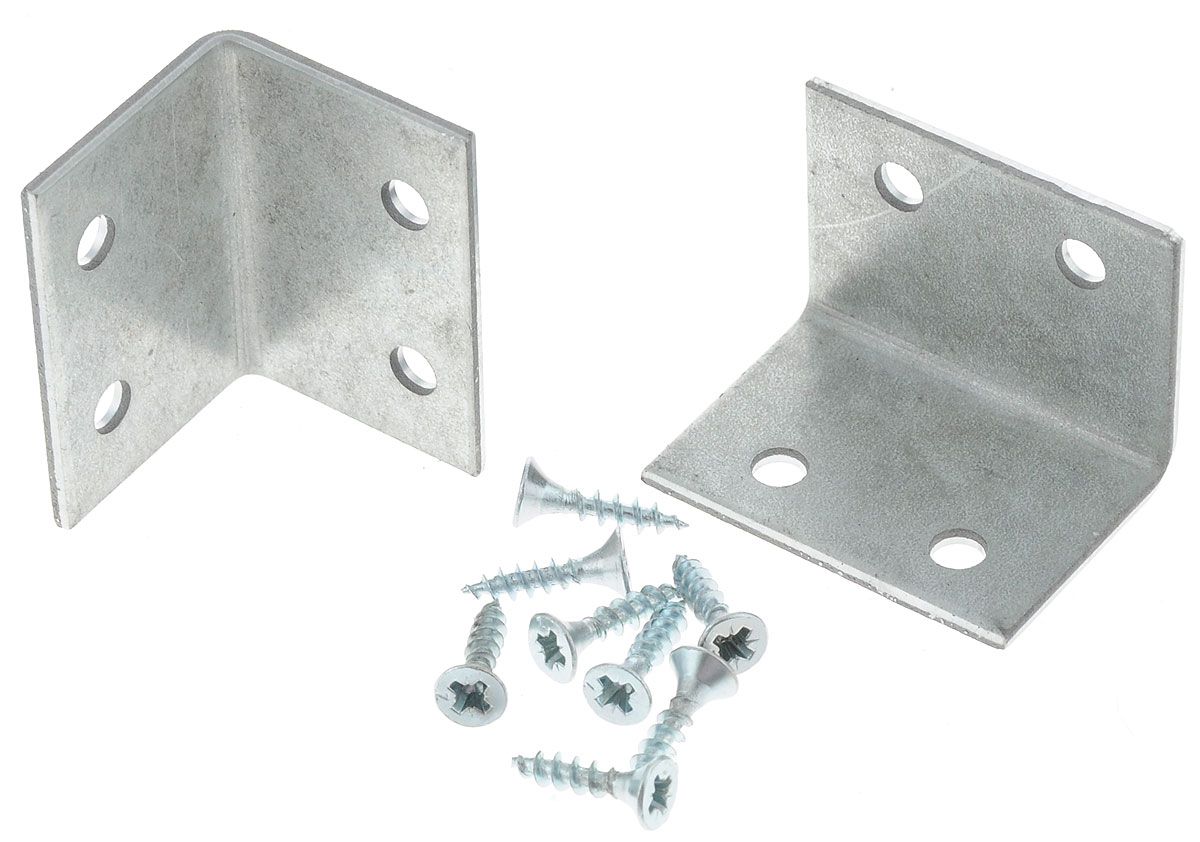
- Metal or plastic corners with self-tapping screws - two thin plates connected perpendicular to each other. Used to prevent deflection when working with chipboard.
- Eccentrics. These are cylindrical bushings with caps for screwing the tabletop to the base.
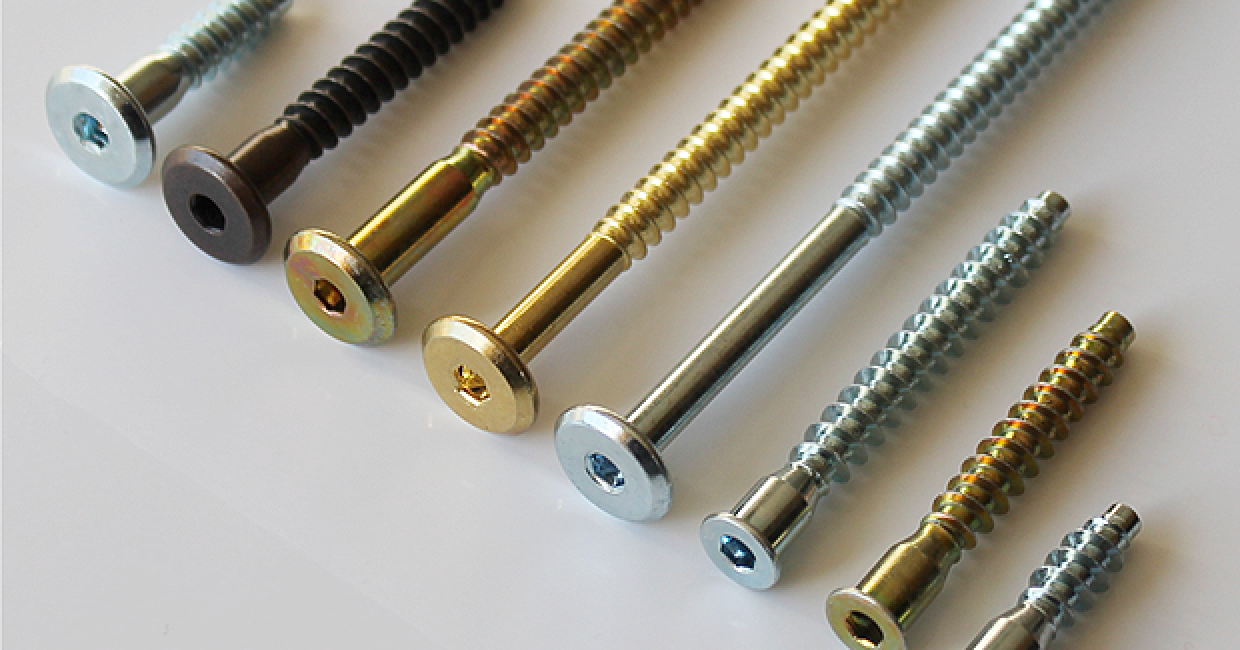
- Eurobolts - long screws used to tighten corners.
Also, mounts can be combined. For this, two types of joints are simultaneously used - mechanical and adhesive. In this case, the tongues are used together with the corners. This method is considered one of the most reliable when working with chipboard. It is it that is most often used by professional craftsmen for the repair and installation of furniture.

Materials and Tools
When working with a worktop from chipboard you will need:
- Glue. It must be of high strength, as it is used to connect parts.
- Silicone It makes the surface smooth, used to lubricate the ends.
- Sealant. Prevents air from entering the holes, needed to fill voids.
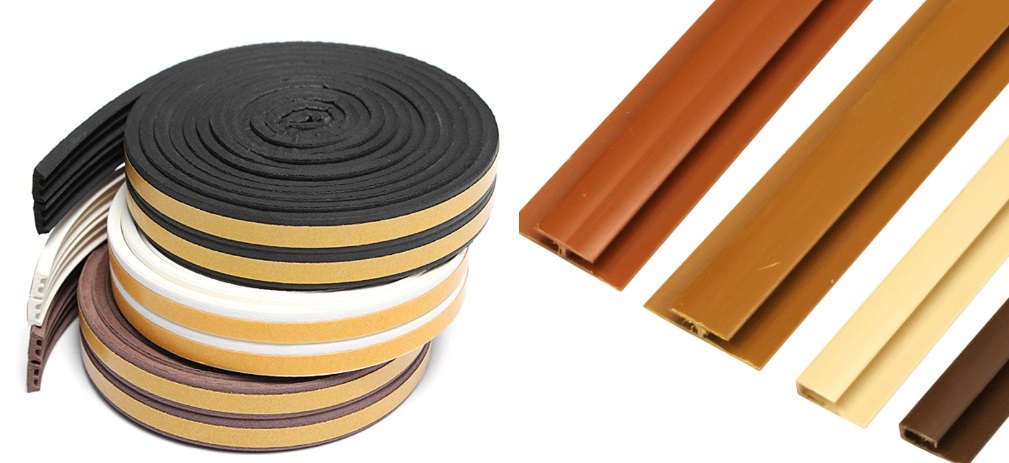
In order for the plate to be installed securely, it is necessary to prepare sealing tapes, a connecting profile.
| Tool name | At what stage is applied |
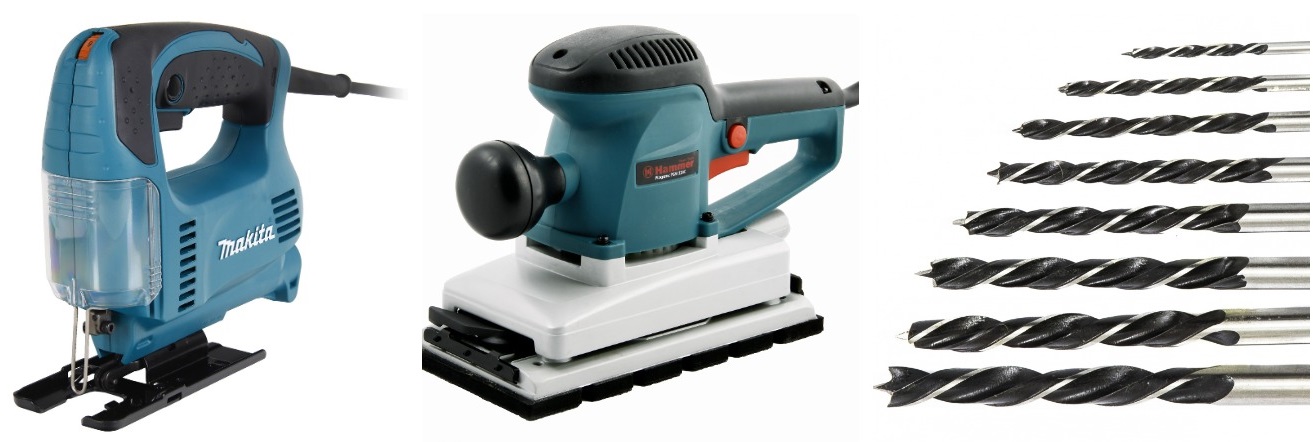
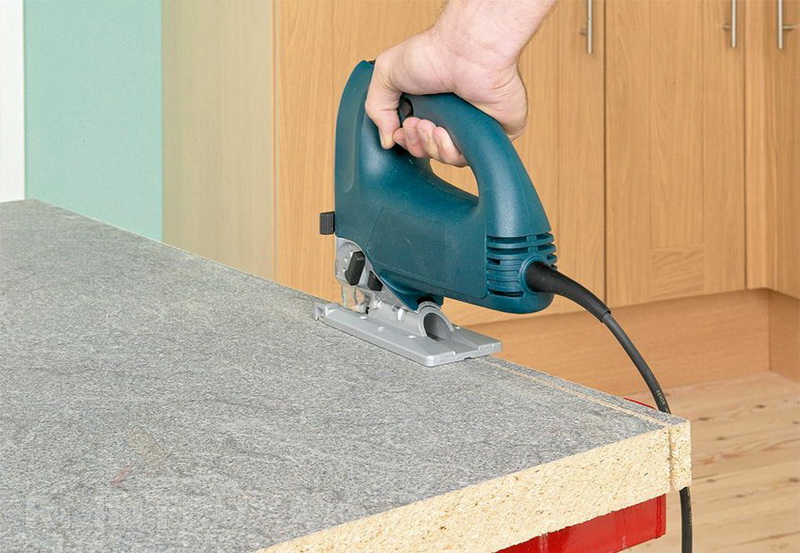
Electric jigsaw, grinder, drills | Preparatory work |
Aluminum connection strips in various sizes | Docking parts to each other |
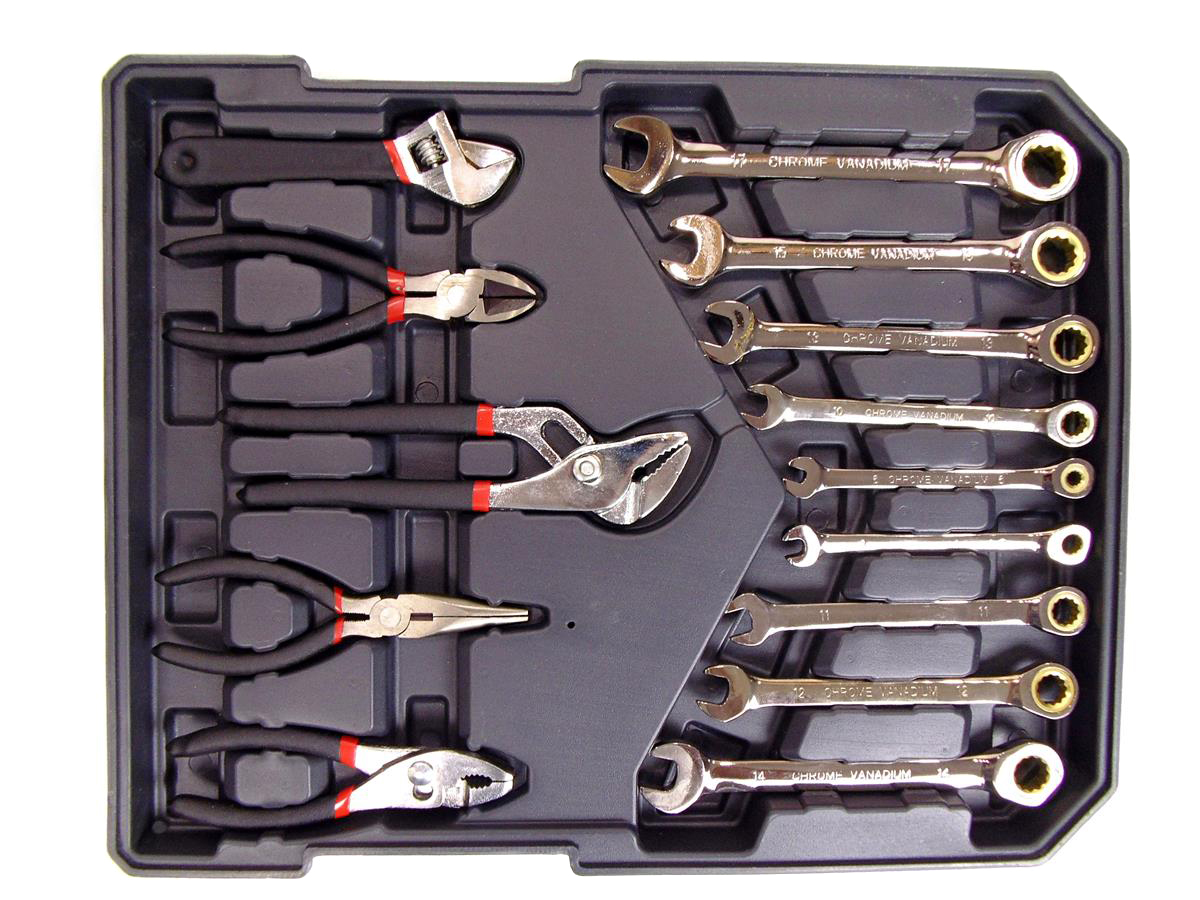
Face saw, pliers | Installation of a cloth |
Screwdrivers of different calibers, hammer | Plinth Installation |
It is necessary to prepare nippers in advance, a standard set of keys. To perform measurements at the first stage of work, you will need a tape measure and a metal square. To mark the material in the right places, you should use a marker that writes well on chipboard.


Work stages
Installation of countertops from chipboard or MDF is carried out in stages. The work is carried out in a clear sequence. Before you begin, you should carefully read the practical guide.
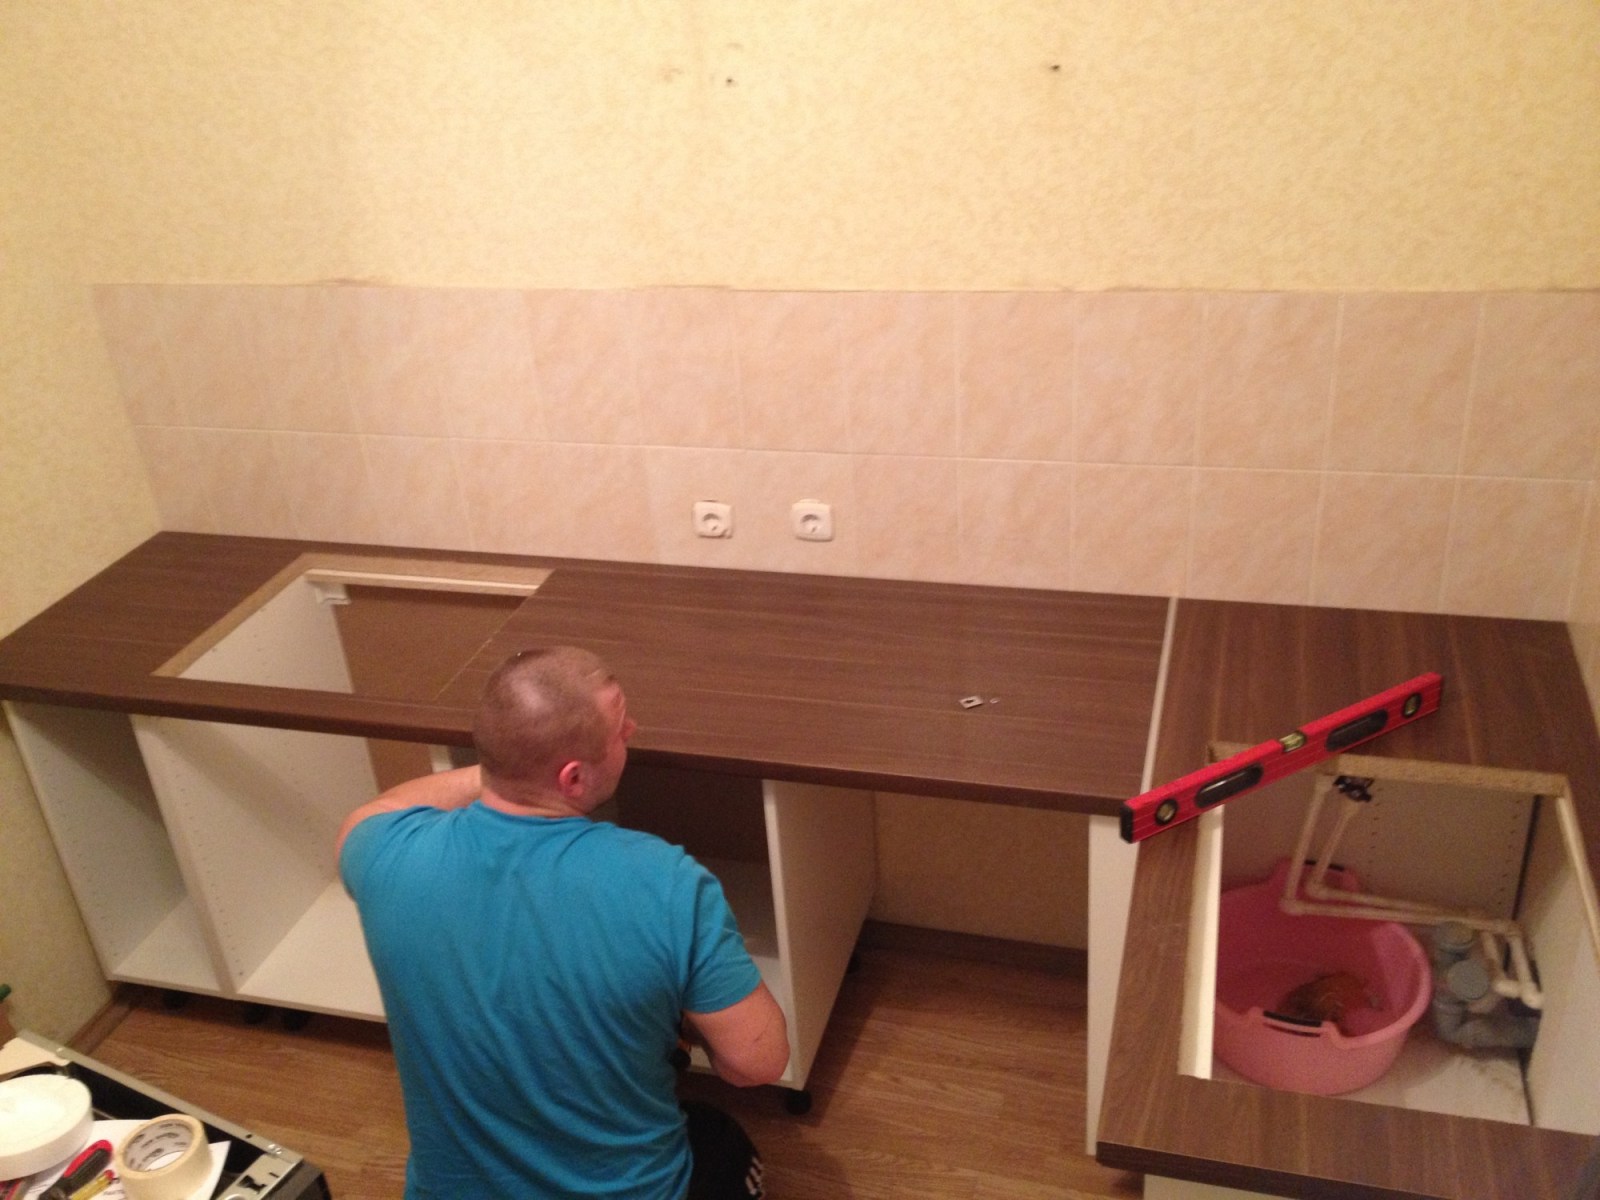
Training
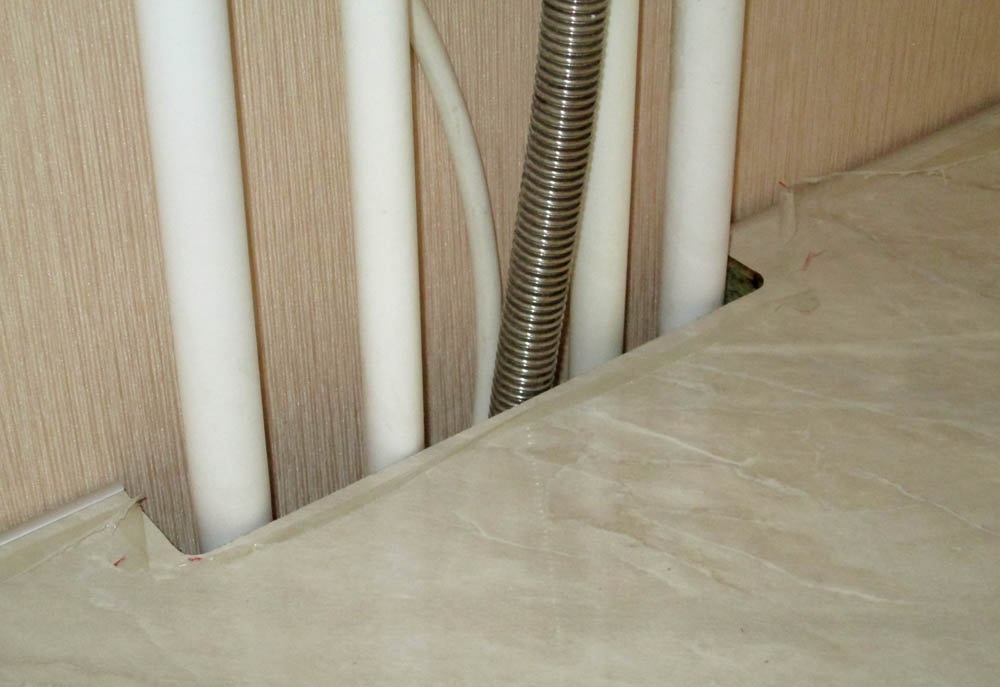
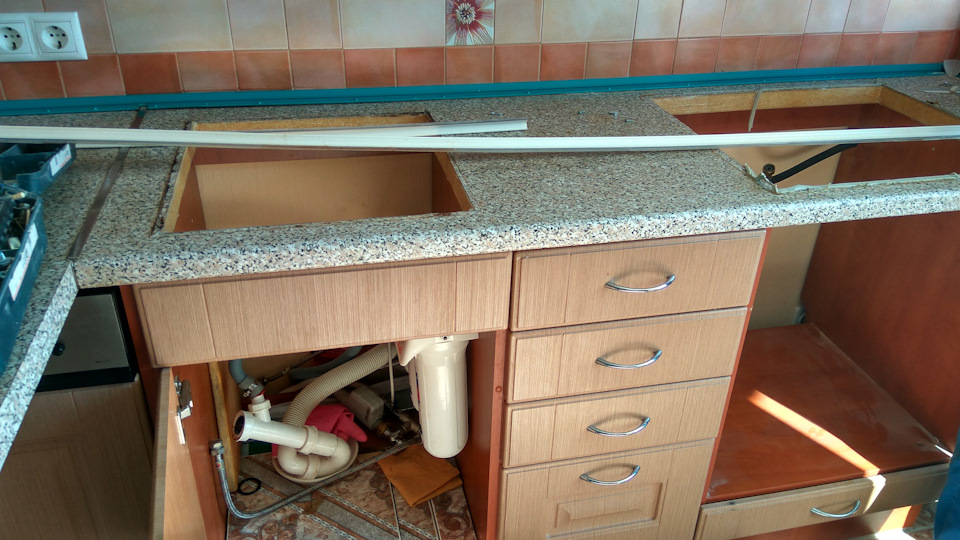
The base is set in such a way that the front wall of the floor stand is strictly parallel to the edge of the countertop. The layout for fitting begins with an apron. The edge of the plate adjacent to it should lie in the same plane with the facade. Further it is necessary:
- Trim the edge according to the roughness of the wall.
- Make recesses under the pipes.
- Cut out under the sink and hob.
- Fasten and align to the base along the facade so that the countertop protrudes 35–45 mm forward.
Trimming should be done carefully, with an accuracy of a millimeter. You can use an electric tool. After that, you need to prepare the fasteners for the base of the kitchen table.
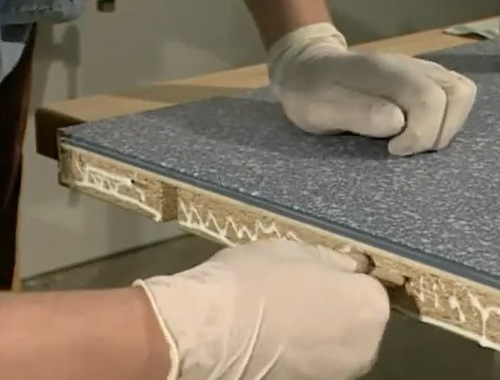
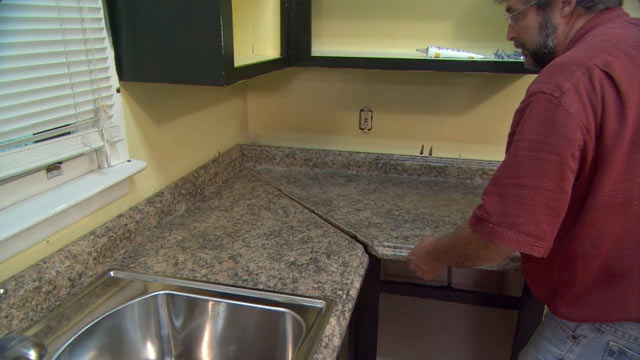
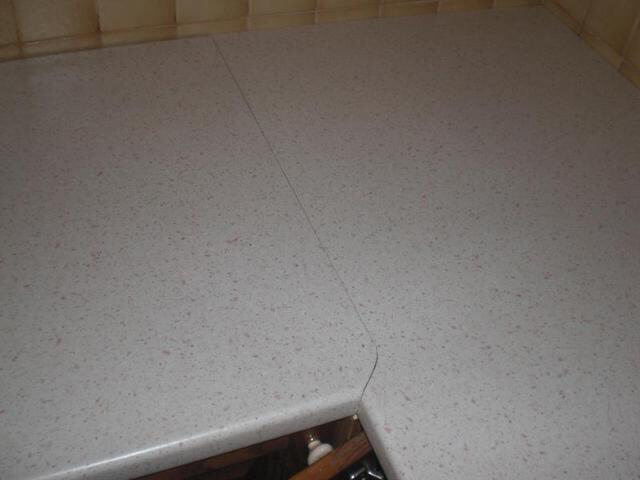
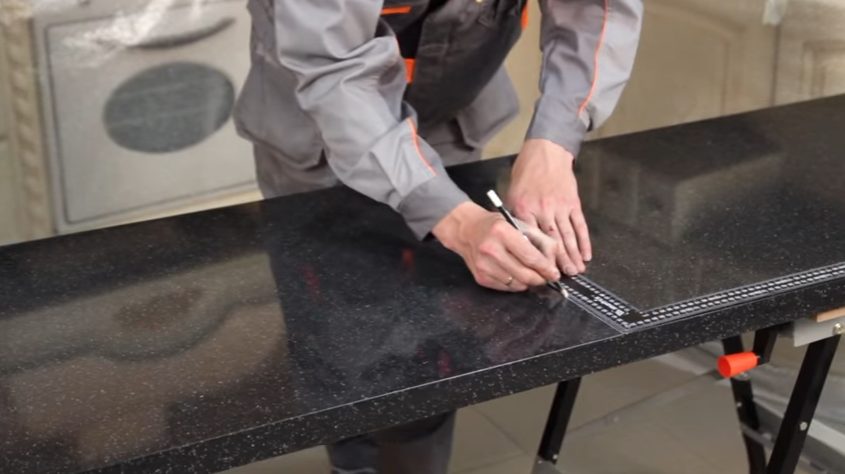
Docking parts
This stage is needed if the countertop is national team. Its fragments are combined into a single monolith. Where there are joints, make screeds. Step by step sequence:
- Glue the ends.
- Connect the parts, lay and fasten the screed.
- To polish joints.
- Reinforce the seams.
For work, you need aluminum strips. They are angular and connecting. For fasteners, self-tapping screws are used.
Even the smallest clearance during docking will greatly complicate the installation. Parts should fit as tightly as possible to each other.
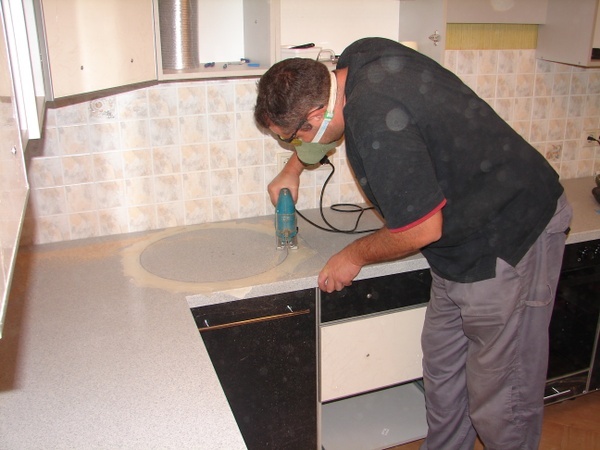
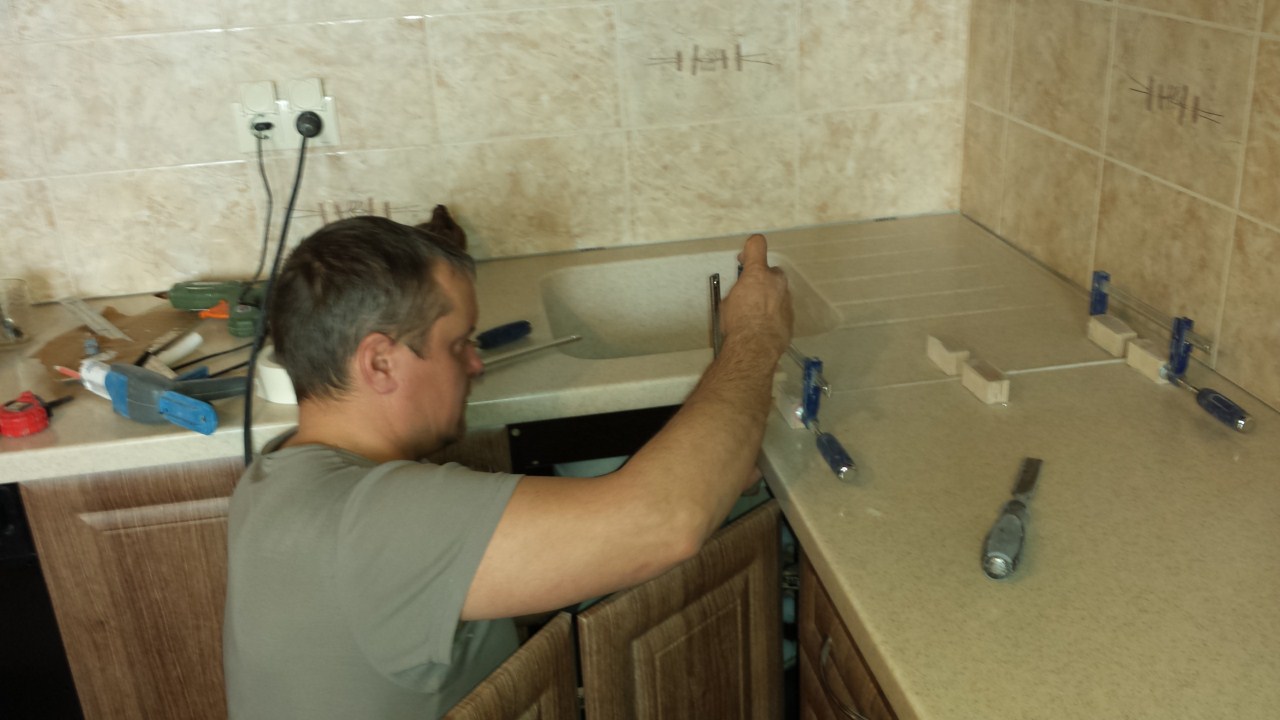
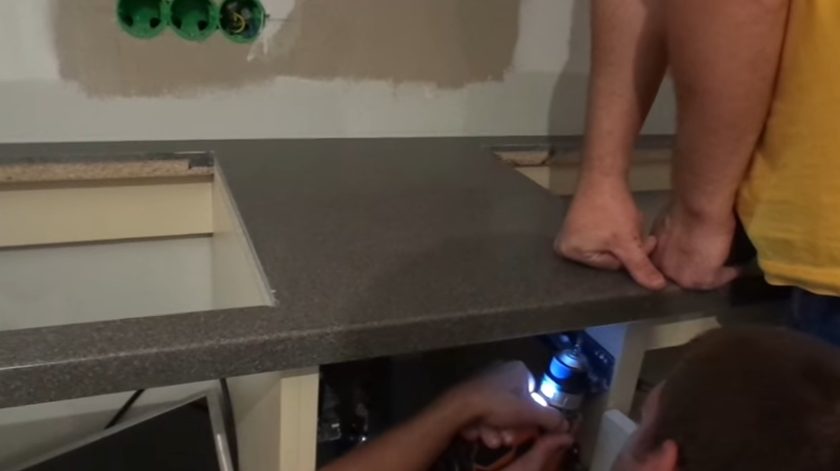
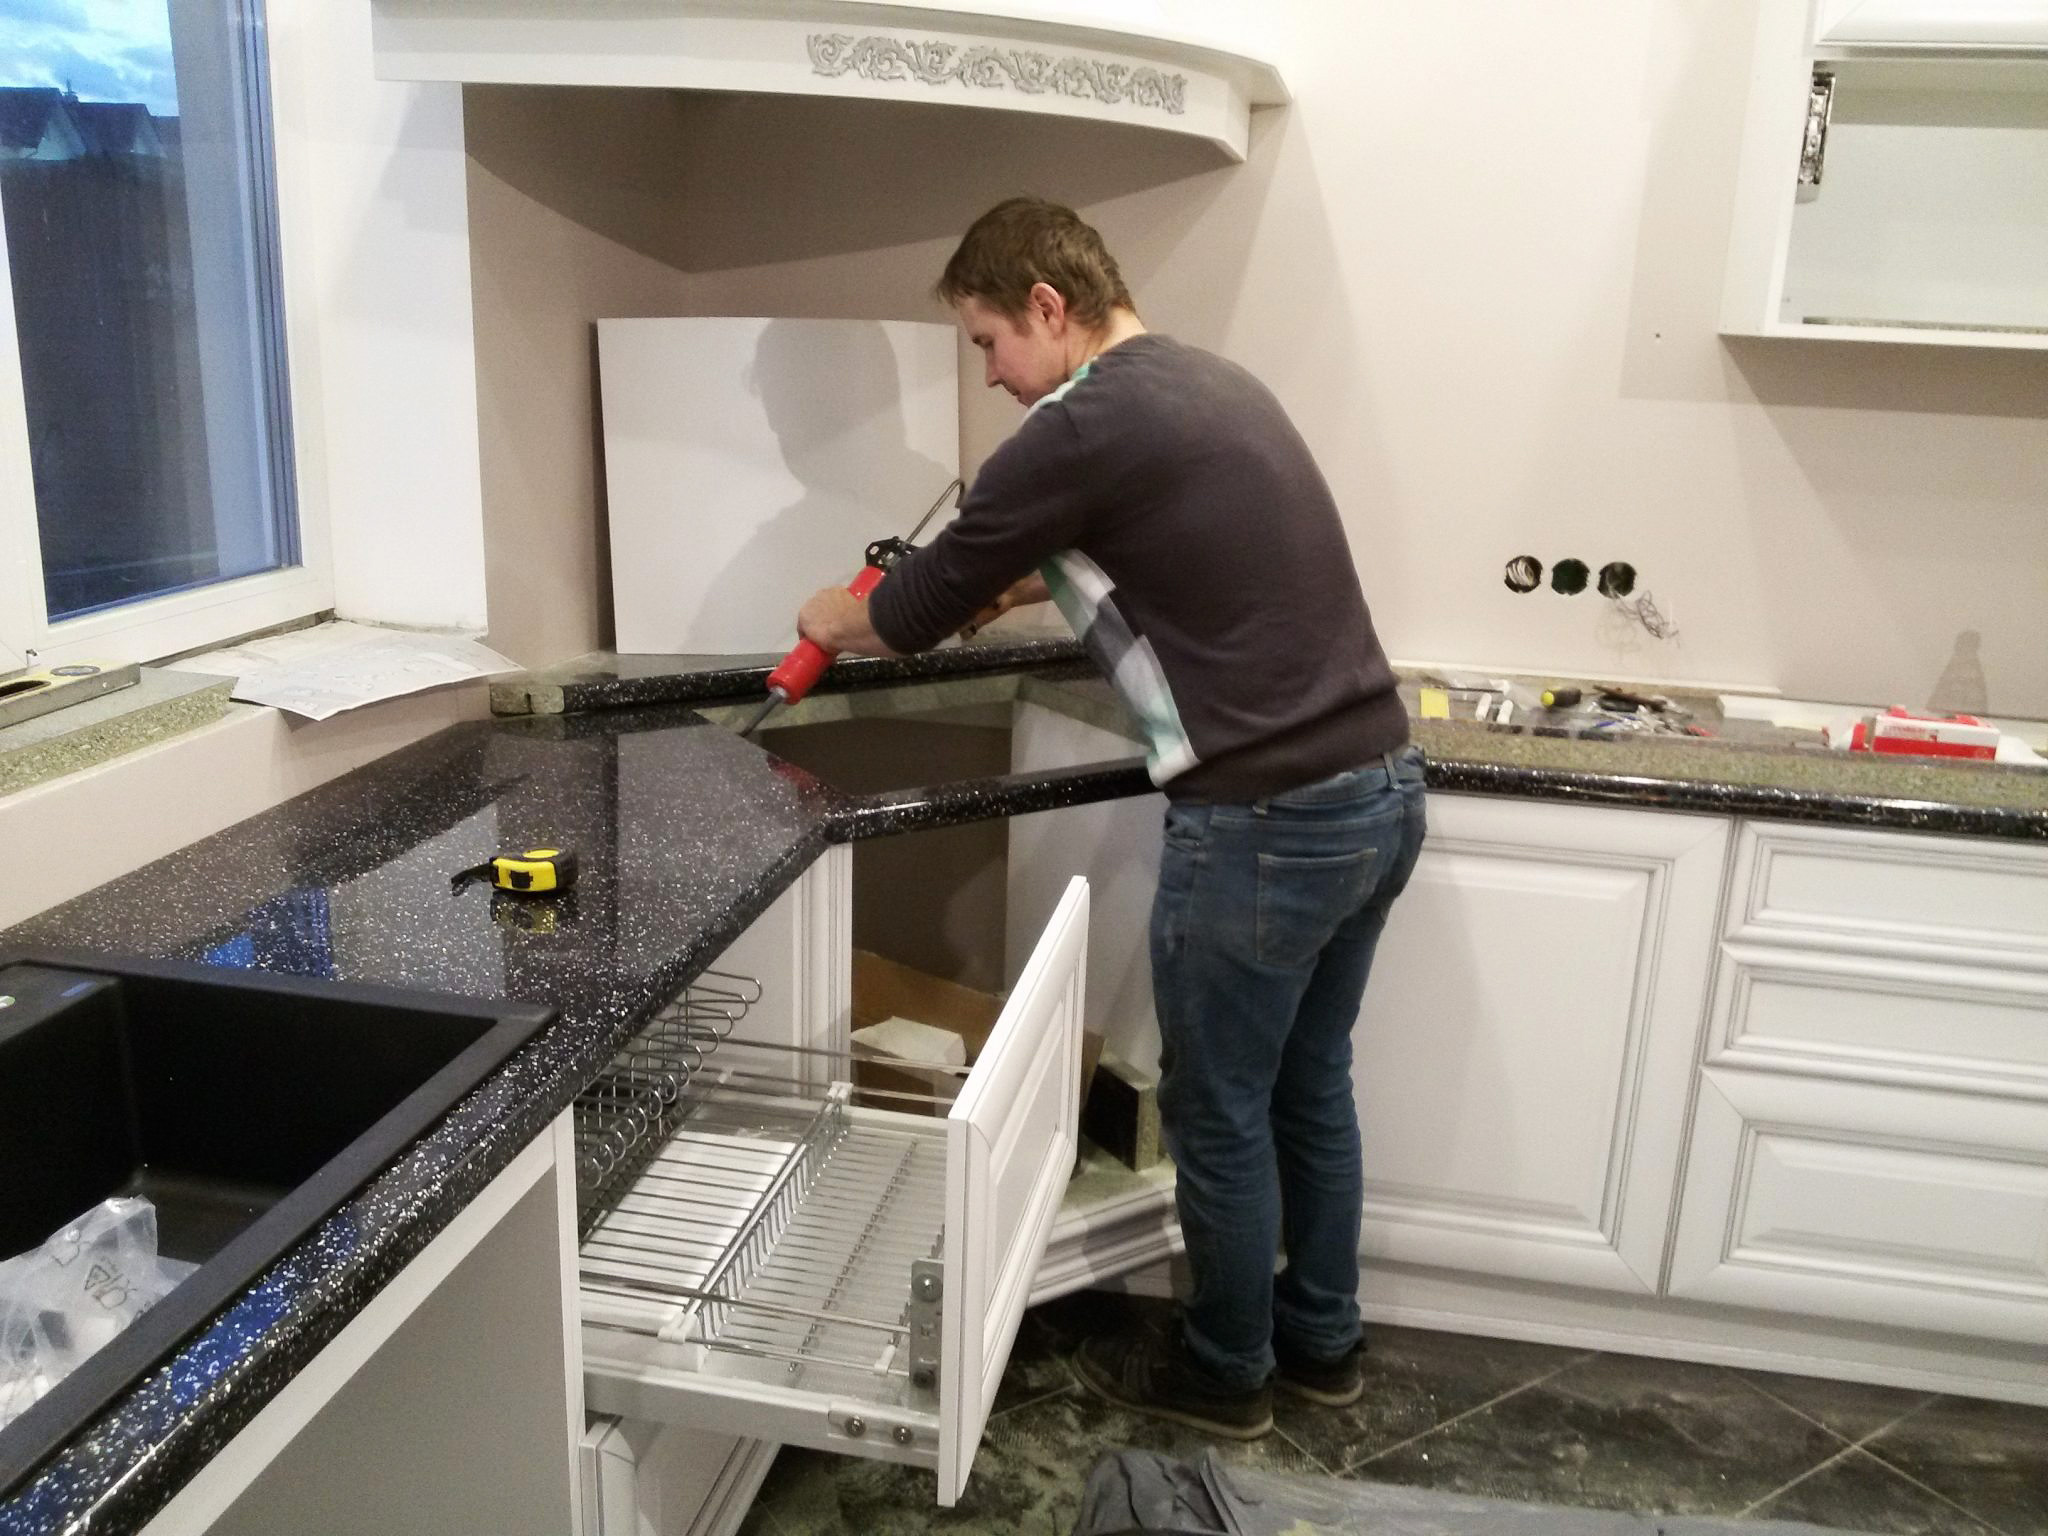
Installation of a cloth
Before mounting the countertop, cut holes for the hob and sink. You can use a ready-made template for this. Usually it is attached to the instructions. Walkthrough:
- Put the countertop on the pedestal.
- Align her.
- Lock the plate in a fixed position.
- Secure with corner brackets.
To simplify the process, it is recommended that you perform this step together. The assistant must put pressure on the countertop. This is necessary in order to make it easier to screw it with screws.
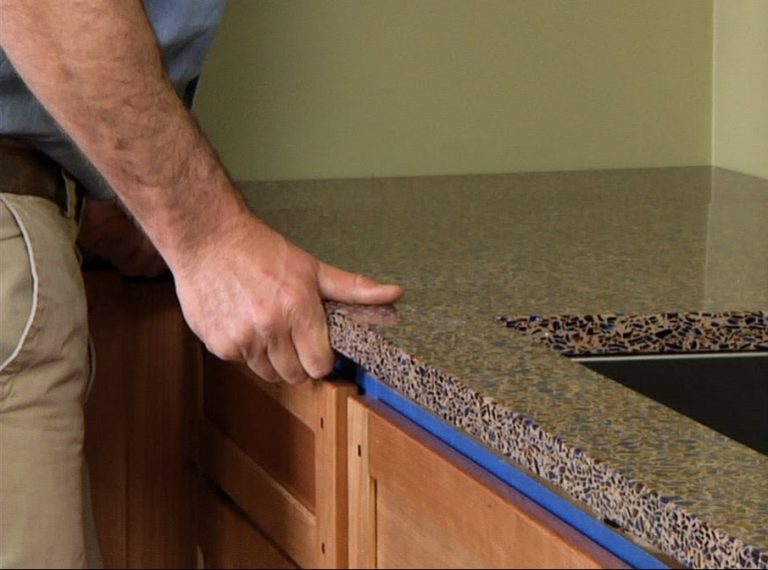
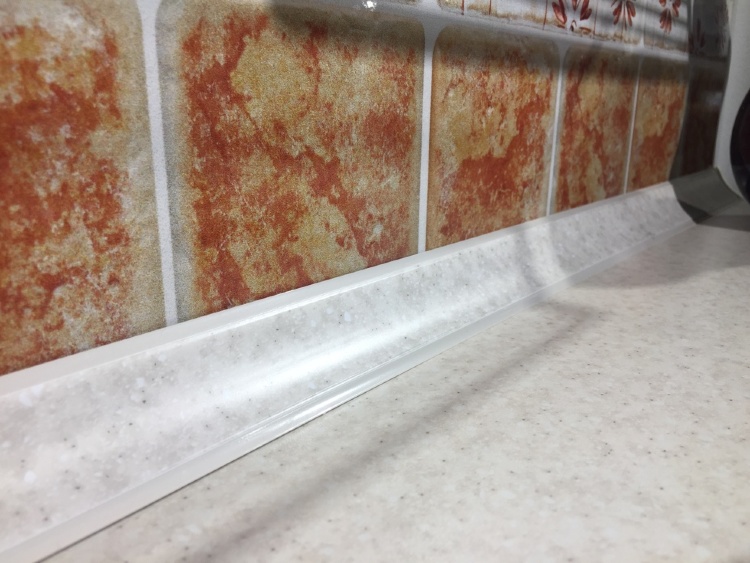
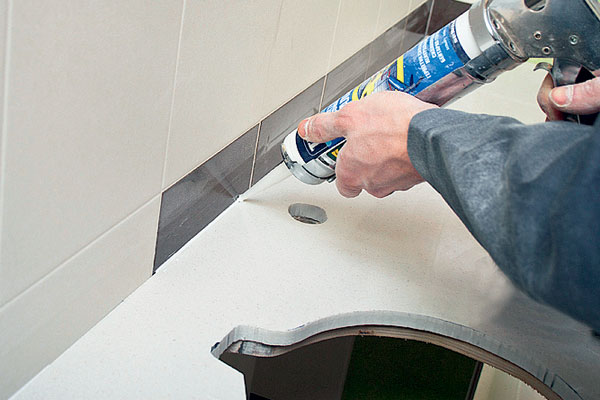
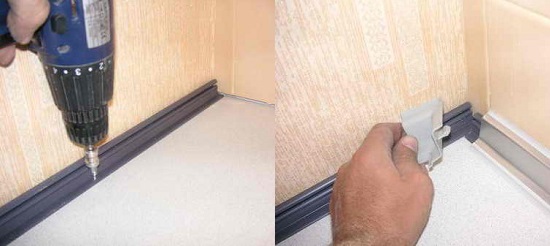
Plinth Installation
The baseboard performs a decorative function, closing the joints on the kitchen table. It also reliably protects them from moisture and mold. This element is glued or screwed with screws. Step-by-step instruction:
- Measure the desired length of the baseboard, cut it off.
- Treat mounting area with silicone to protect against moisture penetration.
- Set the profile, securing it with self-tapping screws.
- Close corners and joints with decorative overlays.
If you decide to use glue, the base must first be degreased. After that, the profile is attached. The rest of the steps are exactly the same.
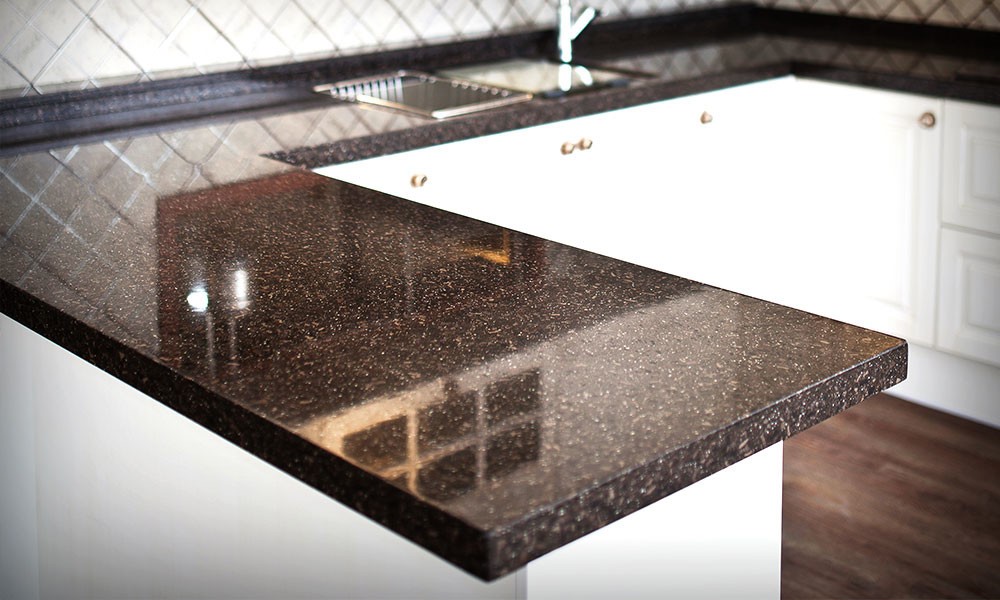
Nuances of fastening depending on the material
Depending on the material, the methods of fastening the countertops may be different. The most difficult to work with glass and acrylic, the average level of difficulty is metal plates. Even a novice master can easily cope with the installation of a structure made of wood, MDF and chipboard.
MDF and chipboard
To perform the installation of countertops, angle brackets are traditionally used. Materials are lightweight, so it’s convenient to work with them. However, during fixation, the plate can slide away, so it must be pressed firmly against the surface of the cabinet. To do this, you need an assistant.

Acrylic
This is the most difficult material to work with. Installation of acrylic countertops is best entrusted to a professional. The stove is heavy. Making a cutout for the sink and hob is very difficult. When fixing, silicone should be applied to the seam between the panel and the sink with a radius bevel.
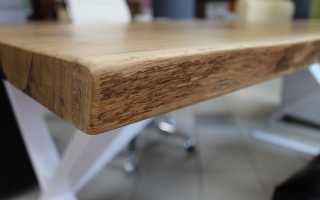
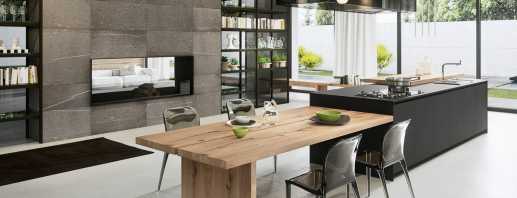
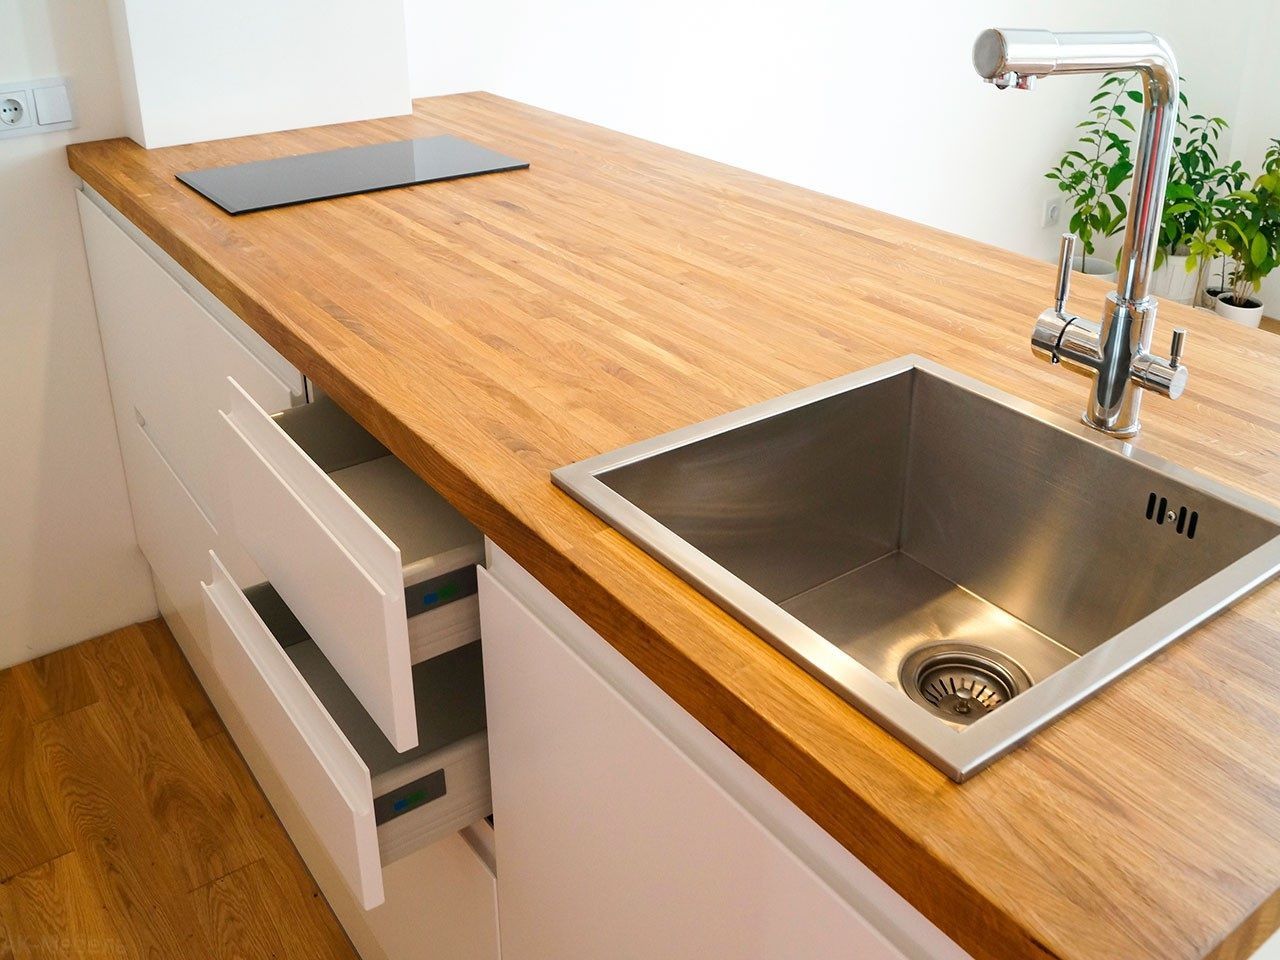
Tree
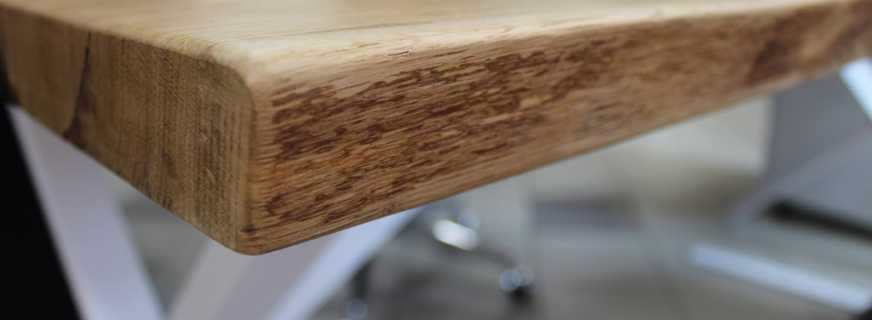
This material is very sensitive to mechanical stress and requires high-quality processing. Also, the tree is subject to rot from the inside, if the kitchen has high humidity.Therefore, when fixing, all voids must be filled with sealant. The countertop is fixed with screws or screws. The gap between the wall and the panel is covered by a skirting board. On the edges of the plank, plugs are installed.
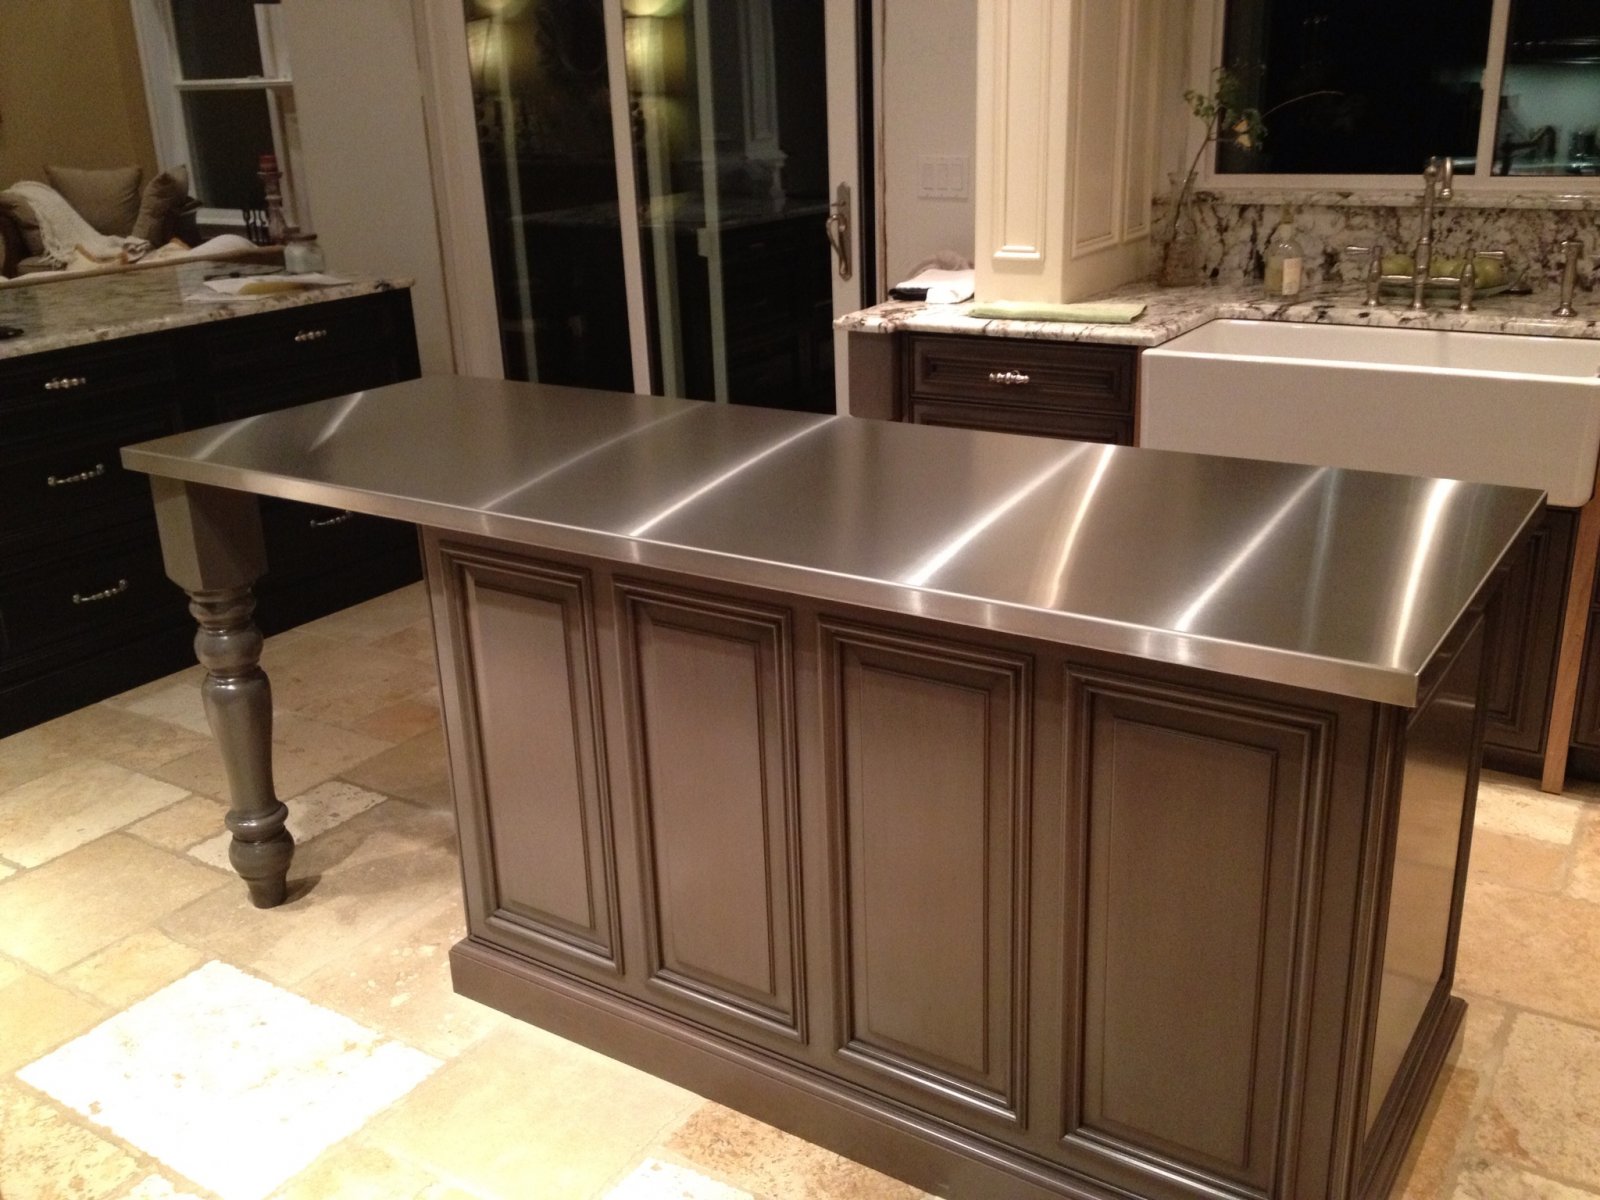
Metal
It is difficult to work with metal at home. This material is heavy, not easy to cut. Also, iron has the property of rusting. Before installing on the kitchen countertop, it is recommended to apply a corrosion-resistant coating. For fastening, you can use Euroscrews and furniture ties.
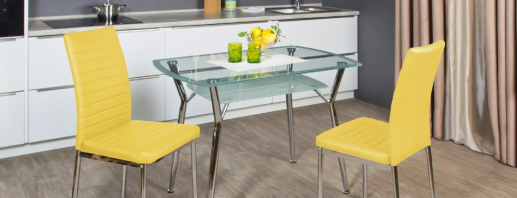
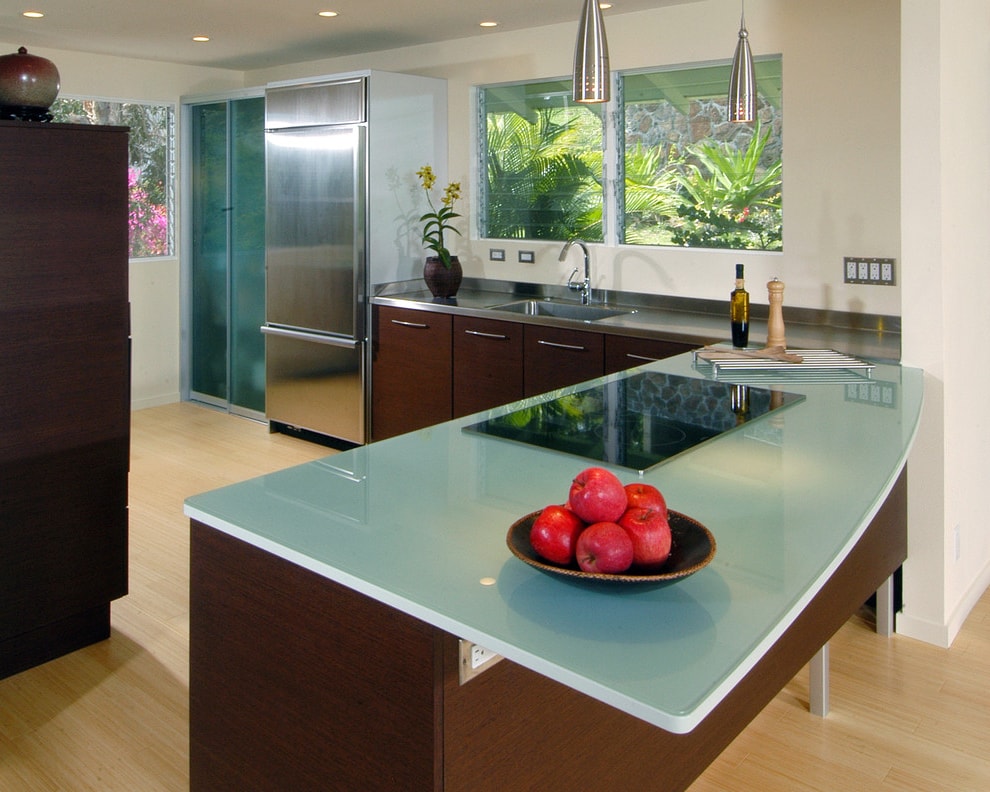
Glass
Glass is often used for fastening plates of dining tables. This material looks spectacular, but is fragile. Therefore, installation should be done very carefully.
The glass plate may not withstand heavy loads, so in kitchen sets such panels are practically not used. For fixing, you can use vacuum suction cups made of silicone. You can also cut a hole in the mirror workshop with the help of special equipment, install a pin from wood there and attach the plate to the frame.
Before you mount the glass countertop, you must make sure the strength of the material. It is necessary to carefully examine the part for chips and cracks.
Self-assembly risks
Tabletop mounts must meet aesthetic and functional requirements. Experts say that a properly fixed panel:
- is evenly located on the base in a plane strictly parallel to the floor;
- Does not warp sideways or down;
- maintains optimum load;
- allows a person to cook or eat in comfortable conditions.
With self-installation, the master always takes risks. Possible consequences of improper actions can be scratches and dents, mechanical damage when cutting materials. There may be gaps at the joints.
To avoid errors, you must:
- Strictly follow the drawing and diagram of the tabletop for the dining table, without deviating from the recommended sizes.
- Choose materials that are simple to work with.
- Before fixing the plate, make sure that it is located clearly in the horizontal plane.
- When working, use silicone sealant to fill voids and eliminate bumps.
It is also important to choose the type of mount depending on the material and consider the dimensions of the furniture. A properly fixed plate will last for many years, will be firmly held on its foundation. Self-installation will significantly save money and does not take much time. The main thing is to know how the countertop is attached to the kitchen tables, to observe the basic rules of fixation.

Video
 (no ratings yet)