How to carry out table restoration at home, decor ideas
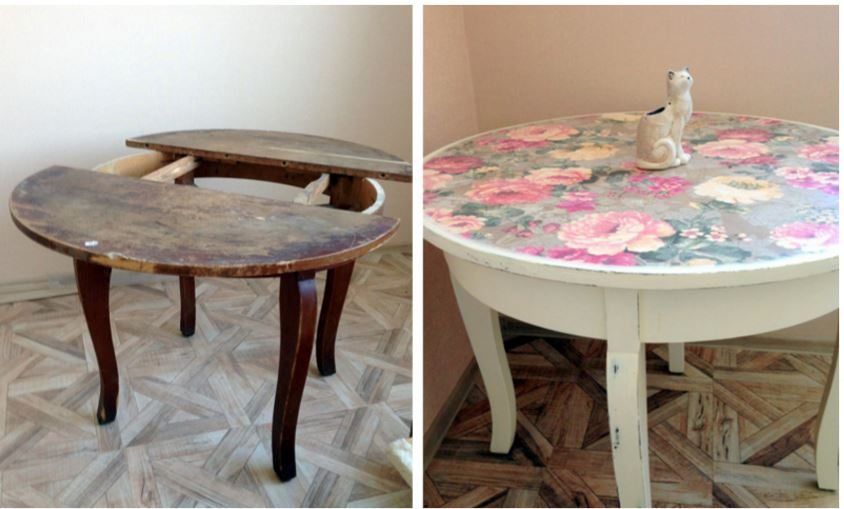
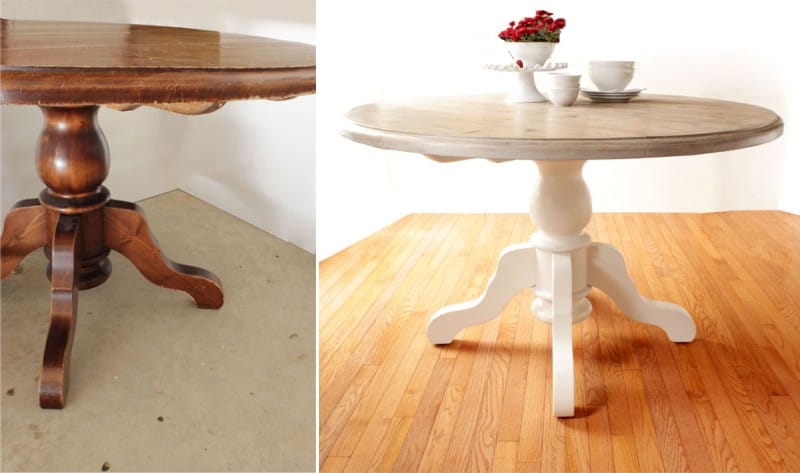
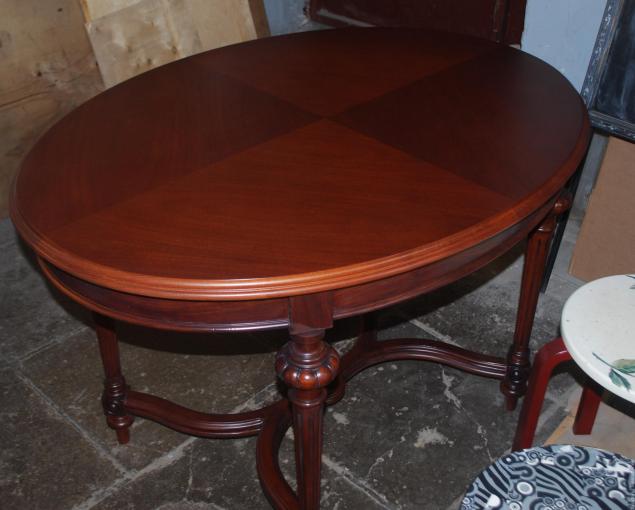
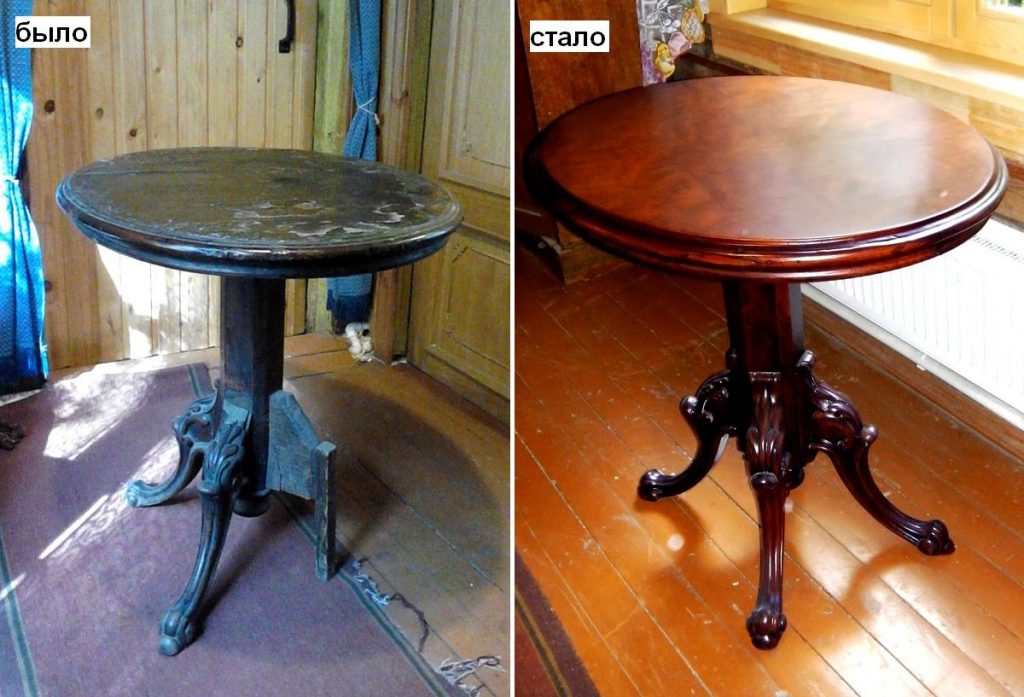
Over time, the wooden table loses its former attractive appearance. But this is not a reason to send him to the nearest landfill or dusty attic. If desired, all the flaws can be corrected. To do this, a restoration of the table is carried out, after which it will look like new. By showing imagination, you can completely change the design of the product. Independent updating of furniture will save the budget, since it is very expensive to carry out restoration in specialized workshops.
Content
Benefits of self-updating furniture
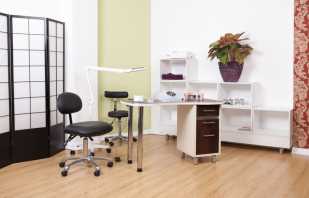
Repair of the old table at home is a good way to decorate the interior of the home, to give it novelty and comfort. After all, it’s the little things that make up the general impression of the house. Self-restoration has the following advantages:
- Saving money. Repairing the furniture yourself is much cheaper than buying a new one or ordering restoration in a specialized workshop.
- The ability to radically transform furniture, give it a second life.
- Table design based on your own taste preferences. You can decorate your home with a unique designer gizmo.
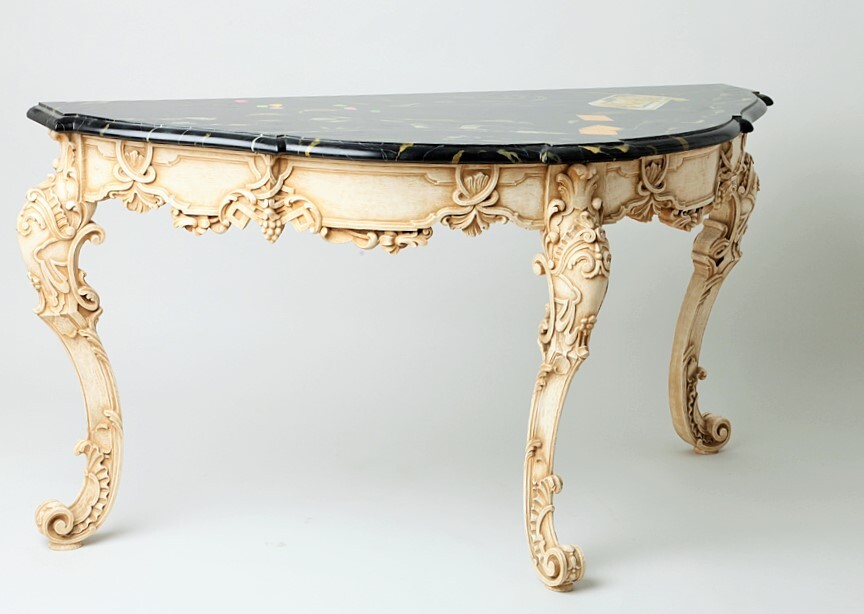
- If the furniture is of high value and made of good wood, the restoration will help save it from spoilage and save for a long time.
Independent updating of furniture is a very painstaking task that requires some skills. However, before you repair the old table with your own hands, it will be useful to study the algorithm of the work. After all, non-compliance with the rules can adversely affect the result.
Features of the restoration of a wooden table
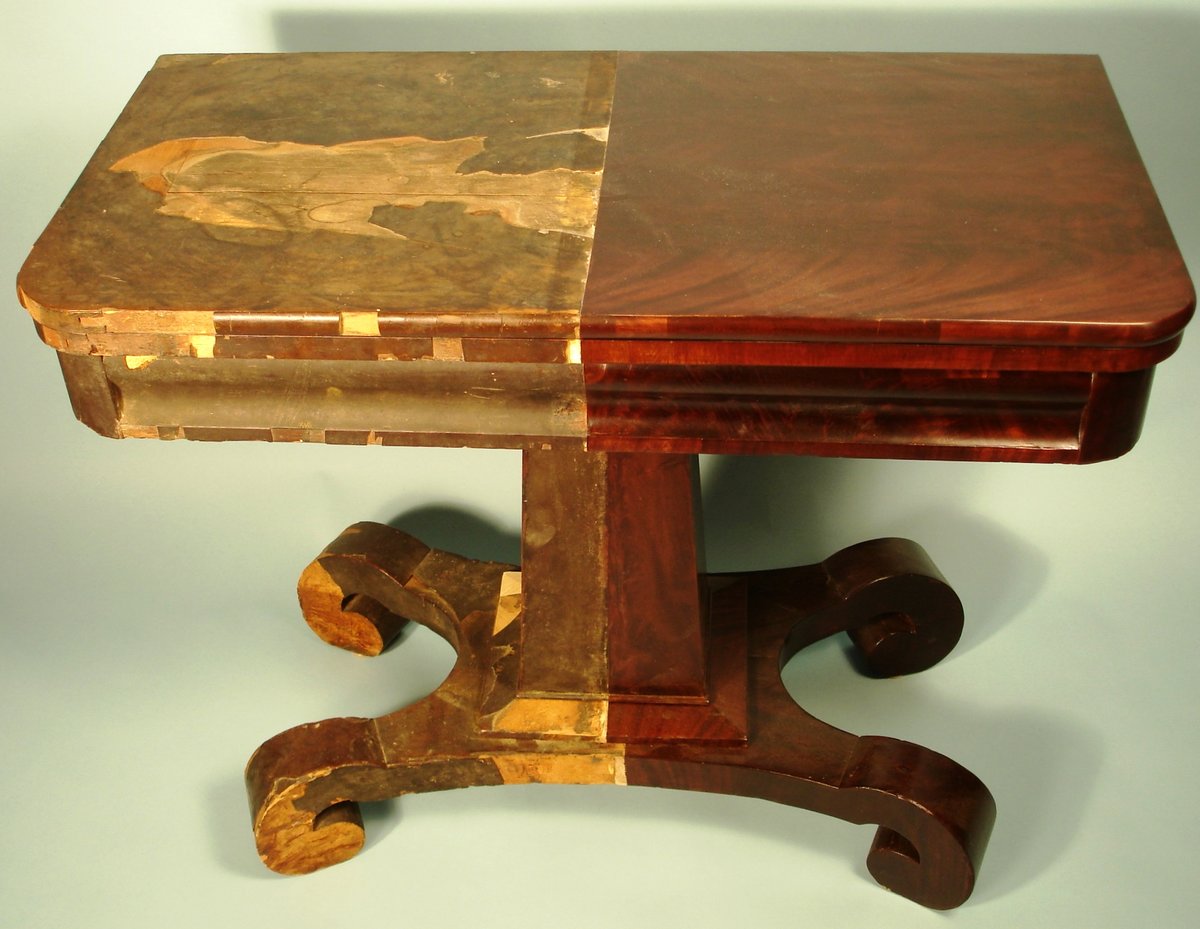
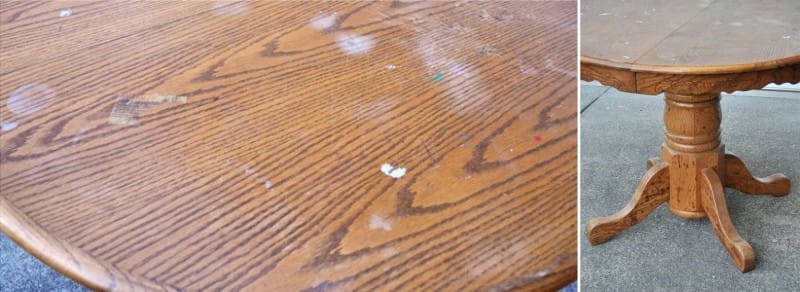
Even the highest quality furniture cannot last forever. Over time, the surface of the table loses its original appearance. Small cracks, chips appear on it, the varnish begins to wear off, and the fasteners cease to withstand the load. Restoring an old table is a serious repair, which primarily means updating damaged parts. Moreover, it is very important to understand that particleboard is almost not recoverable. It’s better to simply throw away the old surface, and put a new one in its place.
Before updating the countertop, it is imperative to remove the old finish. If it is a painted or varnished table, then the top layer should be washed off with alcohol, acetone, organic solvents. On sale also there are many special tools for these purposes. They are presented in the form of liquids, gels or powders.
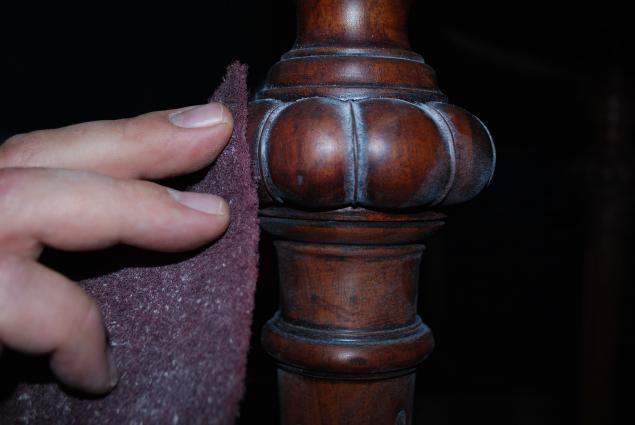
If there are slight scratches or damages of a different nature on the wooden structure, they are carefully treated with sandpaper with a small grain size. Crack repair during the repair of wooden tables is carried out using:
- putties for wood;
- mixtures of glue and wood shavings;
- epoxy resin or special wax proofreaders.
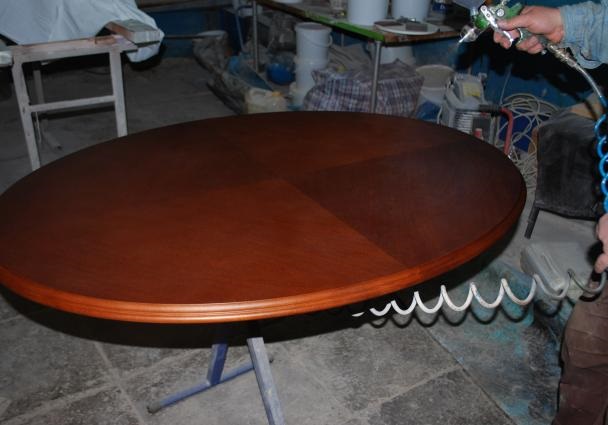
Rectangular pieces or wedges made of wood can be inserted into wide and deep cracks, and all this can be fixed with universal glue. The resulting gaps need to be hidden, for this they are filled with resin or putty. Carrying out such repairs, it is worth remembering an important rule - all surfaces must be dry. Wood is a very vulnerable material. It must be protected from moisture, bacteria, fungi, ultraviolet radiation. Therefore, it is necessary to take care of the protective layer (primer, paint, varnish or azure). Most often, varnish is used for these purposes. To change the shade of the furniture, you need to cover it not with transparent but with colored varnish. The result is a very stylish and presentable polished table.
The next step will be the processing of the entire area of furniture with medium-sized sandpaper. Here you need to try and polish the table to a perfectly smooth condition. The level of smoothness will largely determine how the paint or varnish lays. Before coating the product with varnish, wood is primed. To preserve the natural beauty and texture of wooden products, they are often coated with a special tinting liquid (stain) or water-based acrylic varnish.
During the restoration of the table with your own hands, the master requires attention and caution. Work with chemicals in a room with good ventilation, it is also advisable to do this in overalls and a respirator.
Necessary tools and consumables
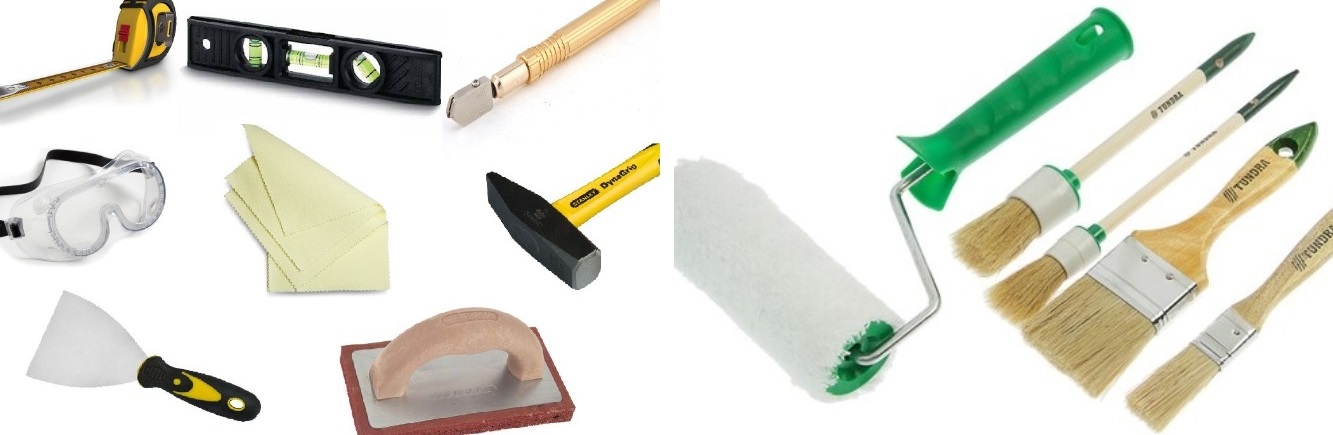
Before updating the table, you need to stock up with the necessary tools and supplies, the presence of which is better to take care in advance. For work, you may need the following inventory:
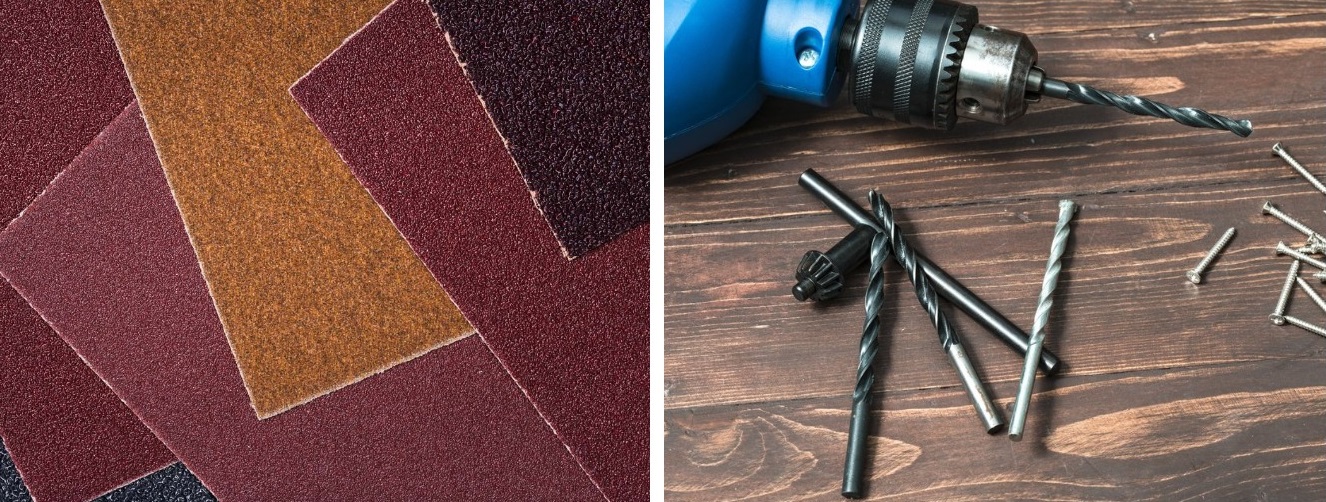
- sandpaper of varying degrees of granularity (from 80 to 180 for initial processing, from 500 to 600 for polishing the final coating) or a grinding machine;
- a set of brushes and a roller;
- electric drill and several drills of different diameters;
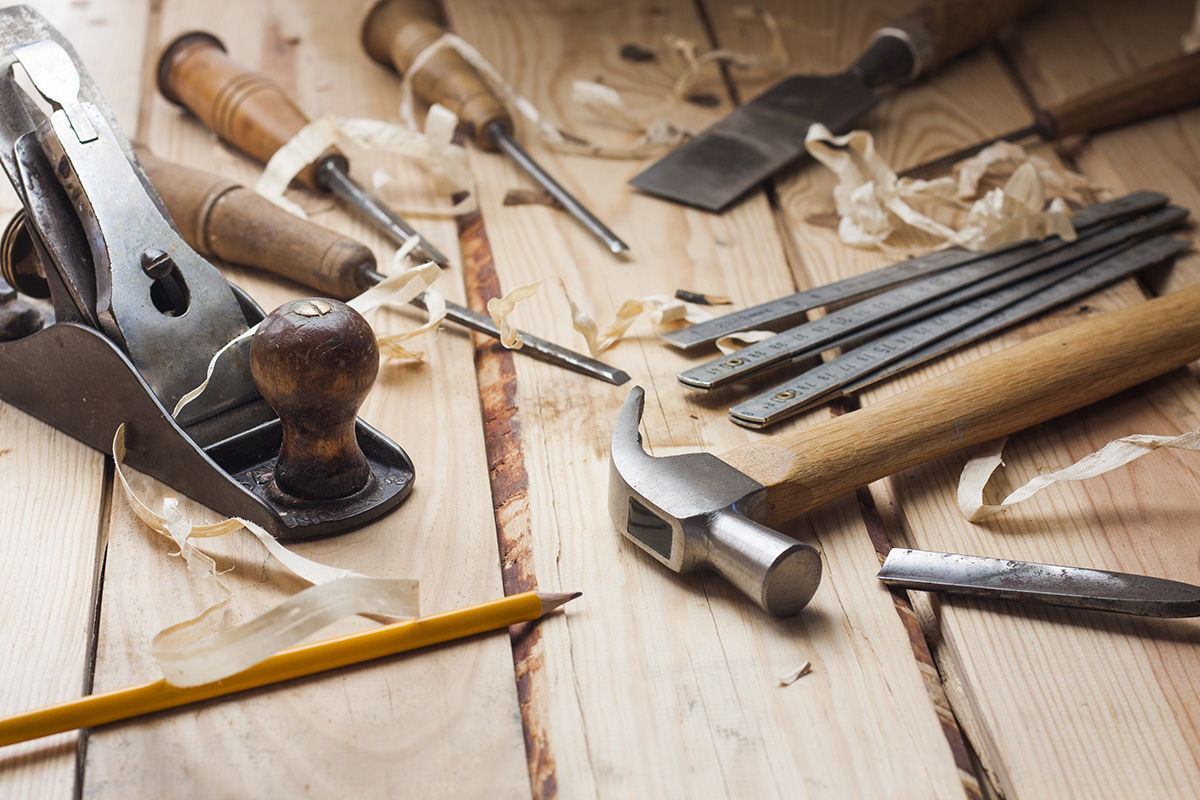
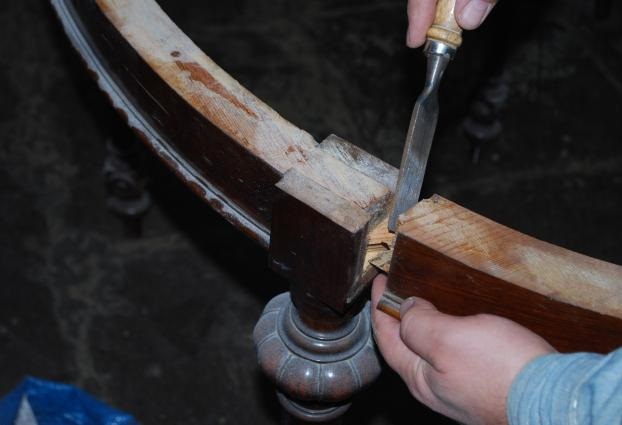
- chisel;
- plane;
- hammer, stock of nails and nail clipper;
- saw;
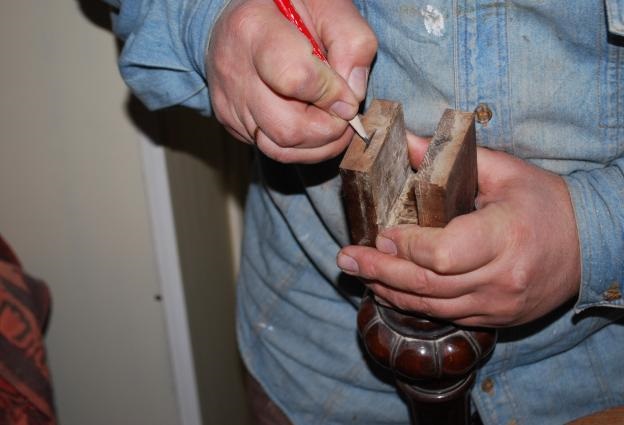
- marker;
- roulette;
- rubber spatula to remove old paint;
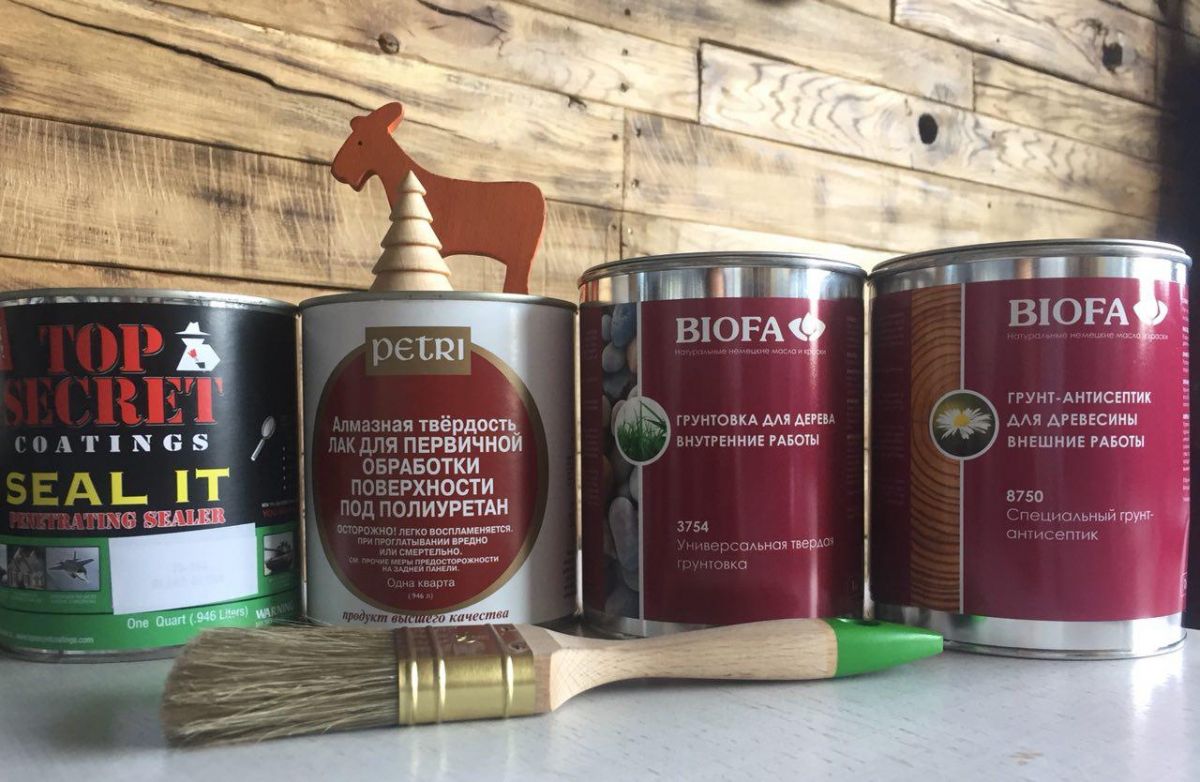
- putty, primer, varnish, paint;
- glue for wood;
- protective equipment: masks, gloves, respirator;
- wood preservatives (impregnation that protects from adverse factors, for example, from rotting of a tree or from pests).
A set of screwdrivers is also useful for disassembling the product. With the help of a marker and tape measure marking will be carried out, and paints and varnishes will help protect furniture from negative influences and change its appearance. Choosing a paint composition, it is better to give preference to a well-known brand. Before you restore the old table with your own hands, you need to make sure that the tools are intact and in working condition.
Work stages
The restoration process consists of several important steps:
- Selection and purchase of all necessary supplies. It’s better to do it all in advance.
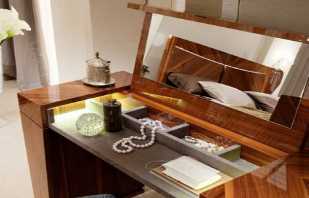
- Preliminary table repair. In the case of the restoration of the desk, lubrication of moving parts, repair of drawers and shelves are carried out.
- Identification and elimination of major defects for further restoration.
- Removing old varnish.
- Application of protective solutions.
- Decorating the surface using various techniques.
The last stage is the most interesting. It makes it possible to realize your creative potential and bring to life the most creative ideas.
Preliminary repair
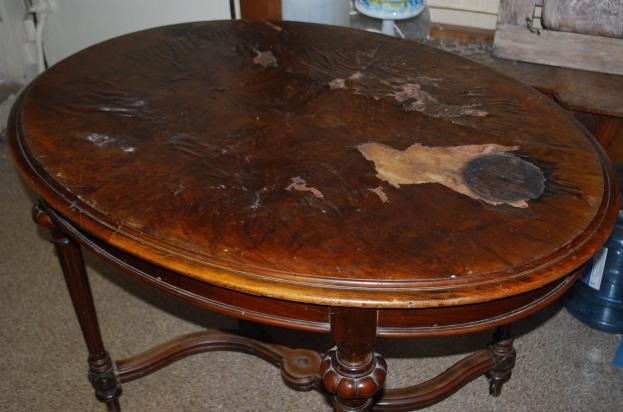
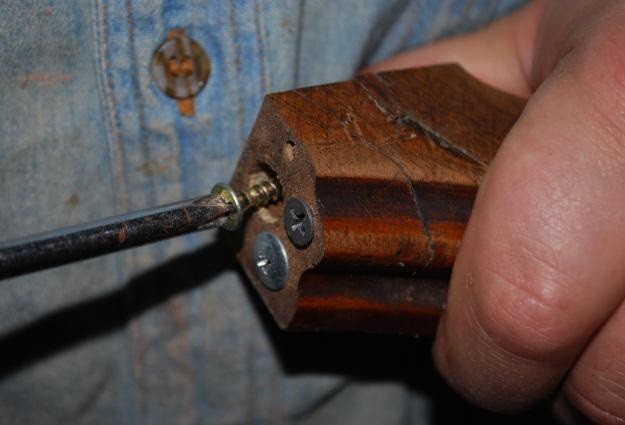
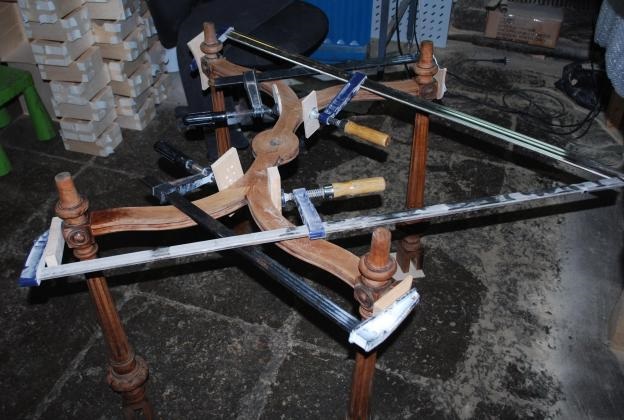
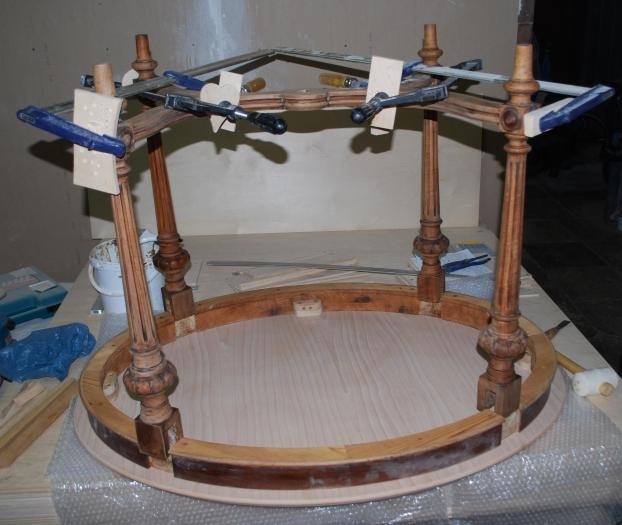
At the preliminary stage of restoration, furniture is restored and repaired. Begin by assessing her condition. You need to carefully inspect the wooden table, see if the legs are broken, check the integrity of all parts. Stable construction should not bend and creak under load. Table repair begins with a search for visible defects. Next, you need to disassemble it into its component parts. If the plywood, which acts as the bottom in the boxes, is stratified, it must be dismantled and these parts replaced with new ones.
The presence of small bubbles on the surface of the chipboard or MDF indicates that the process of peeling the veneer has begun.
The moving parts are lubricated with machine oil, if necessary, repair the mechanism itself. If corrosion appears on metal parts, they must be replaced with new ones. Outdated unfashionable accessories can be changed to a more modern one.
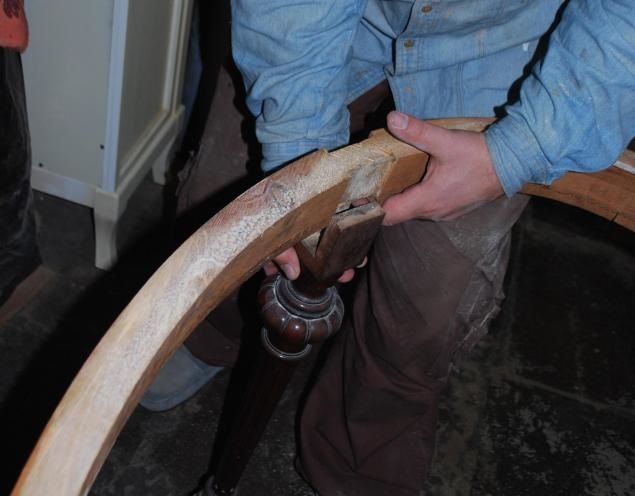
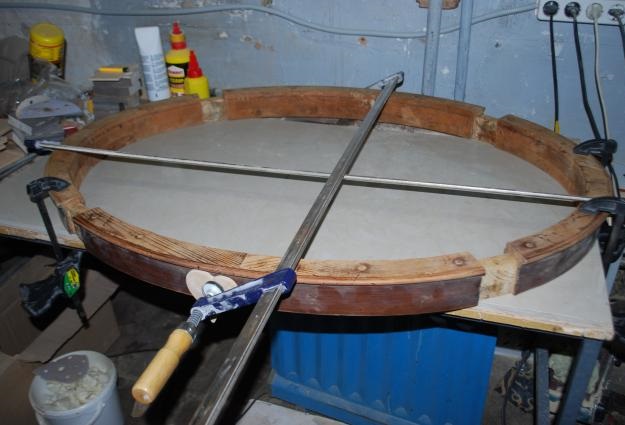
Poorly bonded elements are joined with glue. To make the table more stable, it is necessary to replace its legs with wider ones. Not everyone knows how to restore a table if it is loosened. You can fix the product using corner ties.
To repair a table-book, it is necessary to lubricate all moving joints with machine oil.

Primary processing
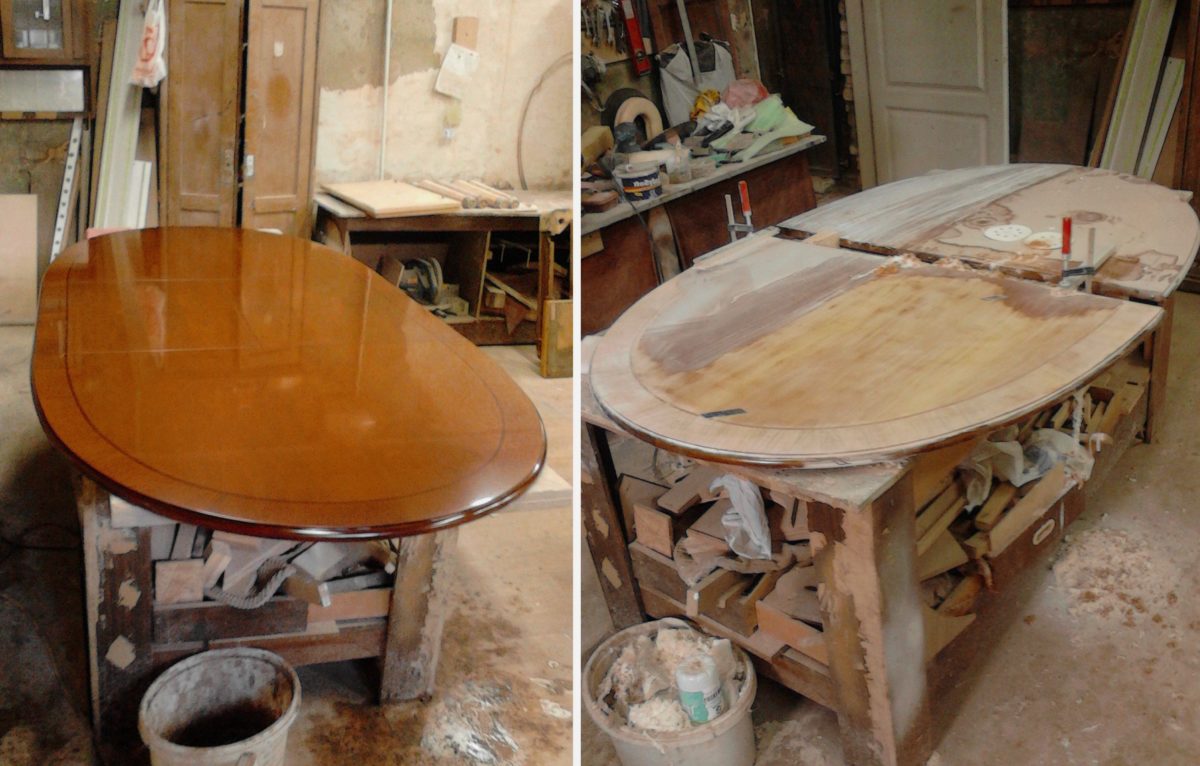
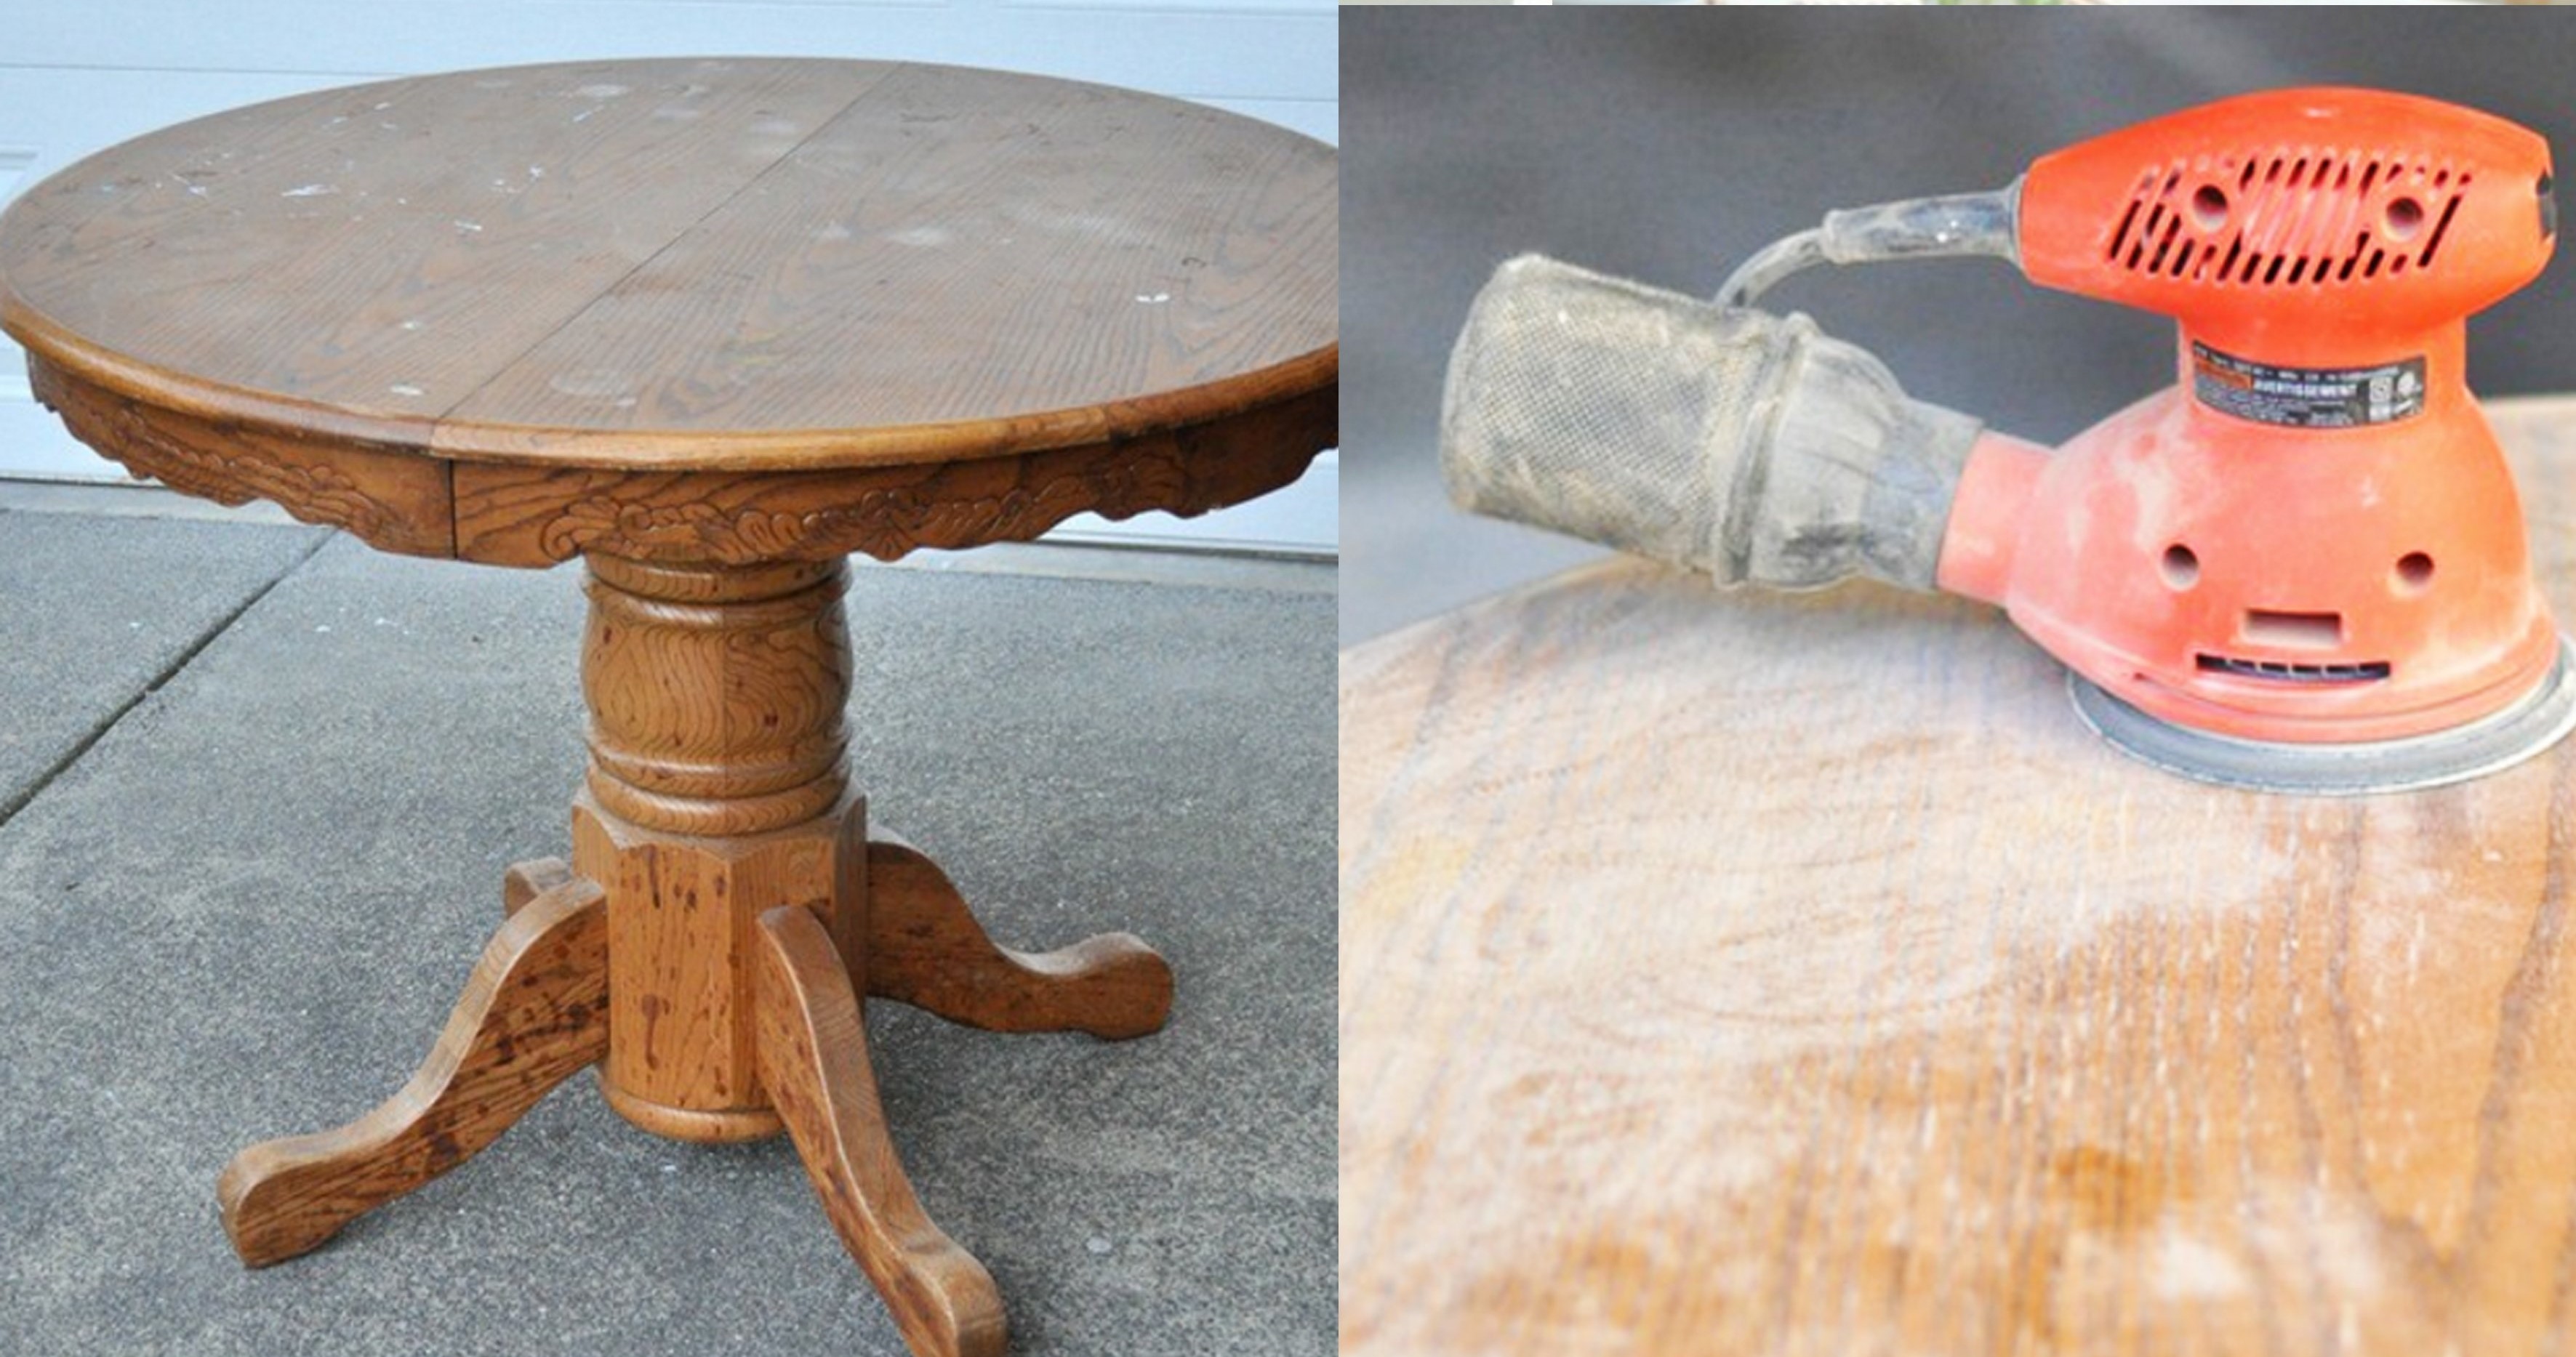
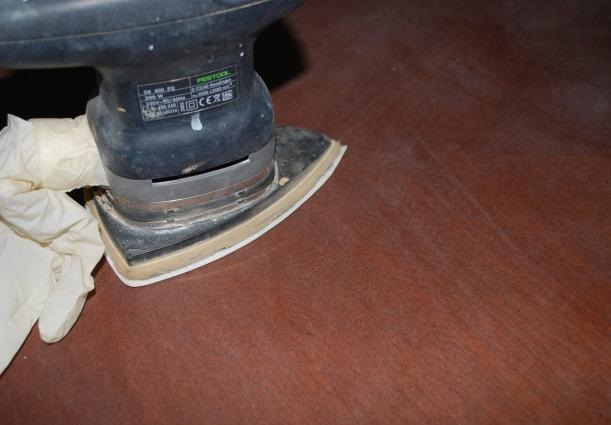
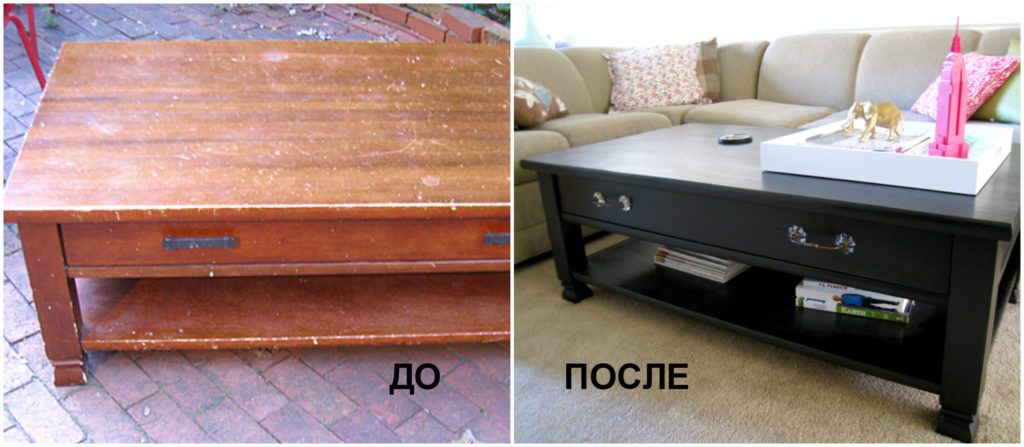
Many are interested in how to update an old coffee table if there is a long cracked coat of varnish on its surface. In this case, it is necessary to remove the obsolete coating, then to apply a new one in its place. This work is carried out mechanically (manually using a spatula) or use special chemical compounds, which are also called washes. The mechanical method involves the use of a grinding machine. But if it is not there is nothing to worry about. You can replace it with medium-grained sandpaper. The main thing during machining is not to damage the product. This is especially true of antique wood. To avoid this, movements should be directed along the wood fibers.
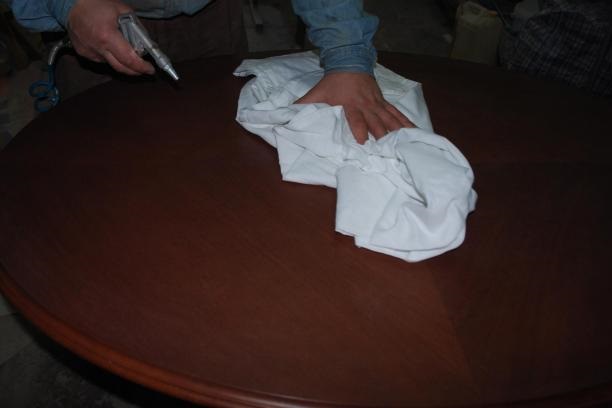
Residues from old coatings can also be removed using chemicals. They are applied with a small soft brush to the surface of the furniture. Active substances quickly dissolve all available layers of varnish or paint. After 30 minutes, this solution can be safely removed with an ordinary sponge. After removing the varnish, the wood is impregnated with protective mixtures. This is an extremely important stage in the restoration of a wooden table, which will subsequently protect the product from damage.
When choosing between a mechanical and chemical method, it is worth considering that if we are talking about rare and expensive furniture, it is best to use a wash. On sale, it can be presented in the form of a liquid, gel or powder. All these mixtures are absolutely safe and will not spoil the structure of the tree.
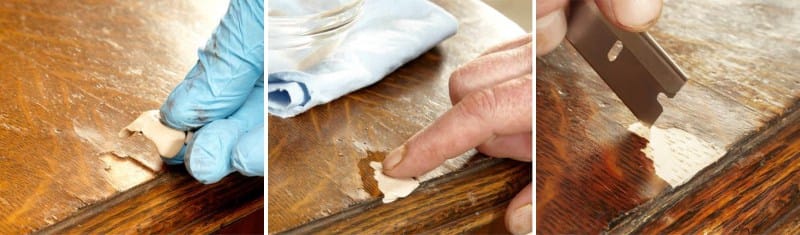
To remove small cracks, chips and scratches, it is necessary to carry out the following operations:
- Wipe out dust from all cracks.
- Close cracks with putty for working with wood.
- Remove excess putty and level the surface.
- Wait for complete drying and clean the treated areas with fine sandpaper.
These operations will help to remove all defects from the table surface.
When restoring a coffee table with your own hands, you sometimes have to face the fact that there are recesses or even holes on its surface. In this case, you can use epoxy resin or fill the notches with a mixture of fine sawdust and glue.


Decorative coating
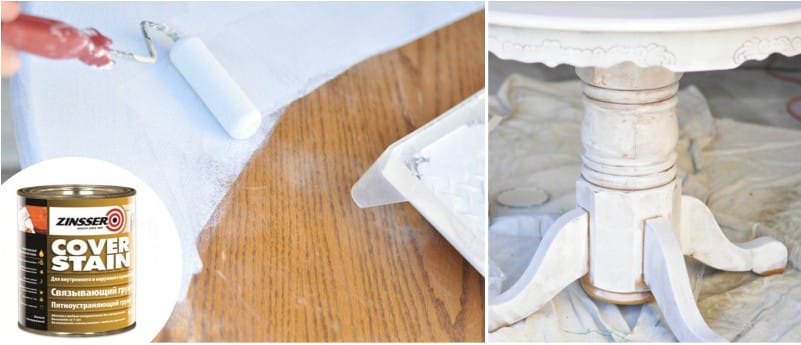
Before proceeding to the final finish, you need to carry out priming.Apply the composition in stages - first on the countertop, then on the frame of the product. In the work, you can use both acrylic and alkyd primers. Processing a table of wood consists of several stages:
- The selected composition is applied to a clean surface and smeared with a spatula, the mixture should be distributed evenly.
- After drying of the first layer it is necessary to put the second.
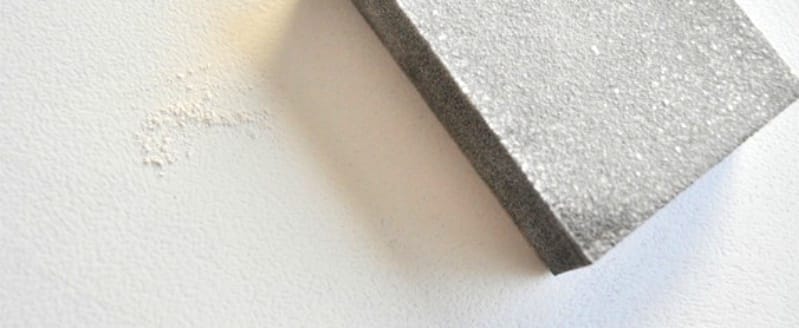
- When all layers have dried, remove unevenness by grinding.
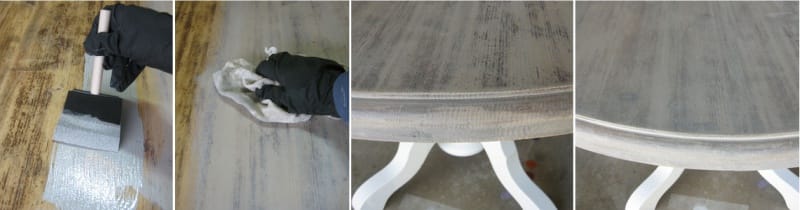
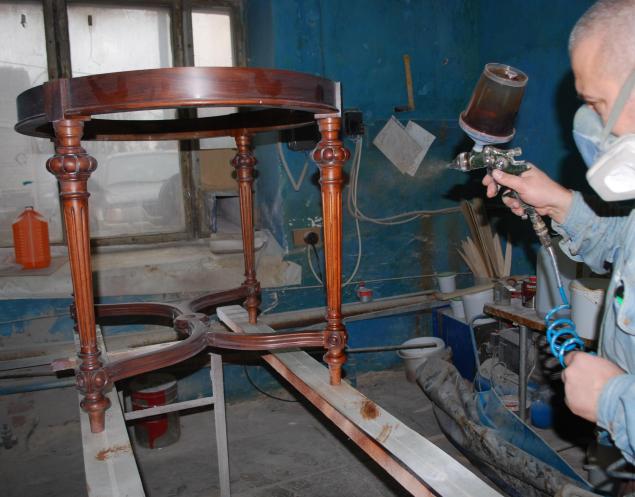
This way you can cover more than just tables. Any wooden surface (chairs, chests of drawers, cabinets) needs an additional primer coat before painting. After priming, staining is necessary. This can be a simple painting with a brush or decorative application of paint through a tulle or a stencil. The final step will be varnish or wax treatment. Often, varnish is used in the restoration of a kitchen table with your own hands. Wax is used mainly for furniture that is constantly under the influence of external factors. It perfectly protects from the sun, moisture and various damage.
When choosing tools for application, it must be remembered that low-quality brushes can leave fibers that cannot be removed after drying.
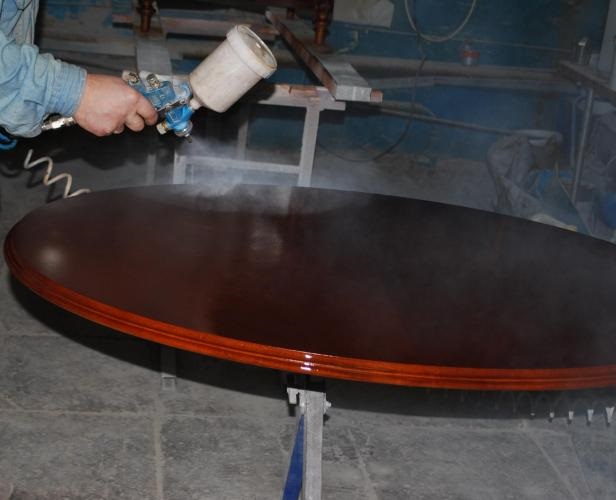
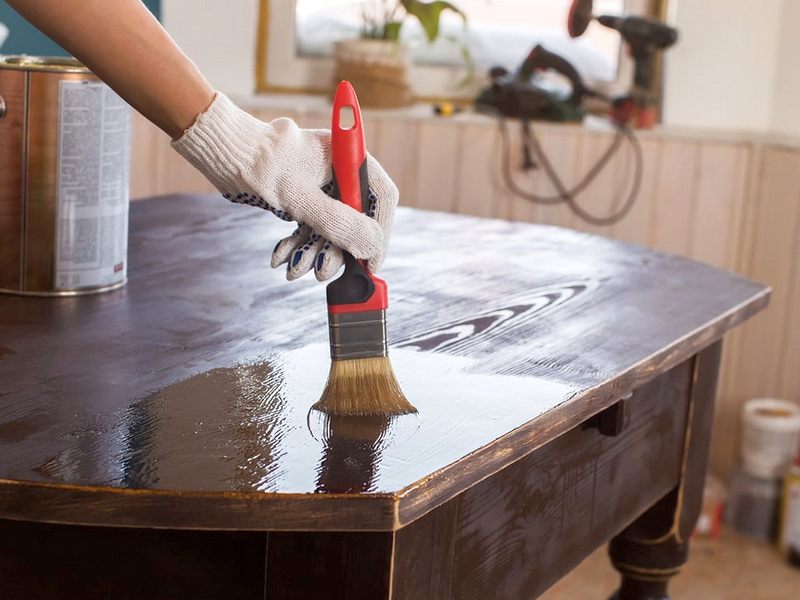
The varnish is applied with a brush, the drying period is from 18 to 36 hours. Wax can be hard or watery. The liquid is immediately ready for use, and the solid must first be melted. Before updating the kitchen table with your own hands using a protective layer of wax, you need to prepare a dense brush or cotton swab. All these manipulations are preferably carried out in the open air, since the compositions used contain toxic substances that adversely affect health.
Quite often, there is a need to mask minor visual defects or just want to change the boring color of the old table. To do this, before applying the varnish composition, you can cover the desired areas with paint.
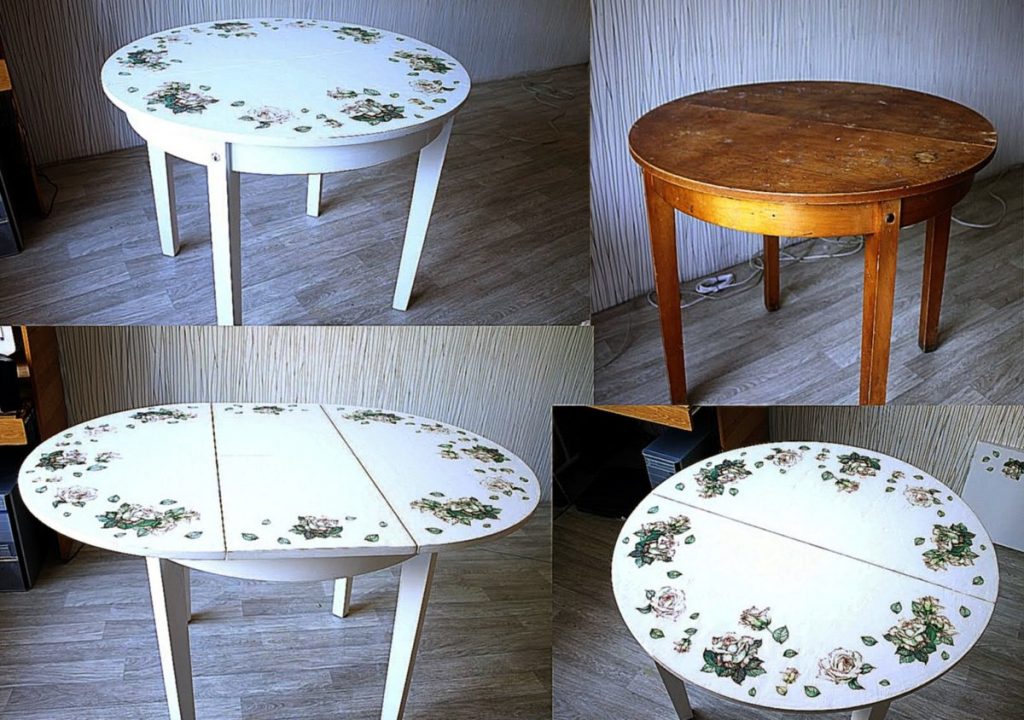
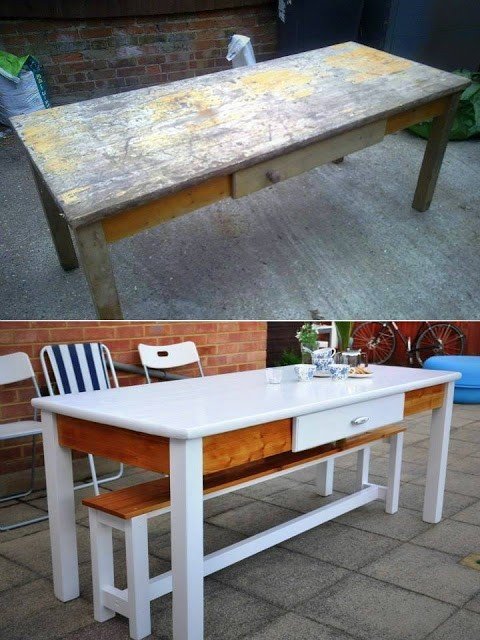
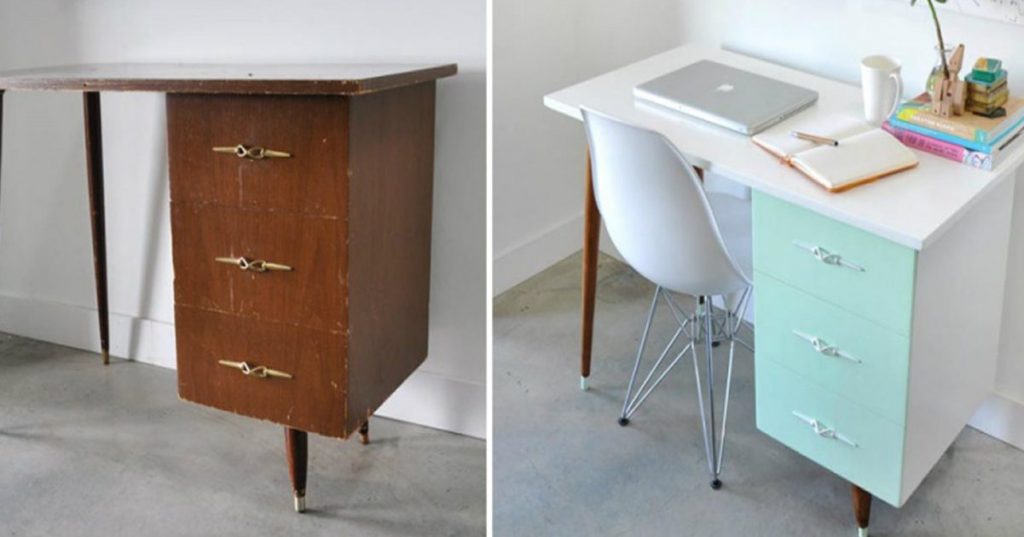
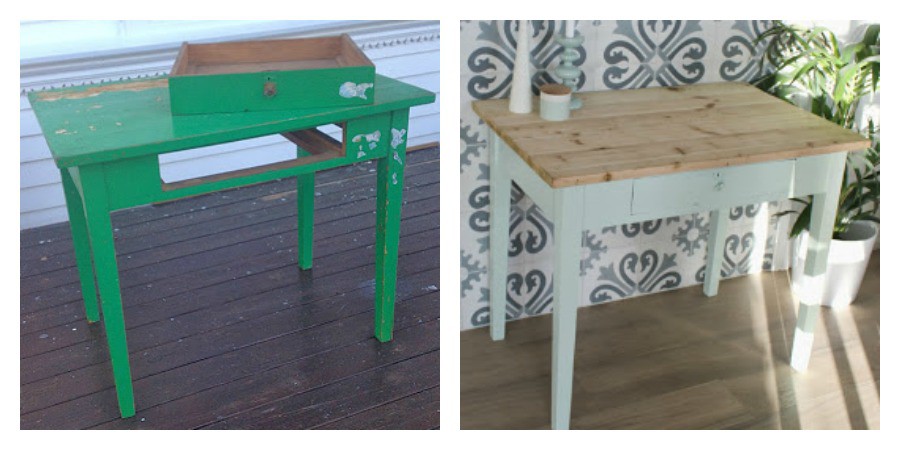
Creative Ways to Upgrade
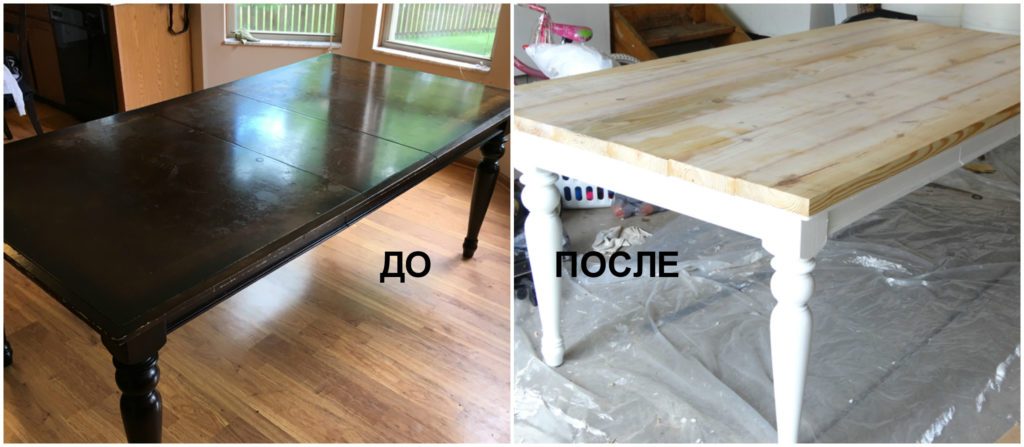
Many people puzzle over how to upgrade old tables that look dark. There are many ways to decorate the countertop of a kitchen table or any other:
- Painting. A very easy way to restore. Different types of paints are used, for example, acrylic, alkyd or enamel.
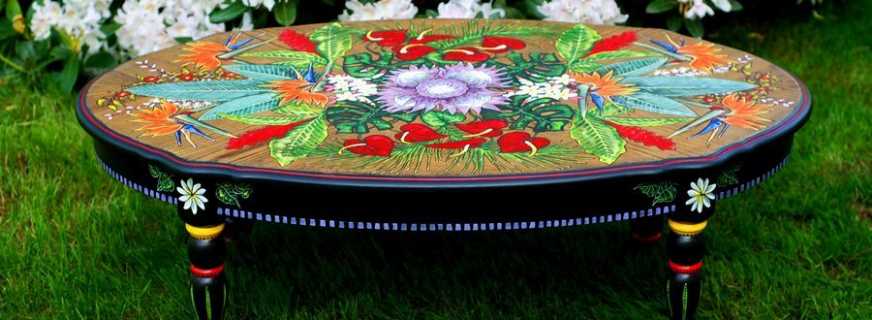
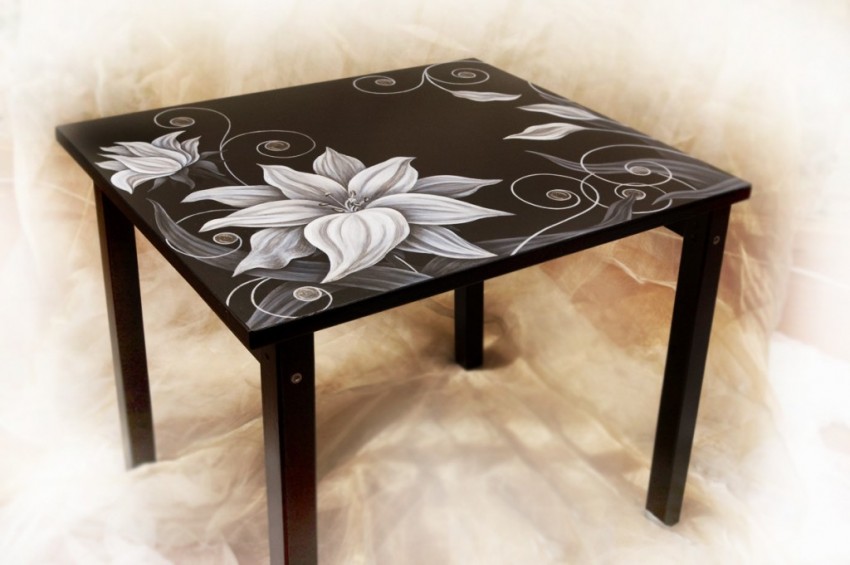
- Art painting. A rather complicated way, requiring drawing skills. You can use a stencil, this greatly simplifies the task.
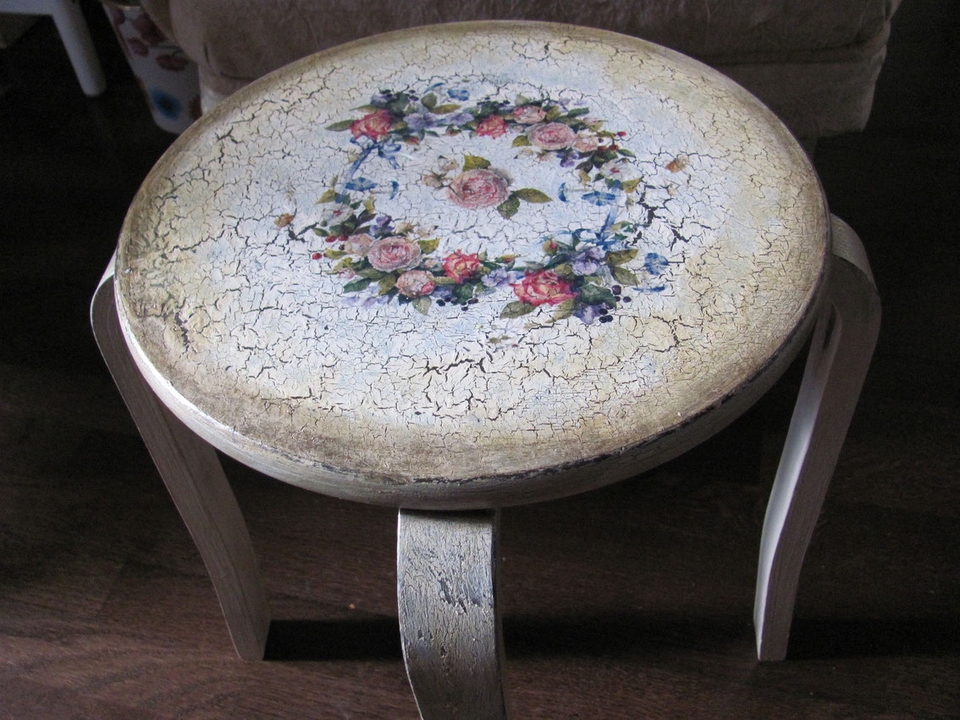
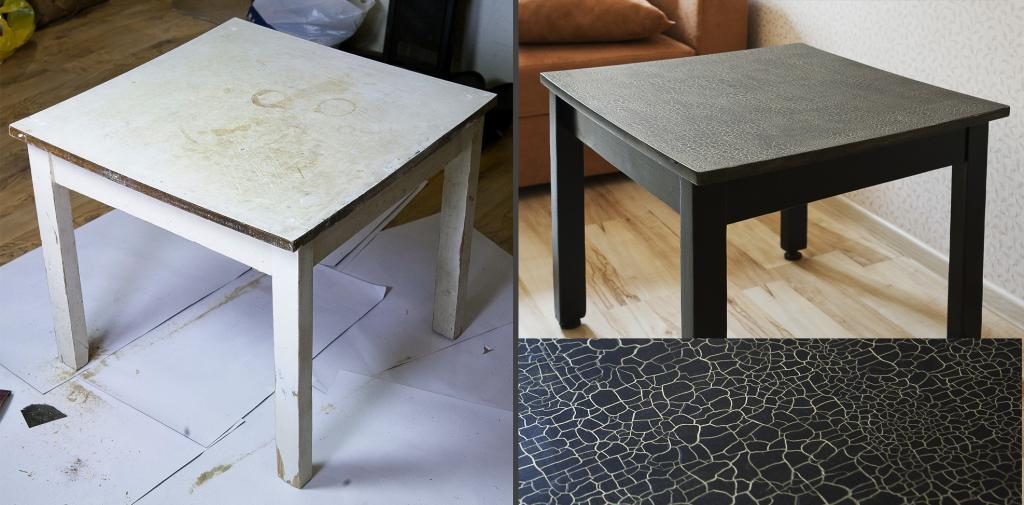
- Craquelure. This method is a decoration by applying a finish that mimics an old cracked coating. This is done using special chemical mixtures.
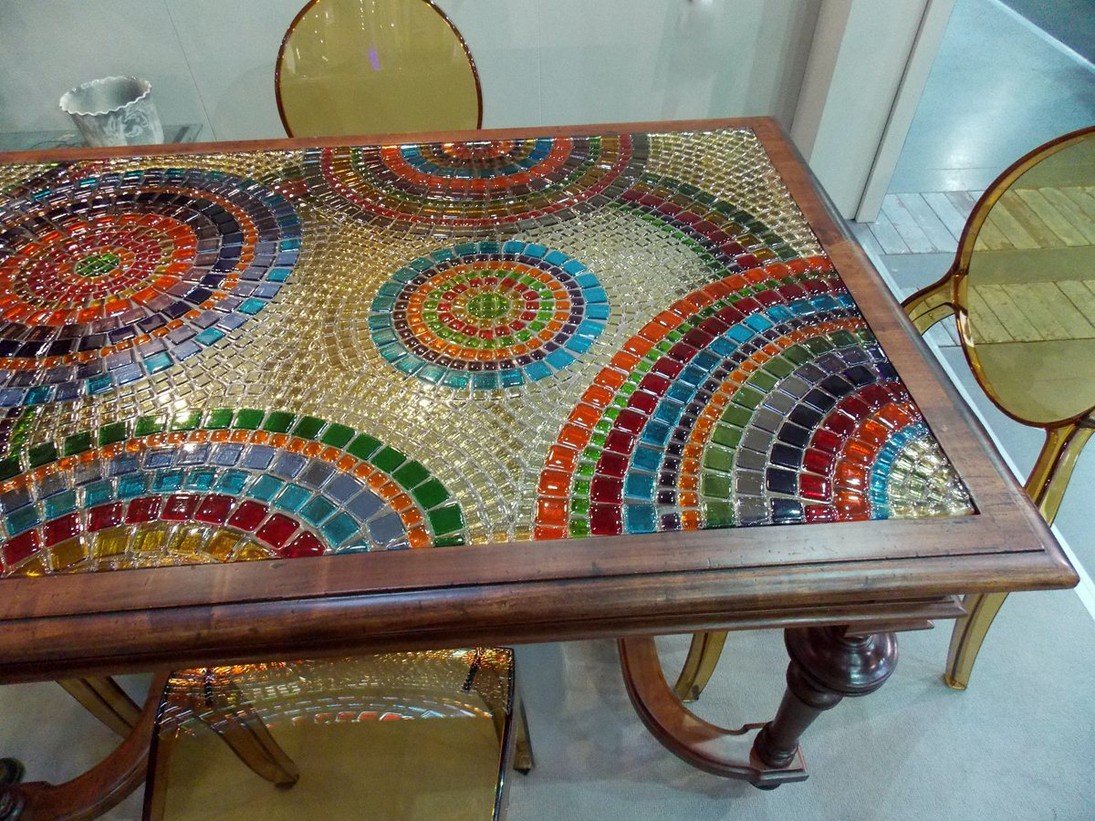
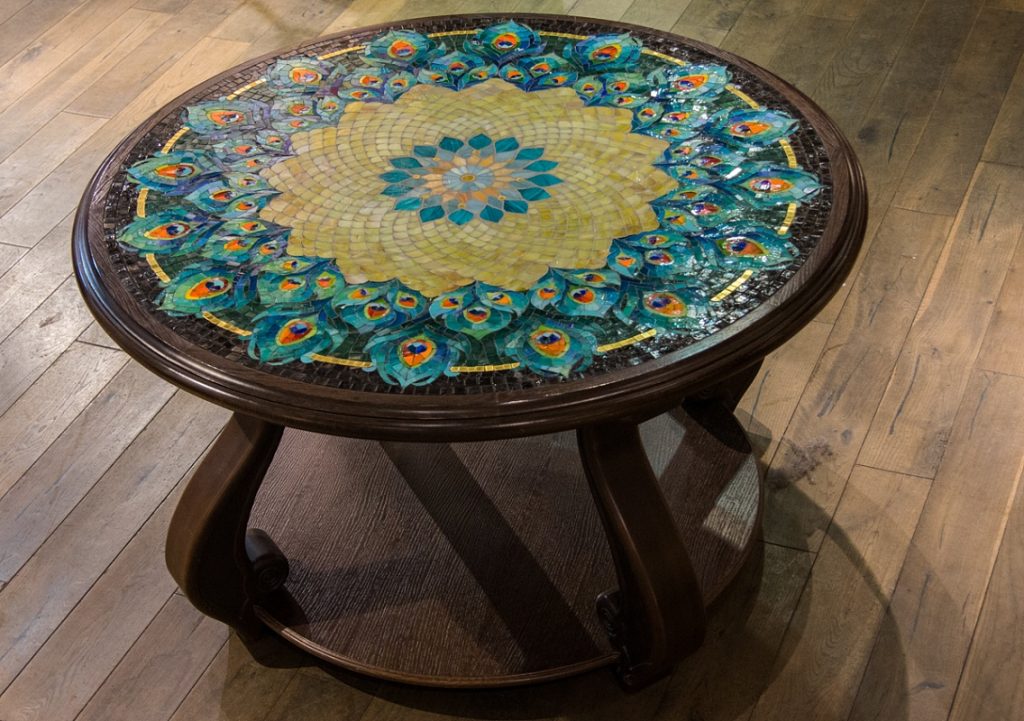
- Mosaic. You can make it with smalt, but it is very expensive. It is better to use beaten tile. For gluing use universal glue.
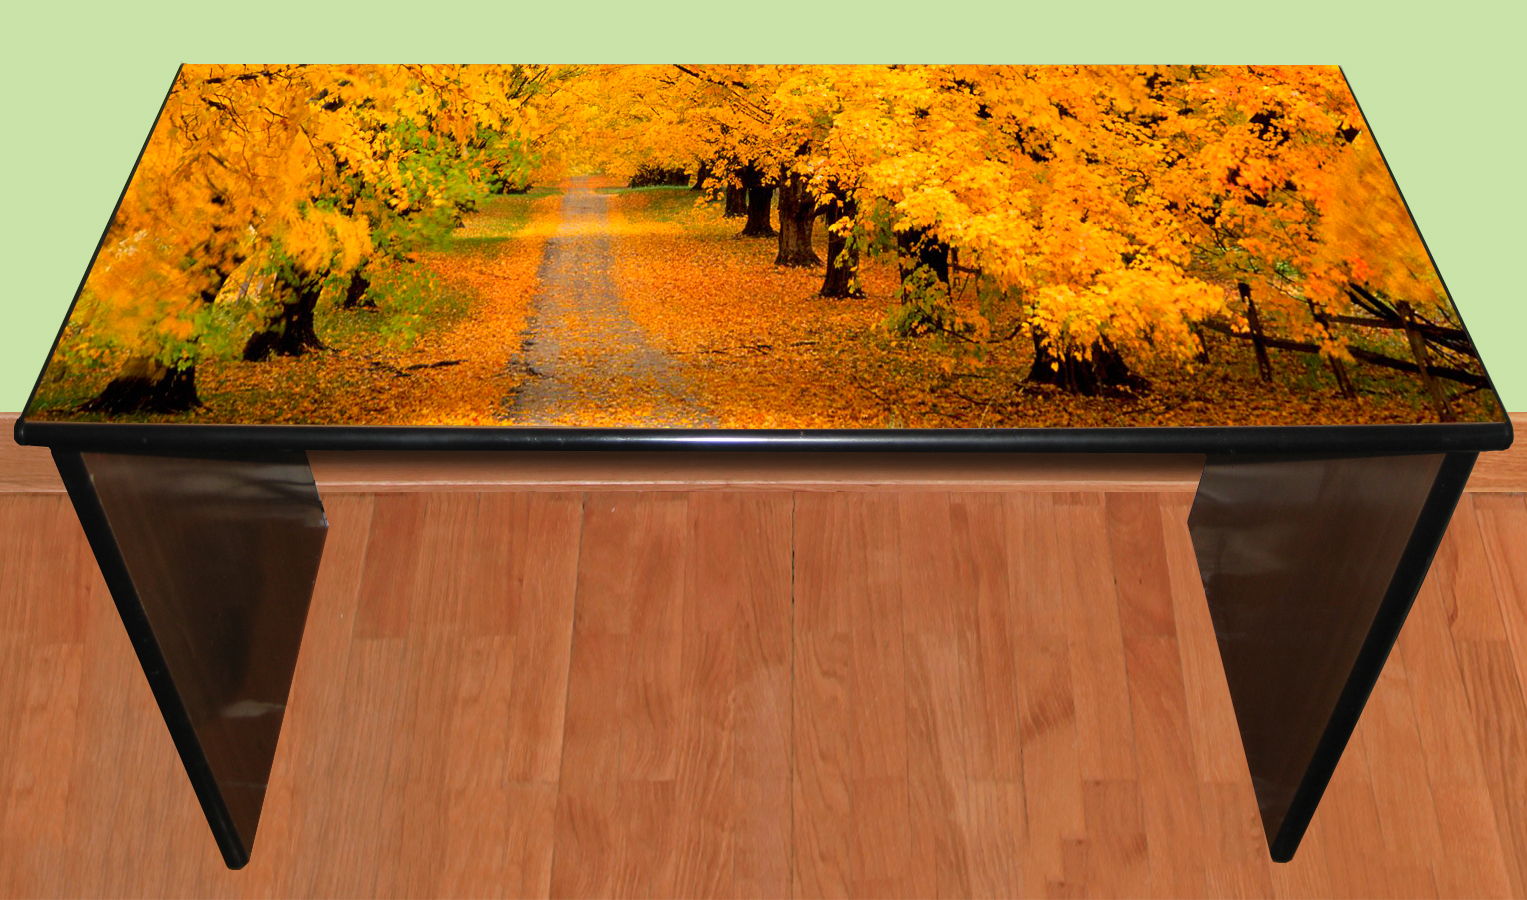
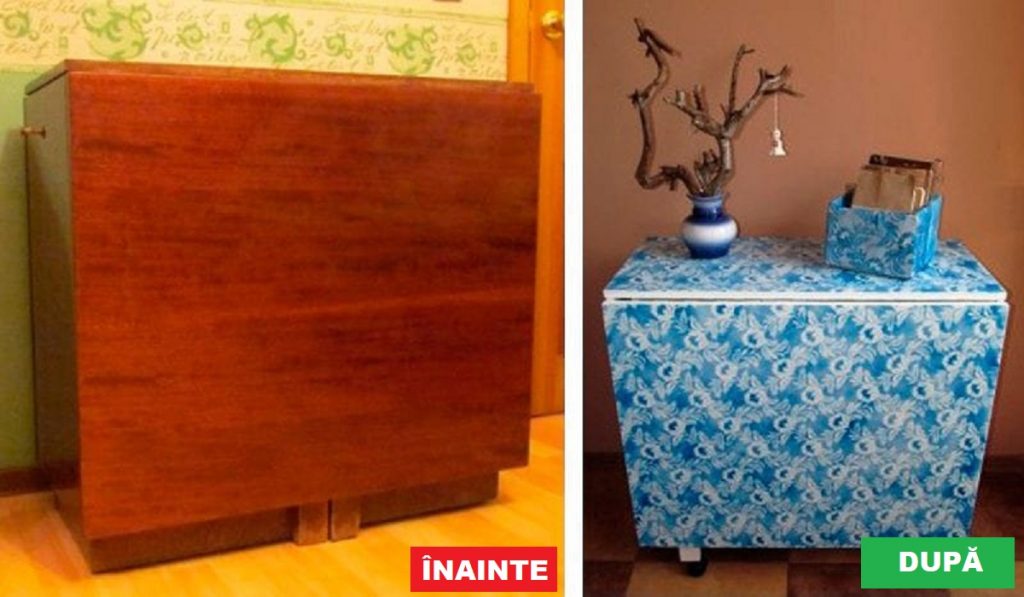
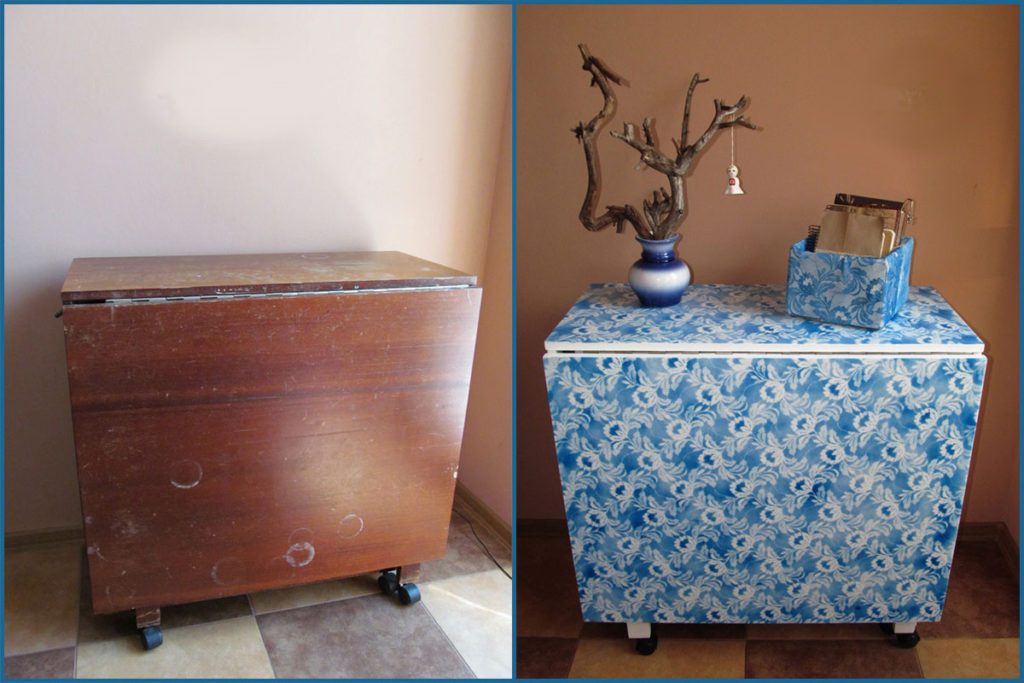
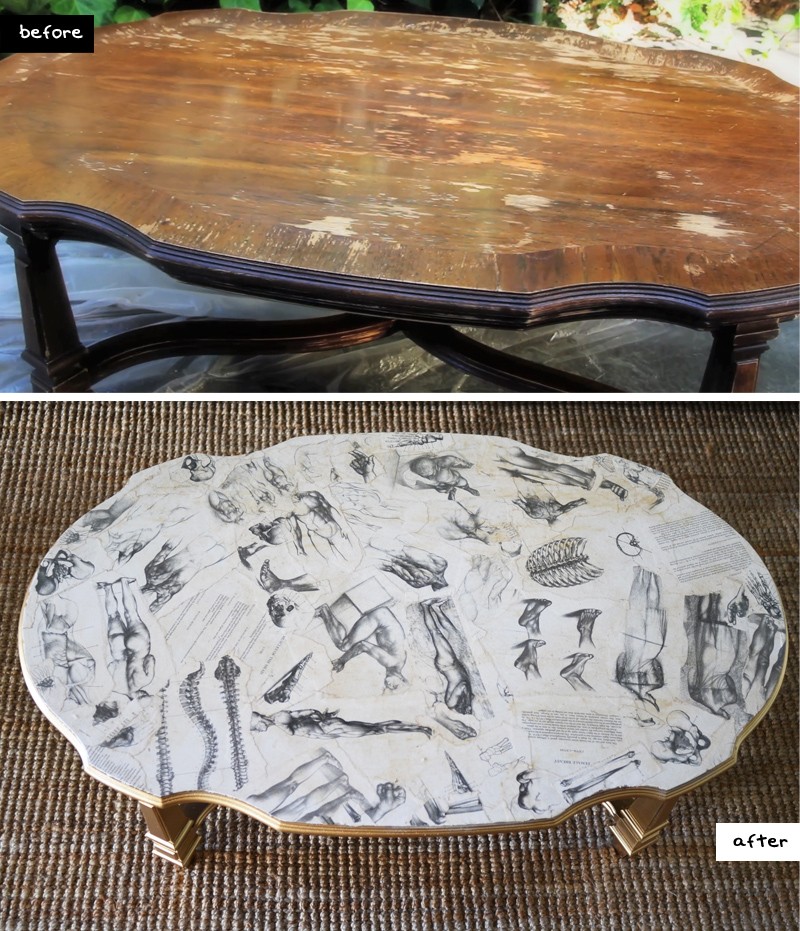
- Decorative film. It is glued after polishing and cleaning the surface. Using this technique, you can turn an old coffee table into a fashionable piece of furniture.
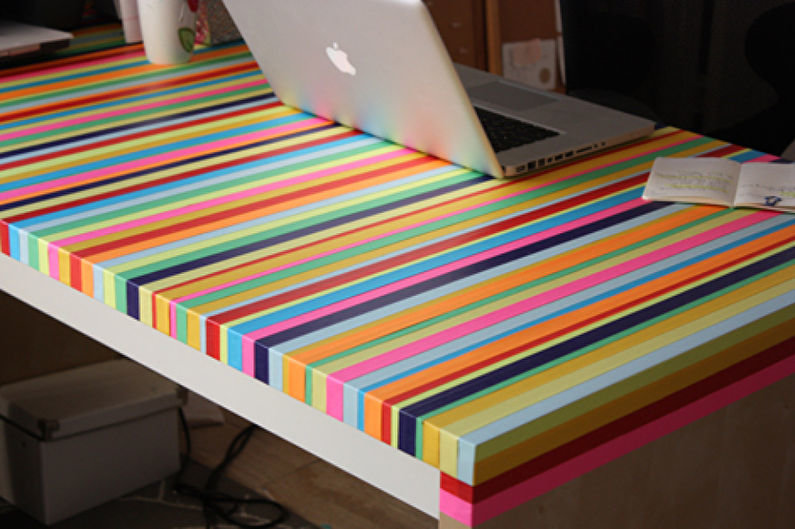
- Pasting with decorative tape. After polishing and treating with alcohol, adhesive tape is glued. Then the place of pasting is rolled with a special roller.
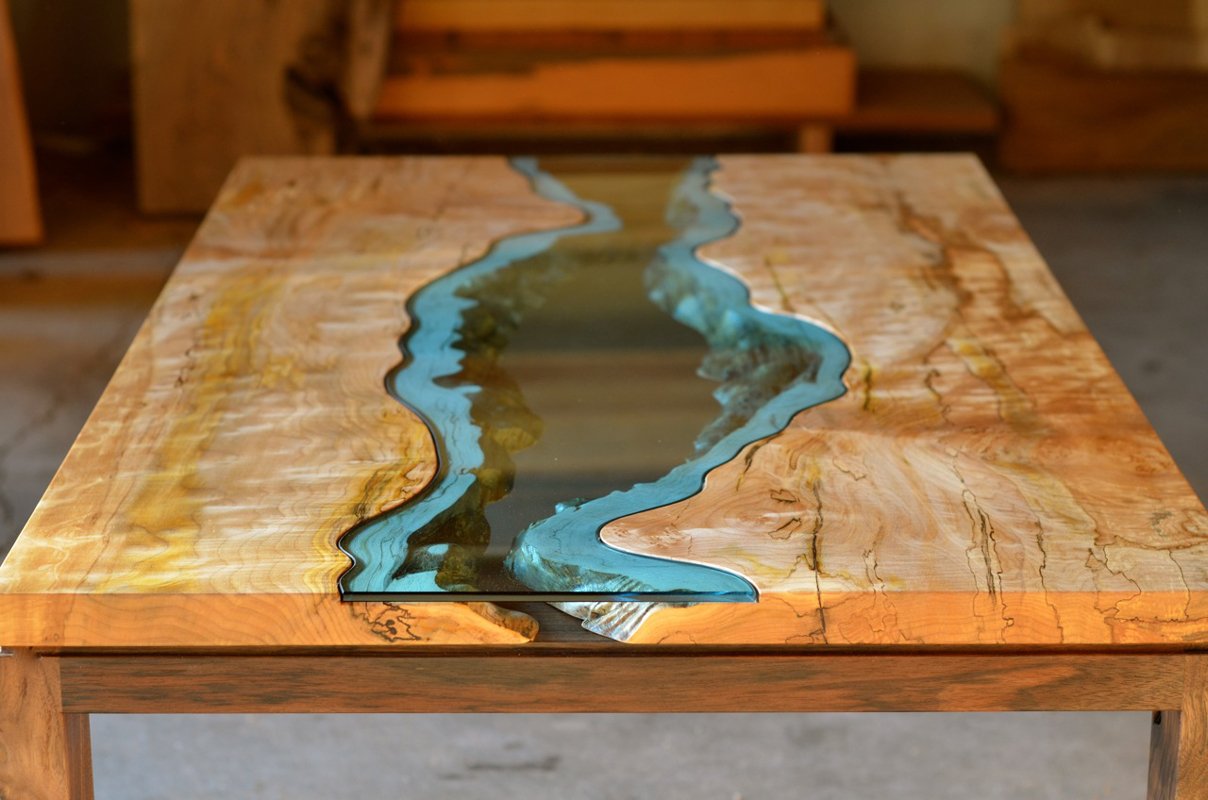
- Epoxy treatment. This solution turns into plastic after application to the surface. With its help there is a decoration with the addition of a variety of patterns.
- Application of varnish or stain. This is the easiest decorating method that even a beginner can handle. Moreover, this will preserve the natural texture of the wooden coating, as well as provide protection against moisture and burnout. Most often, this method updates the old kitchen table.
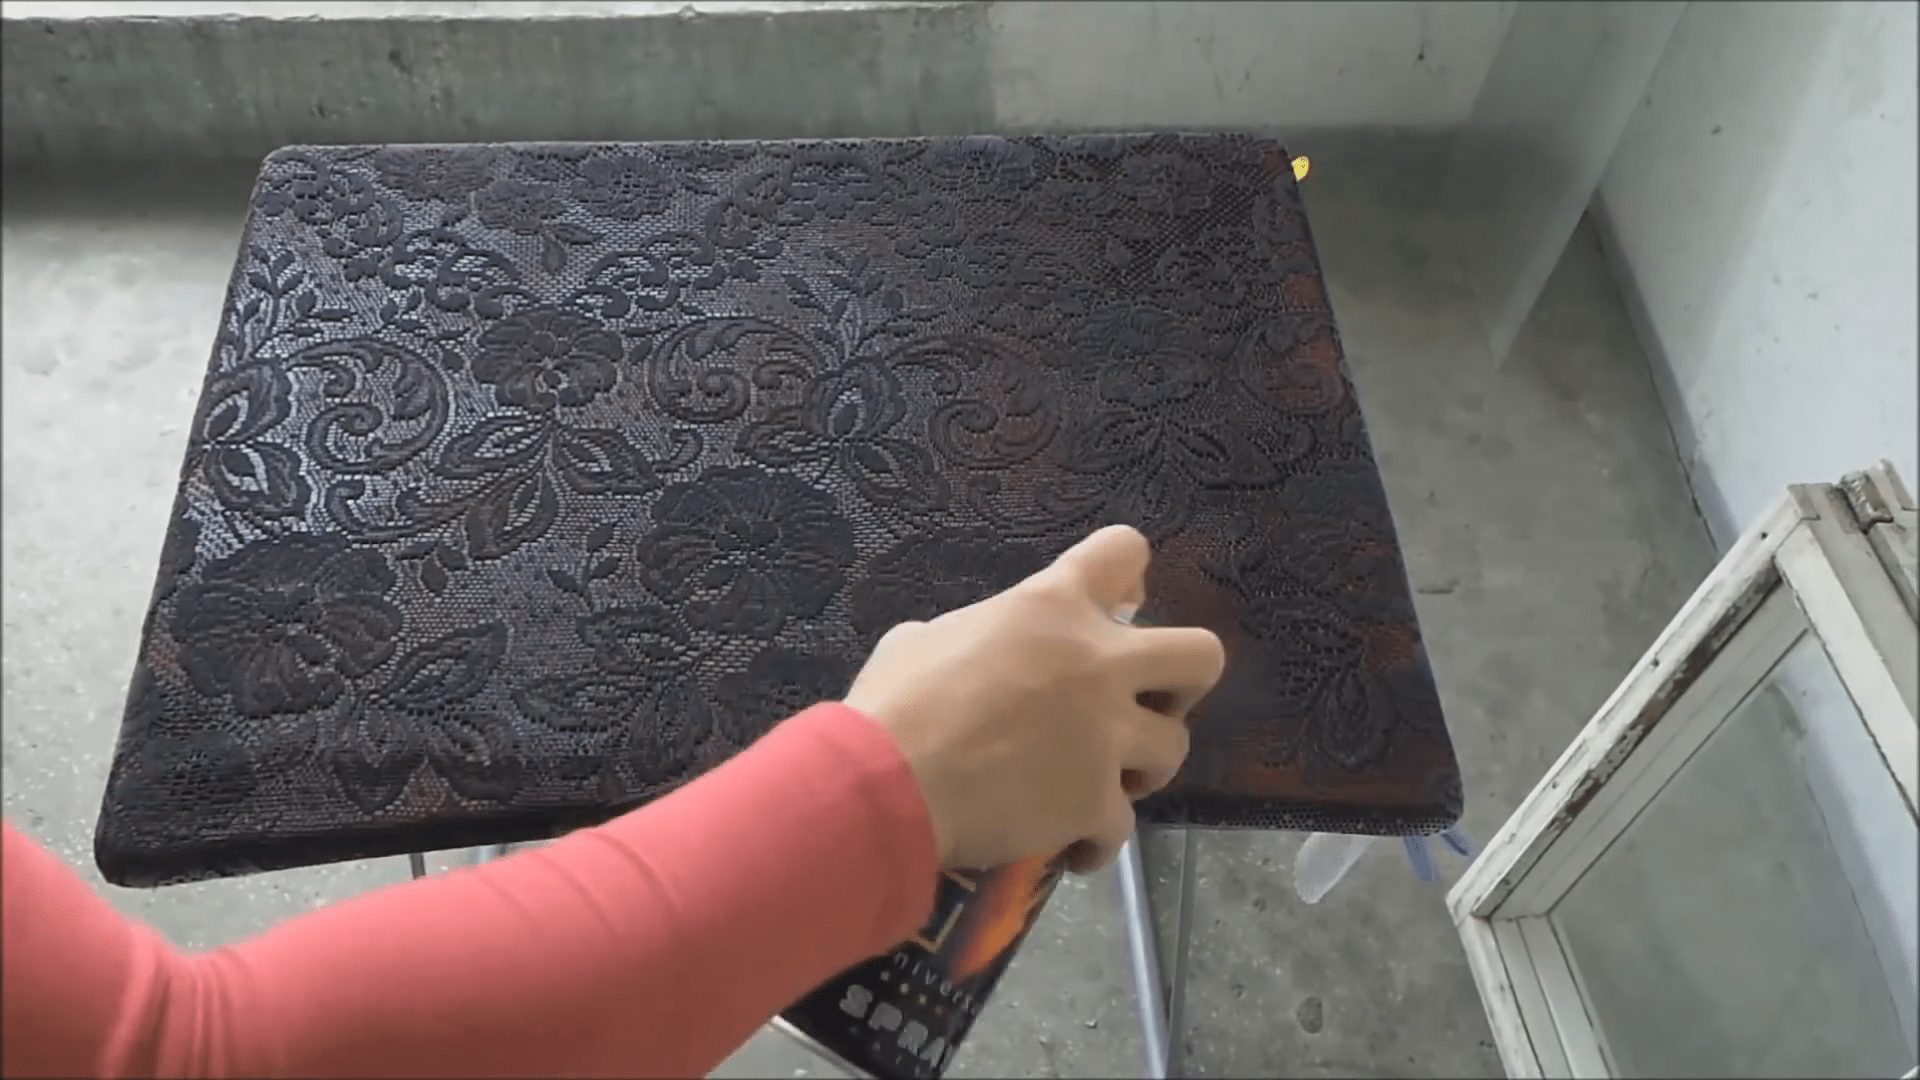
- Painting through the tulle. To do this, find a piece of old tulle. Next, you need to paint the table in white.After the paint has dried, apply tulle to the surface of the furniture so that the location of the pattern looks most beautiful. Fix the fabric so that during painting it does not budge. Then you need to take the spray can and start staining. After 15 minutes, the tulle can be removed.
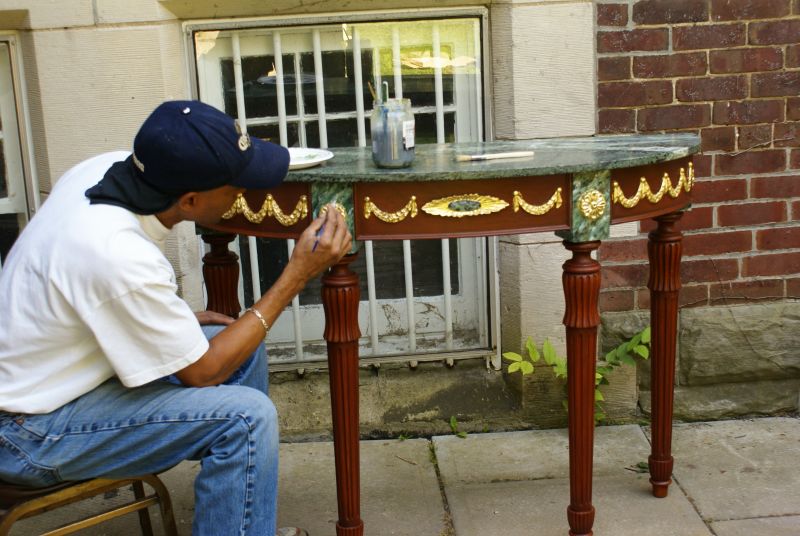
- Gilding. With the help of transfer potal you can achieve a beautiful gilded effect. This operation is carried out in the same way as staining, using a stencil.
To get the effect of a pleasant dull sheen, a matting solution can be applied on top of the varnish.
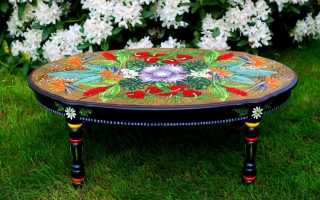
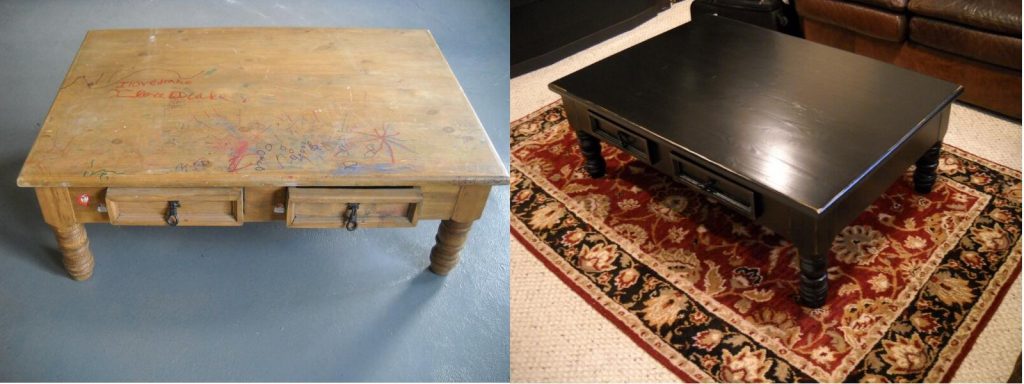
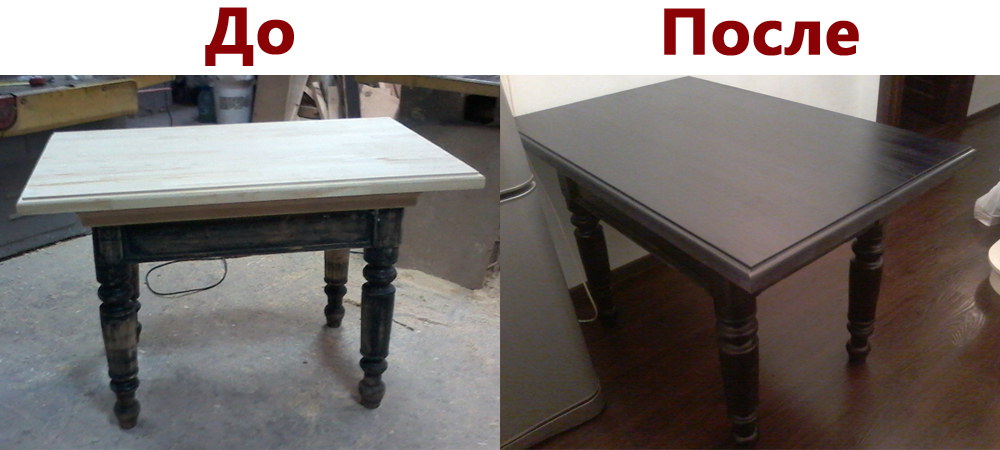
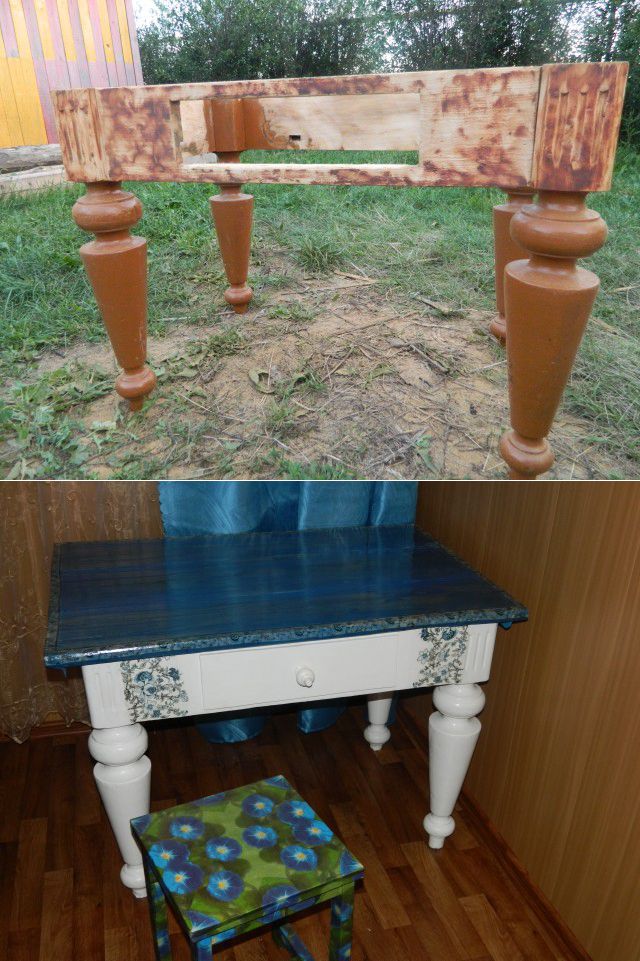
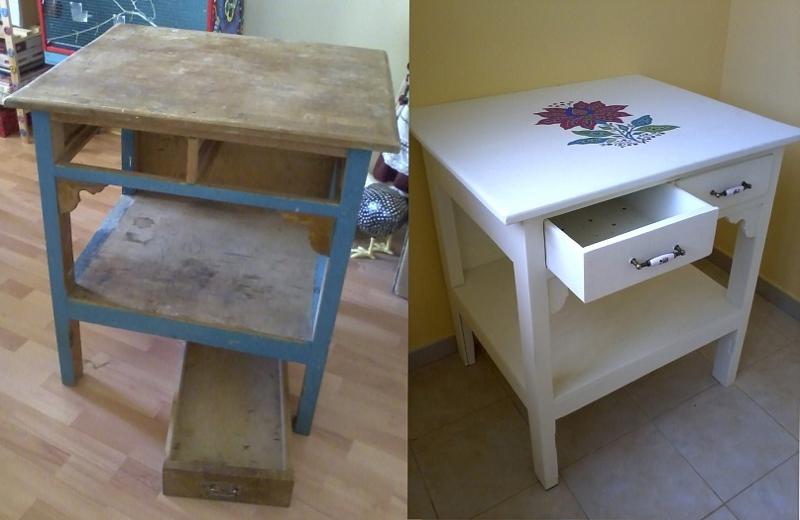
In order to restore a coffee table with your own hands, it is best to use mosaic decoration, painting, burning or varnishing. To "revive" a faded desk, you can choose staining or varnishing. There are quite a few design methods for a kitchen table: dyeing through lace or tulle, decorating with ceramic tiles or using decoupage.
Garden tables are best decorated with tiles or mosaics, especially if they are in the open. If you need to decorate a table for children's creativity, you can be creative and paint each leg in a different color - you get a bright and cheerful piece of furniture.
Summing up all the recommendations, we can confidently say that the restoration of outdated furniture can be carried out independently. Anyone who has ever held tools in their hands can turn an awkward shabby table into a real work of art. Of course, this will take time and patience, but the result is worth it.
Video
A photo


 (votes: 1, average rating: 5,00 out of 5)