The nuances of making a dressing table with a do-it-yourself mirror
Each woman over time accumulates a large number of various cosmetic accessories that need to be stored somewhere. If it is not possible to purchase finished furniture for these purposes, you can make a dressing table with your own hands, given the size and design of the room where you plan to install the product. This piece of furniture is functional, in addition to storing personal items, it can be used as a place for personal care.
Content
The advantages and nuances of self-made
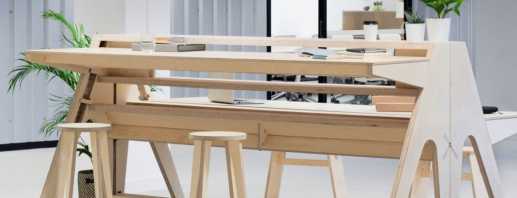
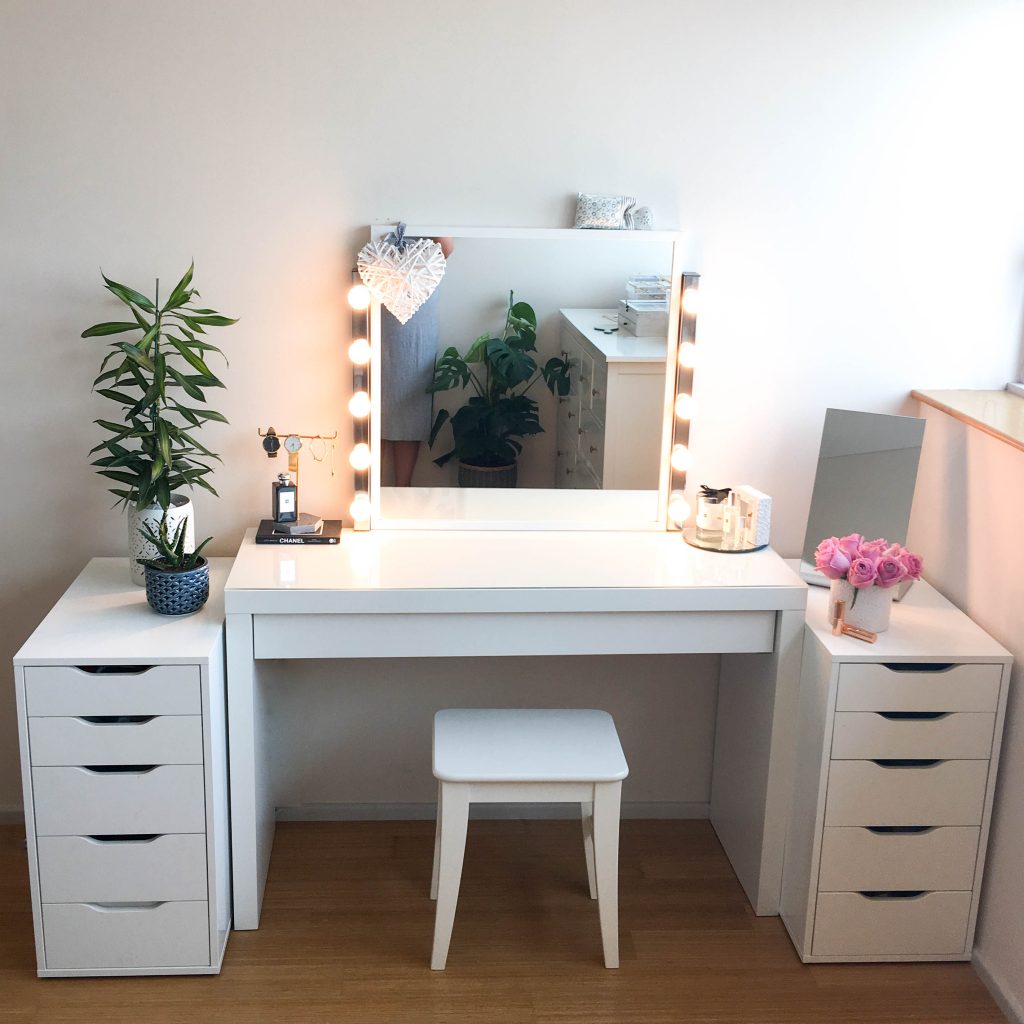
The main advantage of making a table with a mirror and do-it-yourself lighting is a large variability of designs, various materials. Regardless of the specifics of a particular model, the product structure always consists of three basic elements: a wooden or chipboard work surface, a large mirror, a place for storing cosmetic accessories (box or bedside table). Possible modifications:
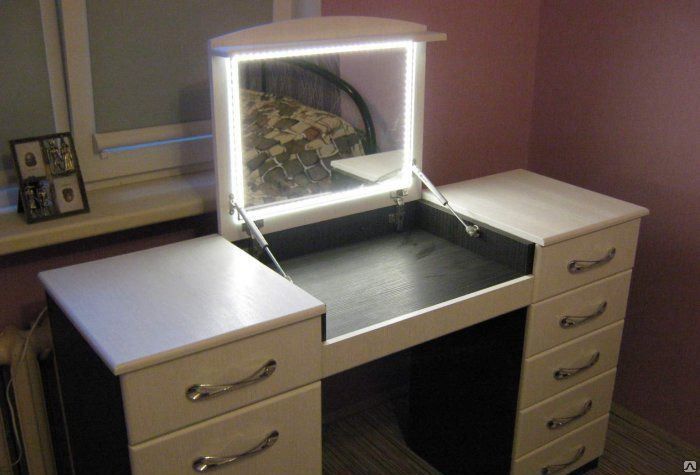
- Two mini chests of drawers connected by a countertop.
- A three-section cabinet with a narrow table letter G.
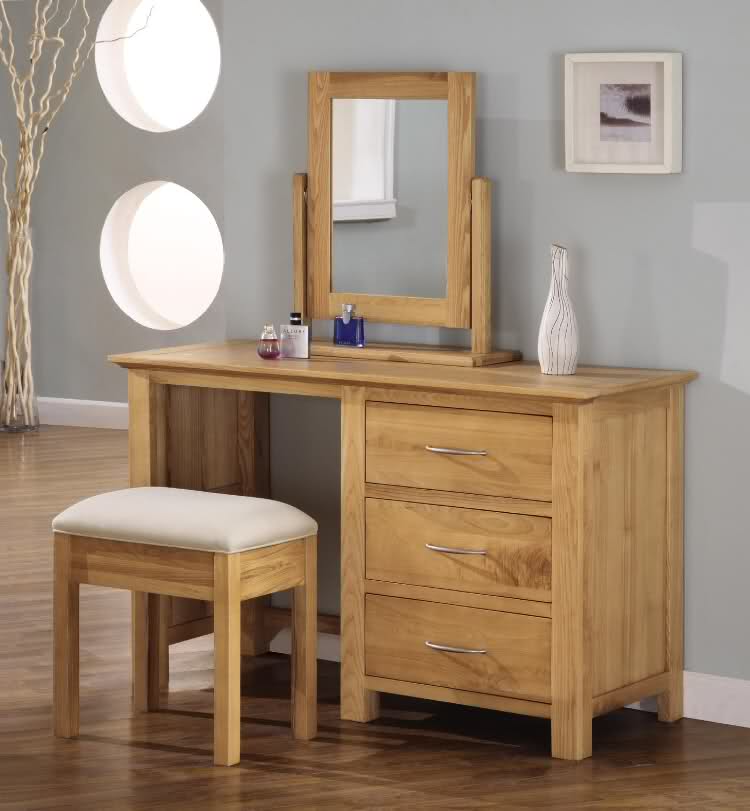
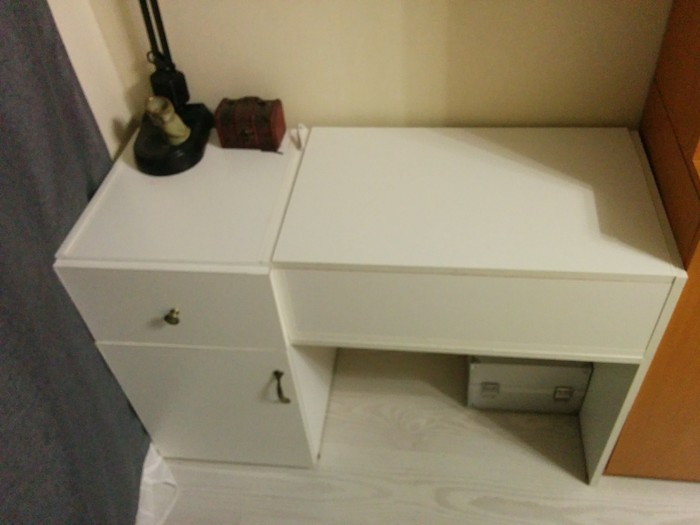
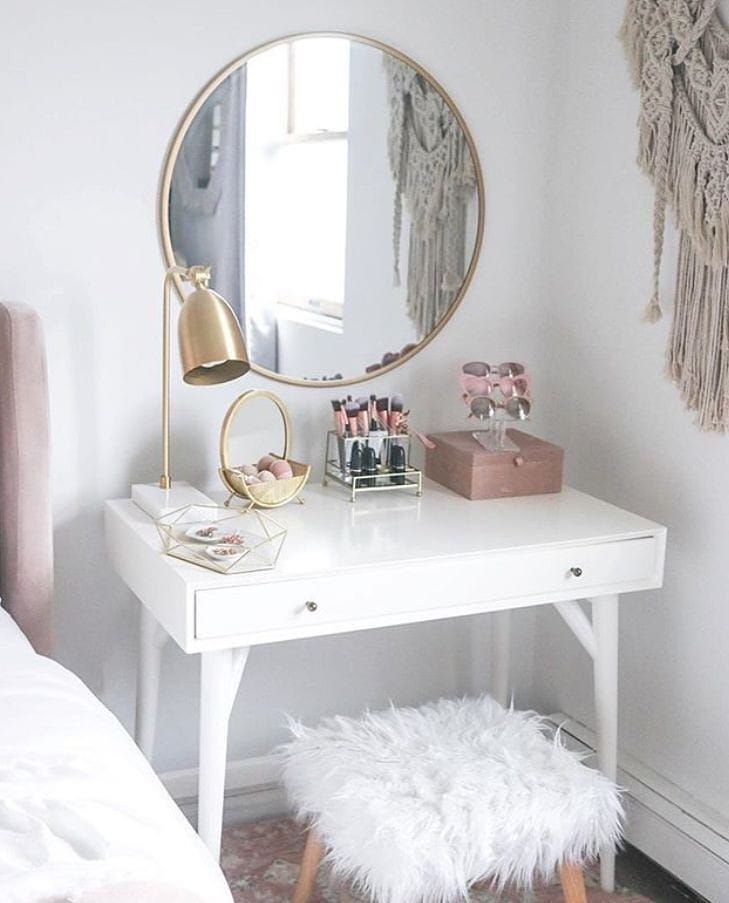
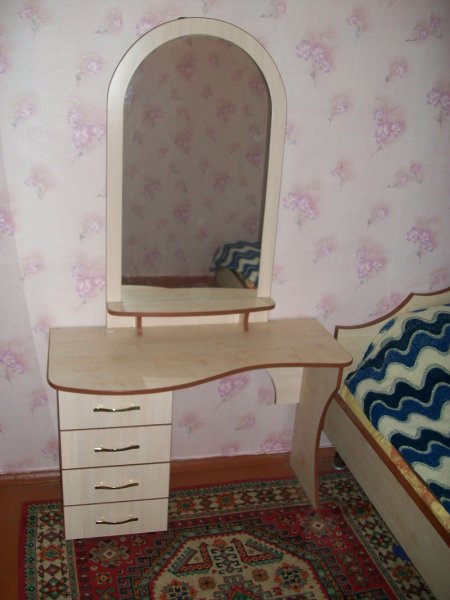
- A table in which four drawers stand out for storing cosmetics, they are arranged in pairs by two tiers.
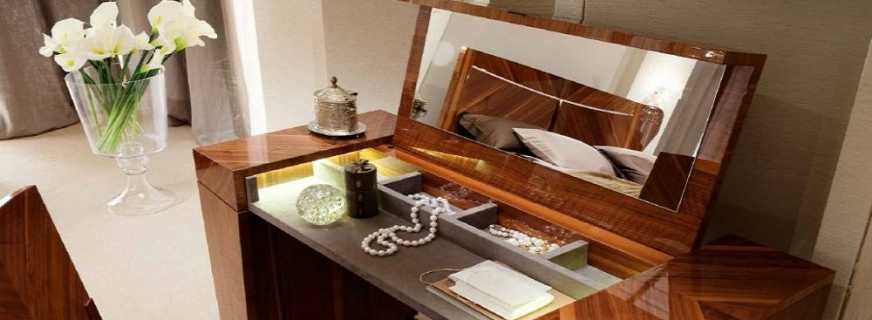
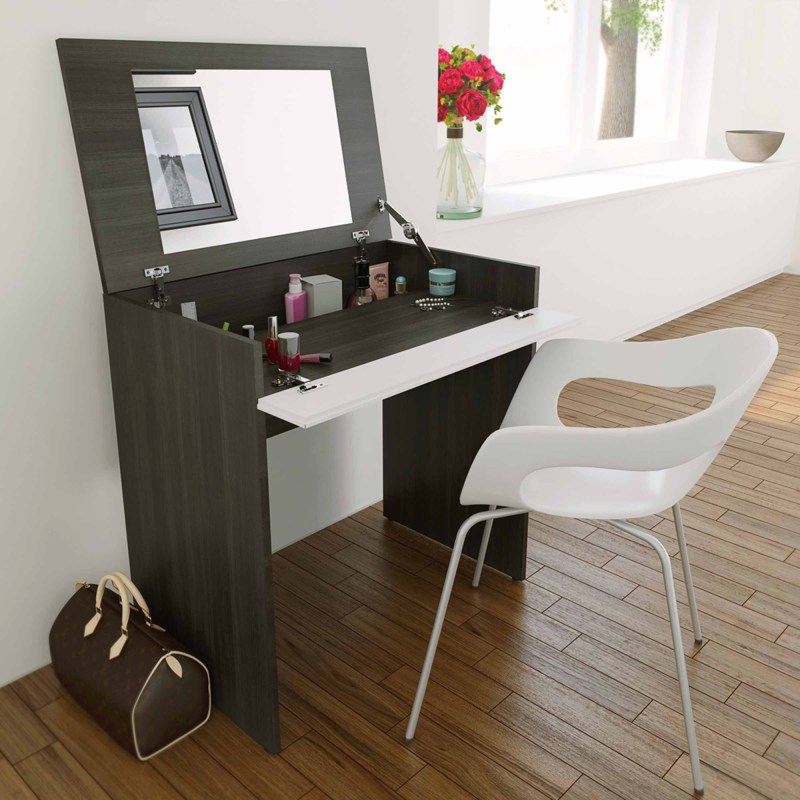
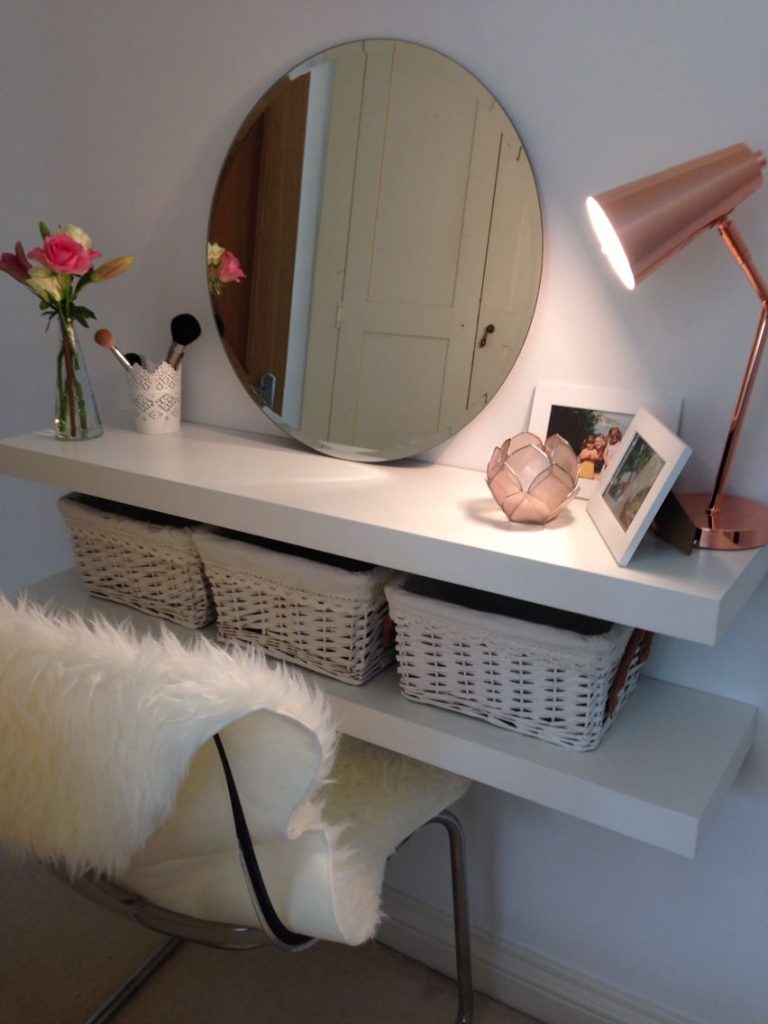
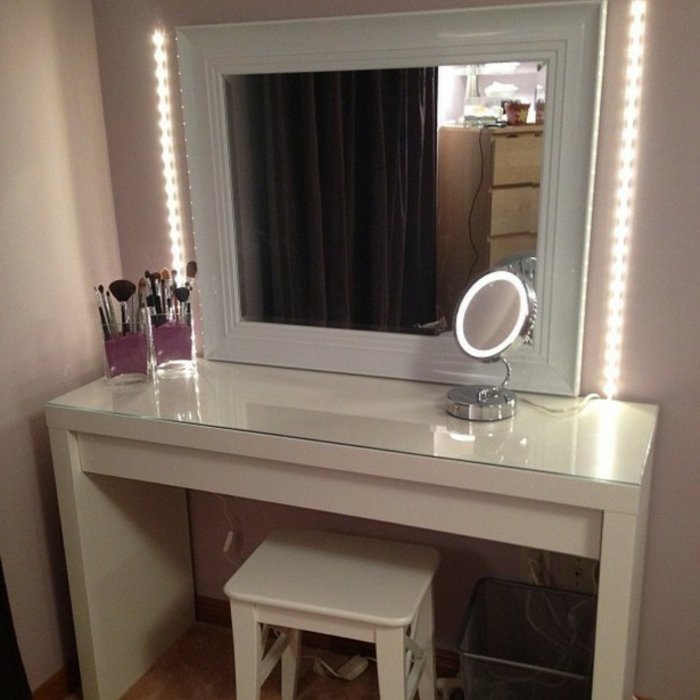
- The surface of the nightstand simultaneously serves as a countertop.
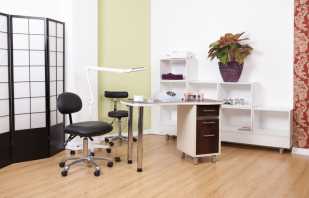
The latter option is especially convenient for small apartments, and is also easy to manufacture. This model can be safely put in the hallway. But the mirror in this case will need to be hung separately. The remaining models are more complex, but functional, look interesting in the interior.
Calculate the complexity of the design and choose the material of manufacture should be based on experience in creating furniture and the availability of tools. DIY dressing table with a mirror - the best gift for family
Materials and Tools
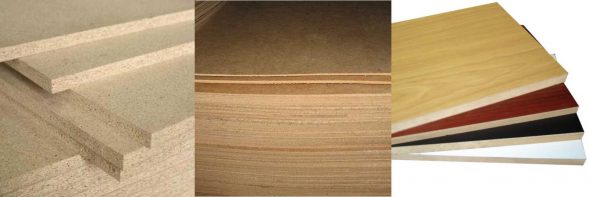
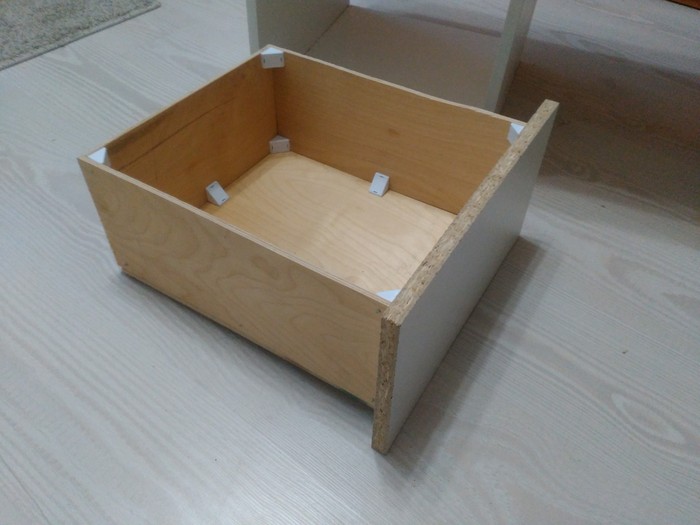
The most popular materials that make-up table are made of are wood and MDF. Some masters, continuing the traditions of the Soviet era, work with chipboard and chipboard. Boxes and a back wall are usually cut out from sheets of plywood. What is needed for work is indicated in the table.
Instruments | Screwdriver set, tape measure, square, drill and screwdriver, electric jigsaw, sandpaper for grinding surfaces |
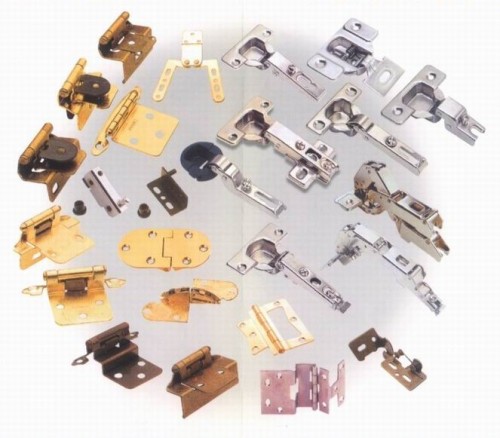
Hardware | Hinges and handles for bedside tables, decorative elements for shelves |
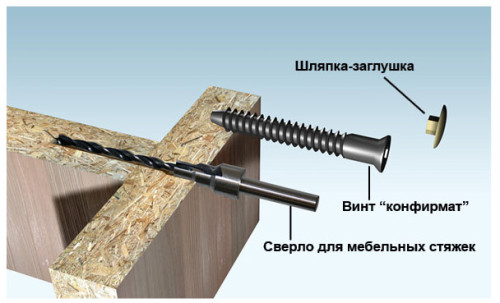
Mounts | Nails, self-tapping screws, euro-type bolts, metal corners, guides for drawers |
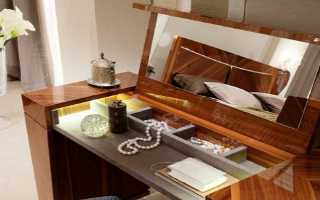
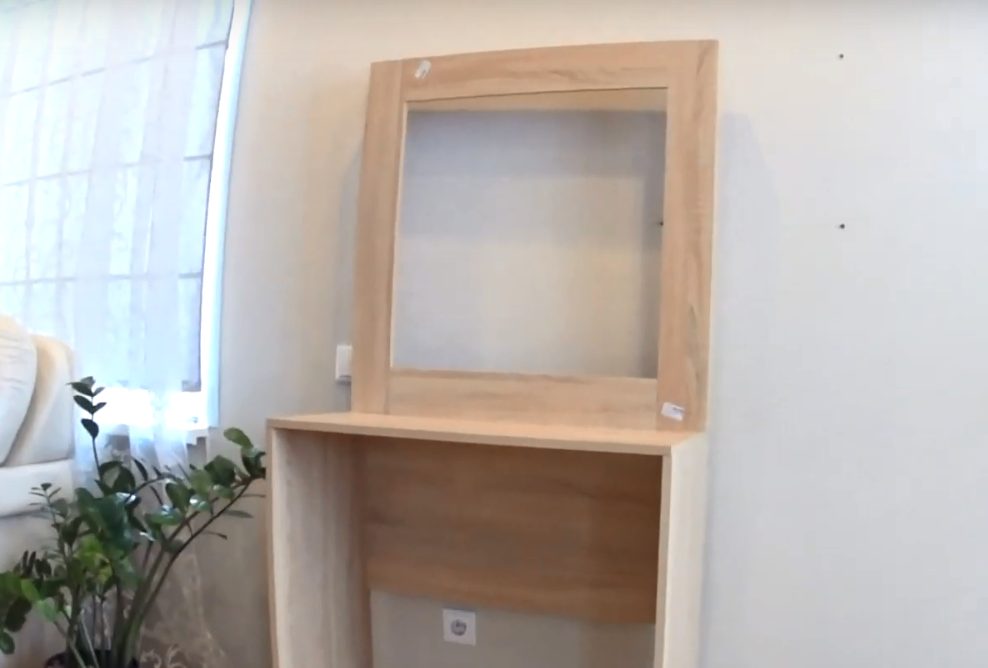
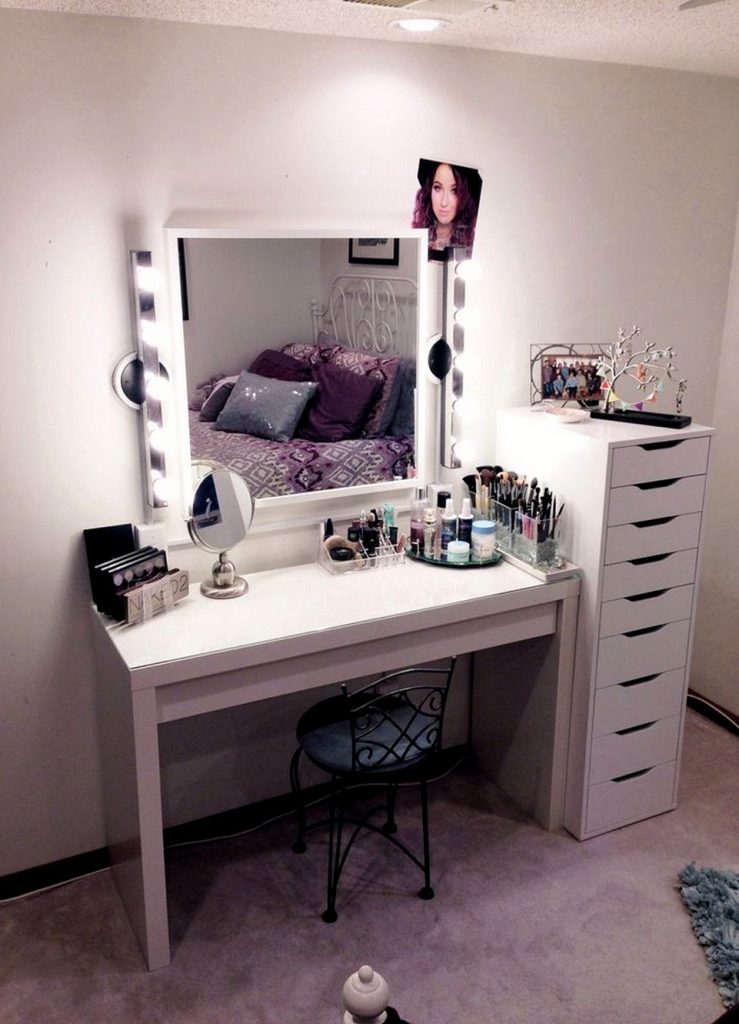
As a mirror, a rectangular, elongated panel with a semicircular finish is placed on a women's or children's dressing table. Its width in the middle is 50 cm, the height can vary, depending on the desire of the master.To create a backlight, you will need to drill a few cartridges around the perimeter of the glass, the outlet with the switch will be at the bottom. For make-up mirrors, any suitable diode lamps are used. You can make a dressing table yourself without lighting.
One of the cheapest and most affordable materials is chipboard. However, if the plates are made of low quality raw materials, they will constantly release dangerous toxins into the air.
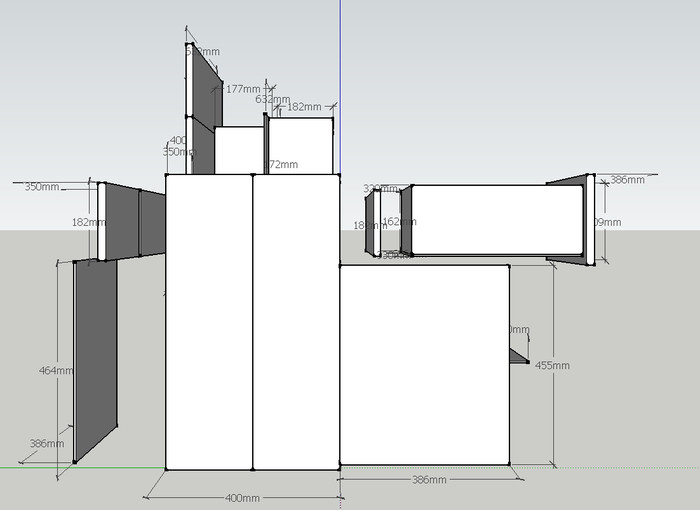
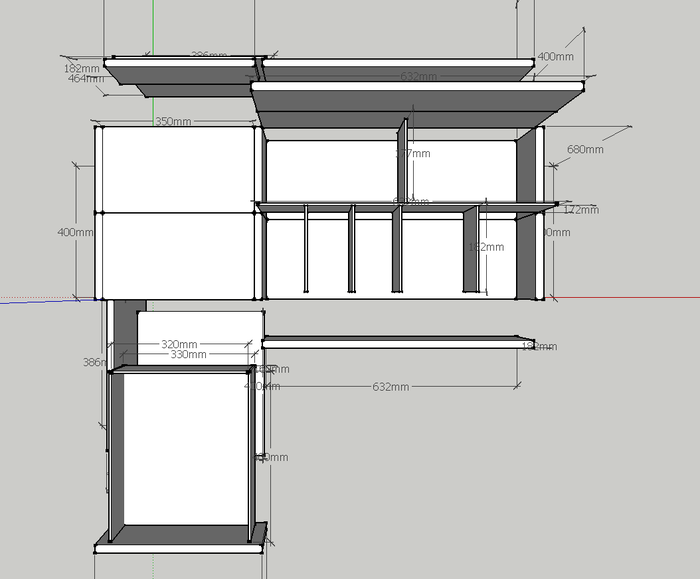
Drawing selection
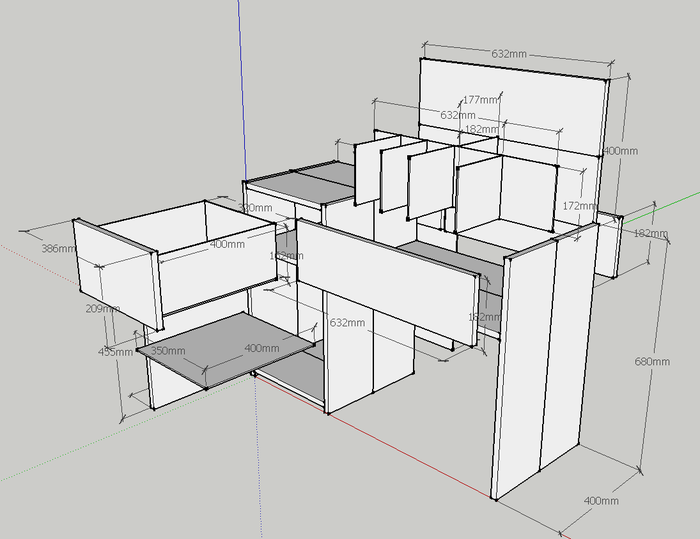
A dressing table for a girl or woman is made according to the scheme. Detailing for cutting the basic elements of the product can be performed manually or using computer programs. The first option is suitable for masters with no experience, the second - for those who have repeatedly made furniture on their own. When choosing drawings and diagrams, it is necessary to consider:
- Dimensions of the structure.
- Its complexity, the number of components.
- The presence of a sufficient number of places (sections, drawers, shelves) for storing cosmetic accessories.
- The material for which the drawing is being developed.
The presence or absence of backlight should also be considered. You can choose a finished drawing with dimensions or draw it yourself. Another option is to adapt the dimensions of the finished scheme to the area of the room in which the table will be located. On many thematic forums, you can find practical tips on how to begin to assemble a dressing table.
If you decide to use a professional computer program, it is better to choose a Russian version, because Western graphic editors may not meet domestic standards for the manufacture of furniture. Because of this, confusion with dimensions can occur, which will greatly complicate the work.

Stage production of a dressing table with a mirror
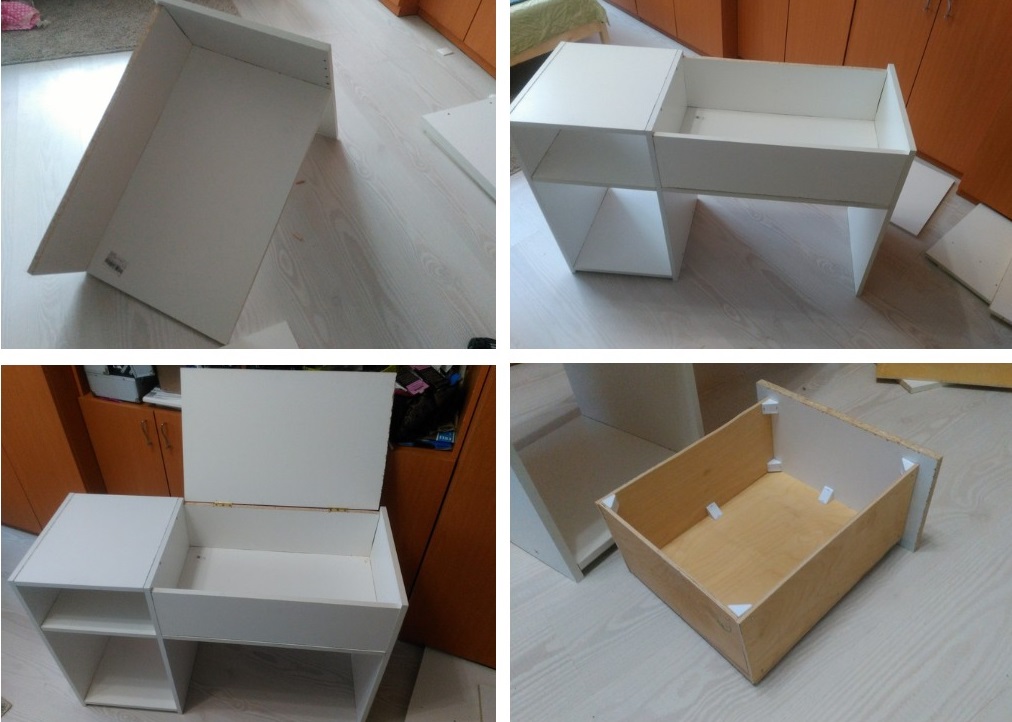
Even a beginner home craftsman can easily make a simple ladies dressing table with a pedestal and a built-in mirror. Before work, you should carefully study the drawing and diagram. Assembly Instructions:
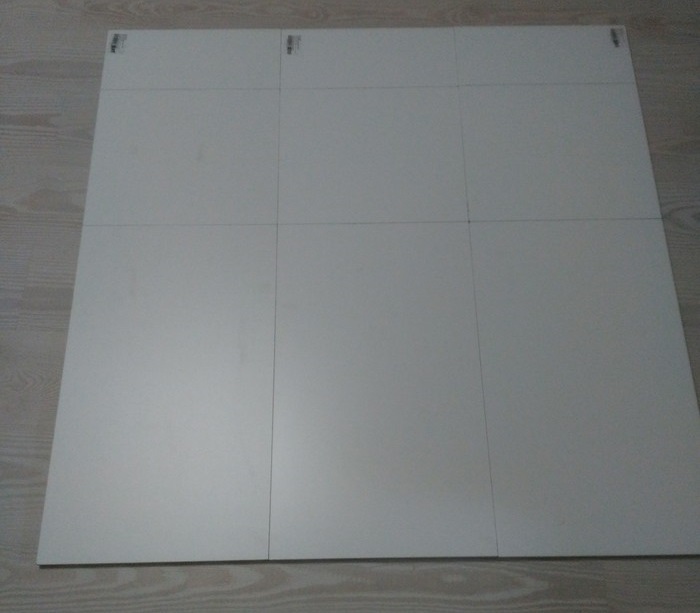
- Make a pattern of all elements in full size.
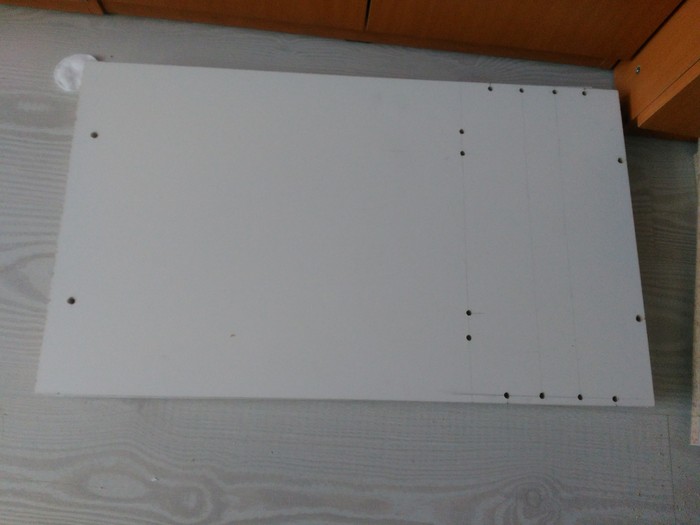
- Strip and prime the ends, glue the edges.
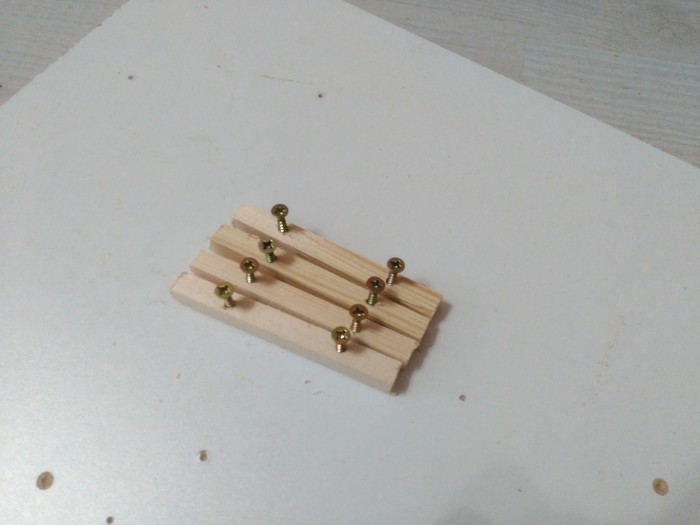
- Drill holes where the fixtures will be.
- Assemble the frame.
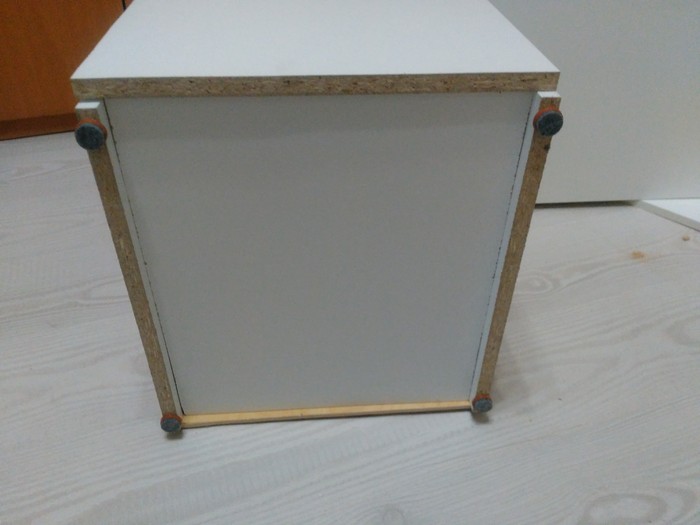
- Strengthen the corners of the sidewall.
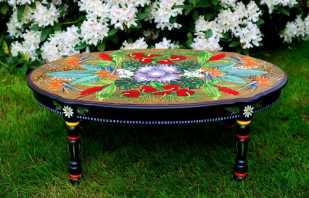
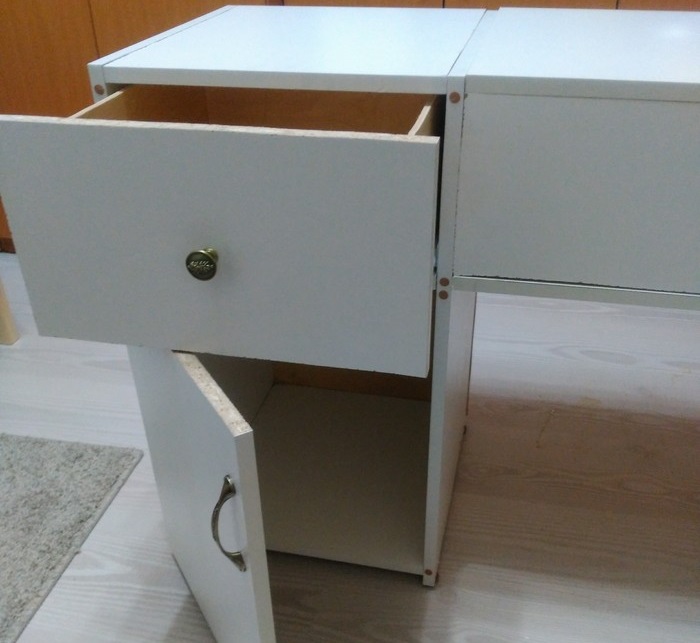
Next, you should assemble the sliding sections of the dressing table, fix the accessories on the front side, install the drawers in the guides. The trellis can be additionally decorated. Jewelery using decoupage technique, inlaid with stones and typesetting mosaics from small wooden elements of different geometric configurations look spectacular. Some masters use self-adhesive paper to decorate a dressing table with a mirror. The surface of the table is varnished, stained or stained.
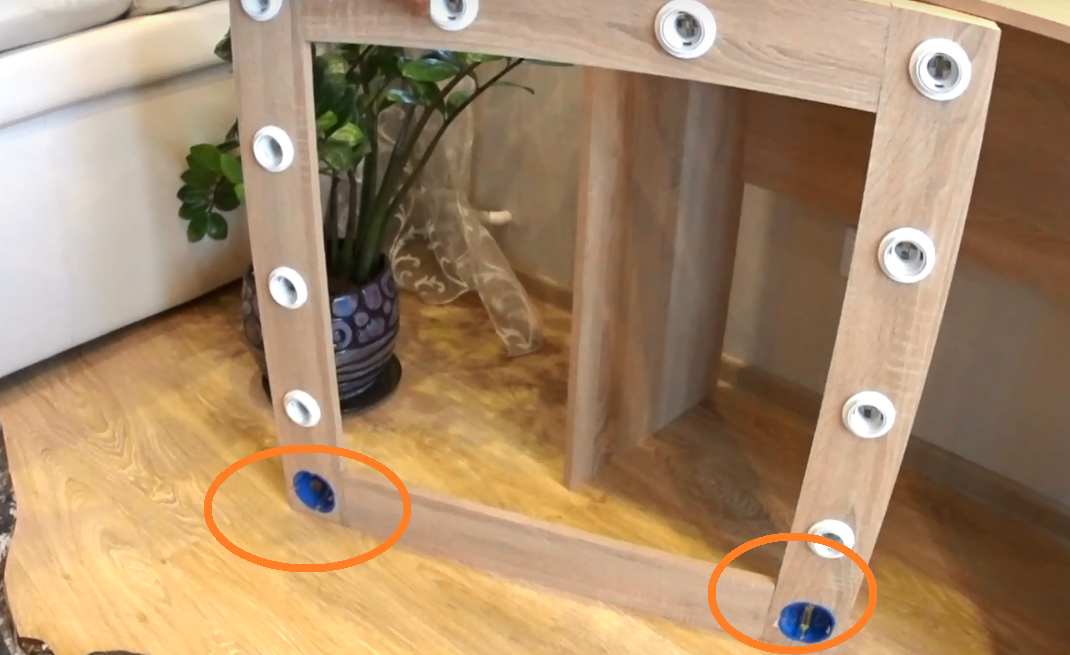
Backlight Mounting
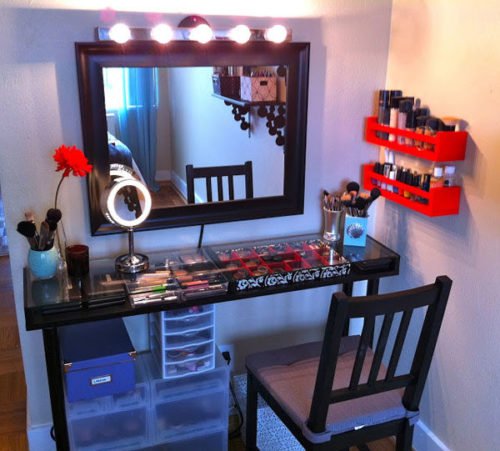
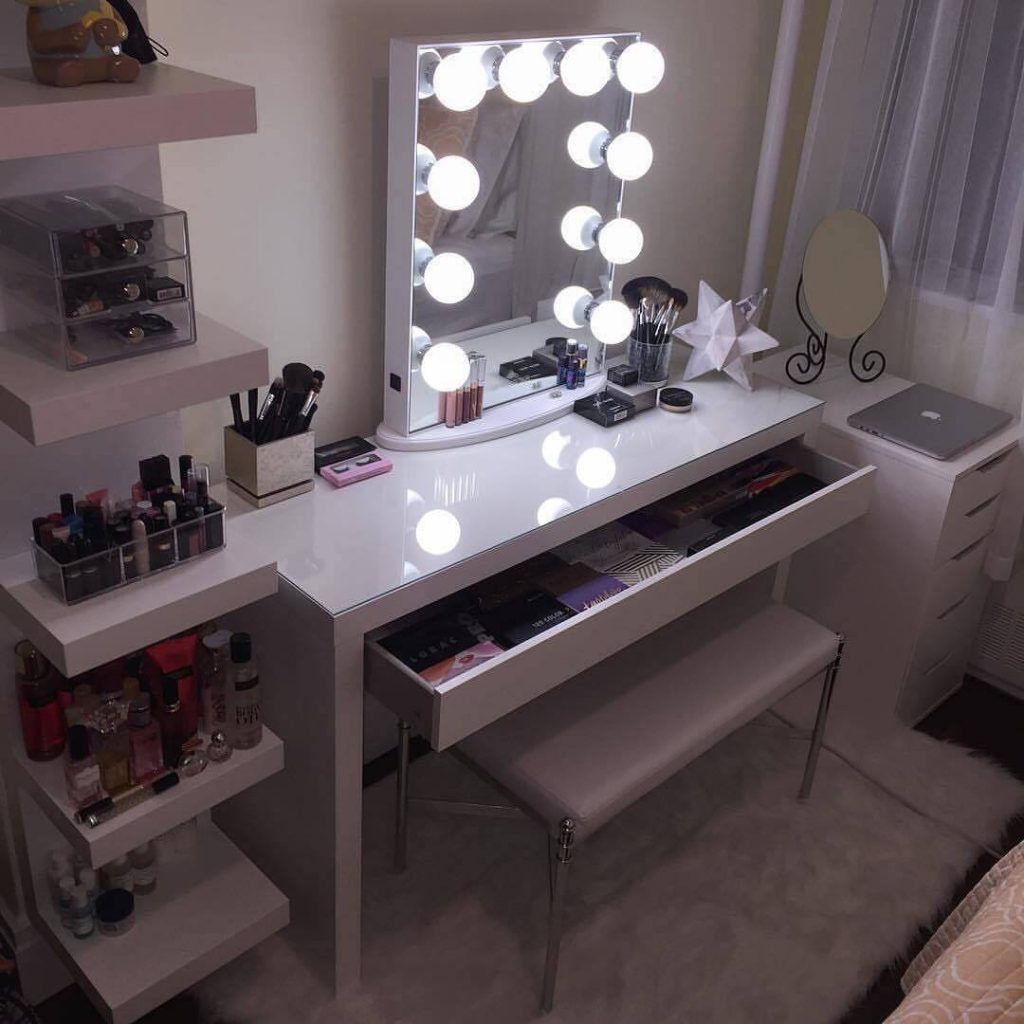
Install LED lighting for the makeup table is necessary so that you can find something in the nightstand, not including a bright chandelier. This is especially true if you plan to put furniture in the bedroom. The main thing is to clearly follow the step-by-step algorithm of work:
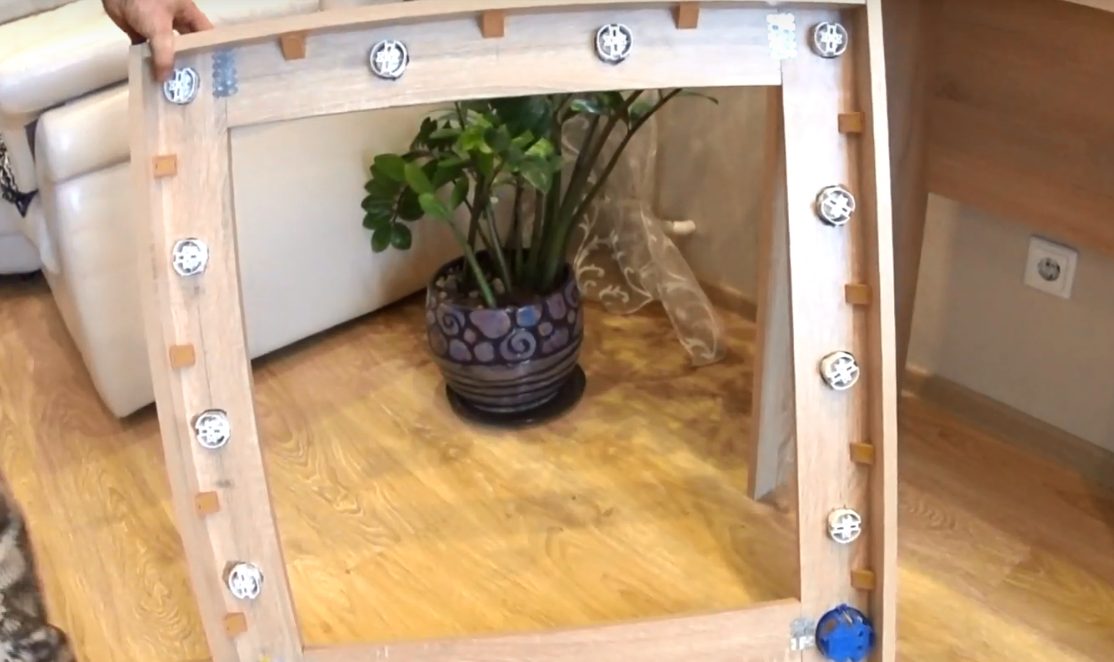
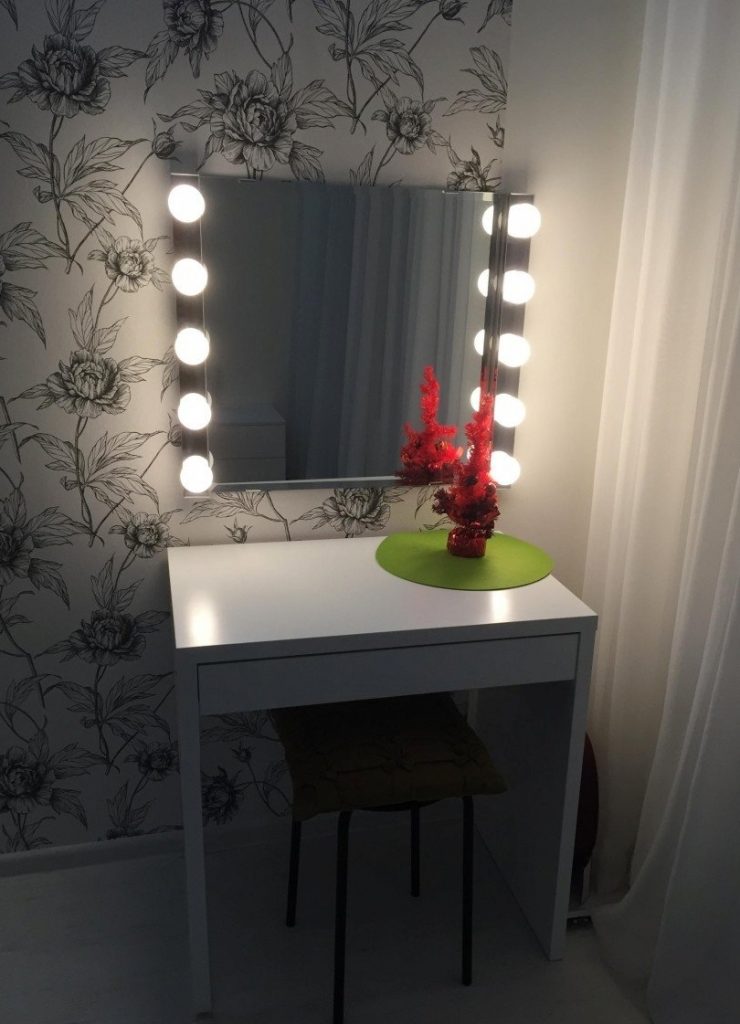
- Make a frame for the make-up mirror in accordance with the shape of the glass. You can buy a finished one.
- Drill around the perimeter of the hole for cartridges.
- Insert LED bulbs.
- Install a push-button switch with a socket at the bottom.
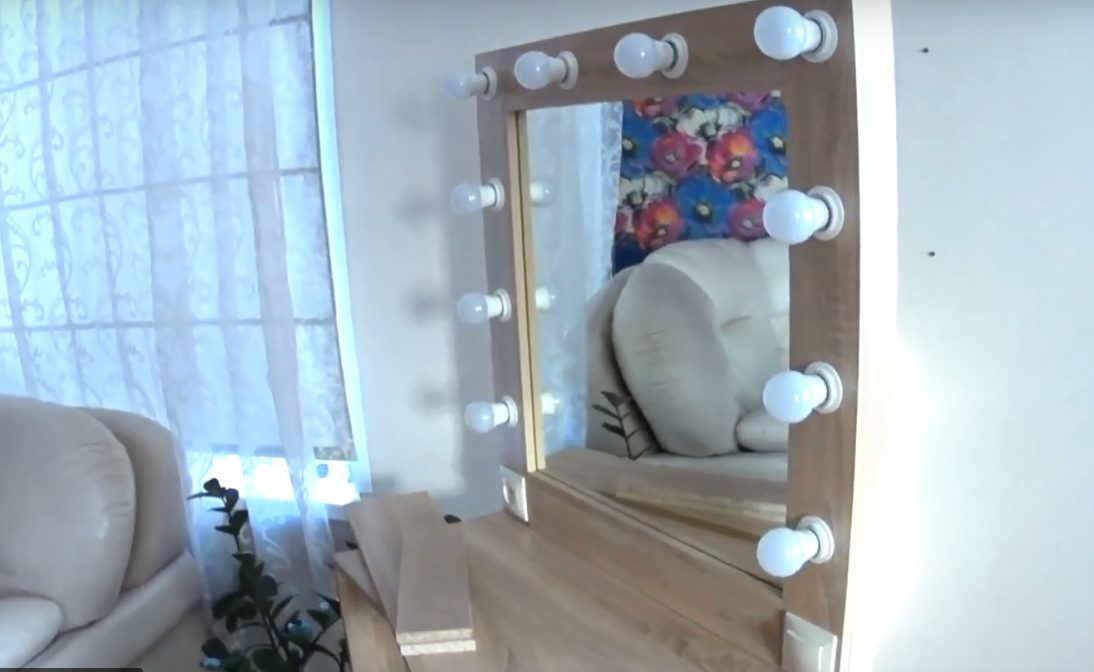
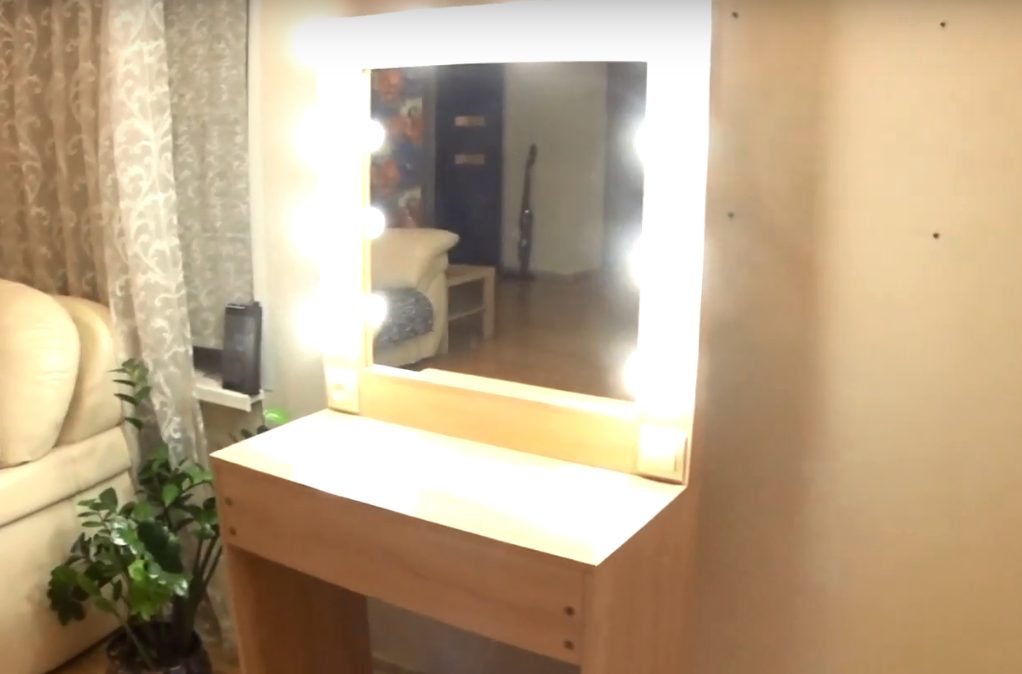
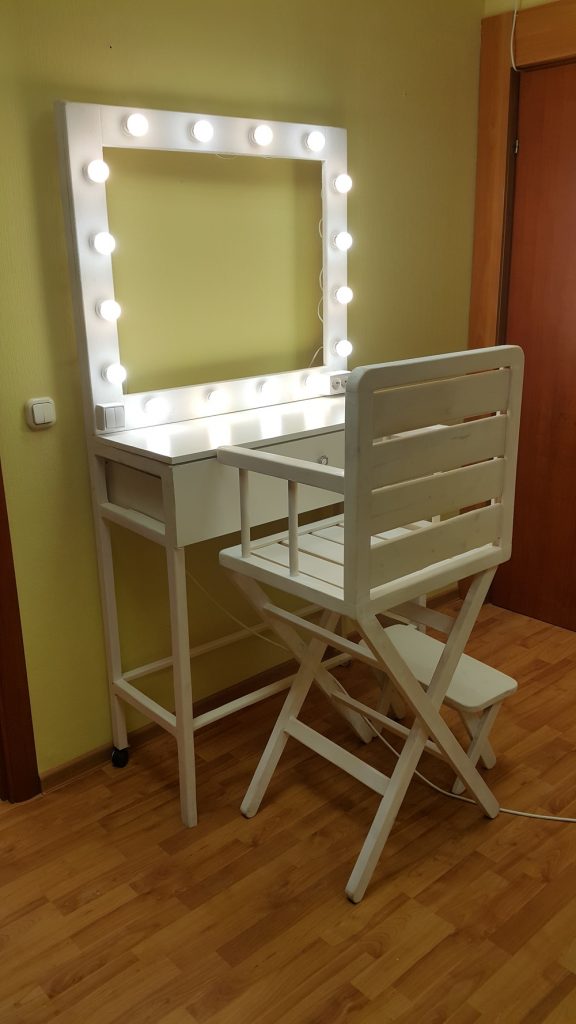
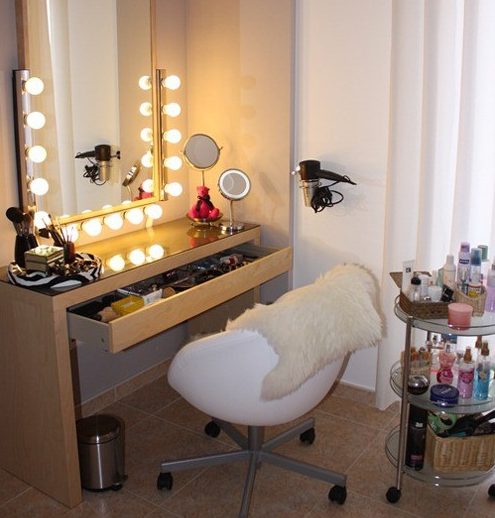
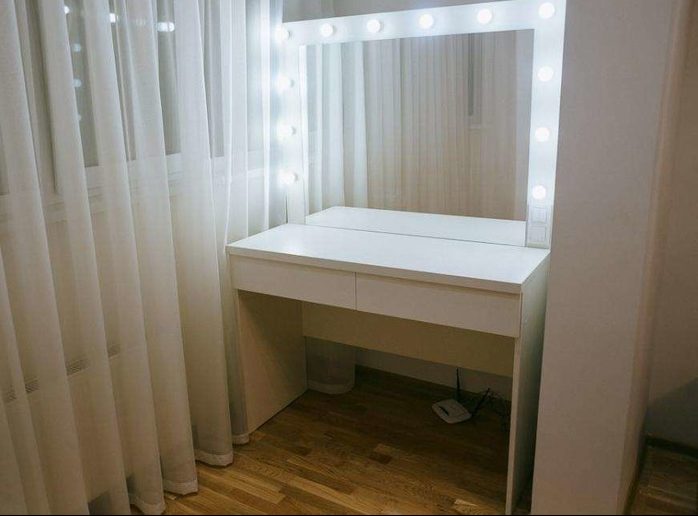
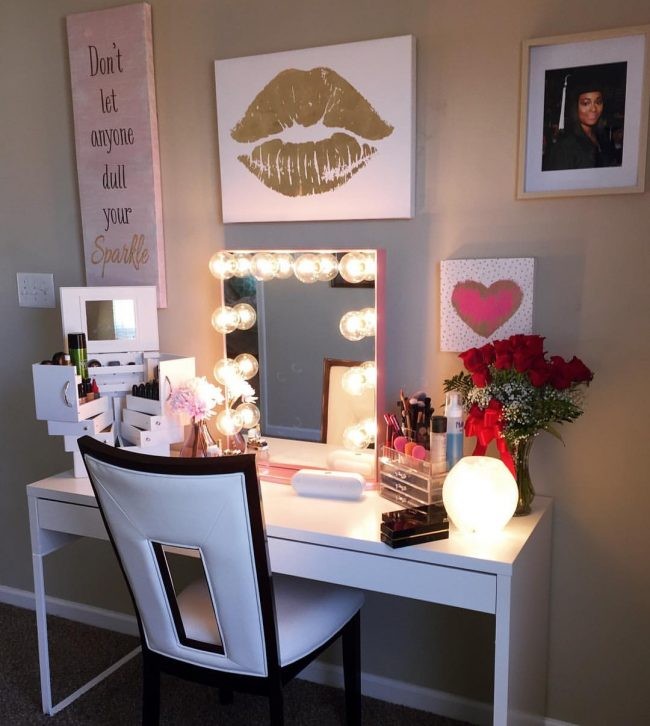
After that, the make-up mirror is installed in its place: it is attached to the countertop or hung separately. If the frame is square, the number of fixtures is 10: 4 on the sides and two at the top. In round glass, the illumination depends on the diameter.
Before you make a dressing table with your own hands, you need to consider the shade and intensity of the lighting. The color of the illumination is chosen at the discretion of the future owner of the furniture.But it is better to dwell on white lamps, in such a light it is more convenient to do makeup. In the bedroom, multi-color LED lamps are suitable, which can be controlled using a smartphone. They can change the brightness and color of the glow, which is very convenient.
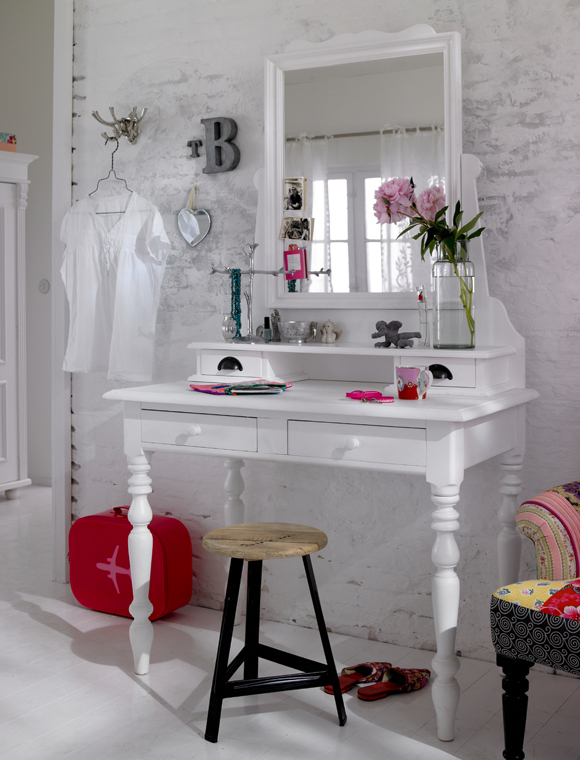
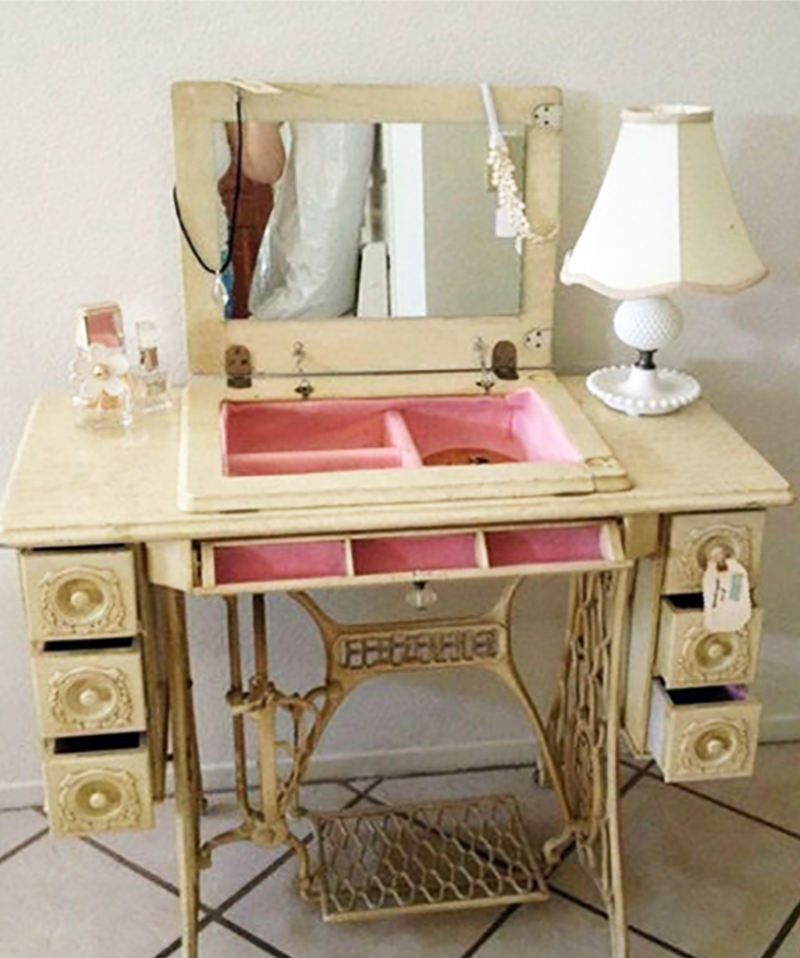
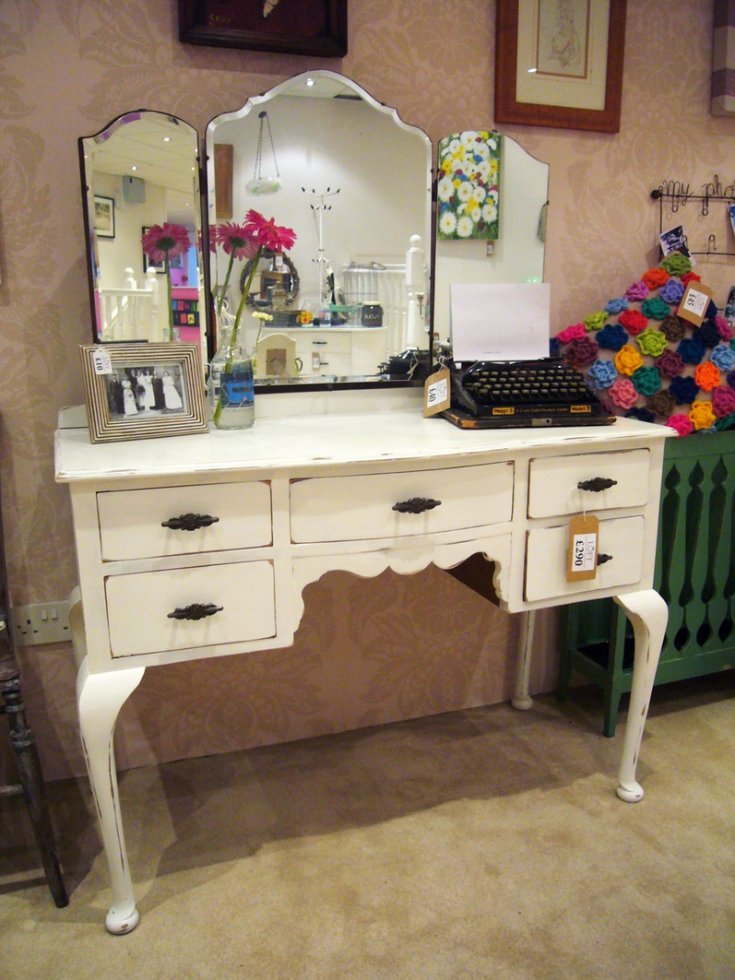
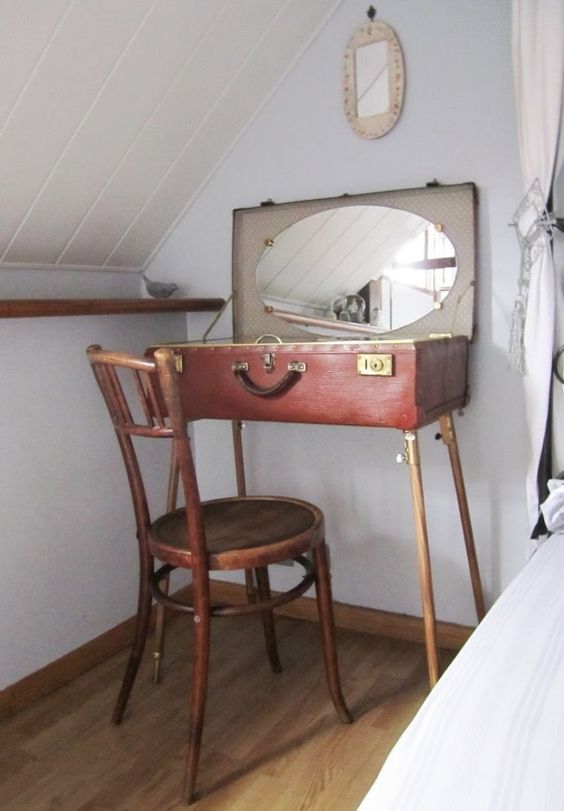
The original product from improvised materials will be a worthy decoration of any interior. Homemade makeup table will last much longer than purchased. The main thing is not to overload it with cosmetics and other things, so that over time the countertop does not bend. Interesting furniture, made in vintage style, will create a unique atmosphere at home. You can put a table with a mirror and lighting in the hallway or in the bedroom, depending on the availability of free space.
Video
A photo

 (no ratings yet)