How to make a plywood table with your own hands, a step-by-step guide
If any of the tables in the house becomes unusable, it must be changed to a new one. High-quality furniture in the store is expensive, and cheap products do not have a long service life. As an option, you can make a table of plywood with your own hands, for its manufacture you need a minimum of materials and tools. The furniture is solid, reliable and fully consistent with the design of the room.
Content
Benefits of DIY
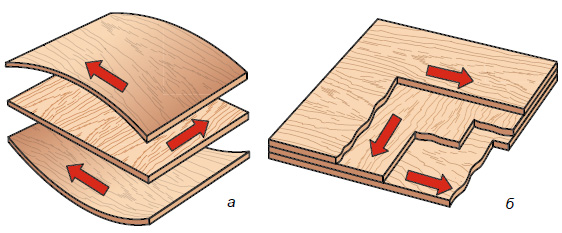
Plywood consists of several layers of thin veneer that are glued together. Sheets from 3 to 23 in the sheet are folded perpendicular to each other and glued under the press. The material has the following properties:
- Strength. In the manufacture of plywood, each new layer increases the strength of the previous one, so the table will serve for a long time.
- Flexibility. The material allows you to make an original decor without cracking or deforming when bent.
- Simple processing. Easy to cut and process with simple tools.
- Low cost. Plywood is considered one of the cheapest building materials.
The raw material for making a table from plywood can be material of the Sh-2 brand, which is processed from two sides before use.
If the furniture is supposed to be installed outdoors or in a room with high humidity, plywood with a waterproof coating is more suitable.
A do-it-yourself plywood table has several advantages:
- strength;
- environmental Safety;
- ease;
- simple repair in case of breakage;
- low cost.
Especially important is the simplicity of processing the material, which even a novice master can handle.

Popular models
Plywood tables can be made with your own hands for any purpose. Popular models are:
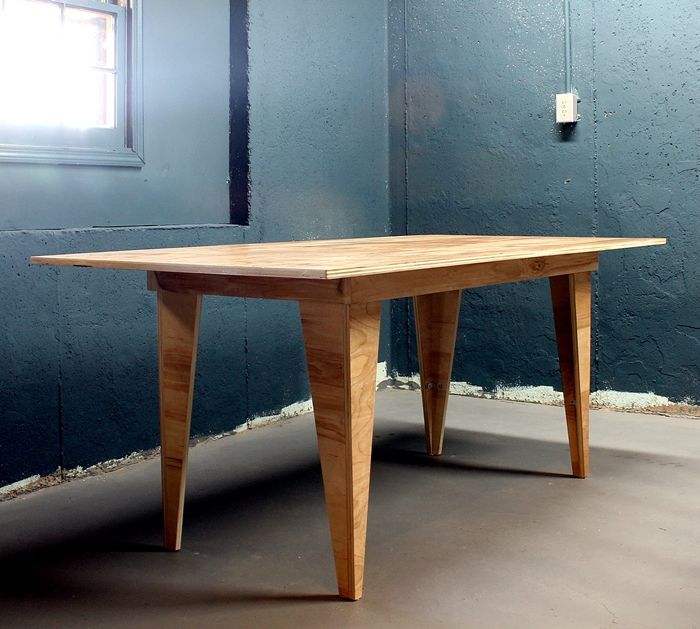
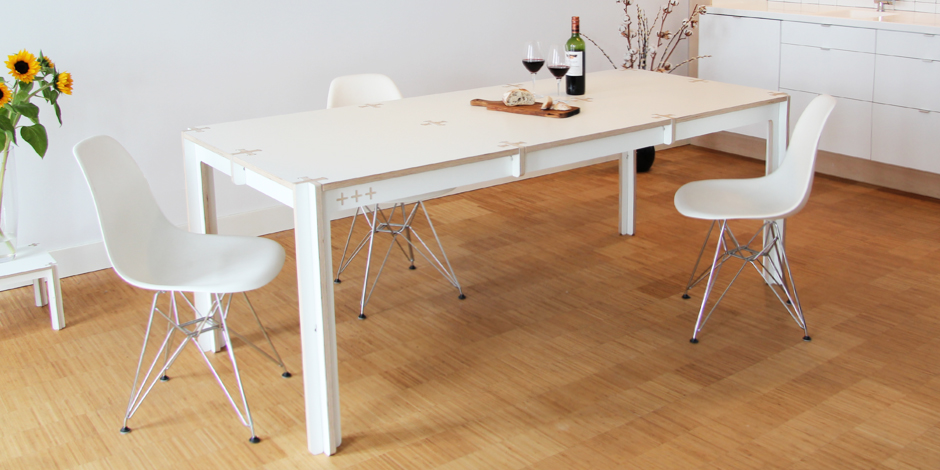
- Kitchen. A beautiful kitchen table made of plywood must be durable, so the material with a thick layer is used in the manufacture.
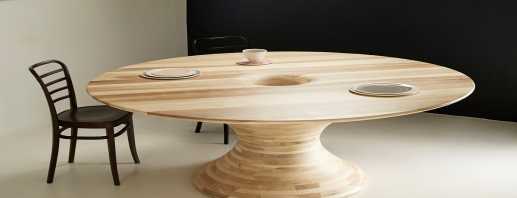
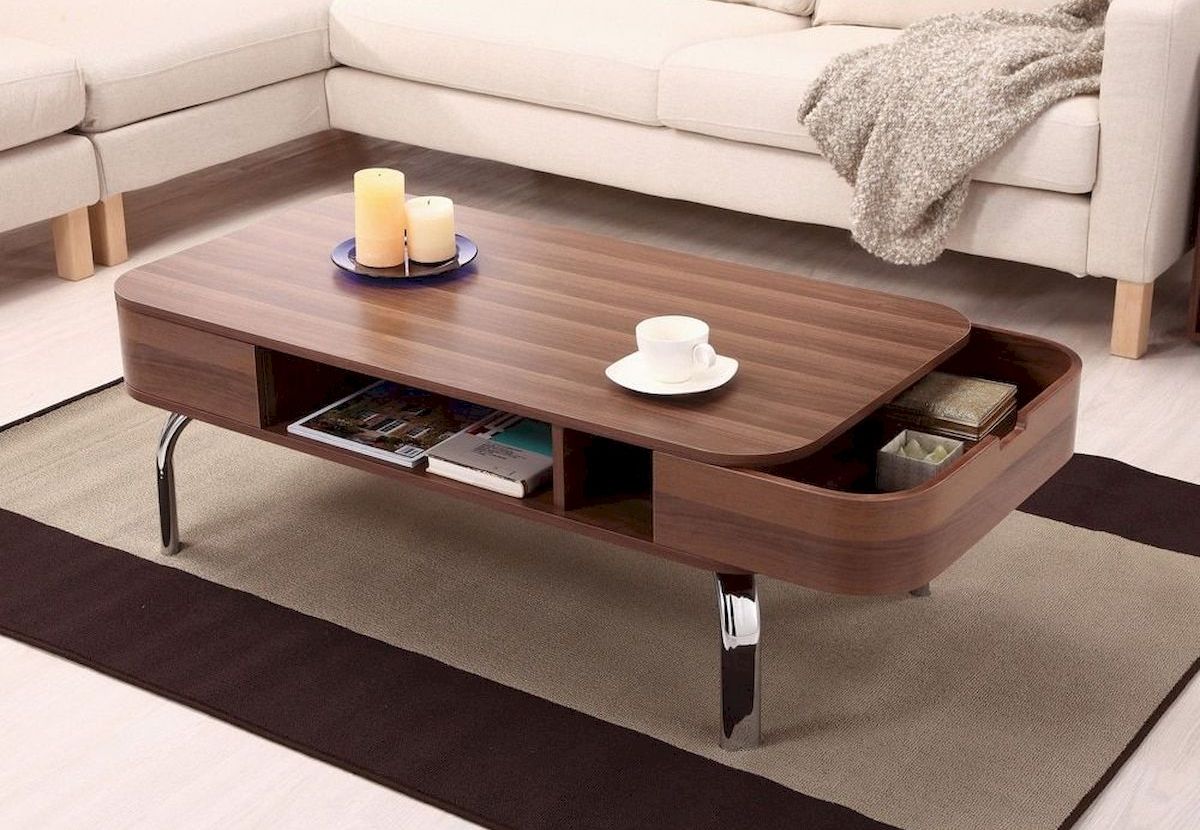
- Magazine. The simplicity of the design allows even a novice to cope with the manufacture of a table. The subject mainly plays a decorative role, so it must be decorated with various elements.
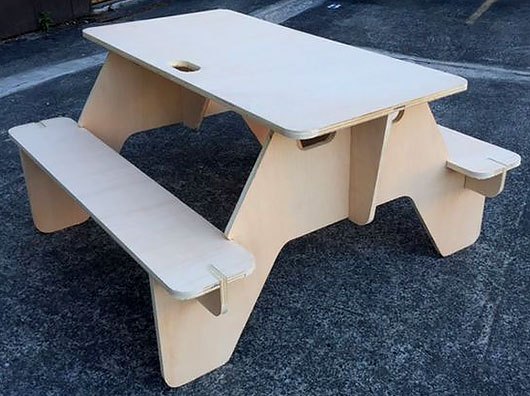
- Garden. A plywood table for a garden plot can be of various configurations, on any legs. The main thing is to cover it with a composition that protects against moisture.
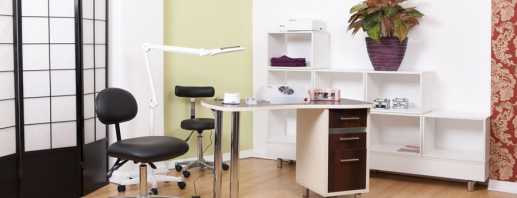
- Writing. A strict desk is made of laminated plywood. A sliding part for the keyboard will turn a desk into a computer. The model assumes comfort during work, legs should be conveniently located under the table.
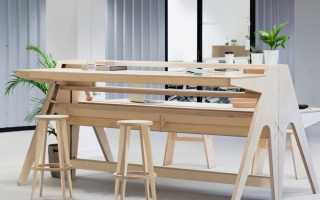
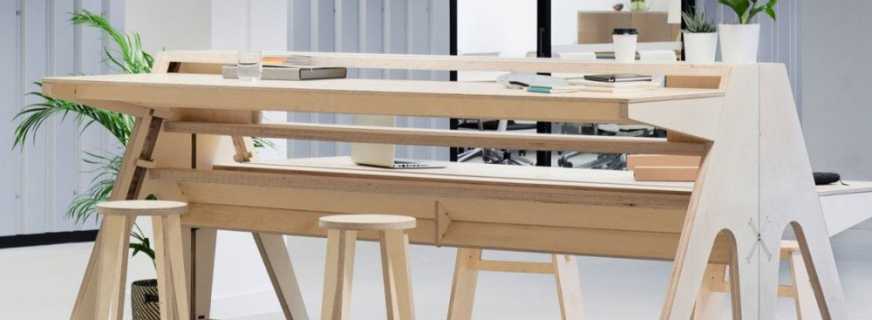
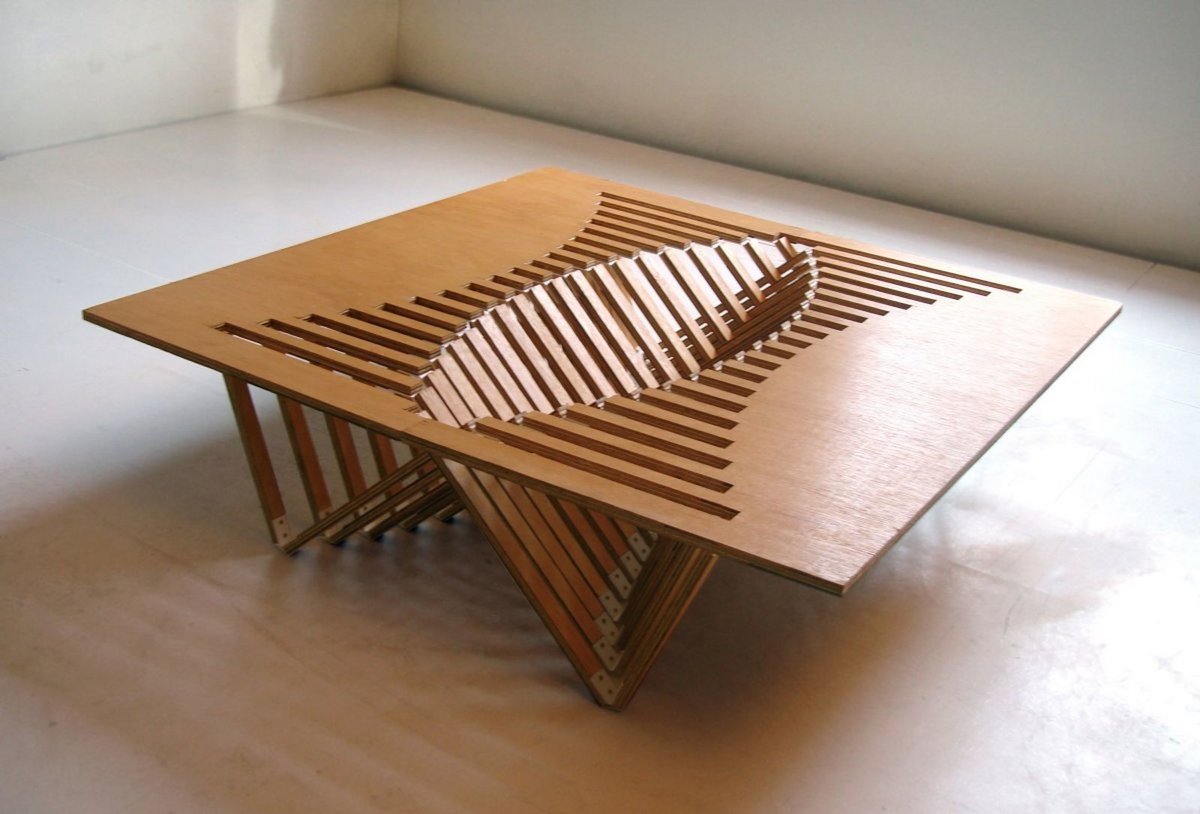
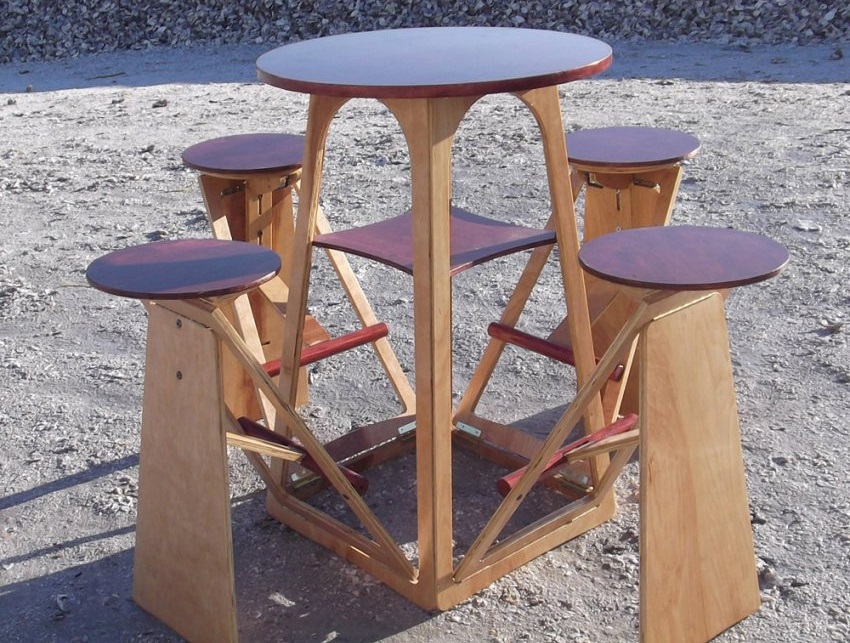
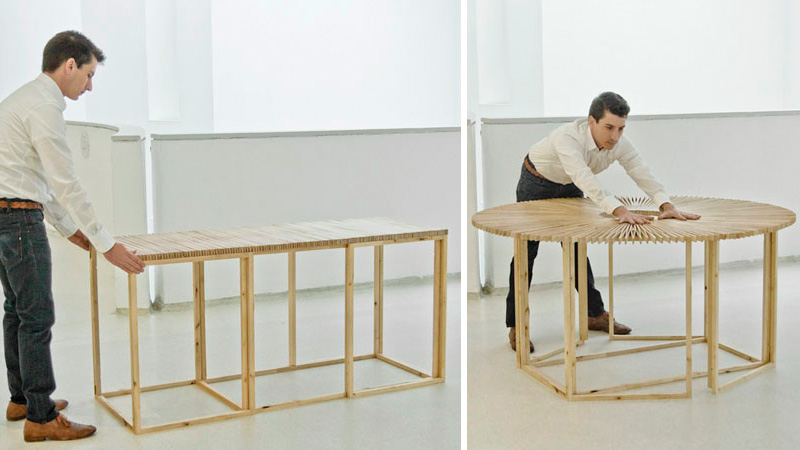
- Folding.An interesting folding table made of plywood significantly saves the limited space of the room. The item, if necessary, can be folded or used disassembled.
- Transformer. The model easily turns into a console table or a coffee table.
In addition, you can make a plywood mesh table that completely replaces the workbench. The model is intended for working with sheet materials, it allows you to fix the workpieces, cut them, providing convenience.

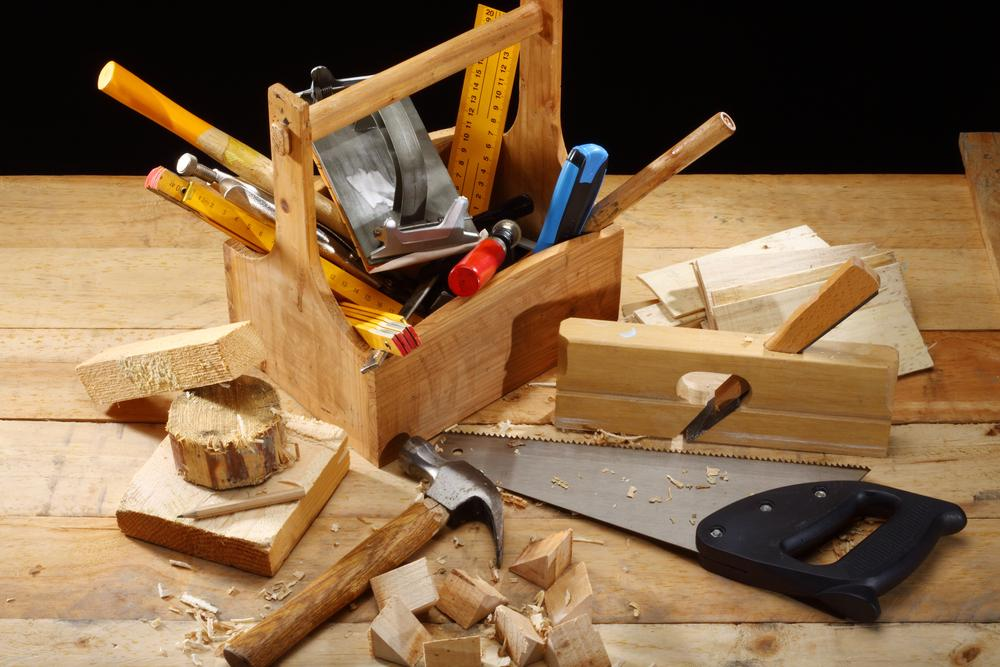
Materials and Tools
Before you start making a table from plywood, you need to prepare high-quality material. When choosing, you should pay attention to the type and grade of plywood, thickness, wood species. In addition, special tools must be prepared.
Various tools are suitable for cutting plywood of different thicknesses. For a sheet of 3 mm, a regular stationery knife is quite suitable, a hacksaw or a jigsaw is used up to 10 mm, and if plywood has a thickness of more than 10 mm, then you can not do without a circular saw or an electric jigsaw.
In addition, the following items are used for the work process:
- pencil;
- compass;
- ruler made of metal;
- roulette;
- clamps;
- sandpaper or grinder;
- screwdriver;
- roller and brush;
- furniture stapler;
- paint, varnish, stain.
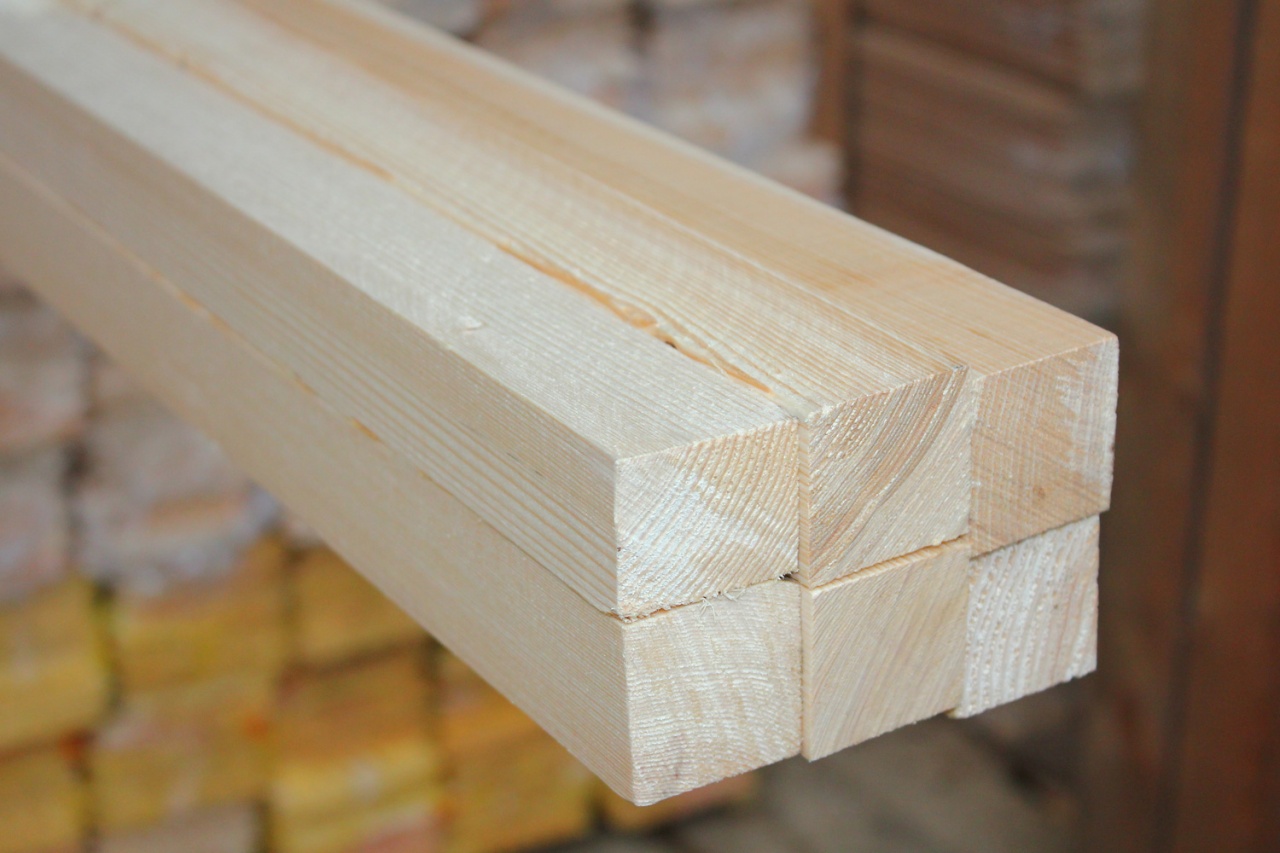
Be sure to cook the legs for the table. They are made from the following materials:
- Metal pipes. The material is durable, but if not treated, it will corrode.
- Wooden bars. It is also a durable material, but in conditions of high humidity, wood decay can begin, so processing with special coatings is necessary.
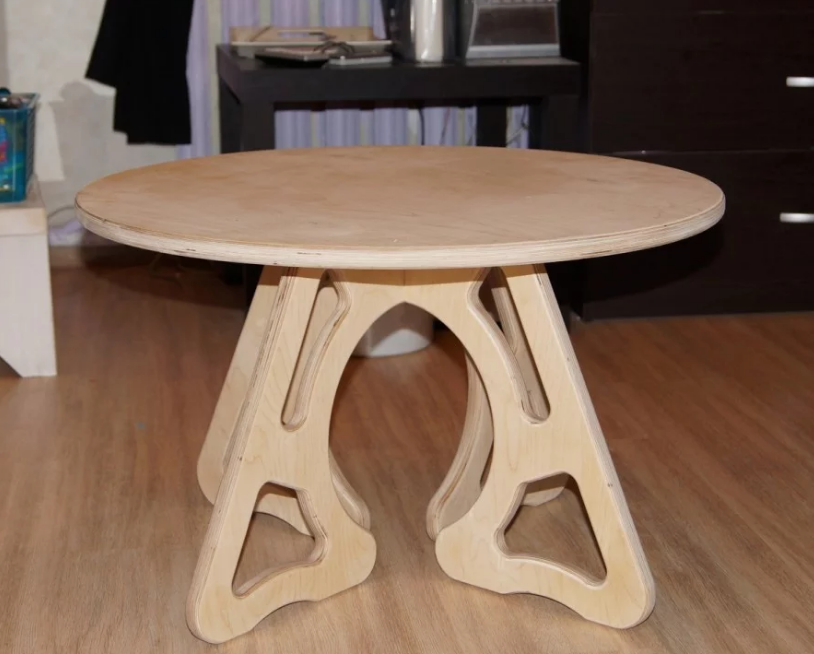
- Plywood base. It is made of thick plywood in various configurations.
It is important that the legs are strong and reliable, then the plywood table will stand steady on them.

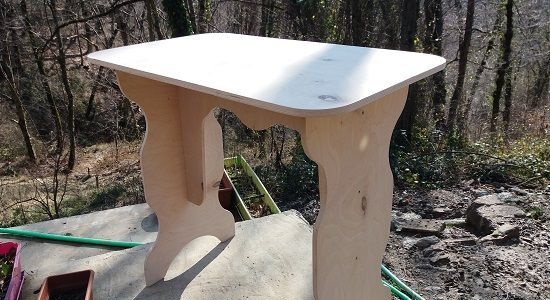
Step-by-step algorithm for making a kitchen table
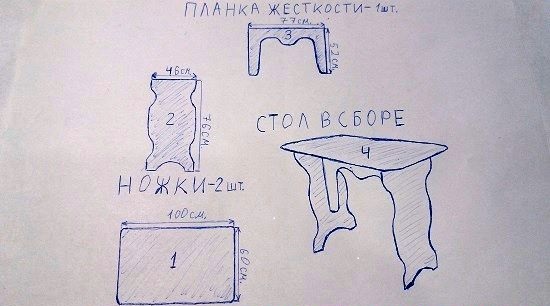
The master class describes how to make a table out of plywood with your own hands. Work execution algorithm:
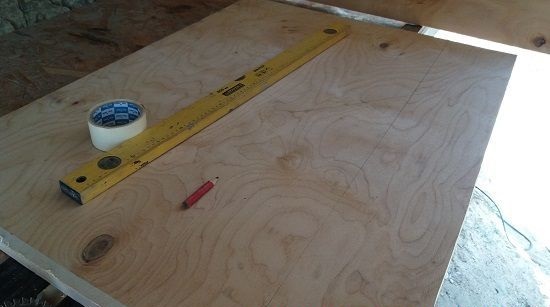
- Drawings are transferred to paper in accordance with the design decision, dimensions.
- Cutting fragments. Images are transferred to thick cardboard from which the details are cut.
- Material preparation. You need to choose high-quality plywood of a uniform color that does not have defects.
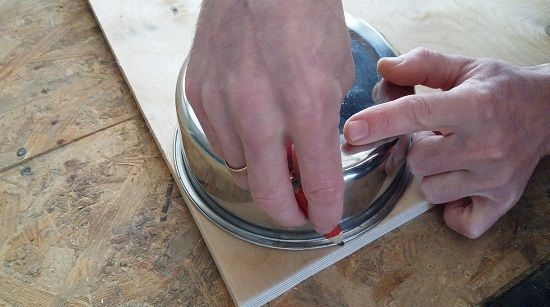
- Layout details. Cardboard templates are superimposed on the plywood sheet, circled in pencil.
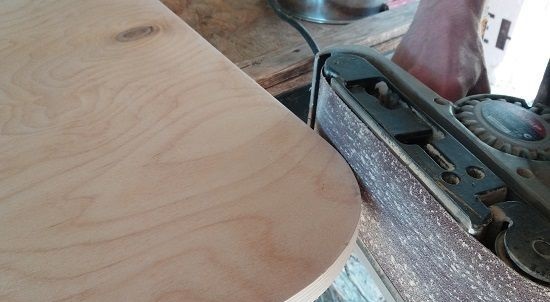
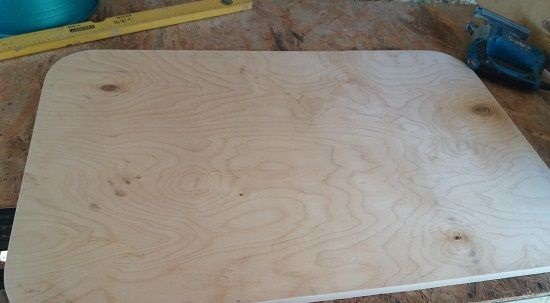
- Cutting parts. With the help of tools all details are cut out: a table-top, racks or legs.
- Surface treatment. All parts are sanded with sandpaper or a grinding machine.
Joints are especially carefully polished, since the elements must be adjacent to each other.
Next, you need to do the following steps:
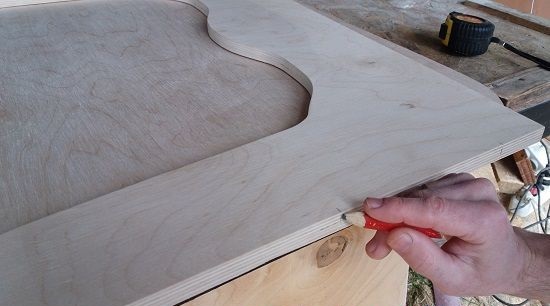
- Outline of the location of the fasteners. Pencil marks are made in the places where the fasteners will be located.
- Drilling holes. First, holes are drilled with a diameter that is smaller than that of self-tapping screws. Then the top of the holes is machined with a drill whose diameter is larger.
- Connection parts. Components (countertop, legs, side inserts) are connected by self-tapping screws. It is important that there are no gaps between the parts. Special caps are put on the caps of the screws.
- Topcoat. At its discretion, the countertop and other details are varnished or painted.
It is important that the plywood table is stable, so you can supplement the legs with horizontal bars.


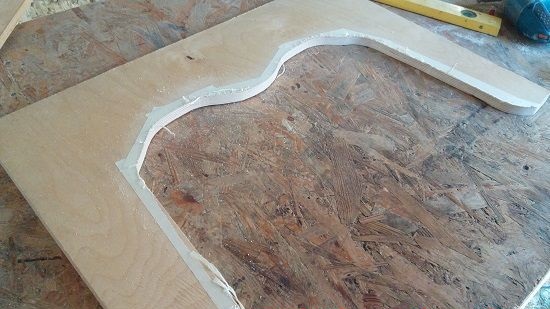

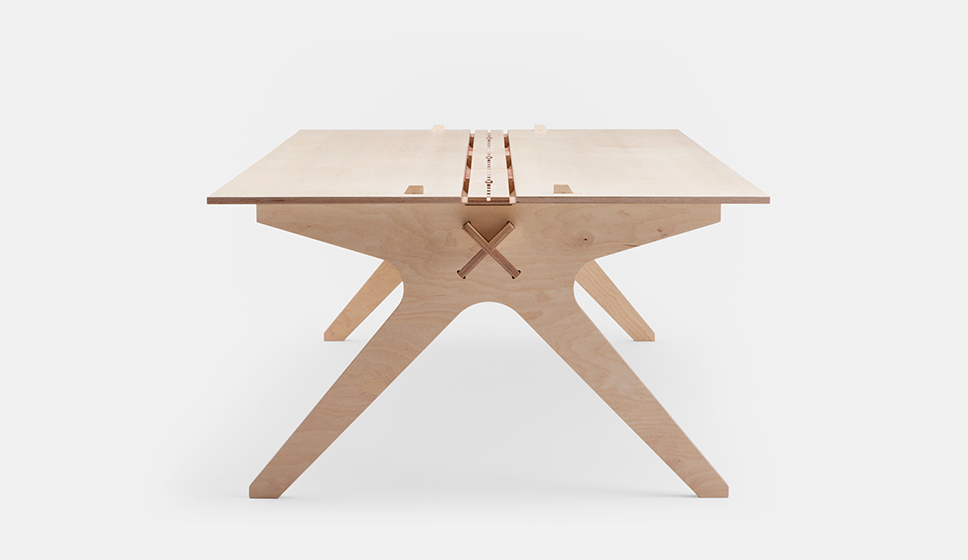
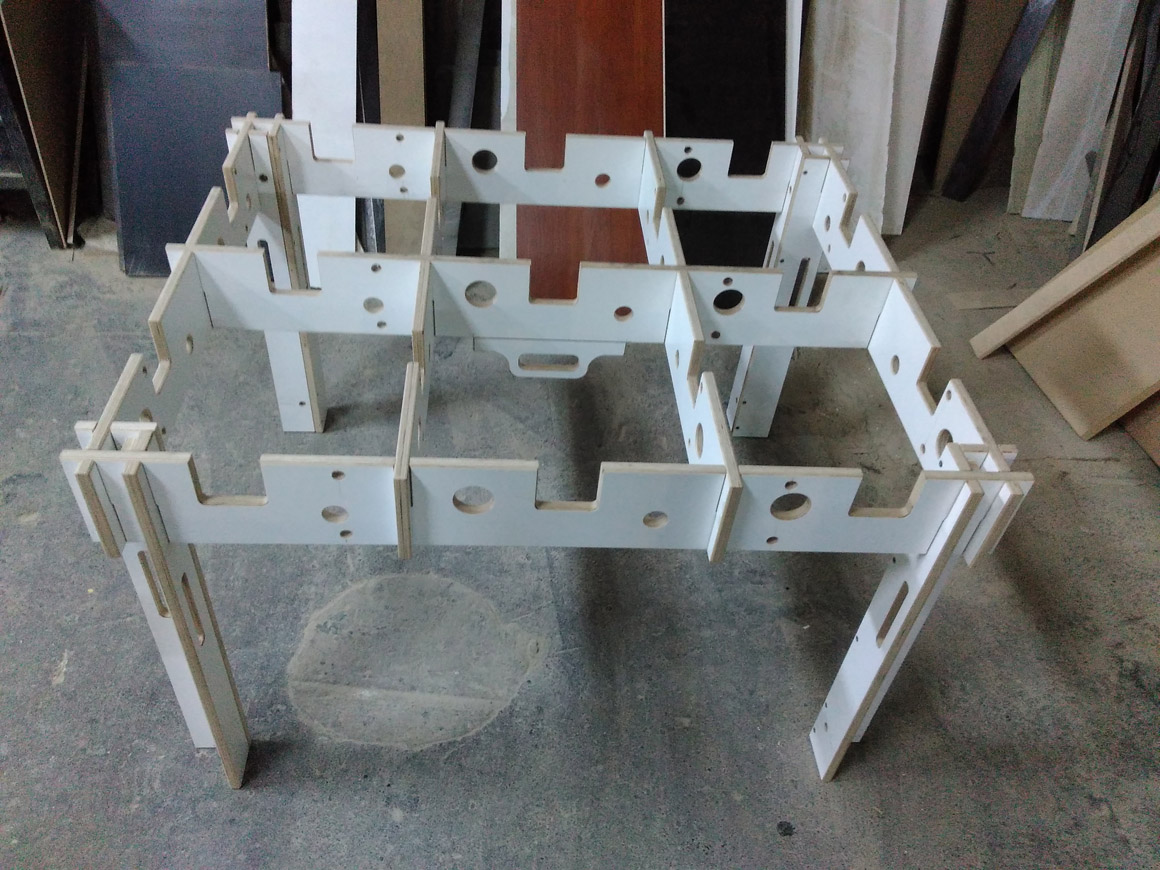
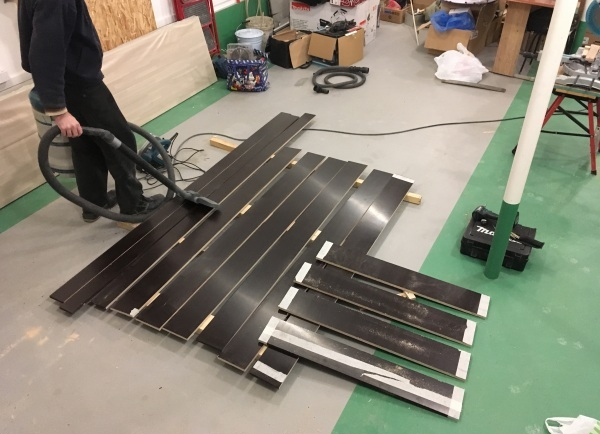
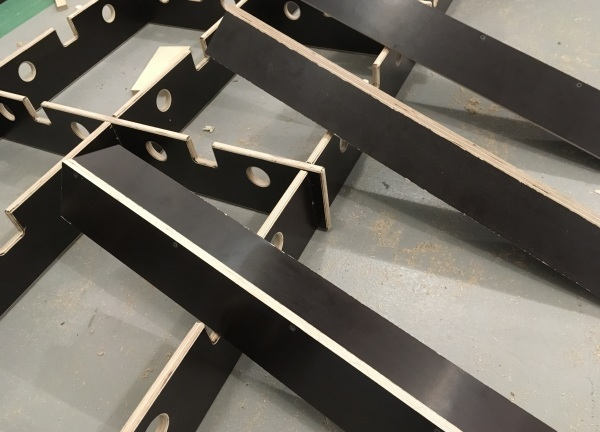
Step-by-step master class on creating a mesh table
Creating a mesh table will facilitate the process of working with sheet materials with a large area.A workbench can be assembled like a designer, using self-tapping screws only for attaching legs. The resulting plywood table is easy to disassemble and assemble, which is convenient for transportation or storage. After drawing up the drawings and transferring the cut parts to cardboard, you can proceed with the manufacture of the workbench step by step:
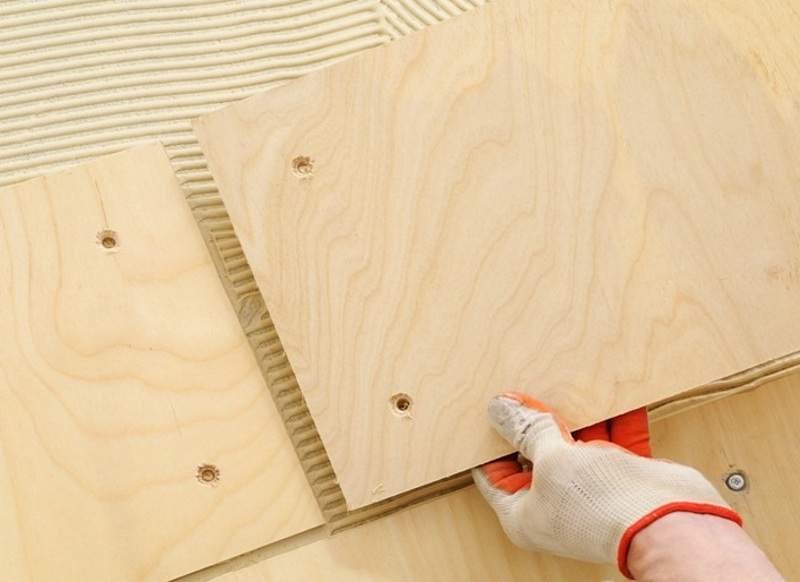
- Material preparation. Laminated plywood should have a size of 122 x 244 cm, a thickness of at least 1.5 cm. It is better to take raw materials from birch.
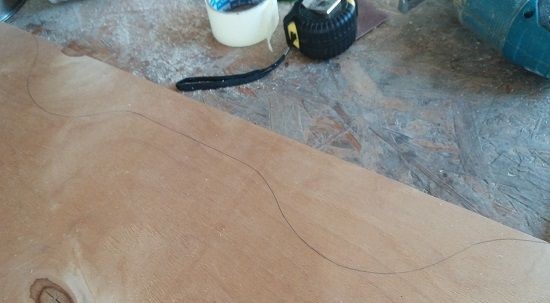
- Drawing parts on plywood and cutting. On the sheet of material all parts are outlined and cut out.
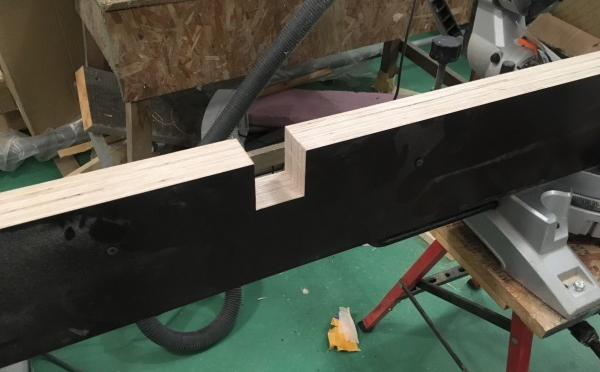
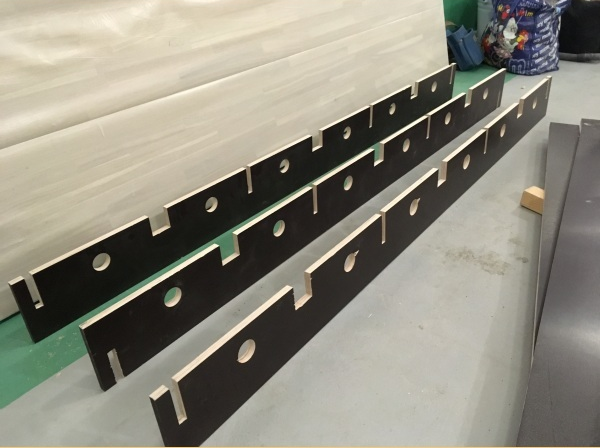
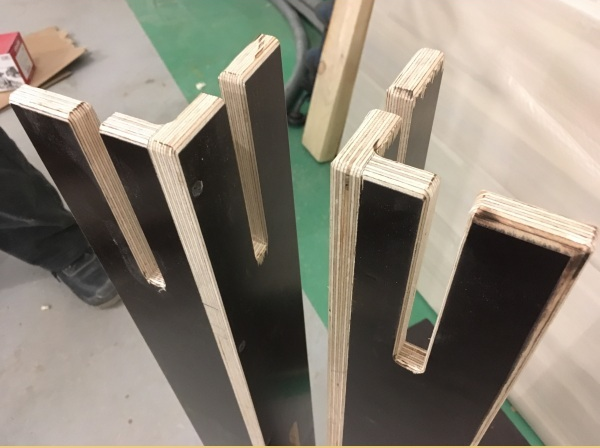
- Making technological holes. Holes are cut out on finished elements. Large cuts and holes will be required when working on the table, thin, located in the sides and in the center, are useful for mounting a workbench.
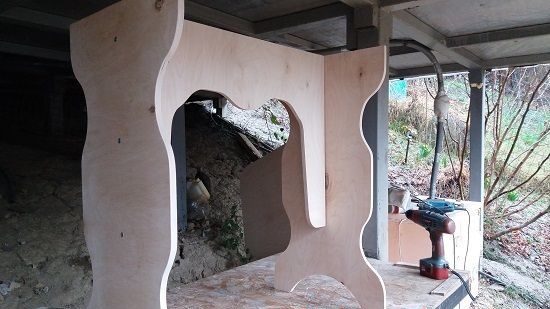
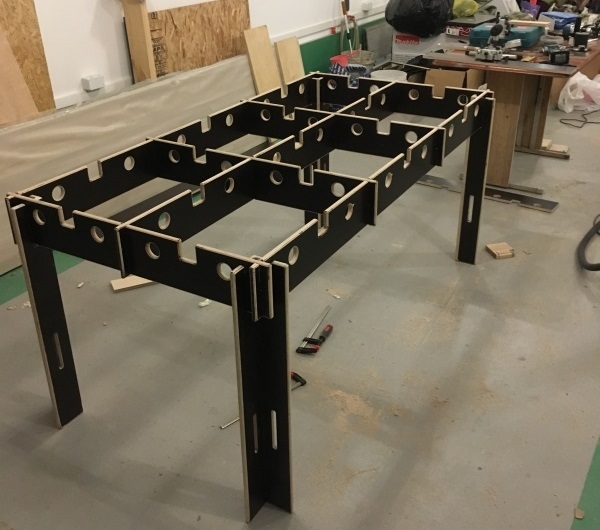
- Assembly. Details are collected at the expense of cuts.
- Leg preparation Two elements are connected at right angles; cuts are made on each, with the help of which the legs are fixed to the table.
The design can withstand significant weight, you can work with large material. The cells are used as conveniently as you wish, and by installing plugs, the model is turned into a regular table.
Video
 (no ratings yet)