Compact laptop table, DIY
Not every user is comfortable working with a laptop at a regular table. It is proved that productivity is higher if the workplace is equipped with all the necessary devices. To increase comfort, you can make a laptop table with your own hands from available materials. The process is simple and financially beneficial.
Content
Benefits of DIY
Ready-made designs of laptop tables are durable and reliable. The devices are easy to operate and are characterized by a long service life. However, there is one drawback - the high price. Quality products are too expensive.
A rational solution is to independently make a table for a laptop using a ready-made scheme. Several advantages of this approach should be highlighted:
- Budget Saving. Thanks to the competent selection of inexpensive materials, you can significantly save on the design and assembly of the table.
- Design exclusivity. Each laptop owner can choose the type and design of the product.
- Perfect aspect ratio. Having the drawings, you can choose the optimal size of the structure, which will be convenient to use in any conditions.
- Simplicity of execution. Despite the presence of elementary mechanisms and the specificity of the structure, any type of table for a laptop can be built in a short period of time. An unprepared person can handle the installation.
The only condition is attention to detail. Correctly calculate the dimensions of the product and adhere to the exact dimensions.

Possible modifications
Most tables have an identical type of structure, which consists of 4 support racks and countertops. With a detailed analysis, several main varieties can be distinguished:
- monolithic classic tables;
- with a rising part;
- folding transformers;
- constructions on castors.
Each of the samples is designed for a specific load and the presence of additional elements. A design type that is ideal for individual needs should be selected.
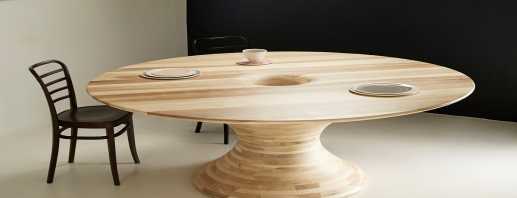
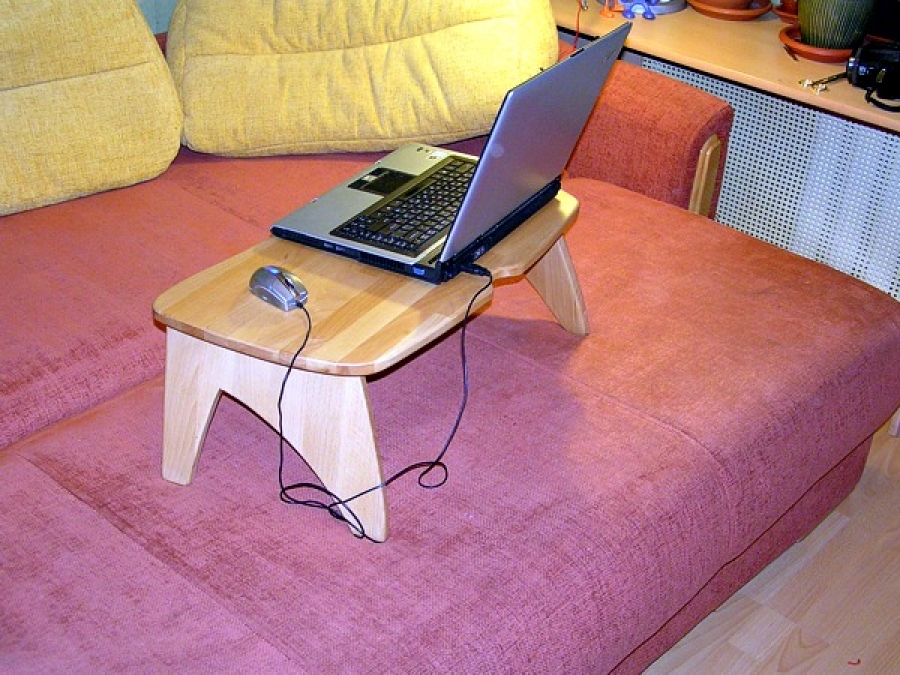
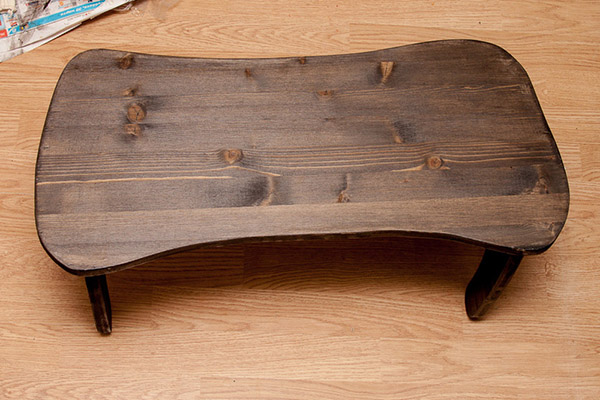
Do-it-yourself monolithic laptop tables are sturdy construction. The base is often made of beech or other strong materials. The main requirement for wood is resistance to mechanical stress. The optimum material thickness is at least 20 mm.
4 legs are mounted to the shield (future countertop). Installation is carried out using special angles and screws. The simplicity of design allows you to make a laptop table in bed quickly and economically.The finished product can be used not only for PC, but also for eating, reading books and newspapers.
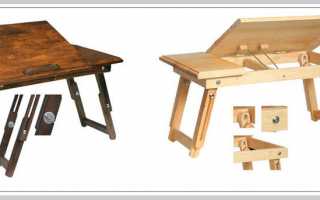
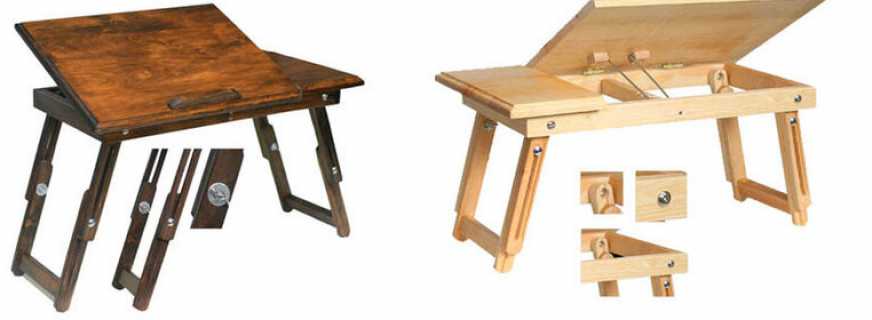
Devices with a rising part have a number of features. The main thing is the installation of special devices that allow you to hold part of the countertop in an inclined state.
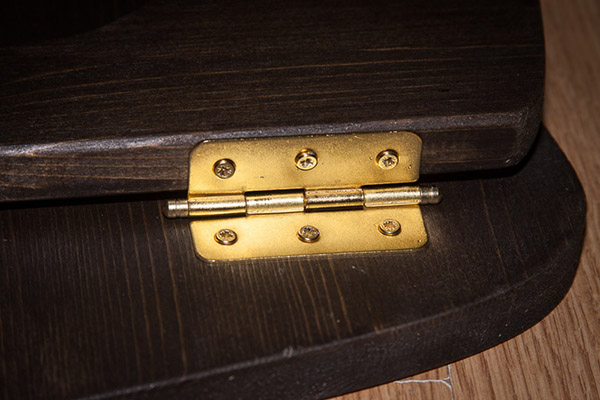
The design is divided into 2 parts. The smaller part remains stationary and is used as the base under the armpit. The second part is equipped with two hinges and thrust plates. Adjustment of the countertop makes it possible to install it in various positions.
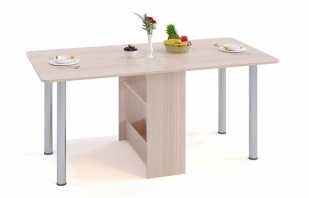
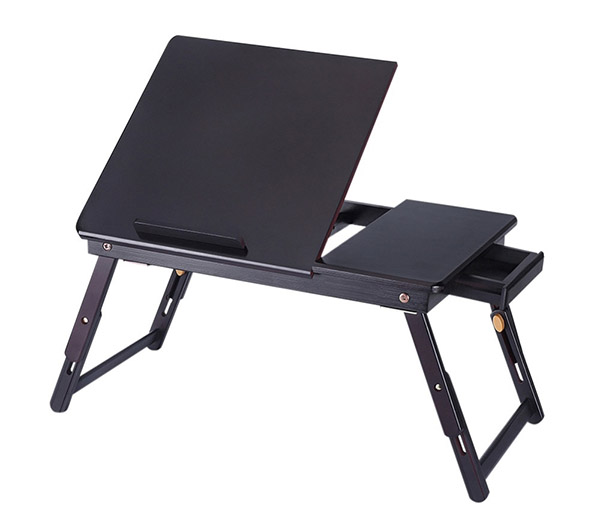
Do-it-yourself folding folding transformer table is a little more difficult. This design accommodates several basic elements at once:
- cup holder;
- armrests;
- folding legs.
To equip such a table, you will need to use a large countertop, in which you will have to make special cutouts for your hands. The most suitable form of cutouts is in the form of a boomerang. She will allow to use a folding table for the laptop without excessive tension of hands.
Coasters are optional. A distinctive feature of the transformer is a wide variety of components that can be added or removed from the package.
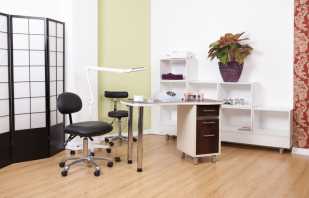
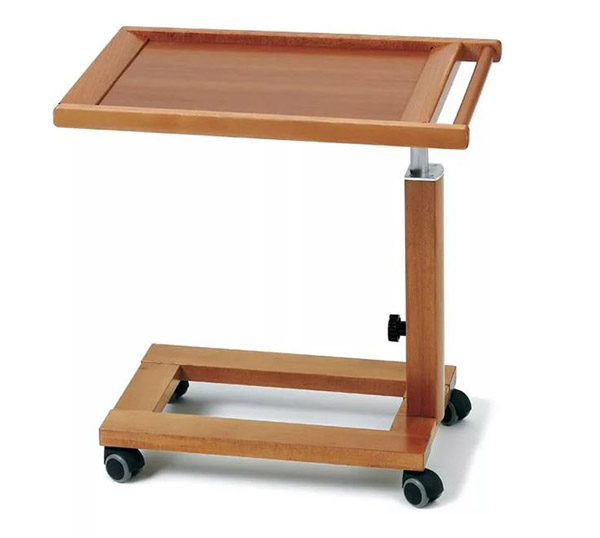
A table for a laptop on wheels practically does not differ in structure from a conventional device. The device also includes countertops, legs, partitions, and fasteners. The model differs only in the presence of small wheels. These parts are sold in any specialized store.
The table is convenient in that it can be moved around the room and used for various needs. Most often, the device is used as a bedside table for a laptop.
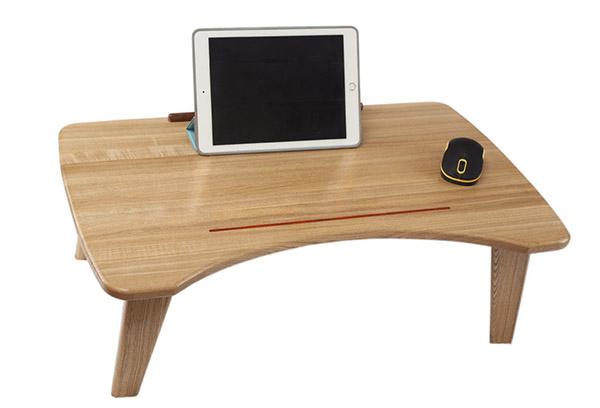
Most PC owners prefer the rounded edges of the countertops and legs. However, the rectilinear design will be convenient. The main thing in the installation process is to carefully treat the surface of the wood so as not to drive the splinter or scratch during use.
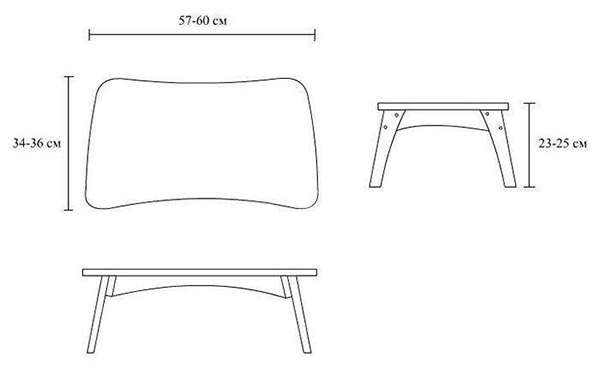
Dimensions and drawing
An important aspect of creating a reliable device for working at a computer is the preparation of a drawing. Before this, it is necessary to determine the size of the workpiece. It is taken into account what dimensions the table will have - standard or individual.
The most common option is a device with dimensions of 30 x 60 cm. This is the source data for a standard product. Dimensions are best adjusted to your own preferences. If you need to make a do-it-yourself laptop table with armrests, then the only option is to increase the size.
Many drawings involve the manufacture of straight legs. However, such products are not reliable. Mounting the supports in the shape of the letter Z will help to achieve greater stability.
Materials of manufacture
Among the possible types of material, pine is one of the most reliable. A wooden table made of this breed is durable and durable. Moreover, the material is lightweight, which is an indisputable advantage for the owners of the house. To save on materials, for the manufacture of countertops, you can use chipboard, MDF, chipboard or plywood. These options are light and cheap compared to solid wood.
Plastic is practically not used to create such a device. However, if you have a sheet of thick plastic or plexiglass at your disposal, these materials are also suitable in order to build a table for your laptop yourself.
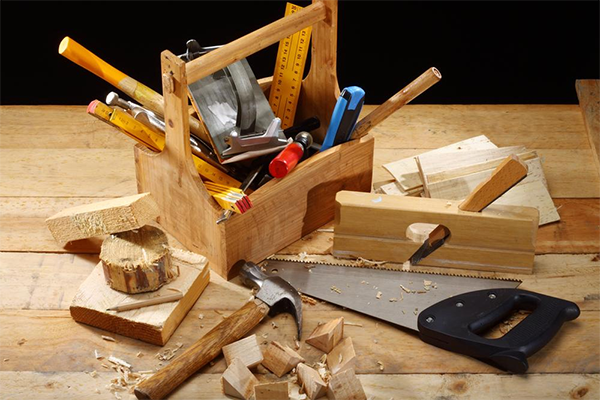
To work, you should prepare the following tools:
- a saw;
- plane;
- grinding machine;
- drill;
- drill;
- hammer;
- a screwdriver;
- screws;
- corners.
If there is no special grinding device available, sandpaper can be used. It is most effective to use several types of this material of different dispersions at once.
Step-by-step tree creation algorithm
If the owners of the device do not know how to make a table for a laptop, then step-by-step instructions will save time.It is important to observe safety measures during the work with tools.
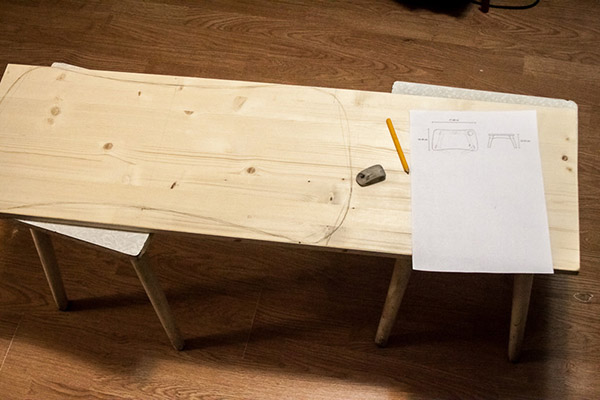
- The first thing you need is a drawing. Ready-made or self-made - it doesn't matter. The diagram should contain the exact dimensions and sequential steps of material processing. The best option would be to print the drawing on large sheets of paper.
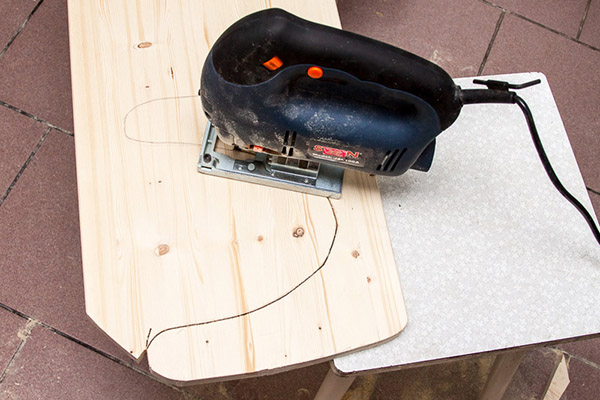
- The next step is the creation of forms. To do this, the necessary form of parts is cut from wooden blanks. An electric jigsaw is used, but manual devices, for example, a wood file, can be dispensed with.
- The further process of preparing folding laptop tables is to sand all surfaces without exception. You can use a grinding machine, a grinder with a special nozzle, or ordinary sandpaper.
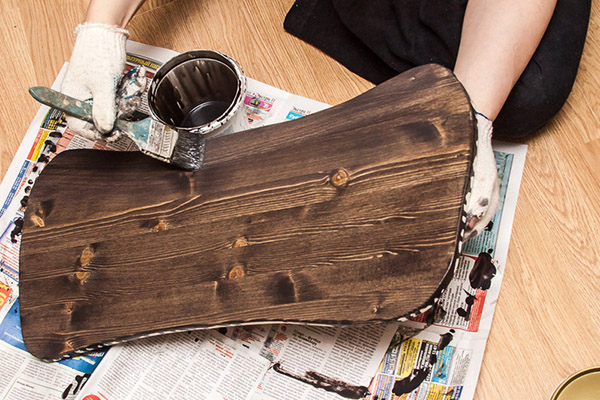
- Painting is carried out quickly, if a composition based on water is selected, ordinary paints will dry out for about 24 hours. At the end there comes a crucial moment - varnishing the surface of the table. This makes it possible to protect the wood from moisture and sunlight, as well as give the workpieces a unique shine.
- The last step towards creating a reliable table is the assembly, the reference point for which is an accurate sketch.
Wooden components are often treated with adhesives that can hold different types of wood together.

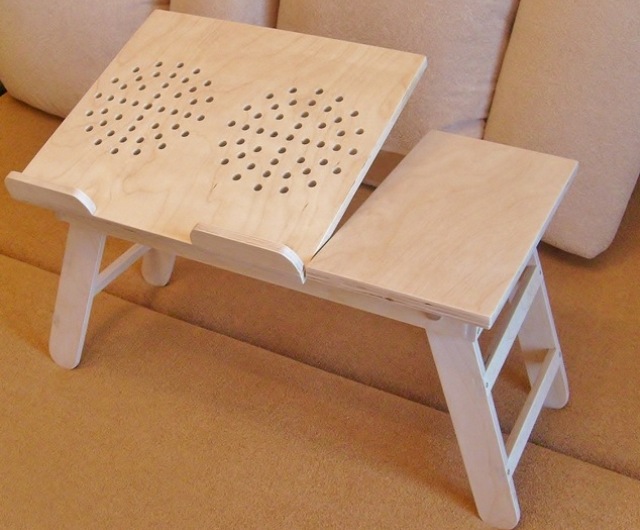
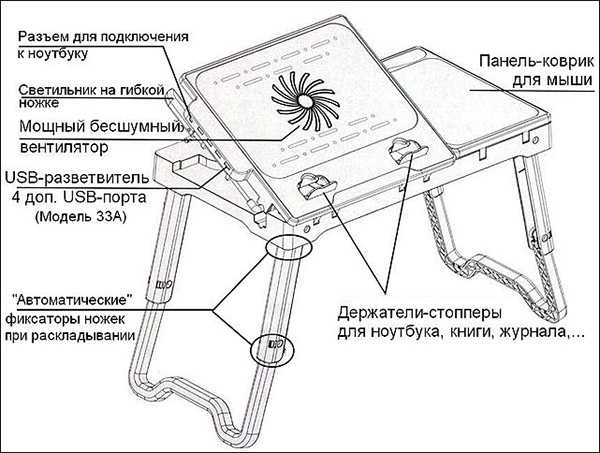
How to make a cooling system
For most modern technology, you need to purchase additional equipment. For example, laptops often require an auxiliary cooling system. This is especially true of the digital technology, which is operated quite often.
To build cooling yourself you will need an old computer or a couple of coolers from the system unit. On the basis of old blocks, you can build effective cooling, which will work from a USB cable.
The cooler can be installed in the table itself. Installation is made on the reverse side of the countertop. Air will flow to the bottom of the laptop through a specially prepared hole of a certain diameter. This design can be used both on the bed and in any other place.
To do this, you need to make a markup for the cooler. The hole should be aligned with the ventilation grill of the laptop. If 2 coolers are used, visually divide the countertop into 2 sections and cut one hole in each. The cut points are carefully ground and also treated with a protective compound. For mounting the cooler, you can use small screws.

Video