Tips for making a moisture proof plywood cutting table
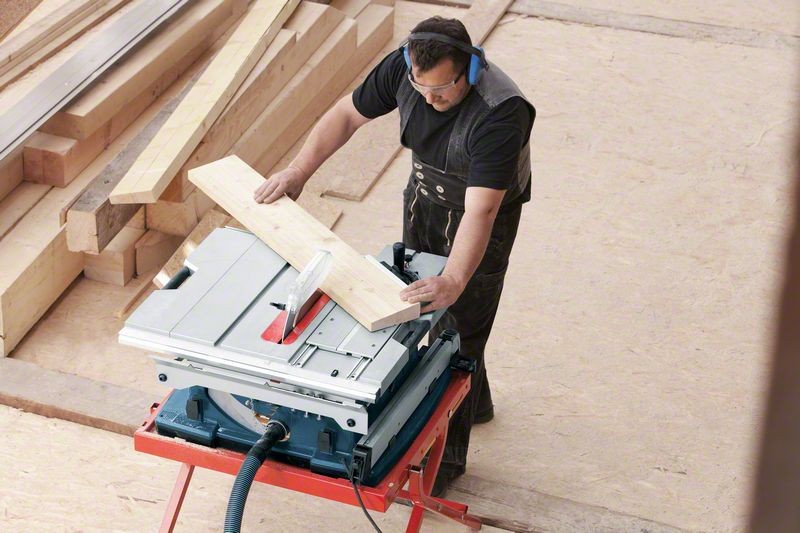
When repairing or building, manufacturing furniture and in other situations that require processing of lumber, you may need a circular machine. Masters working with wood, note that the cutting table is much more convenient and safer to use compared to a hand saw. Moreover - the accuracy of the action is much higher. You can make such a machine with your own hands - often it turns out more profitable and faster. In addition, a self-made design will more accurately meet the requirements of the master.
Content
Design features
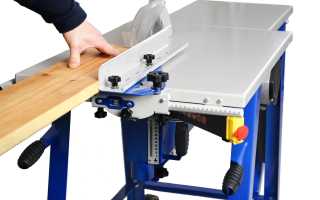
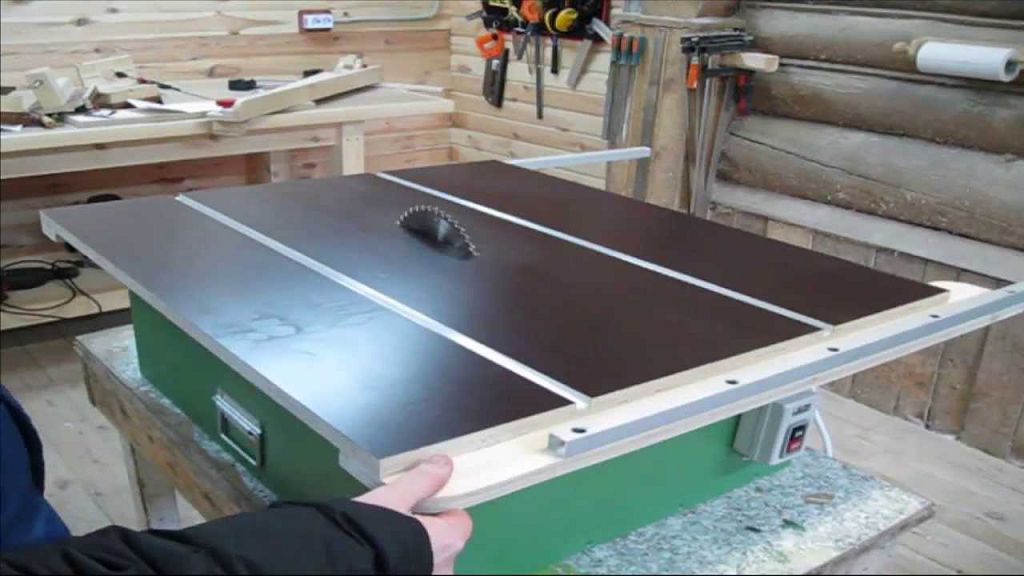
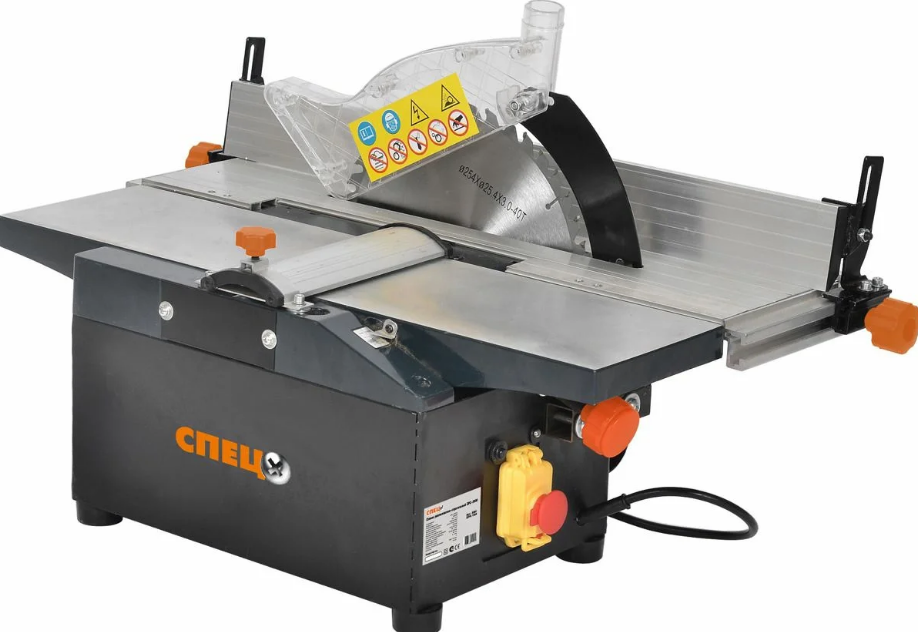
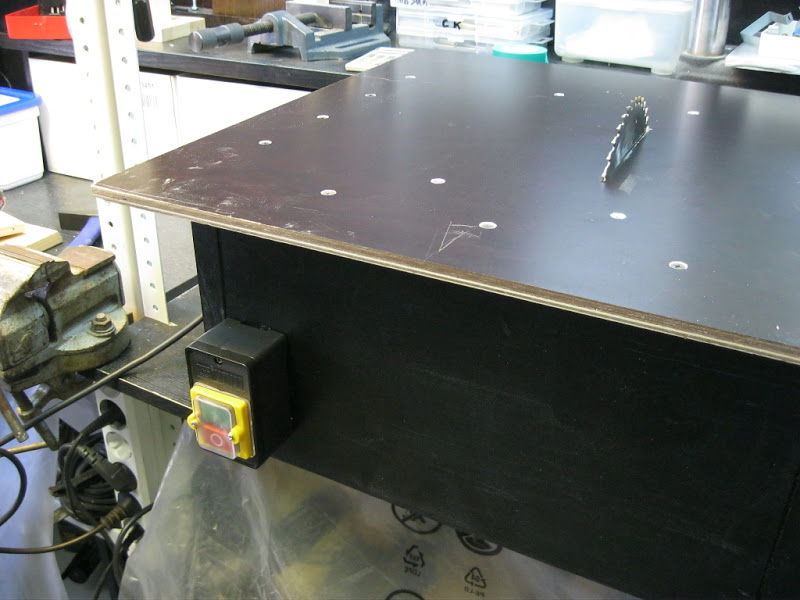
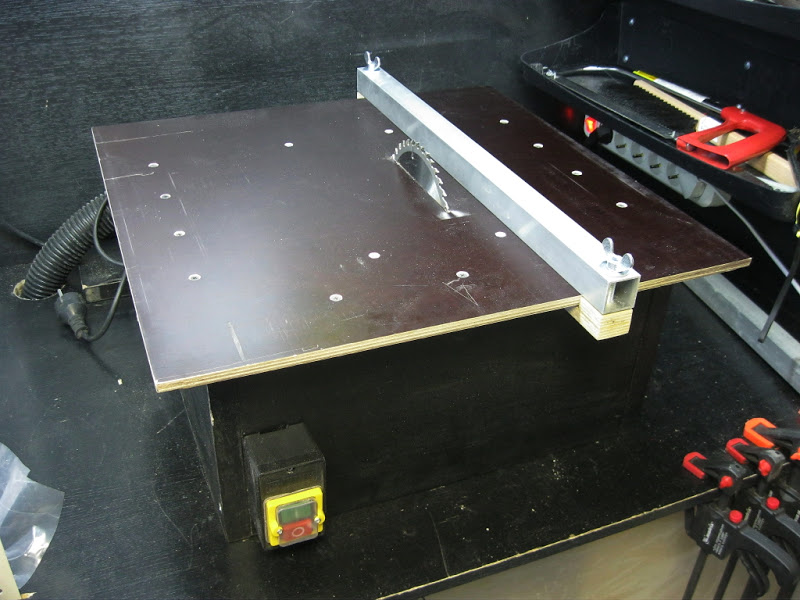
Structurally, a home-made sawing table looks quite simple. The machine consists of a supporting frame for mounting the motor, the transmission unit and the working table with a slot for the cutting disc. The design is equipped with stops for guiding the workpiece and a protective screen to prevent ingress of chips, as well as increasing safety.
Mandatory requirements for a cutting table:
- rigid, stable construction;
- smooth surface of the countertop;
- secure disk mount;
- a fence protecting the operator of the machine (table);
- easy access to the control device (start and stop buttons).
The equipment should be mounted on a frame that does not rest on solid sheets, but on legs. This improves usability, although it makes the saw table less stable. To increase the resistance, the bed can be made of metal or strengthened with metal elements. Security is ensured not only by a protective screen, but also by mounting the disk from the bottom (inner) side. Additional requirements depend on the features of the work - auxiliary elements help more accurately process parts, saw longer boards, as well as thick logs.
Making a saw table with your own hands, you can get a number of advantages - from reducing costs to the ability to change the design as the master needs it. If you wish, you can replace part of the parts with more cost-effective, use the materials left over from the repair or construction. The only minus of the circular saw, independently mounted on the machine, is a decrease in the accuracy of positioning the workpieces. But this point still largely depends on the skill of the performer.
Materials
When assembling a table for cutting from chipboard with your own hands, you must observe the optimal balance between functionality, safety, time and money. This can be achieved by selecting parts and materials with the necessary parameters.It turns out to reduce costs by using old parts of other structures - furniture, frames of wooden houses and outbuildings.
Countertop
The main requirements for the saw table are resistance to heavy loads, shock and vibration. The countertop should be smooth enough to move, not bend under a weight of 50 kg. Suitable options may include:
- Metal (steel or duralumin) 3-5 mm thick. The advantages of metal countertops are high strength, almost unlimited service life, the disadvantages are high weight, decent cost.
- Chipboard or moisture-proof plywood with a thickness of at least 2 cm. The cost of this option will be the most profitable, but the strength is noticeably reduced.
- Textolite 15–20 mm thick. The material is more durable compared to plywood, but inferior to metal. At cost, textolite countertops are also between metal and plywood sheets.
Plastic, wood chipboard or OSB are not recommended as a material for countertops. A structure made from this raw material will be unstable to vibration from the saw. It is possible to make a table entirely from natural wood - but too expensive.
To reduce costs by increasing strength, it will be possible using combinations of materials - for example, thick plywood upholstered with sheet metal.
Bed
At the base of the table for sawing boards, there can be wooden bars fixed under the cover to increase rigidity. Elements with a cross section of at least 5 x 5 cm are placed, retreating 50–90 mm from the edge of the countertop. For a sawing table, it is recommended to choose bars of solid wood - beech, hornbeam, oak. Advantages of wood - low cost, easy installation with screws. Disadvantages - lower strength and durability, high probability of fire.
The upper part of the table frame for cutting chipboard and other materials is often made with their own hands from the same sheets that were chosen for the countertop. For legs of a wooden structure, it is recommended to use a bar, fixing it with metal corners. The pros and cons of wooden supports are similar to the features of a bed made of the same material.
The basis of the table for cutting and sawing boards can be metal. Stability increases when choosing metal corners or channels with sides of 25-50 mm. To save money, they are bought at scrap metal collection points or replaced with profile pipes. Frame parts are joined by welding. The use of bolted connections is not recommended due to the possibility of unwinding under the influence of vibration. The reasons for choosing a metal bed are maximum strength, reliability, easy maintenance. Cons - high cost, the need to use a welding machine.


Selection of dimensions
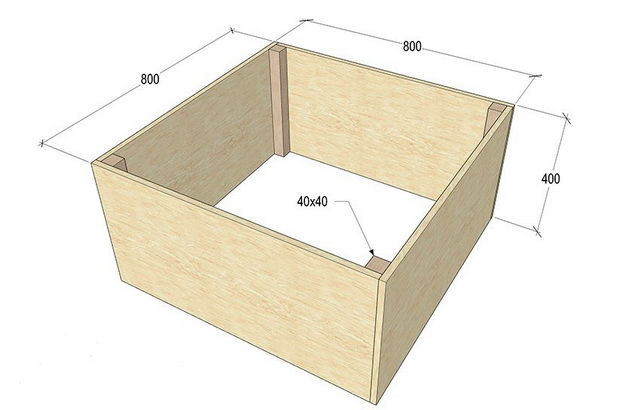
It’s worth choosing the sizes of the sawing table depending on the square of the workshop. The small area of the room allows the use of a worktop of 50 x 50 cm. Making a sawing table less does not make sense - it will be difficult to use it when processing long workpieces. The universal size, providing convenient sawing of chipboard, is 80 x 80 cm.
The maximum recommended dimensions of the sawing machine is 120 x 120 cm.
To comply with safety requirements, it is recommended to place the saw in the middle of the countertop at a distance of at least 25 cm from the edge - it is this indicator that leads to a minimum width of 500 mm. The location of the saw blade also depends on how it will be used. There are three types of design:
- for longitudinal sawing;
- for cross cutting;
- universal.
The depth and location of the disk installation depends on the workpieces processed on the machine. For boards and plywood, it should protrude above the tabletop by 50–80 mm, for logs - by 110–125 mm. The height of the upper part of the frame from sheets of plywood or chipboard can be in the range of 35–40 cm.If you make a bed only of timber, this parameter depends on the cross section. The rest of the structure is represented by wooden legs, the size of which the craftsmen usually choose according to their height. The total height of the cutting table is about 1.0–1.1 m, but can be reduced to 900 mm.
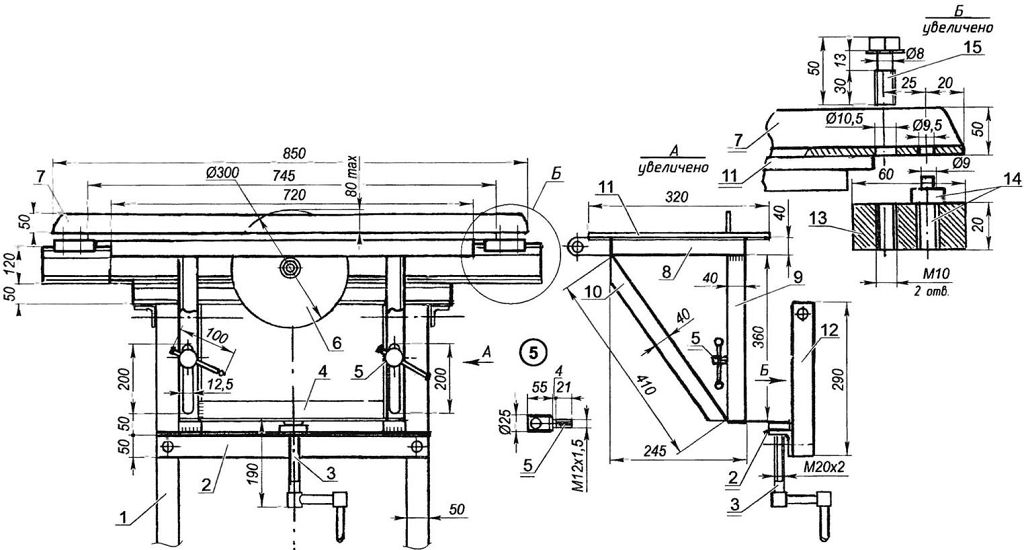
Drawing creation
The first stage in creating a wood processing machine is the drawings of a sawing table. You can not compile them by choosing the appropriate option on thematic sites or forums. But it is better to make at least the simplest scheme yourself, taking into account the available materials and the selected sizes.
The drawing notes all the nuances that will be needed for the preparation of materials, indicate the mounting locations of the supports and their angles, if the table legs are not perpendicular to the countertop. In the figure, it is also worth noting the place for attaching the saw on and off block. When compiling a chart yourself, compliance with scale and exact proportions is not necessary. The main thing is to correctly indicate the dimensions of all future details for the sawing machine.

Manufacturing steps
Before assembling the machine for cutting boards, logs and blanks, all necessary materials and tools should be prepared. For work you will need:
- moisture resistant plywood;
- sheet material suitable for the manufacture of the housing;
- elements for the body and legs (bars 40 to 40 mm).
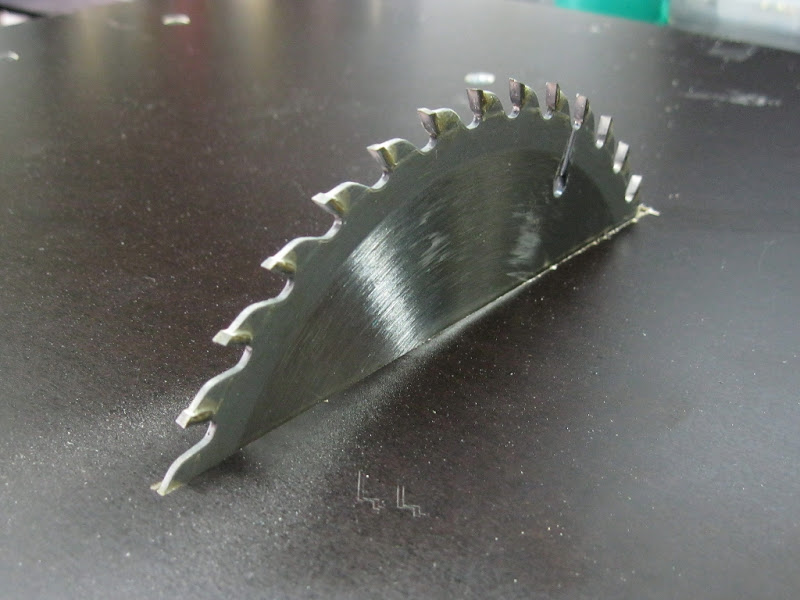
Fastening will be carried out with self-tapping screws using a screwdriver. All the necessary details are sawn with a jigsaw. A saw with a suitable diameter blade is also being prepared.
Table creation algorithm:
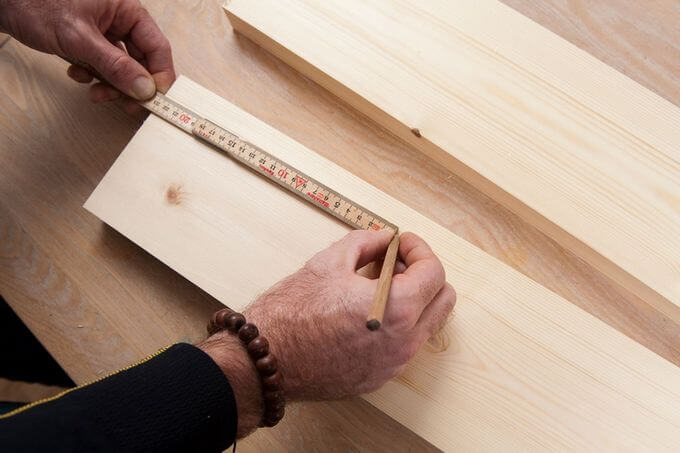
- Sawing all parts into pieces with the right dimensions.
- Marking of sections for fastening the saw and legs on the countertop.
- Making a case, which is usually a box of rectangular shape without a lid and a bottom.
- Install countertops.
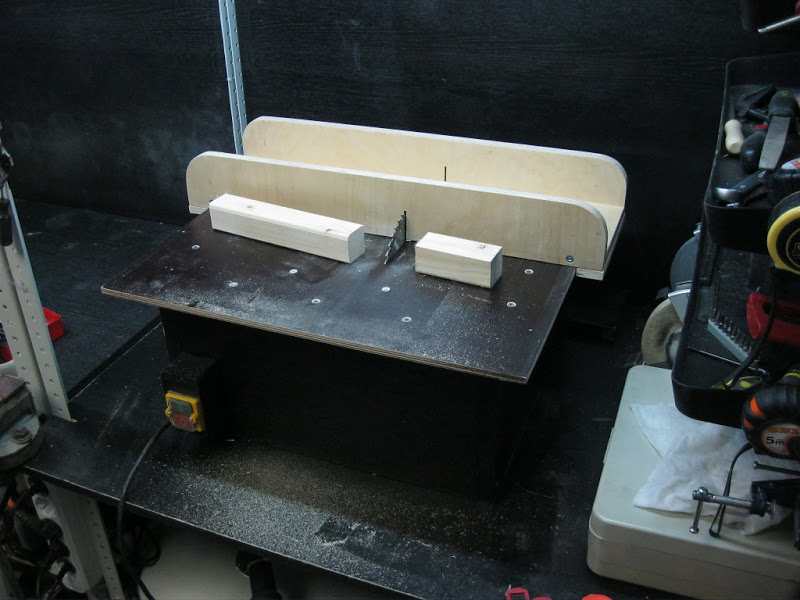
- Cutting a hole that should be 5–10 mm longer and 4–6 mm wider than the disk.
If you cut the material at a certain angle, then the resulting slot should resemble a trapezoid (inverted) in shape. For even sawing, a regular hole is made. Before sawing a groove, a saw should be applied and the marks adjusted.


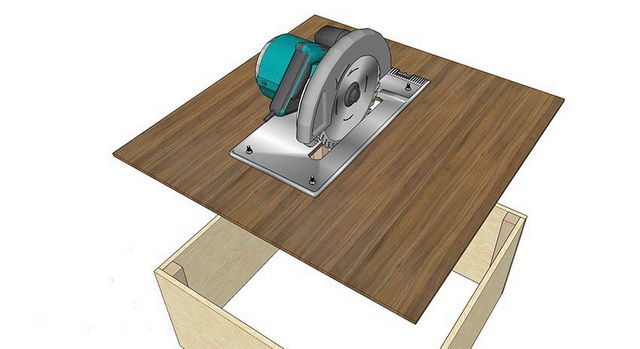
How to install a saw
The next step is the proper installation of the saw on the upper surface of the saw table. For this, the contractor must perform the following actions:
- Install the tool so that its working part goes into a pre-prepared groove.
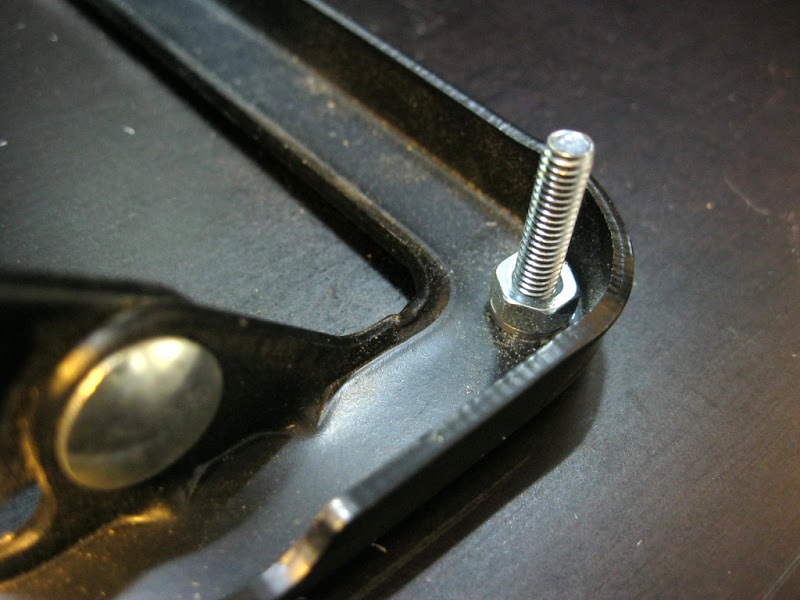
- Mark out the places for M8 share bolts with countersunk head (they will attach the saw blade).
- Drill plywood from above to make the same holes with a diameter of about 8 mm.
- Countersink to drown bolt caps.
- Carefully install the metal saw blade and carefully tighten the bolts from below using nuts with spring washers.
Work on the manufacture of the machine requires great concentration and concentration. The slightest mistake can lead to the fact that you have to start all over again.
After fixing the structure on the table, you need to install a block to turn the saw blade motor on and off. A hole is cut out in the case, the switch is fastened with bolts and universal glue. Two separate cables should go from the unit. One to the instrument, the second to the nearest electrical outlet.
When self-assembling such a unit, it is worth considering the performance of the motor, as well as the maximum power of the electric motor. In this case, experts advise to opt for an engine whose power does not exceed 1000–1200 W, otherwise operation may be unsafe. Yes, and a more powerful saw implies a heavier and more stable table.

Manufacture of stops
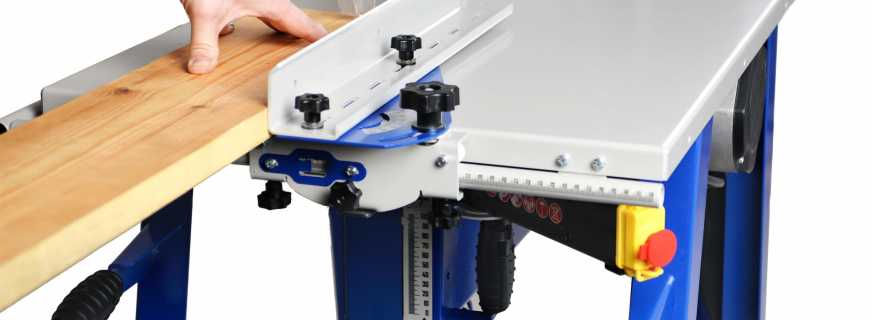
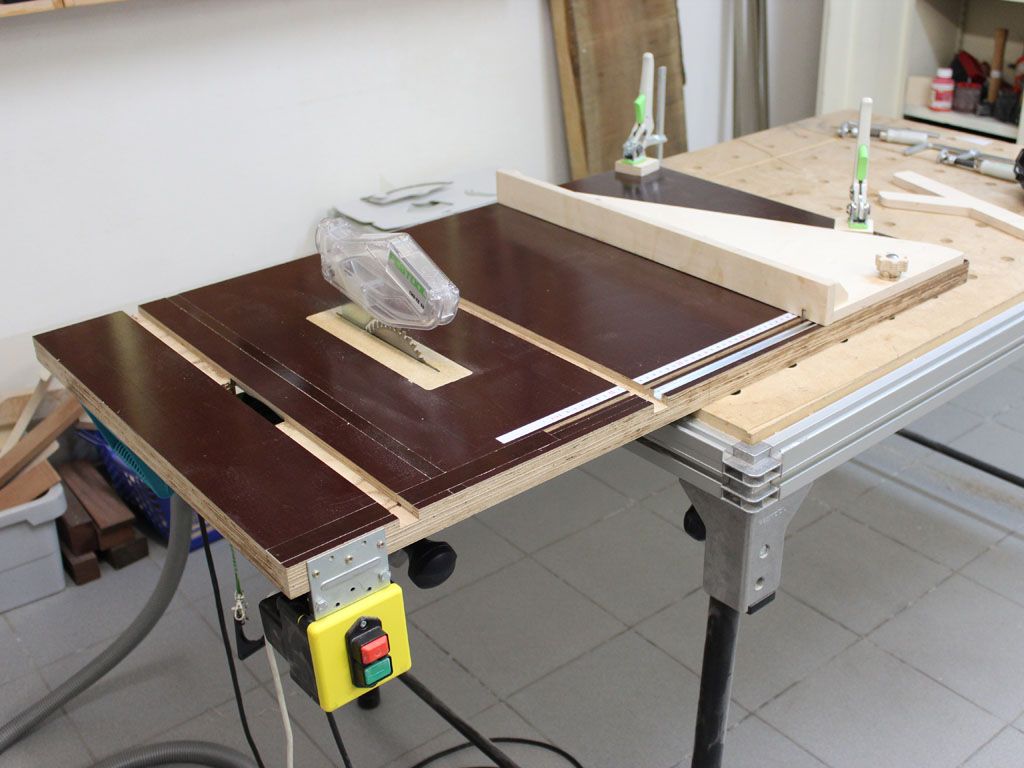
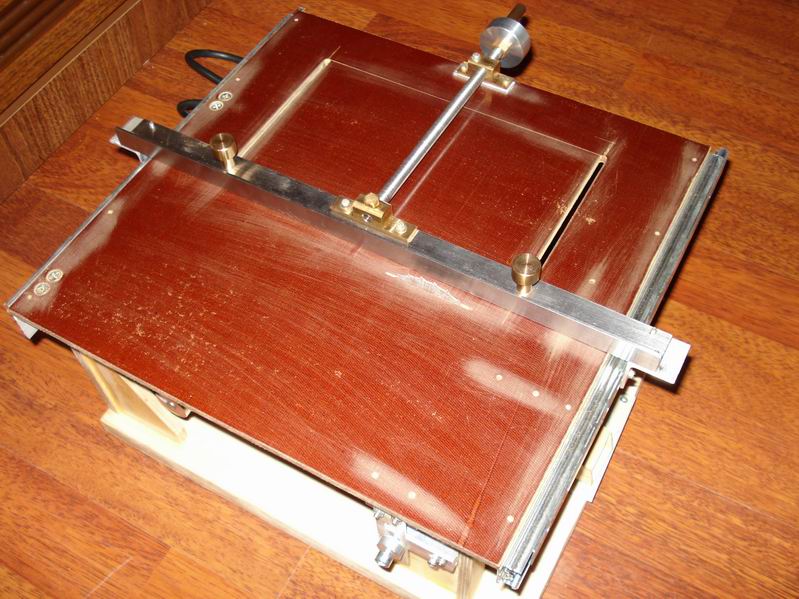
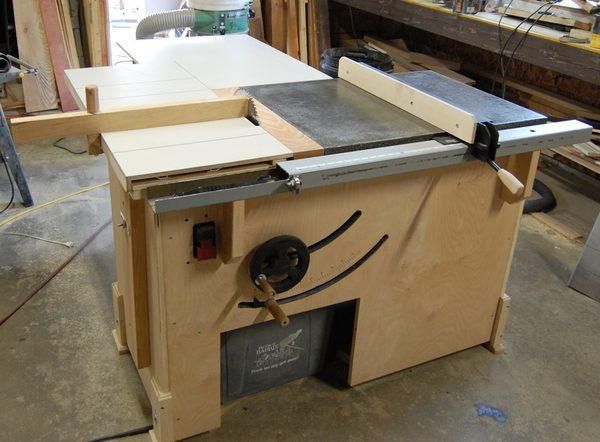
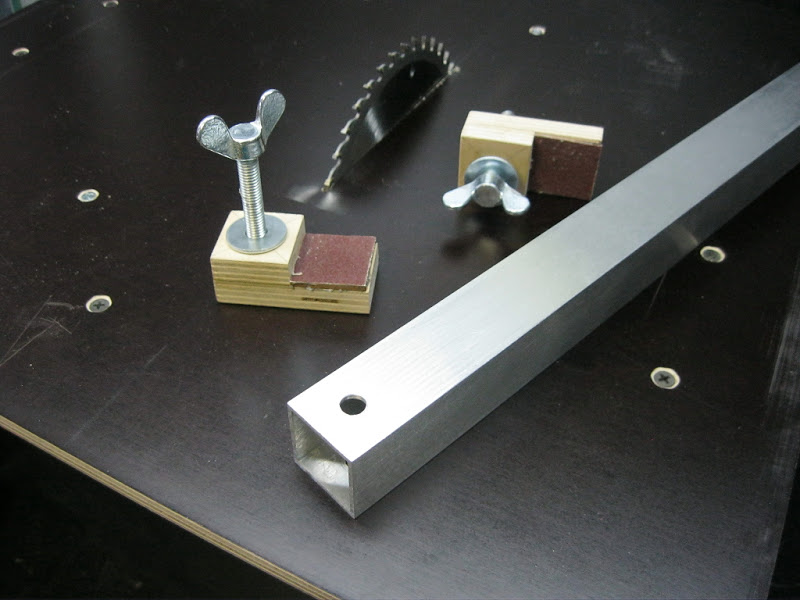
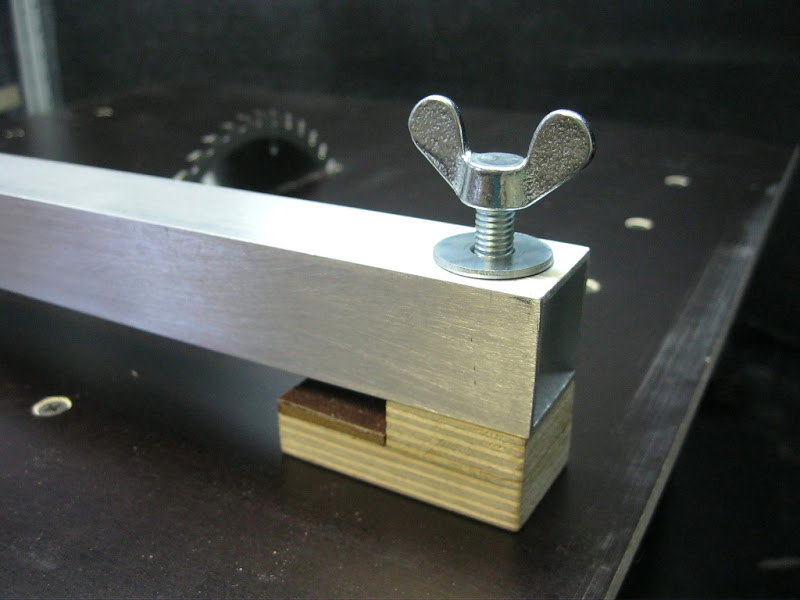
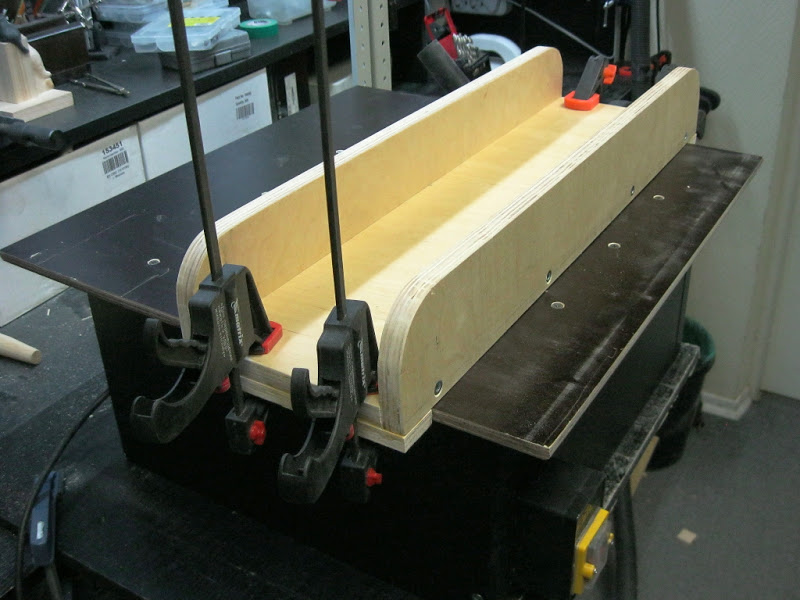
The last step in the manufacture of a cutting table with your own hands is the installation of stops. A standard feature on most circular machines is a guide for longitudinal cutting. Traditionally, the emphasis is made of aluminum cornice or wooden block. Its size is chosen so that the part runs across the table - parallel to the saw and from edge to edge.
Often used on cutting tables and cross emphasis. With their help, they perform cutting of parts at an angle of 90 degrees and the cutting of boards. To make an emphasis, the following actions should be performed:
- Prepare an ordinary plywood sheet 1 cm thick.
- Fix on it a bar with a height of at least 2 cm.
- On the bottom side of the base, fix the second rail perpendicular to the first.
- Cut off excess part of the base.
Transverse stops are attached to the workpieces with clamps or fastening devices made of wooden washers. Such homemade clamps provide mounting rails on parts of almost any width. If the block on the bottom side of the base is fixed at an angle of 45 degrees, you get an angular emphasis. After completing all work, the surface of the circular table can be processed with a grinder and coated with a layer of protective varnish. This will save her from various mechanical damage, and in general will extend the service life.
Perhaps outwardly such a table does not look as attractive as a factory one. However, from a technical point of view, it is not inferior to him, therefore, even a novice carpenter can safely undertake its manufacture.

Video

 (votes: 1, average rating: 1,00 out of 5)