Features built-in PC table, assembly tips
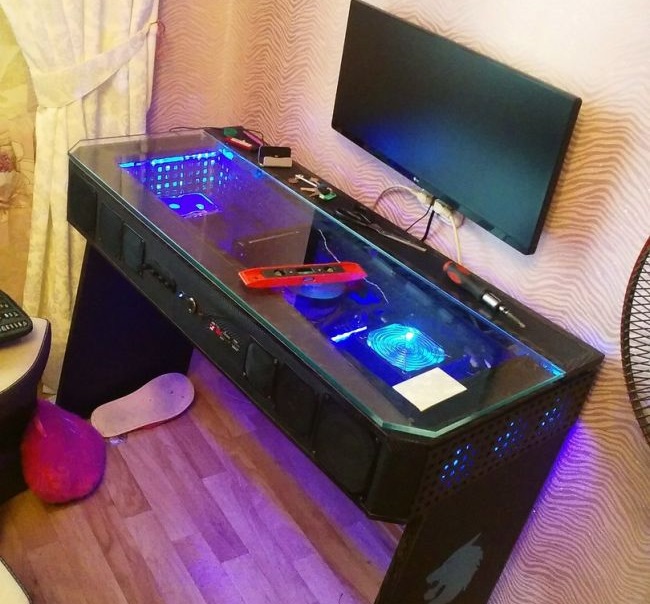
Despite the fact that laptops are becoming more powerful, some tasks they can not do. Gamers, graphic designers, video content creators prefer to work on desktop computers. But creative people want to have something really original. For example, a built-in PC in a table can become not only a decoration of a room, but also a functional tool. With proper organization, it will be possible to significantly increase the technical capabilities of a computer.
Content
Design Features and Benefits
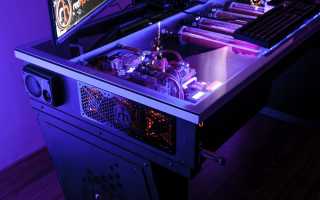
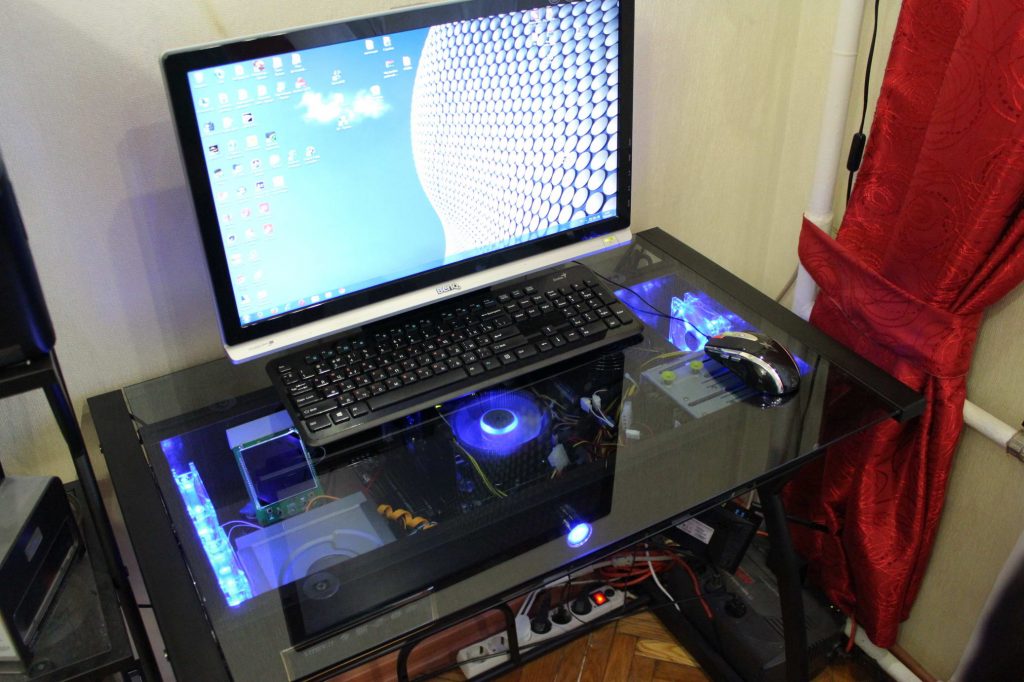
Traditionally, the system unit is installed under the computer desk. But this takes up enough free space, a lot of dust penetrates through the ventilation holes, which negatively affects the operation of the equipment. The decision to move all the components inside the table, making a glass top, has several reasons for its popularity:
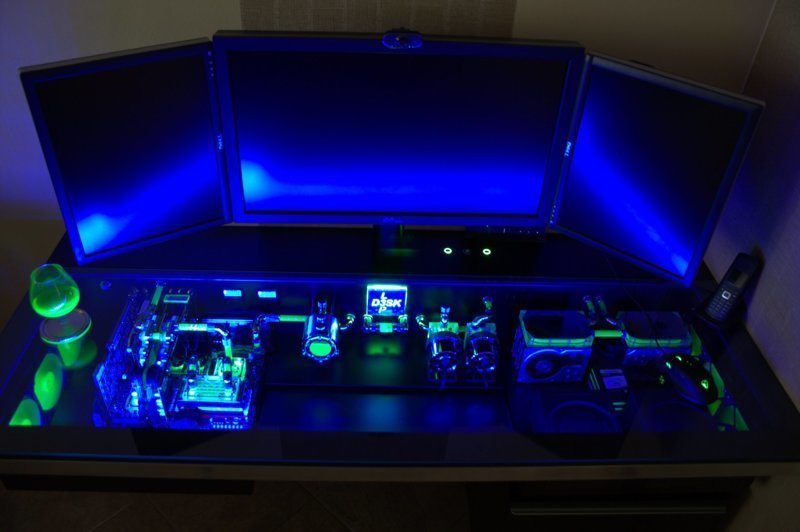
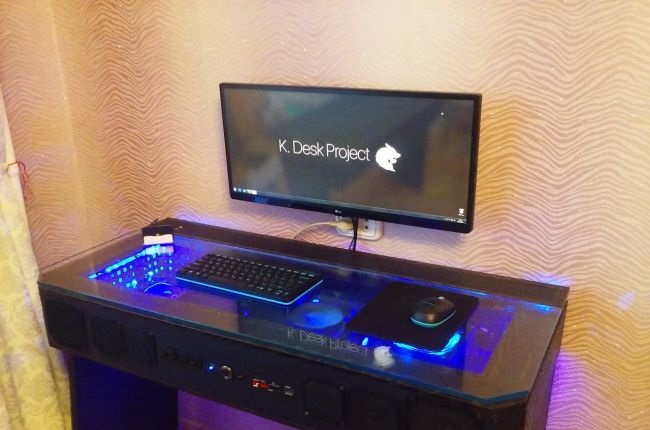
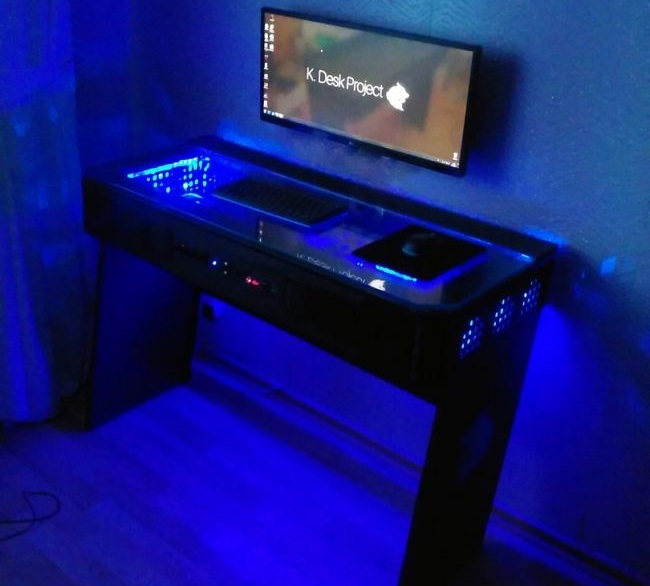
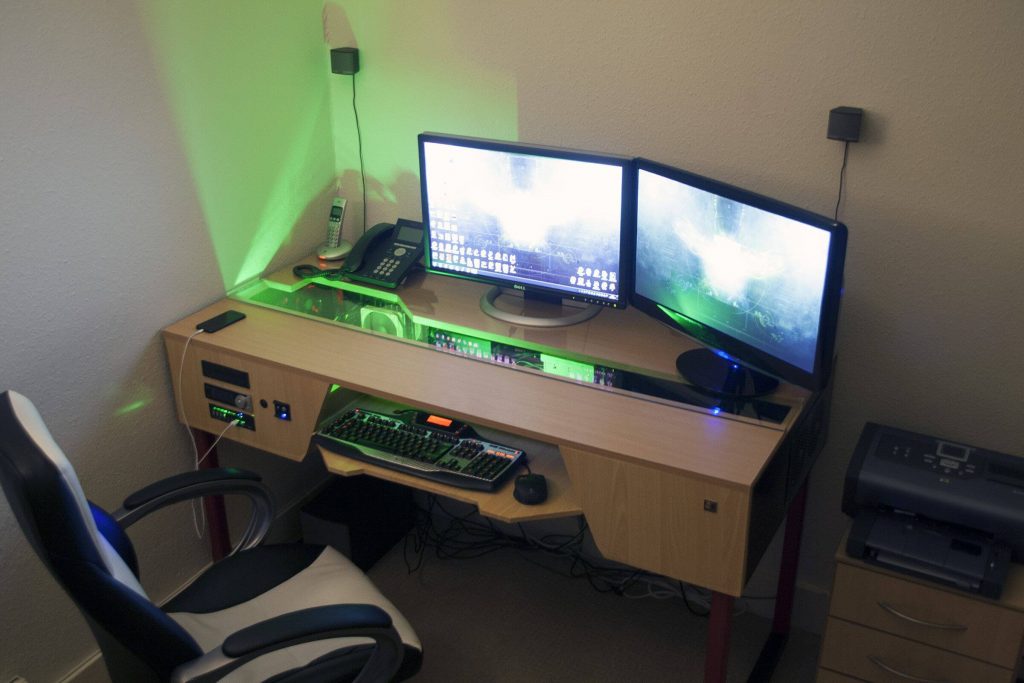
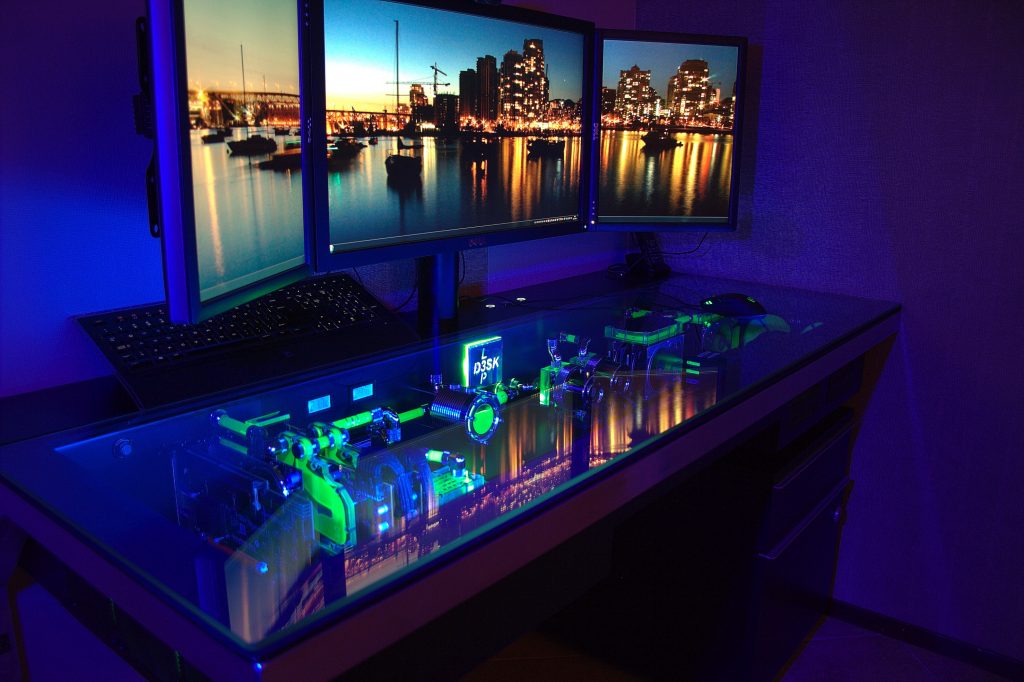
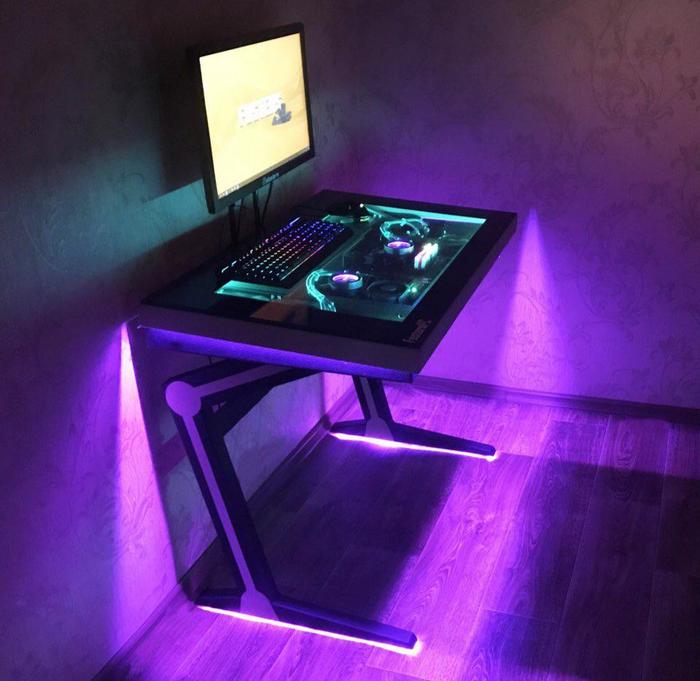
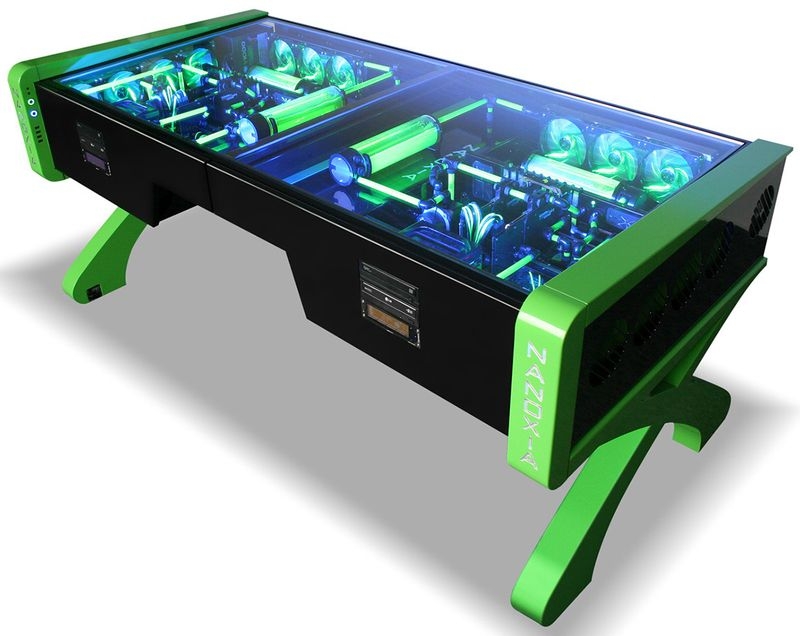
- The design is aesthetically pleasing. Transparent coating visually dissolves the work surface. Recessed lighting can serve as an additional light source.
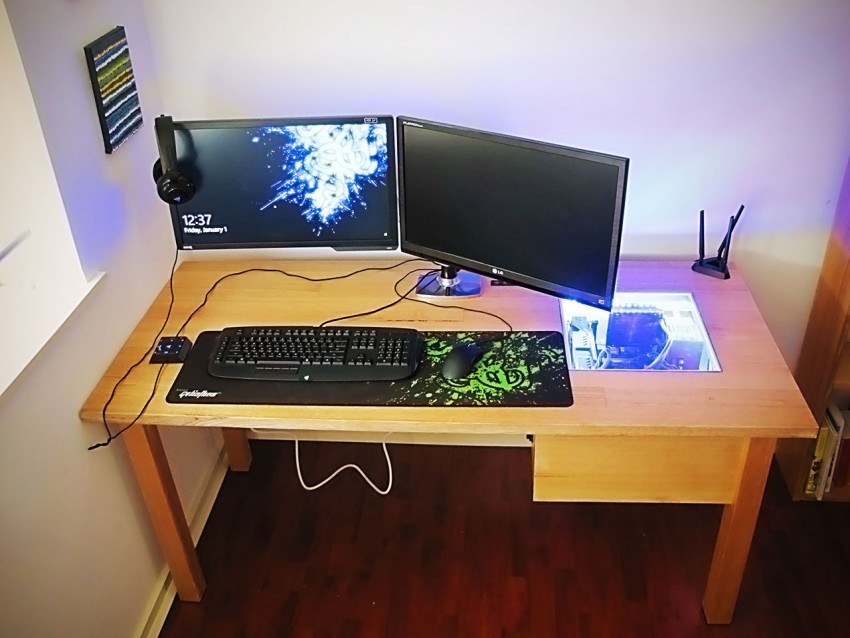
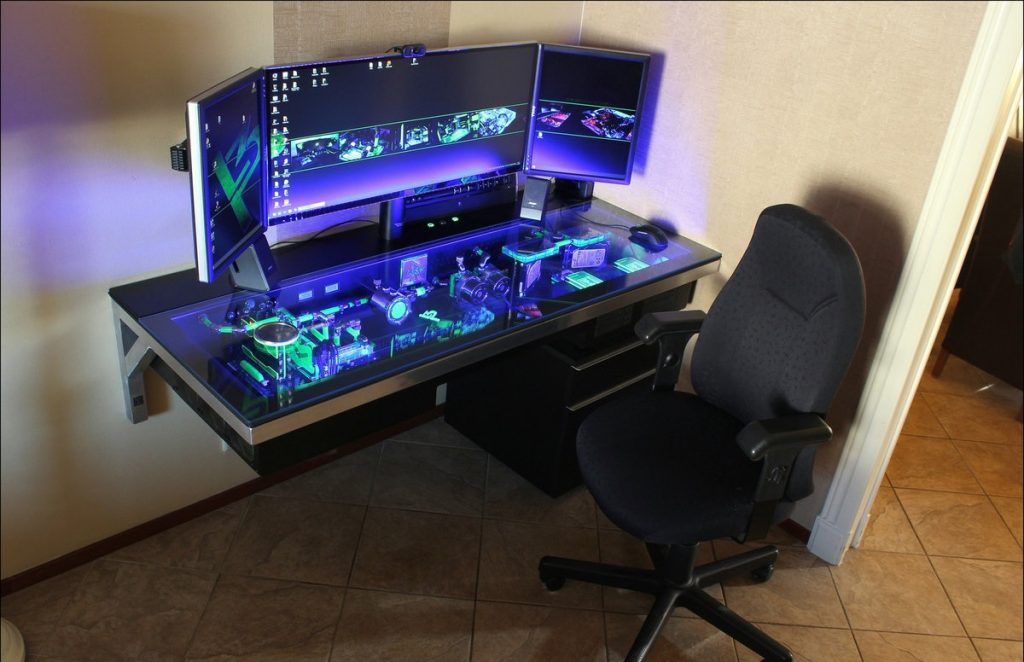
- Space saving. Non-standard placement of the system unit frees up space on the floor. One piece of furniture simultaneously solves several problems.
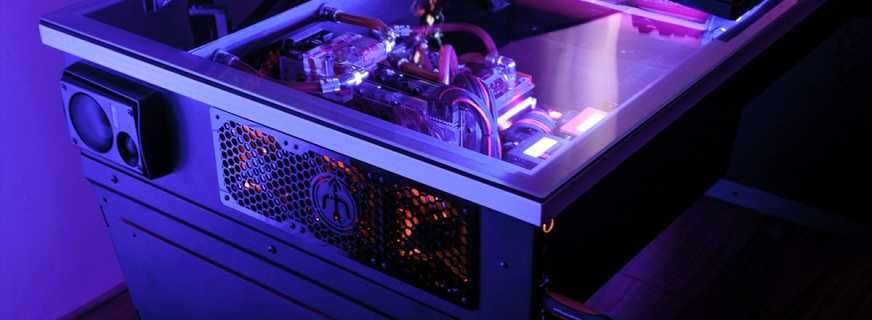
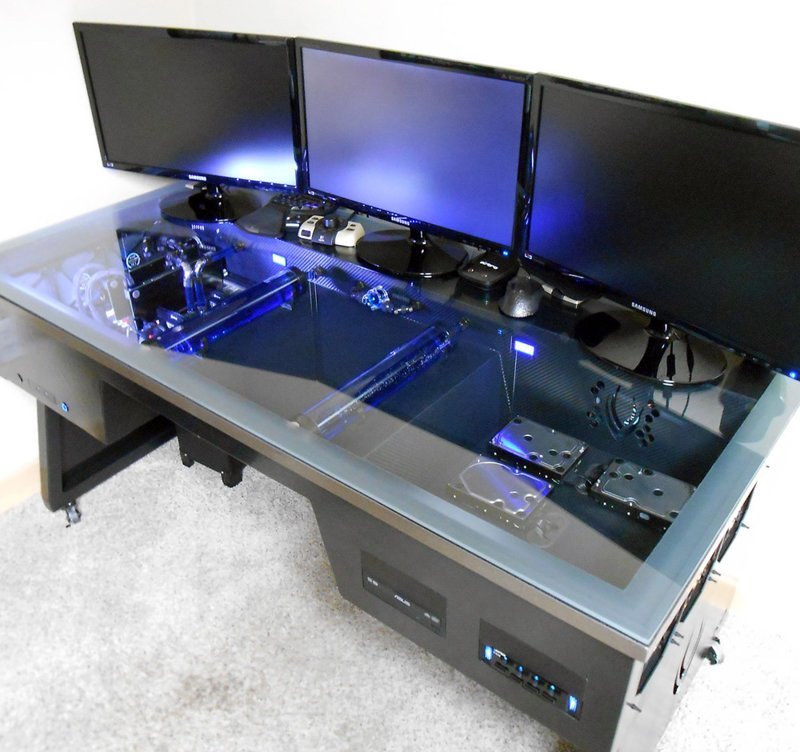
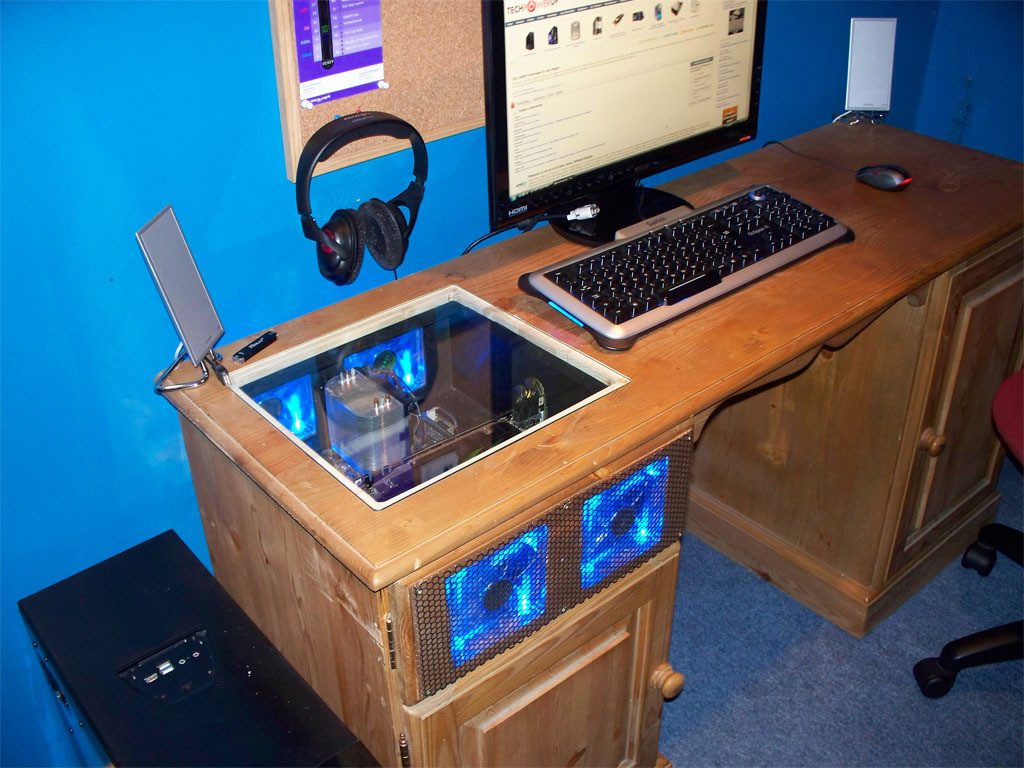
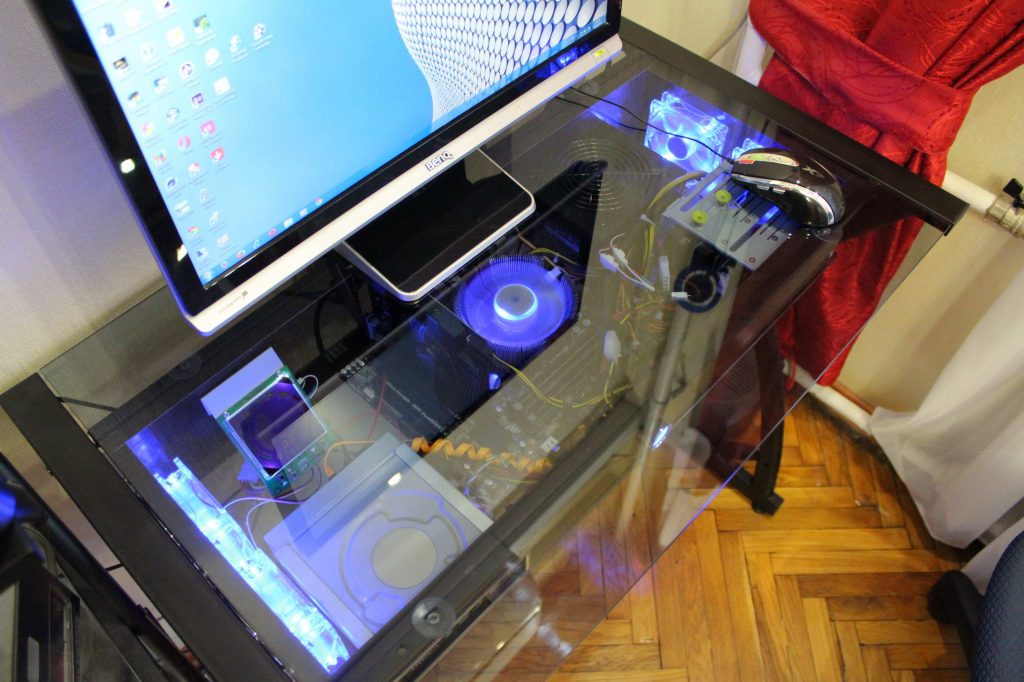
- Mechanism protection. When floor-mounted, a lot of dust enters the interior of the unit through the ventilation holes, which violates the functionality. With regular cleaning, the built-in computer has less contact with external contaminants.
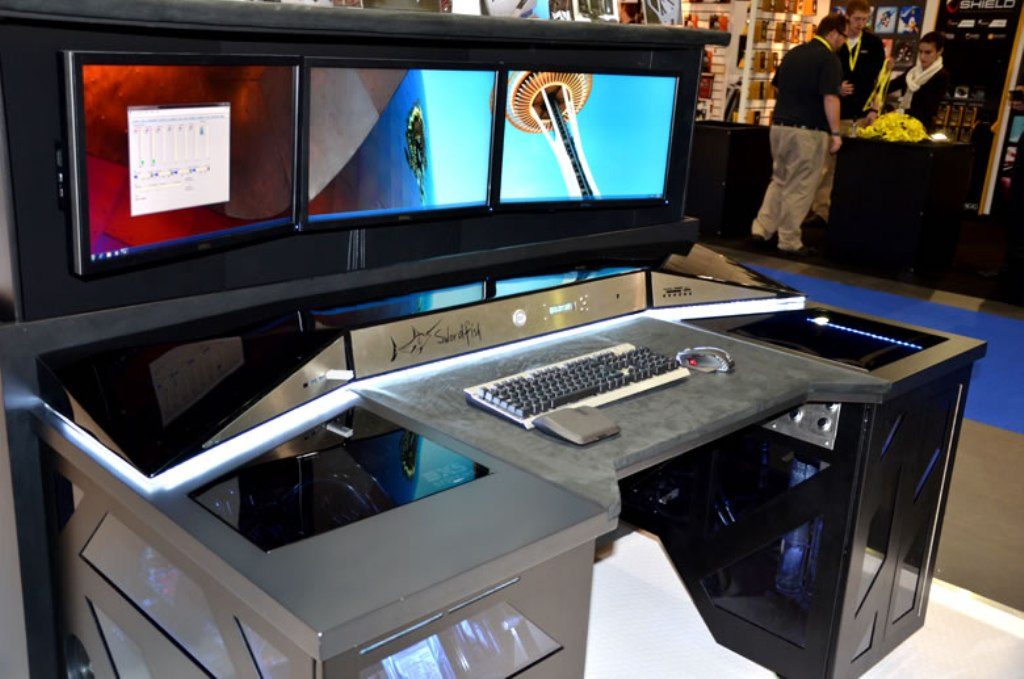
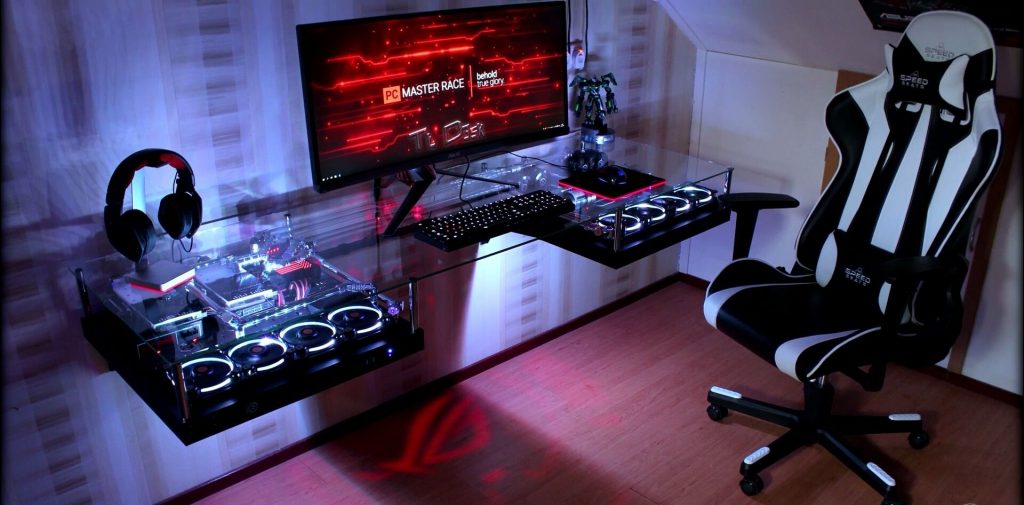
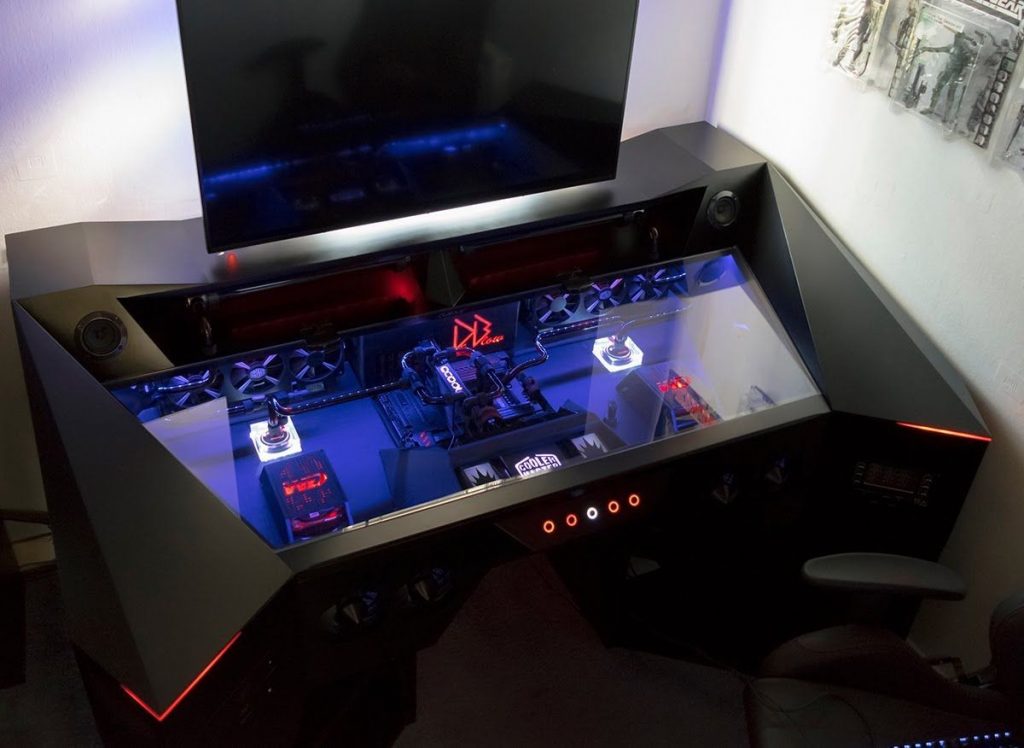
- Extended capabilities. PCs combined with a table can be expanded almost unlimitedly. You can easily install the original custom cooling system, additional equipment.
A table with computer components built under glass will be an excellent complement to the interior in the styles of hi-tech, minimalism, fusion, constructivism.
There are no ready-made options for tables-system units on the market. They are made to order or assembled on their own. The latter option allows you to save significantly. The owner personally selects the components that best suit his needs. In addition, it is easy to make changes at almost any stage.
Materials and consumables
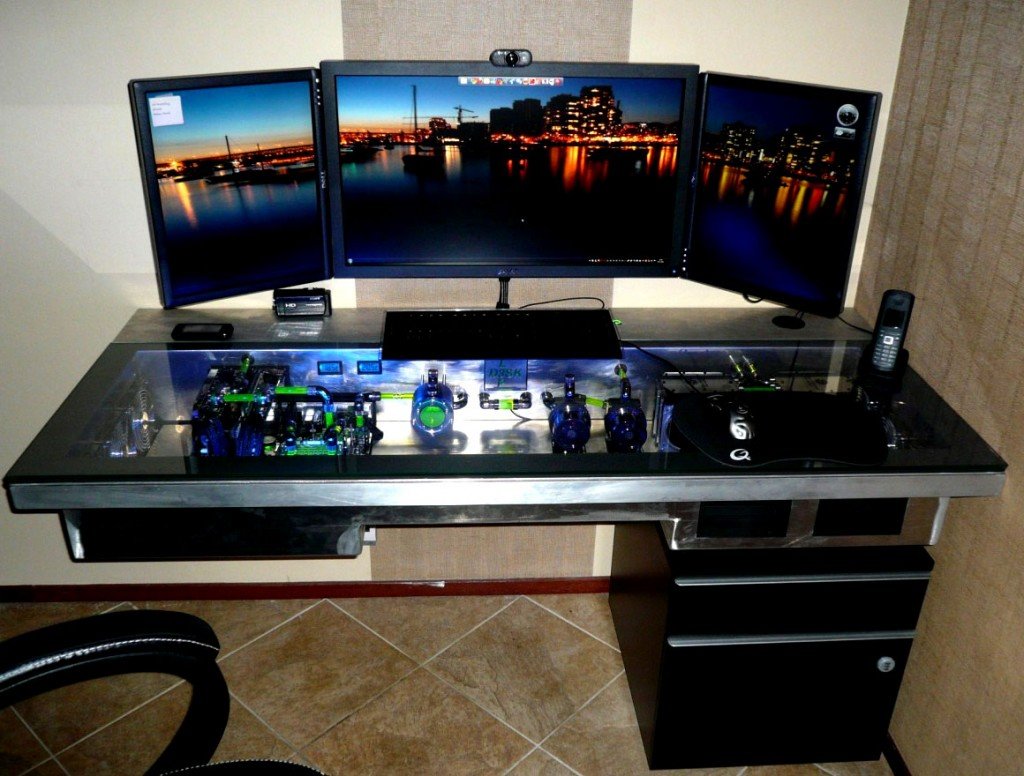
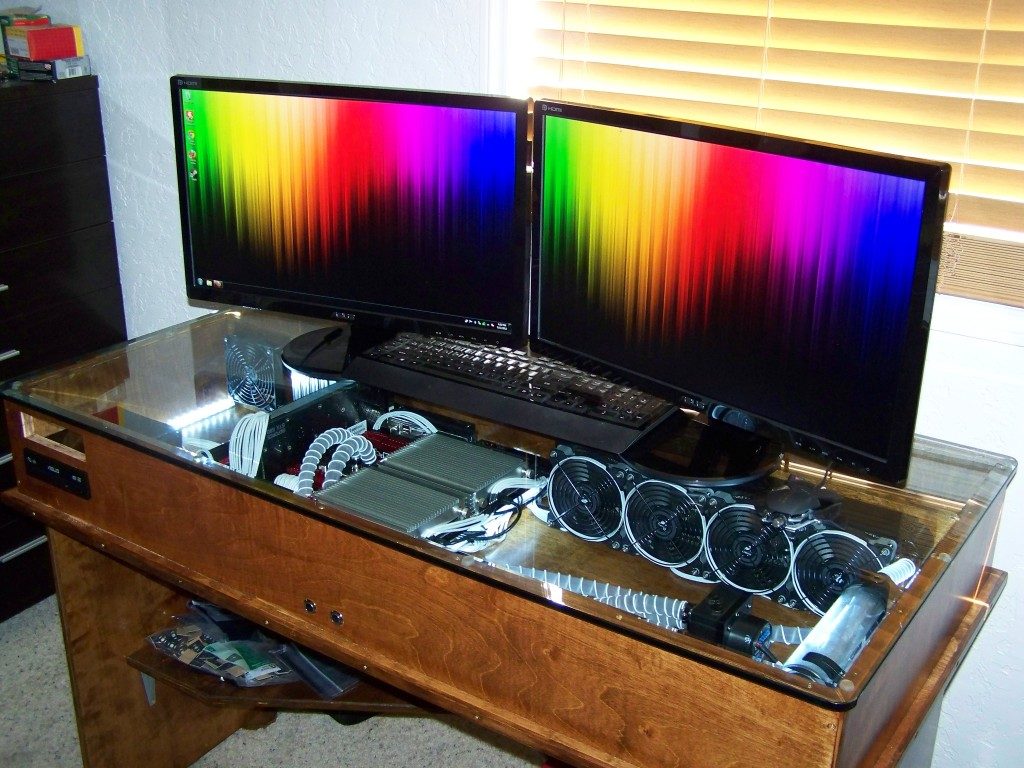
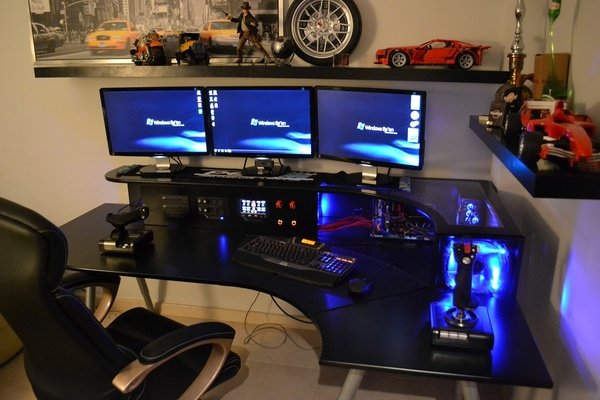
The basis of embedded structures is most often taken factory desk or computer desk. The first option is preferable, since the working surface is obtained more. Another plus - fewer modifications will be required due to the presence of side walls, into which it is convenient to integrate a cooling system, speakers. You can also find options for tables that have a metal frame, fully sheathed with plexiglass.
What may be required for the manufacture of:
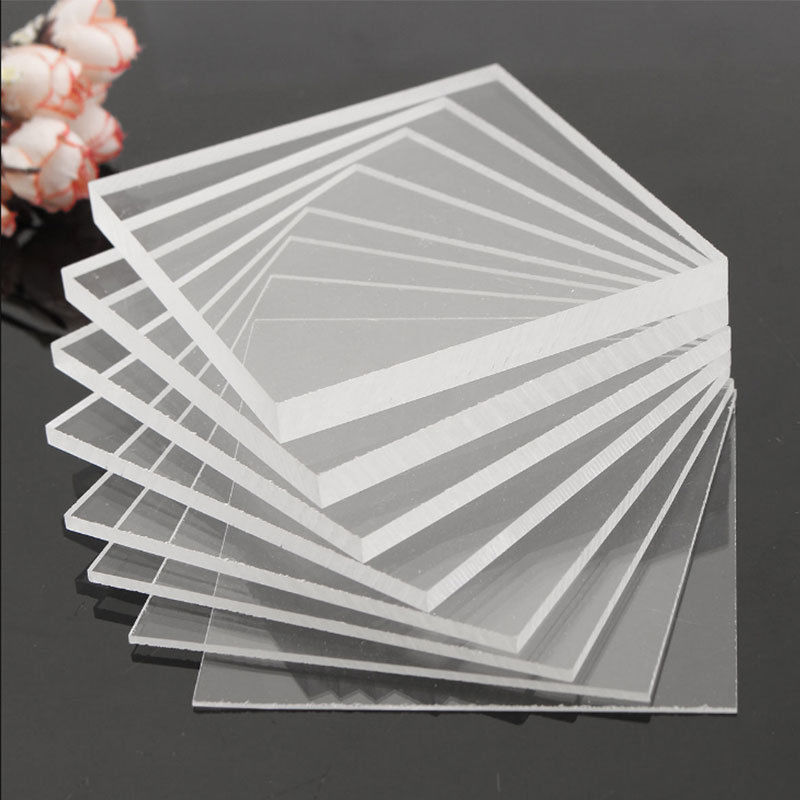
- Plexiglas in two versions - for the back wall, bottom and panels with increased load, it is better to choose sheets with a thickness of 10 mm, and for partitions 5 mm are enough;
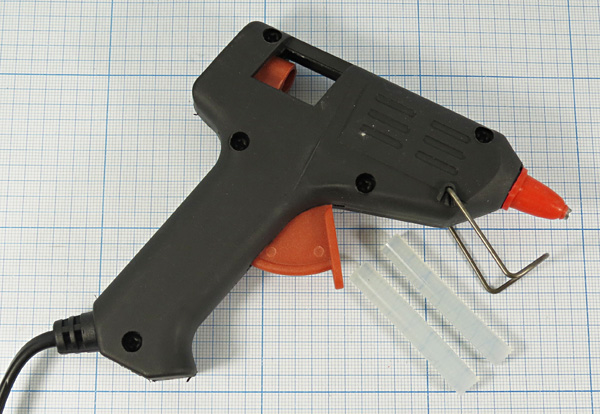
- self-tapping screws and thermal gun for fastening parts;
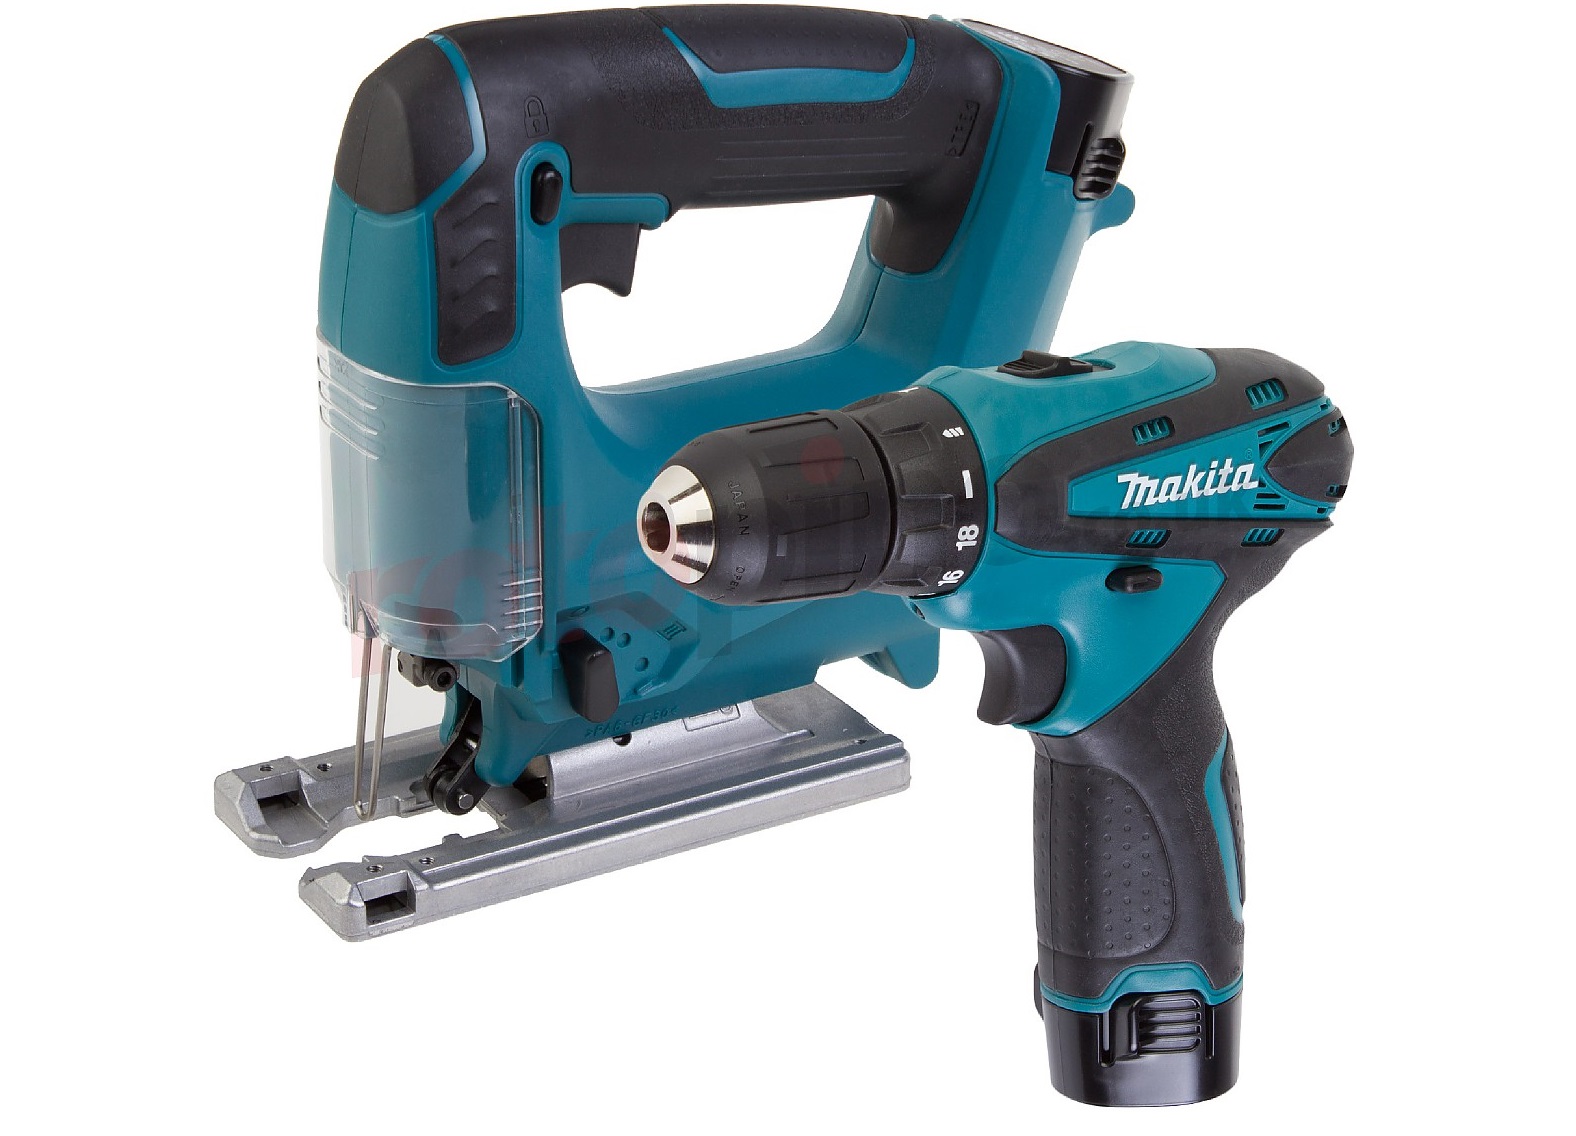
- jigsaw;
- drill;
- screwdriver;
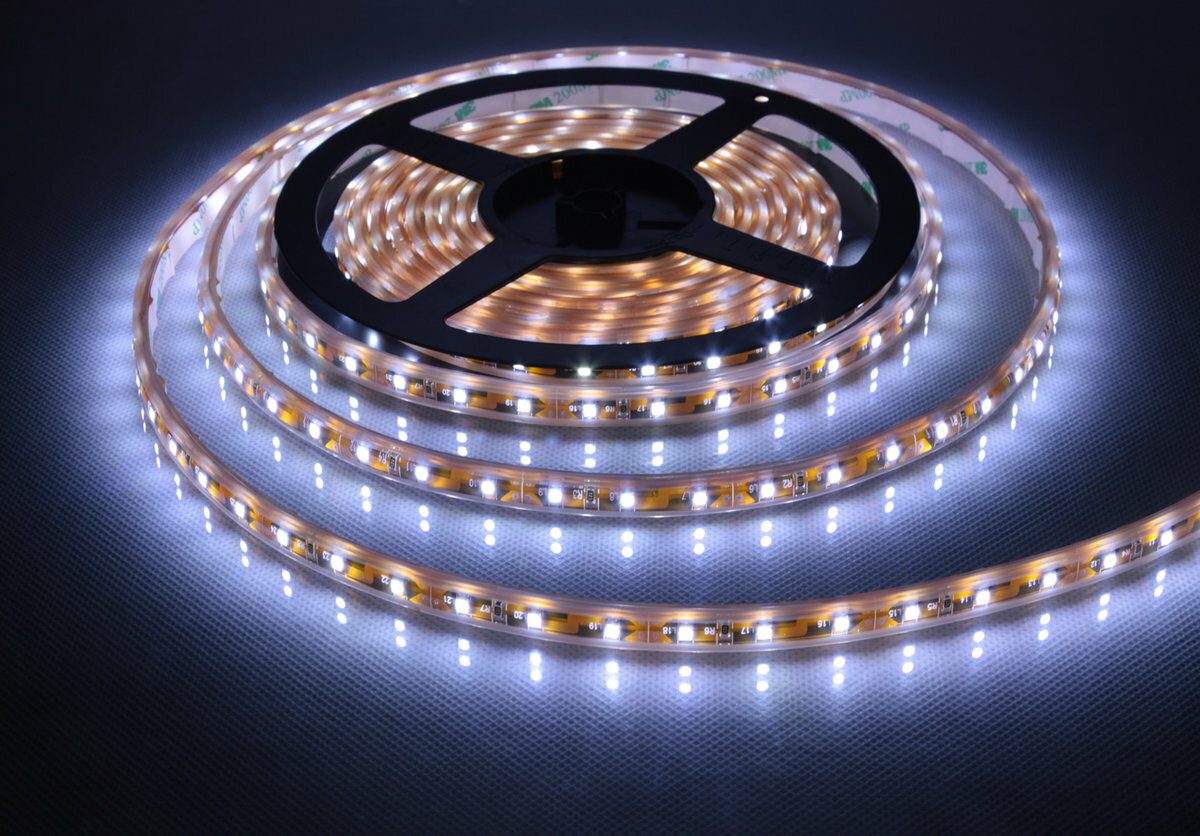
- LEDs or LED strip.
This is a minimal set of tools. To create a table, you will also need the contents of the system unit, additional sources of cooling and sound.

Step-by-step manufacturing algorithm
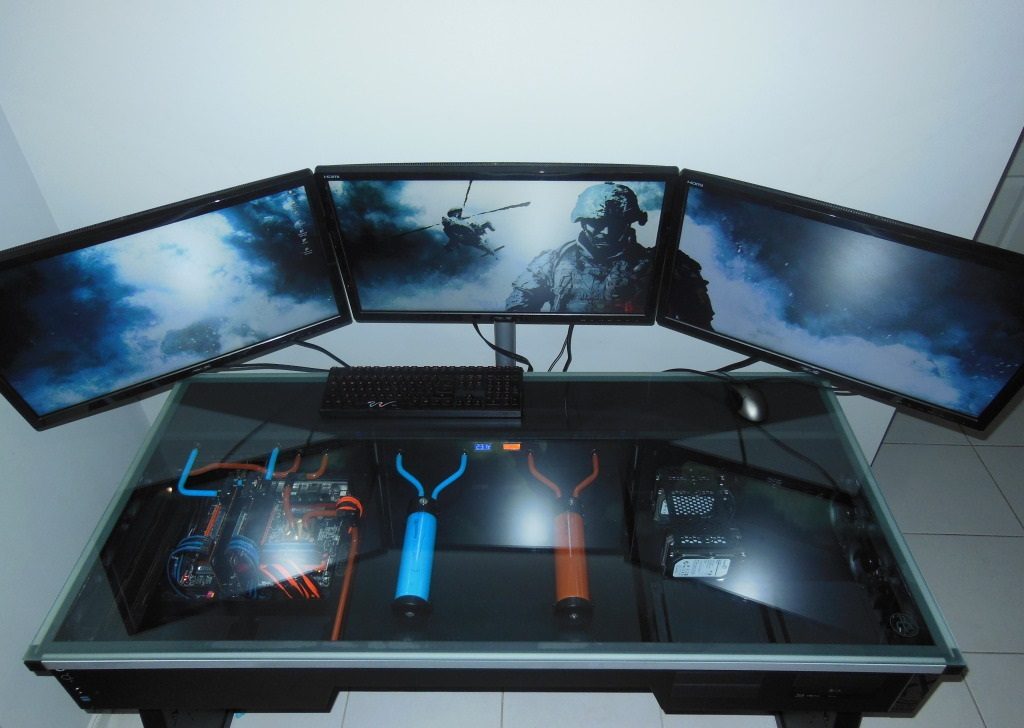
First you need to develop a design project. If there is no experience in drawing up furniture drawings, you can use ready-made options. Below is a master class that will greatly facilitate self-assembly. Necessary materials:
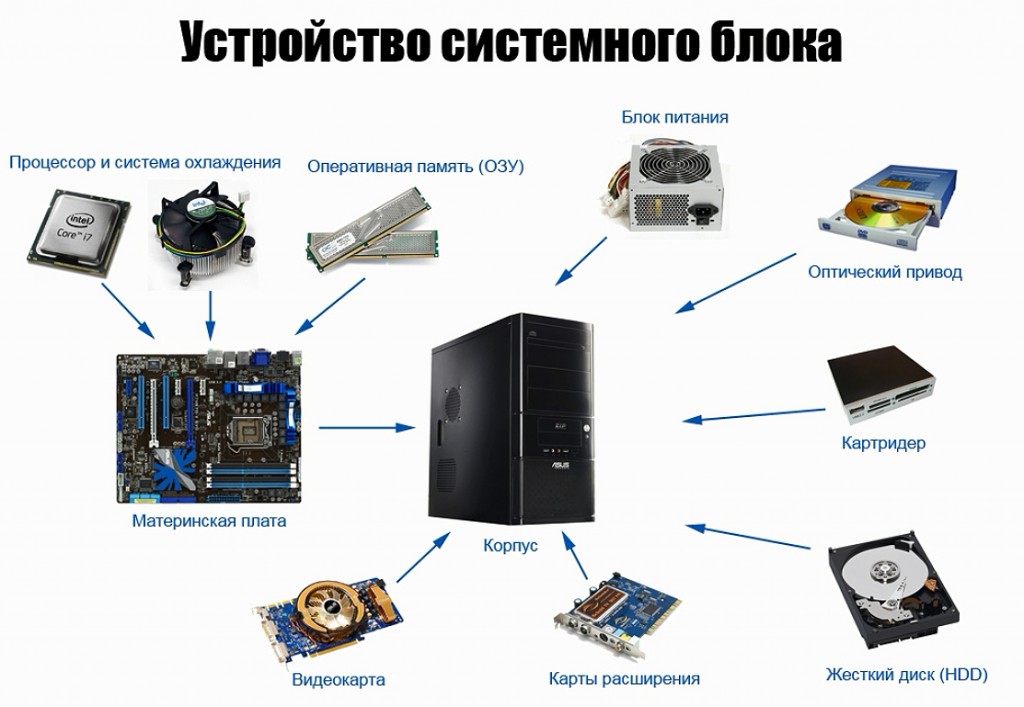
- system unit;
- table of the necessary sizes;
- tempered glass (can be replaced with plexiglass);
- cooler (6 pcs.);
- speakers;
- LED Strip Light;
- necessary wires;
- carbon sheets;
- voltage regulator;
- jigsaw;
- sandpaper;
- paint;
- LED strip or LEDs;
- wood glue.
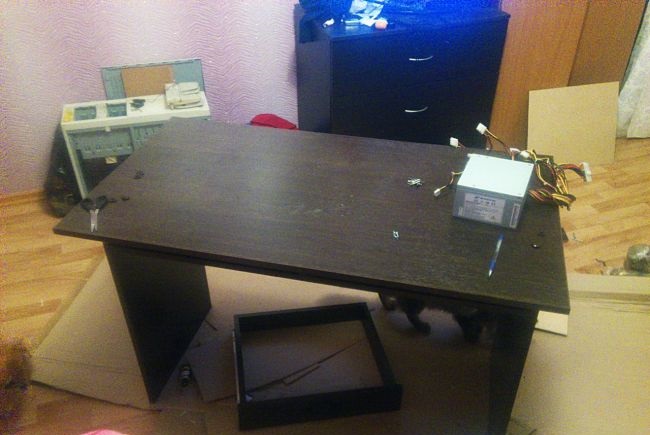
Sequencing:
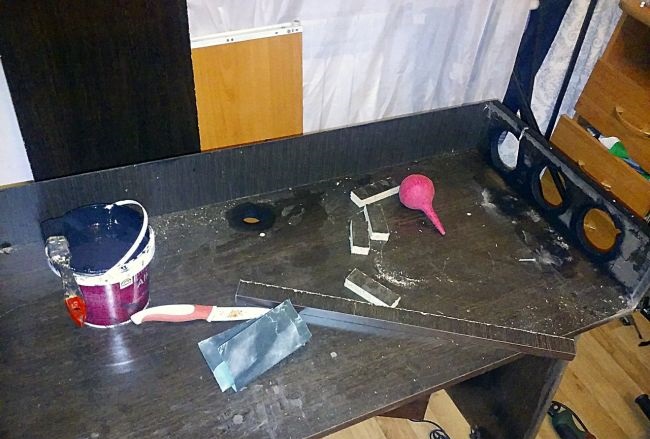
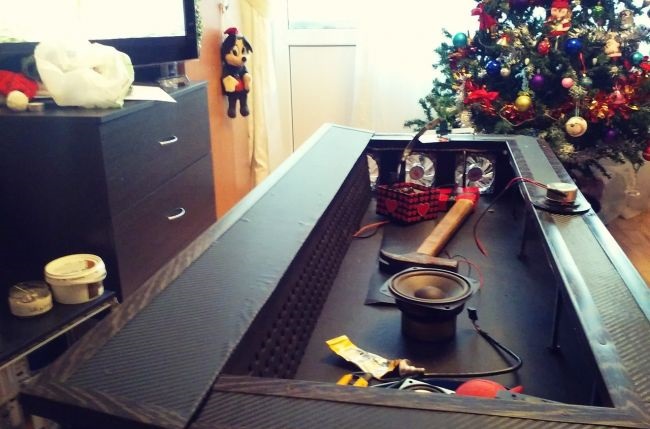
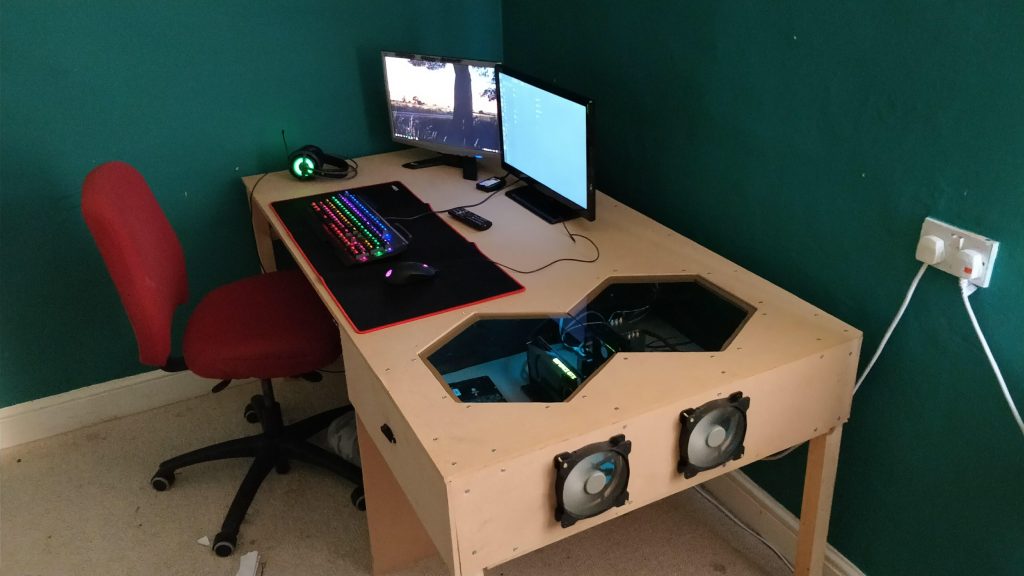
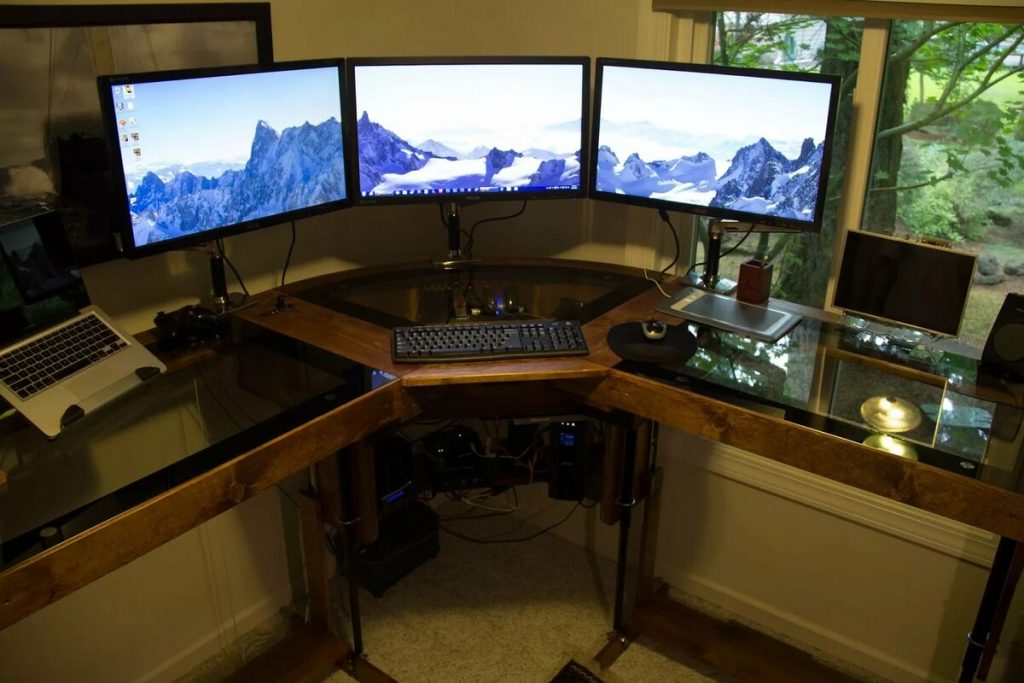
- Creating a computer table begins with the removal of existing countertops. We measure horizontally twice 10 cm - these are the blanks of the upper and lower panels. The same measurements are carried out vertically on the remaining surface. These planks will be mounted on the sides.
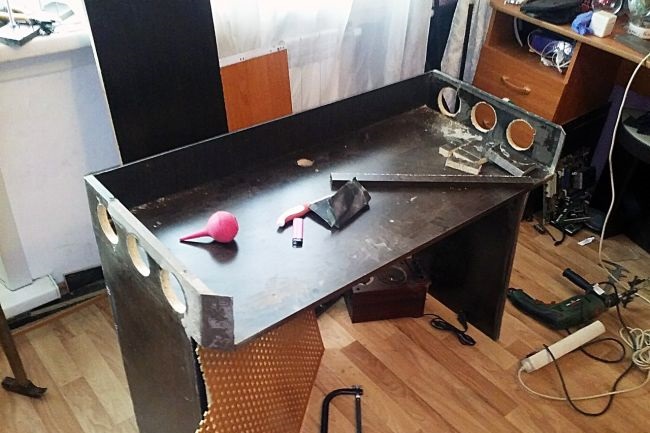
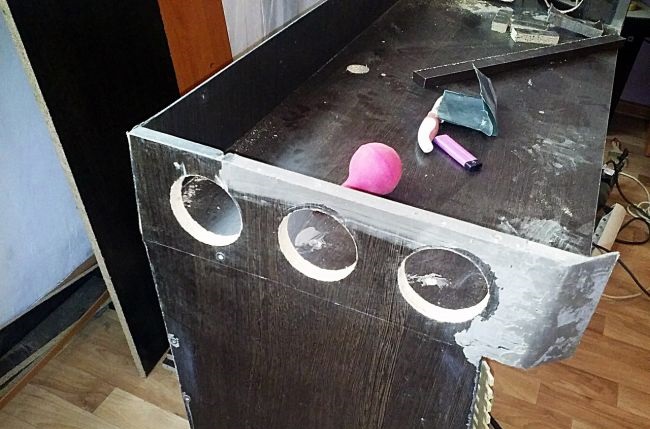
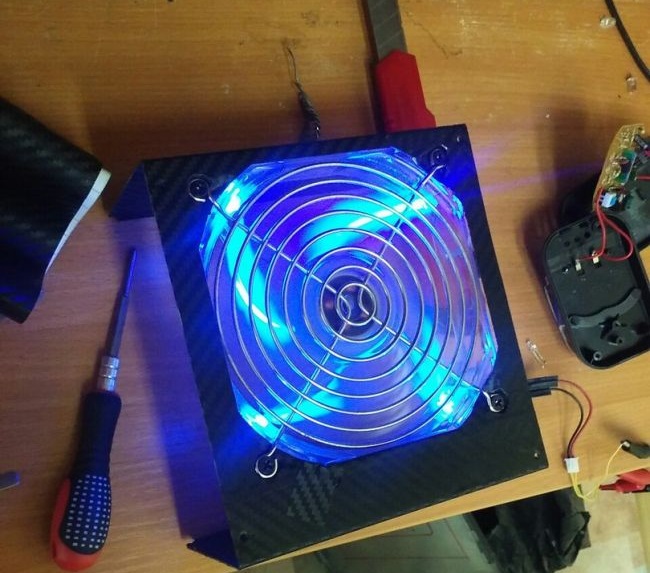
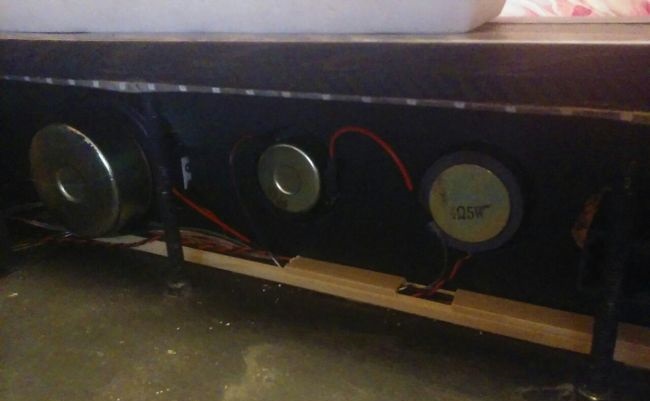
- In the existing side parts of the table, three holes are drilled for 80 x 80 coolers with the same distance from each other. Edges are necessarily processed by an emery paper to remove possible roughnesses.
- If desired, the side walls can be cut at an angle, the narrow part should be located below.
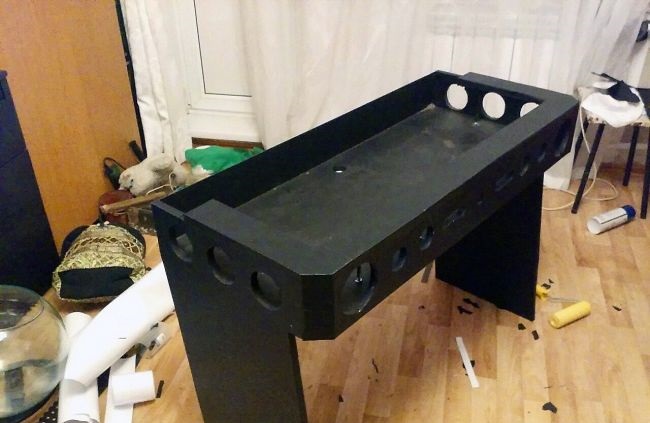
- We glue the panels sawn from the countertop. All but the top. We grill the cable channel up to 20 cm wide.
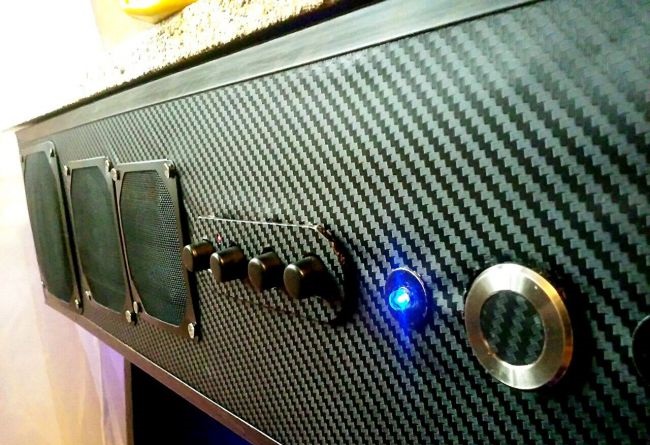
- With a vacuum cleaner we remove all garbage. Then all surfaces are painted over. It is better to choose a matte black color. It will take about a day for the paint to completely dry. After you can glue carbon fiber.
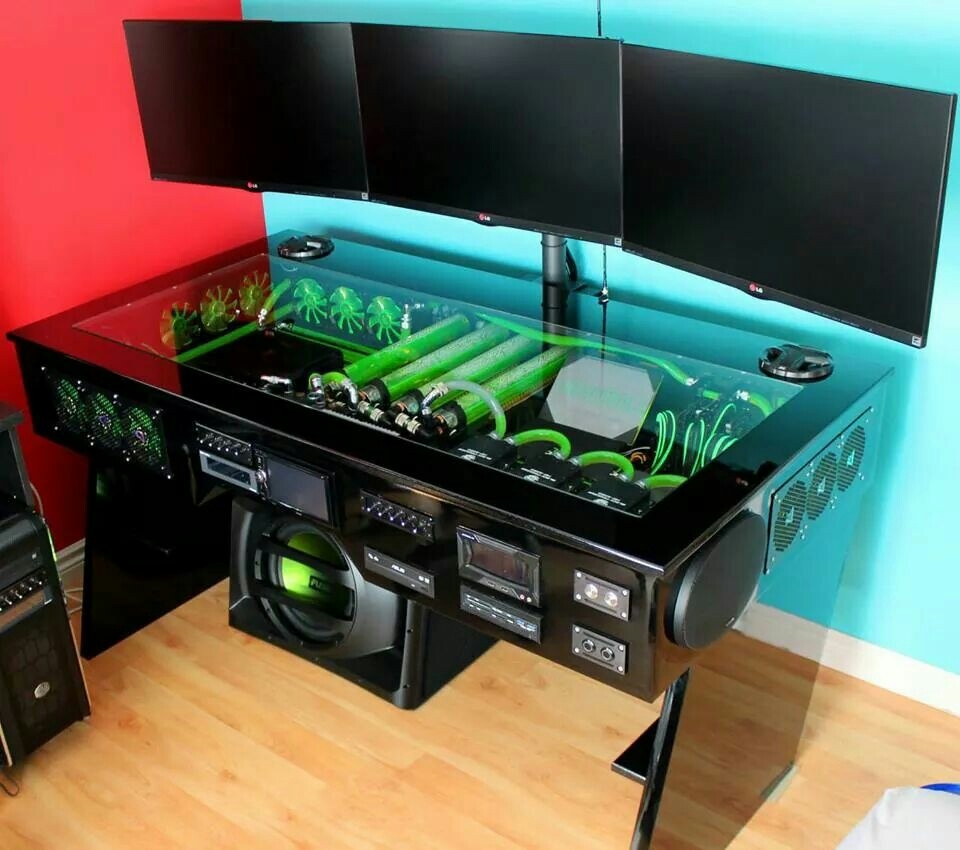
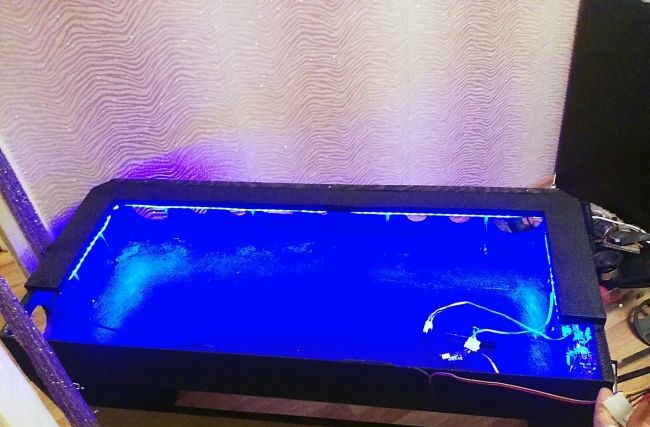
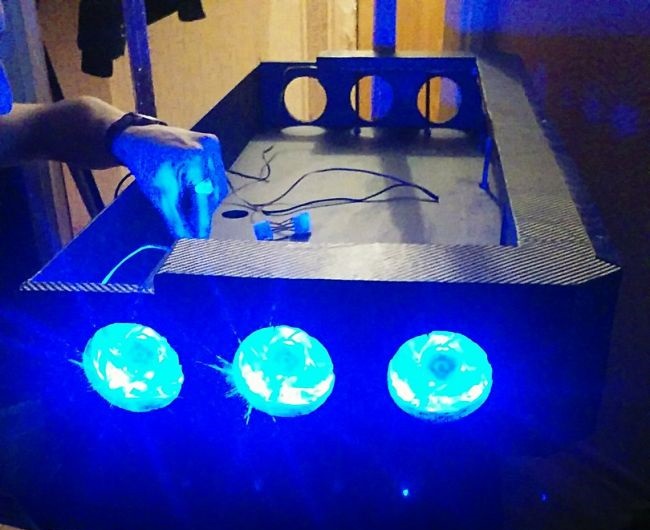
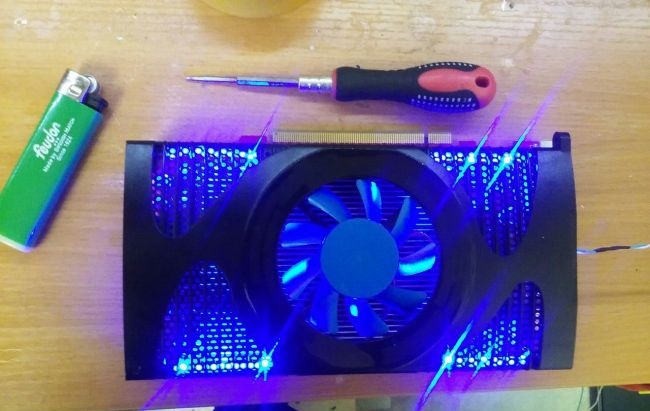
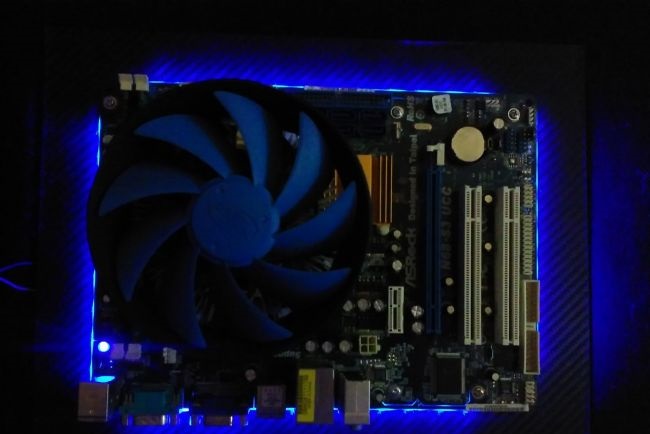
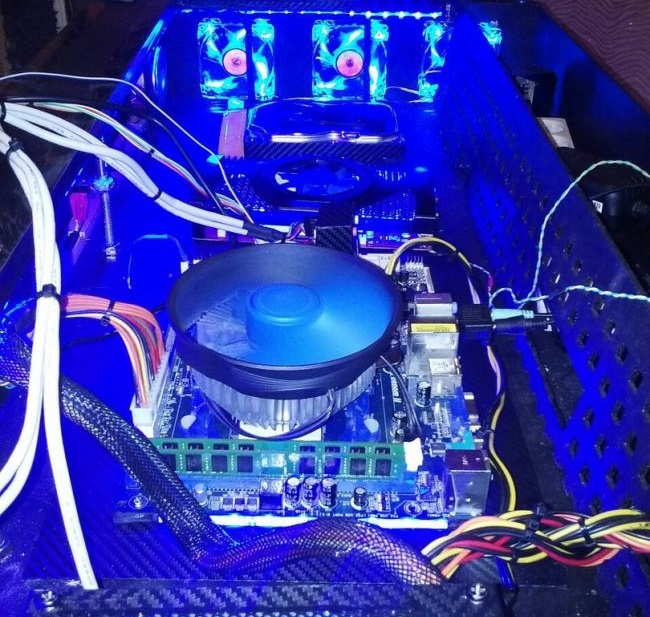
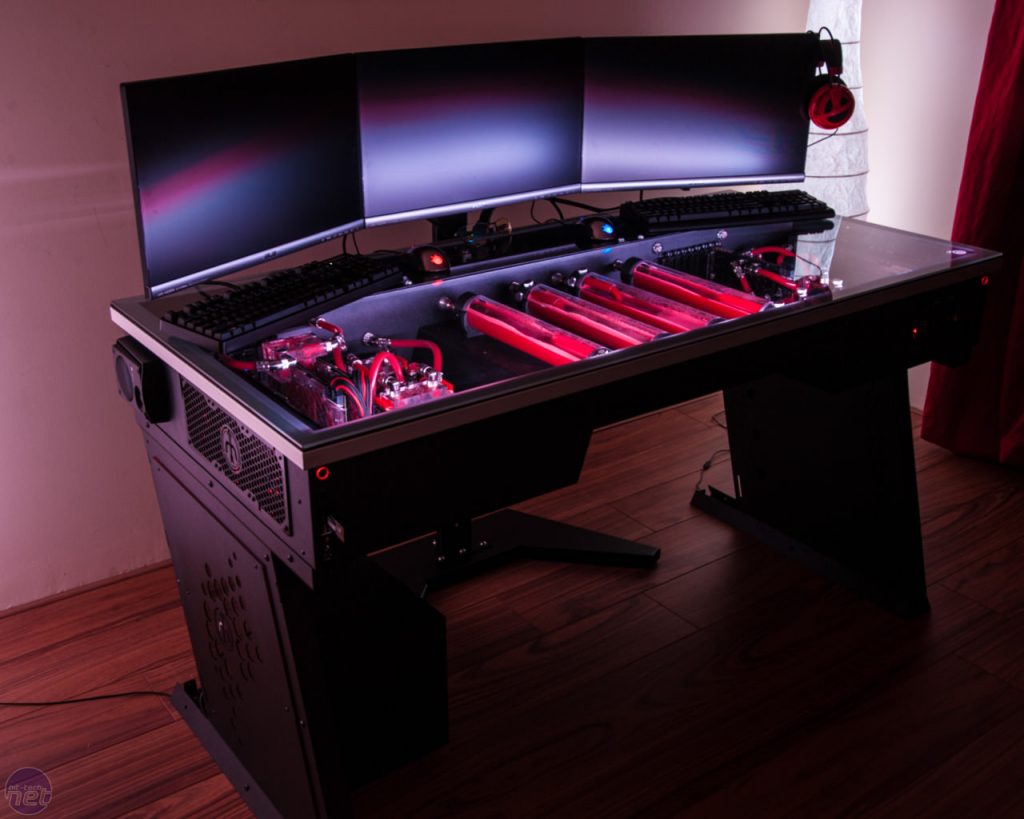
- We fix the LED tape around the perimeter. Install and connect coolers. If necessary, a video card and motherboard are also provided with backlight. So that the glass table does not tire your eyes, all the wiring is connected to the clock power button, which is displayed on the side panel.
- Speakers are inserted into previously prepared holes. The contents of the system unit are moved into the internal space. Checks the performance of all systems. All excess wires are removed into the cable channel.
- In the front of the table the necessary technical holes are made.
- Glass is installed on transparent glue.
Tables combined with system units are a rarity. This is not mass production, so finding drawings is extremely difficult.
The do-it-yourself desk-system unit has no analogues. The placement of PC content should be treated very carefully. In the absence of the necessary skills, it is better to contact a specialist who will help to correctly connect and fix all the details.
Video
A photo


 (no ratings yet)