Making doors in a wardrobe with your own hands, useful tips
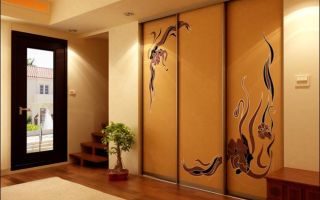
Functional and beautiful furniture is the key to comfort and coziness in every home, so you should carefully approach the selection of such interior items. But what if there is no suitable closet in design or size in the store? Then the assembly of the closet can be carried out independently. But for this you should learn how to make doors for the wardrobe with your own hands, and then install them.
Content
Materials and sizes
Closet design wardrobe is a system, the acquisition of which will make it possible to successfully plan the space of a room, emphasize the features of the interior, and solve the issue of storing personal items. As soon as such furniture appeared on the domestic furniture market, buyers immediately fell in love with it for a huge number of advantages.
Many do not dare to assemble the cabinet themselves, but in reality it is not so difficult if you prepare and divide the work into stages. You should start with the procurement of the necessary materials, the volume of which depends on the chosen size of the structure. Therefore, the first thing to decide: what material to apply and what size the structure will be.
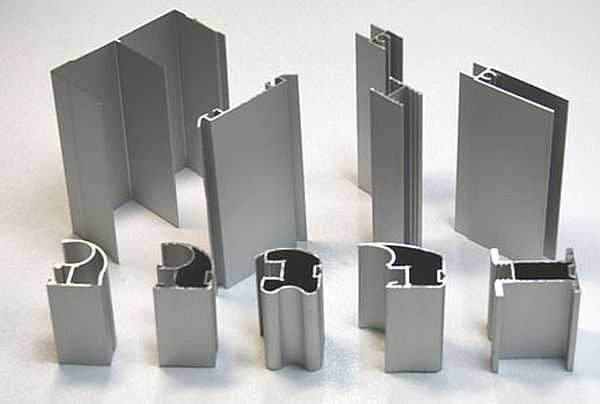
To create coupe furniture, the following materials are used:
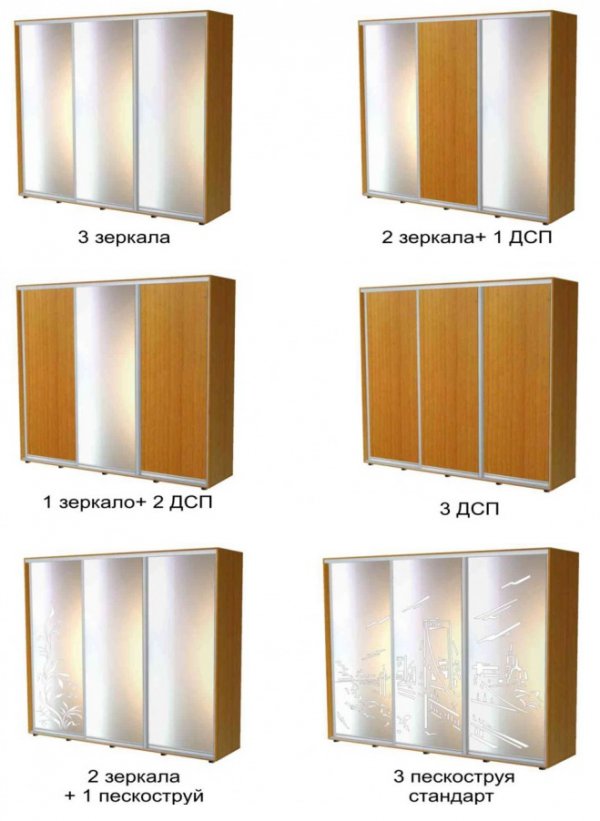
- Chipboard - refers to the category of common and affordable materials for the manufacture of doors for wardrobes. Particleboard is diverse in color, practical, easy to cut. If you decide to assemble a sliding door wardrobe with your own hands without experience in such matters, opt for chipboard;
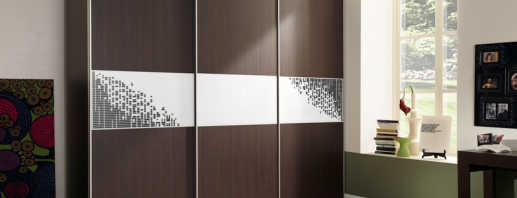
- MDF is more expensive than chipboard material, but it is characterized by higher performance characteristics. MDF is afraid of moisture, under the influence of which the film may lag behind the base, which will significantly worsen the appearance of the furniture. But overall, the closet 2 doors of MDF looks very decent;
- solid wood is a durable, incredibly beautiful, wear-resistant option. But it costs a lot, and only an experienced furniture master can work with natural wood. If you are a beginner, it is better to choose a simpler material to work with - chipboard or MDF.
The dimensions of a particular cabinet are selected for the room in which it is planned to be installed. Take a look around and take measurements to understand what length, width and height of the furniture will be most successful. The height of such furniture may vary.
| Dimensions | Values |
| Height | from 1500 to 2400 cm |
| Depth | from 60 to 85 cm |
| Width | from 1000 to 2500 cm |
Custom size models are made to order or independently. Experts insist that in small rooms, the closet must be made as tall as possible. This will accommodate the maximum number of things.
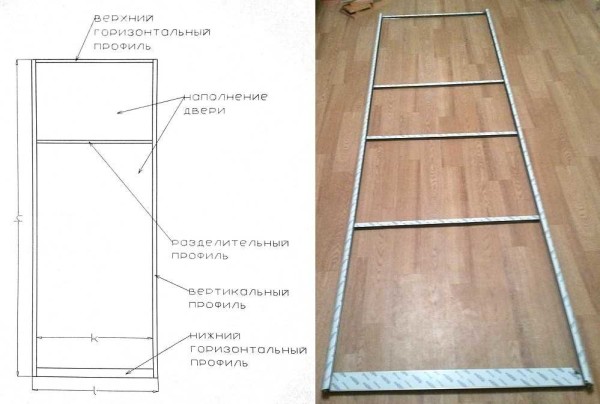
Drawing and detail
Today, sliding wardrobes are popular among residents of small-sized city apartments and owners of spacious country cottages, because they have high functionality, practicality, serve for a long time, without breaking, they retain their external attractiveness for a long time. You can enter such an interior item in almost any size, style room. And to spend the minimum amount of money on it, make furniture yourself. How to make doors for a sliding wardrobe and what will be required to start assembling the doors of a sliding wardrobe? Drawings and details of the future design indicating where this or that fastening will be performed will significantly speed up the work.

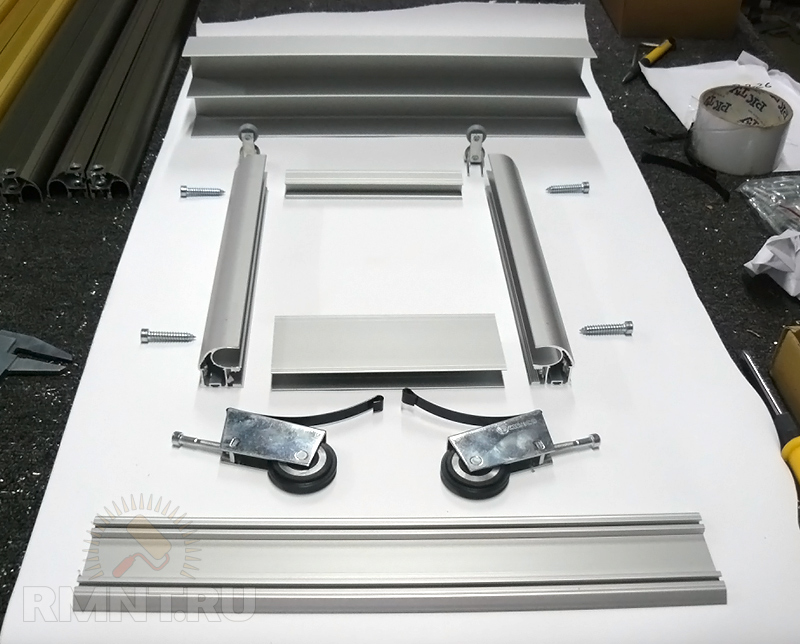
Parts preparation
To save money, many people are interested in whether it is possible to do without the help of experienced furniture makers and how to make the doors of a wardrobe with your own hands. To begin with, the preparation of the installed parts is carried out. After the most relevant material has been selected (particleboard, MDF or natural wood), the procurement of accessories has been completed, you can proceed to work. You will need to create a reliable frame from pre-prepared parts:
- two side walls;
- cap;
- bottom.
Inside the structure, shelves and storage systems will subsequently be mounted.
A sheet of selected material is cut using special equipment that cuts out the described details of the future cabinet with high accuracy. If there are no special tools for this, you can order cutting materials from professionals. After cutting, the details are processed, covered with end plates to give them greater aesthetics. Next, we will tell you how to assemble doors and get a full-fledged furniture item with a minimum of costs.
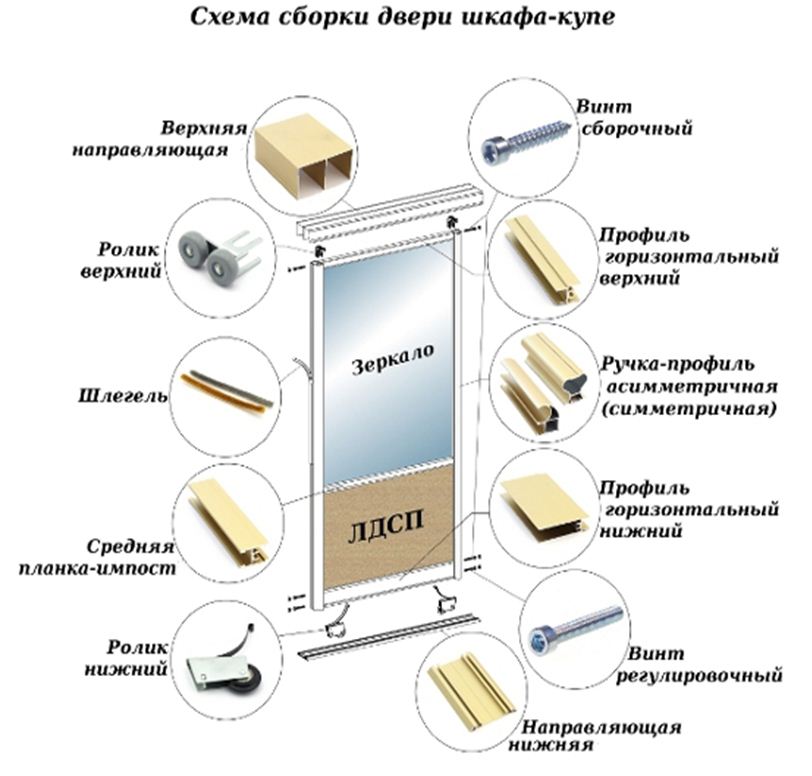
Assembly
When the details of the future design are prepared, assembly can begin. How to assemble a cabinet without errors? For this, a detailed assembly diagram of the assembly and installation of the shutters on the sliding wardrobe is created. Then, using a drill, you need to organize holes in the sides, roof and base. Its individual parts are connected into a single frame using special fasteners. To increase the maximum level of permissible load on the cabinet, the joints of the base and the top cover with the sidewalls of the structure are reinforced with special metal corners. The back of the furniture is covered with a thin sheet of chipboard, and supports are attached to the base.
It also requires pin holes in the side walls of the furniture. This is required for subsequent installation of shelves inside the product. If necessary, systems of storage of a certain kind of things are mounted inside the structure: vertical crossbars with hangers, peritoneum and the like. If the assembly phase is completed, proceed to the most difficult. It is the installation of doors that will be the most responsible process in all work.
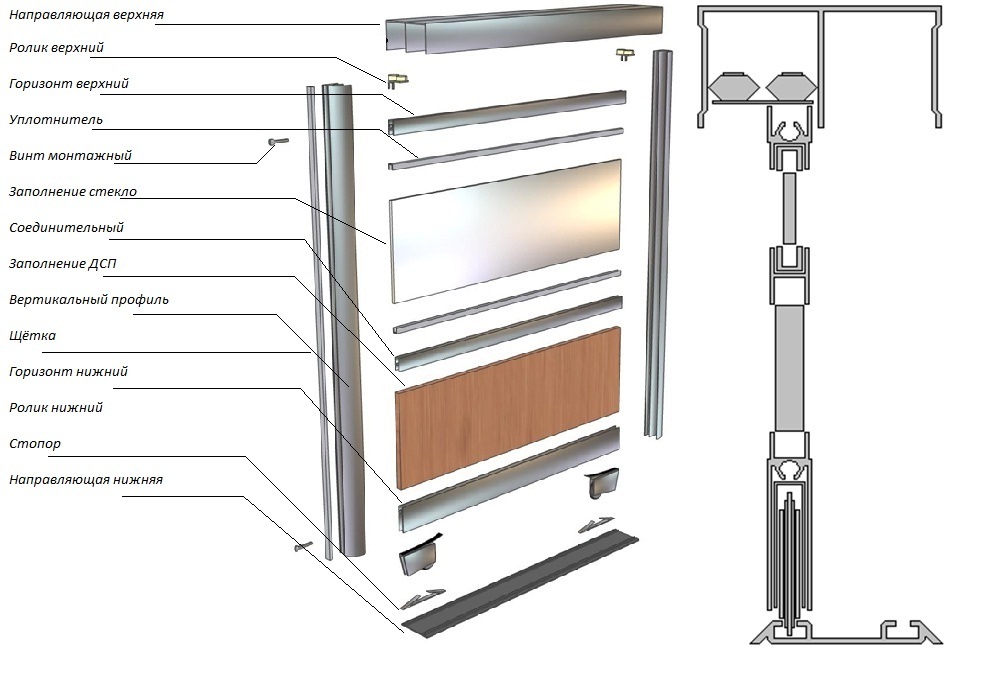
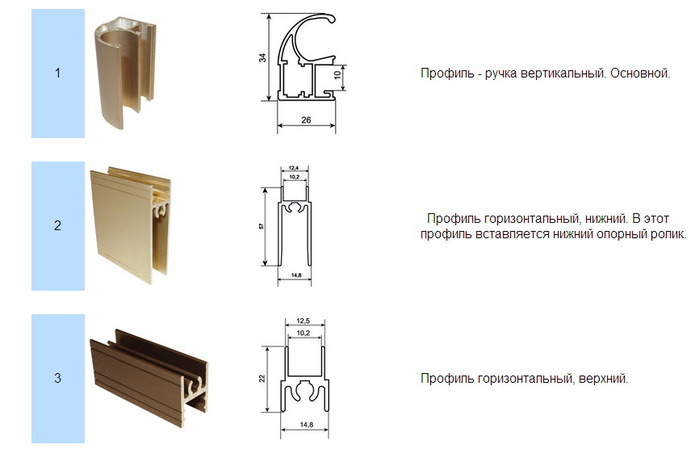
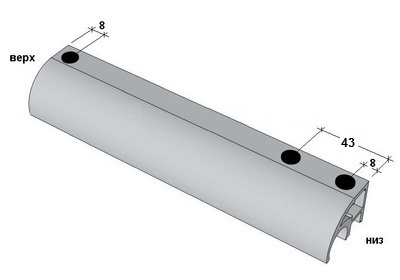
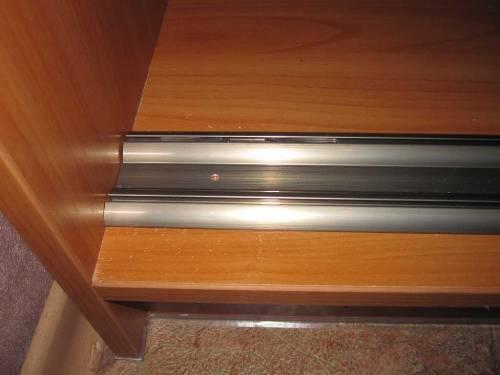
Installation of profiles and frames
If you have finished assembling the doors of the sliding wardrobe, you can proceed to the installation of profiles and structural frames along which the sliding sheets will move. However, a prerequisite is to set the door leaf exactly on the level, otherwise during subsequent operation of the sliding wardrobe there will be problems, and the level of comfort for the user will be low.
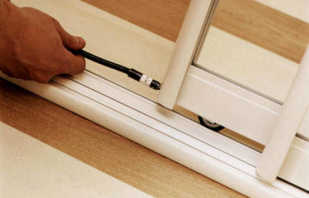
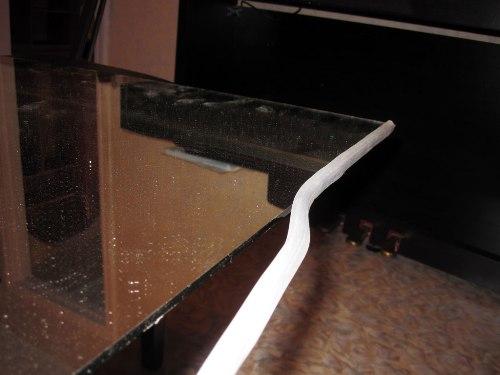
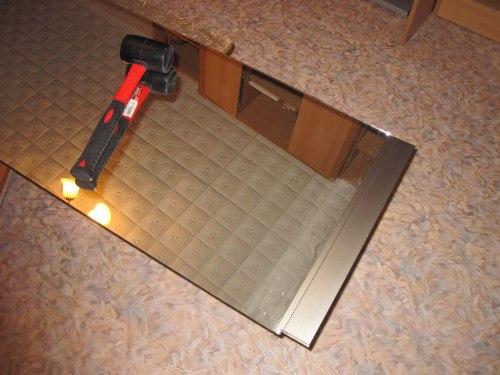
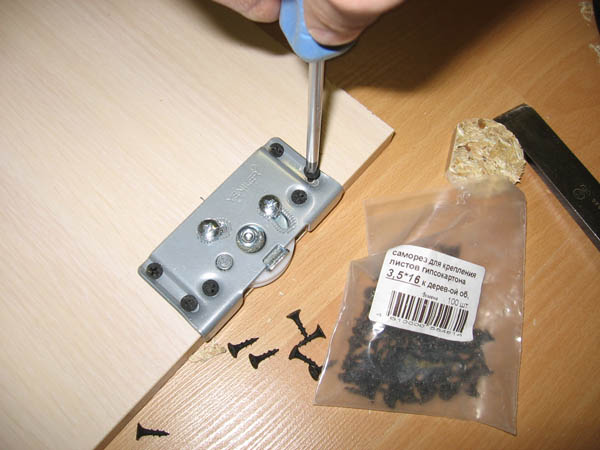
Having measured the length of the cabinet from the inside, using a hacksaw for metal, cut a profile of a similar size and fix it on the top and bottom cover with a screwdriver and self-tapping screws.
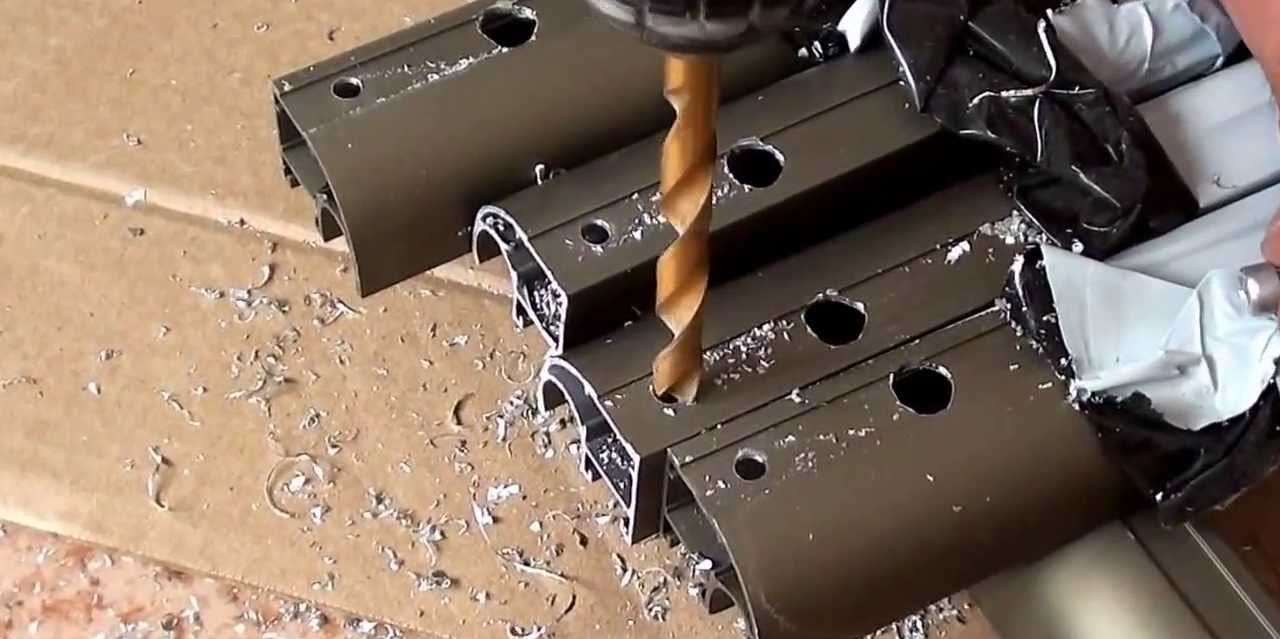
To prevent damage to the profiles, during the organization of holes, experts recommend using any convenient support. For example, you can use a table or chair for this purpose. And the holes made should be carefully sanded with sanding paper. The holes should be organized on the profile with a pitch of 50 mm, this rule should not be violated so that there are no problems during the operation of the structure in the future.
For reliable fixation of the lower profile, it is worth organizing similar holes for screws, but you should not rush to fasten the guide inside the structure. It is important to choose the place of its fastening. It is shifted into the cabinet by 20 mm, as the depth of the furniture will decrease by the width of the compartment doors. Sometimes it happens that the doors are set too deep. This spoils the appearance of the furniture, reduces its aesthetic qualities and comfort.
You will also need to mount the latches so that the doors stop in the closed position and a gap with a sidewall does not form. The stopper is installed in the groove of the lower rail. To mount the latch in the required place, the compartment doors are tightly closed, after which the center of the wheel is marked on the lower rail. A stopper is inserted here, which is easy to move with a flat screwdriver.
Door fastening
Next, we describe in detail how the installation of the door of the sliding door wardrobe is done by yourself. The procedure for the phased assembly of doors and correctly selected tools are largely determined by the type of door being manufactured and the specifics of its fasteners on the furniture body. It can be one of two models:
- hanging;
- rail.
Outboard
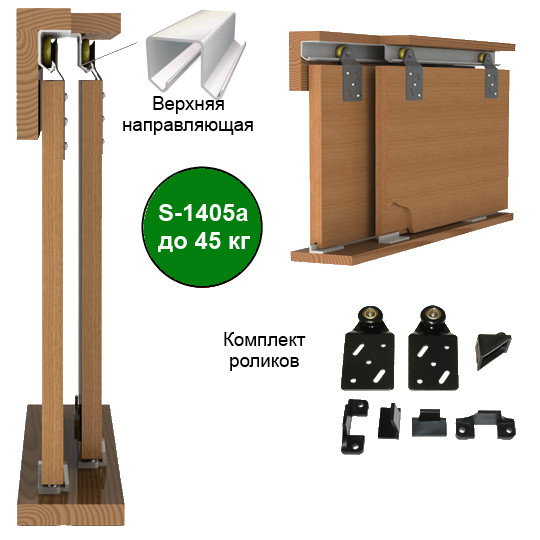
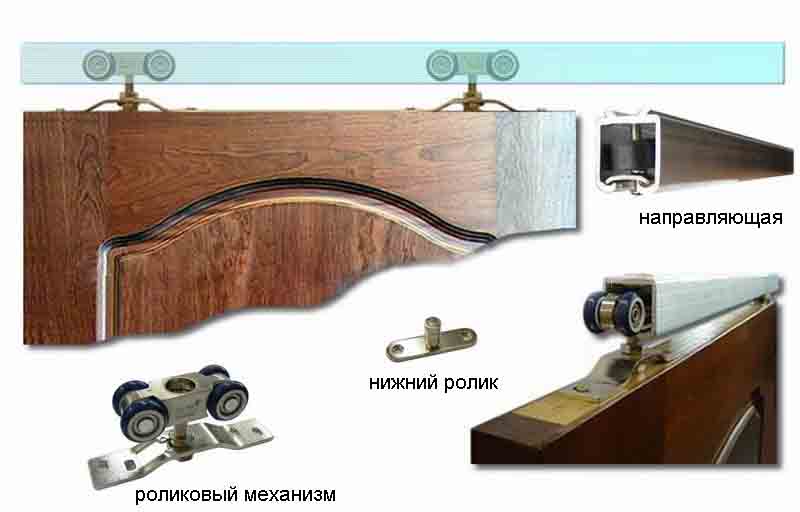
If you decide to make hinged doors, then do-it-yourself experts recommend installing doors on a sliding wardrobe with your own hands by studying the specifics of working with such systems. The 2-door cabinet with hanging canvases has a special compartment mechanism, which is not mounted inside the structure, but is superimposed on the facade. It consists of two guides, but the highest load falls on the upper rail. The hanging fastening of the sliding systems allows you to veil the ends and roofs of the side facades from the eyes behind the doors. As a result, the design after installing the cabinet doors looks incredibly concise, elegant, beautiful.
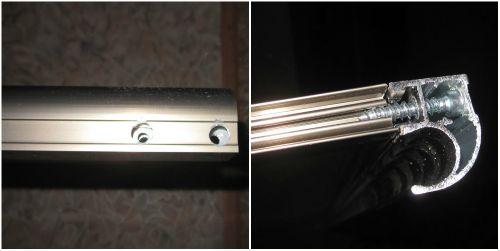
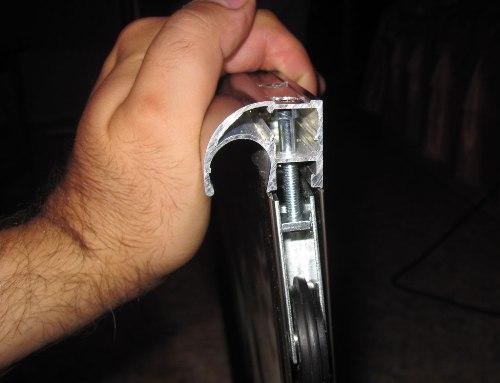
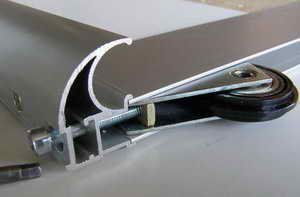
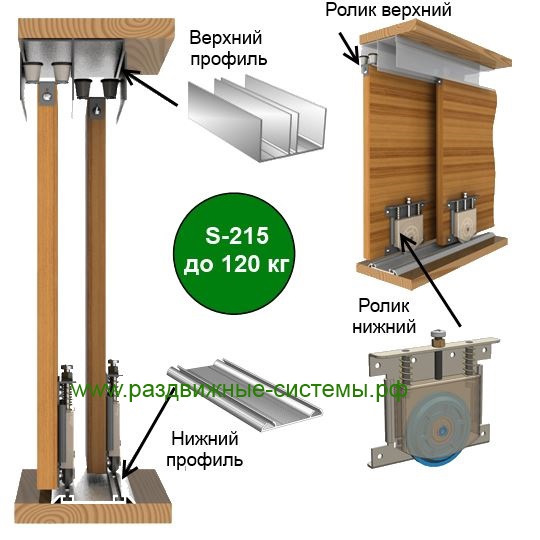
Rail
Do-it-yourself installation descriptions of rail structures differ from the descriptions of steps for suspended ones. The peculiarity is that the rails are mounted inside the cabinet frame. At the same time, the lower one should be hung a little with an offset inside the cabinet, since it will have the highest load.
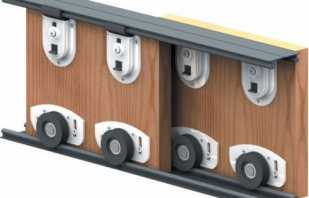
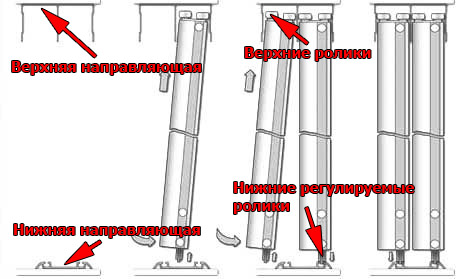
On the canvas you need to hang the rollers, with the help of which it will move in the rail. Next, the canvas must be very carefully inserted alternately into the pre-installed guides. To do this, bring the upper part of the door into the guides, after which we put the lower part of it.
To check the doors for perfect evenness of installation vertically, you should use the alcohol level. If you perform the work carefully, the need for adjustment at a later time will disappear.
Experts insist that rail doors on the cabinet should not be placed at an angle, as this can provoke a deformation of the profile. Whatever design you choose, do not forget that limiters are required. Such a part must be attached to the cabinet door.
The video contains instructions for the phased execution of work by an experienced master, who will once again demonstrate how to put the doors on the closet. After reviewing it, you will know exactly how to install the compartment door, and the instructions with the photo will help facilitate this process.
Video