Assembly instructions for sliding wardrobes, stages of work
Self-assembly of furniture helps to significantly save money. It is good if a person has simple skills in assembling objects. It will be useful for beginners to learn how to assemble a sliding wardrobe independently. Step-by-step installation of each product element will allow for quick installation.
Content
Tools and materials
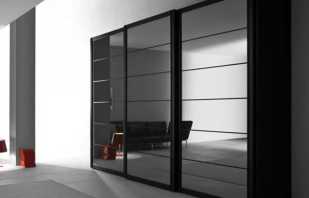
Among all types of products for storing clothes, the leading place today is occupied by the wardrobe. It is multifunctional, roomy, is available in various shapes and sizes, and also does not require additional space for opening doors. That is why most people when choosing between a wardrobe and a wardrobe prefer the latter option.
Assembling a sliding door wardrobe with your own hands on the video presented is quite simple - for this it is enough to have the necessary tools in the apartment and be familiar with the design of the product. Often when ordering a cabinet without the services of assemblers, companies send a document in which there is a drawing of the product. It also lists all the component parts that are numbered in order. Looking at the picture and comparing the elements of the cabinet, you can intuitively assemble the product.
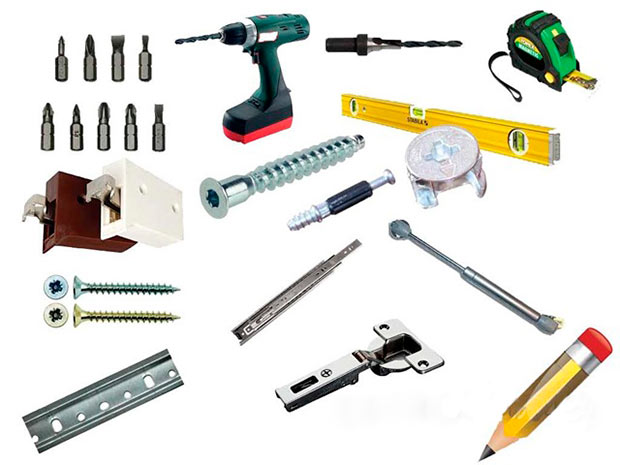
To work according to the assembly scheme of the sliding wardrobe, the following tools will be required:
- construction level - to check the evenness of the installation parallel to the floor;
- corner;
- rubber and ordinary hammer;
- straight and Phillips screwdriver;
- roulette;
- pencil and ruler;
- screwdriver;
- drill for wood - to make holes;
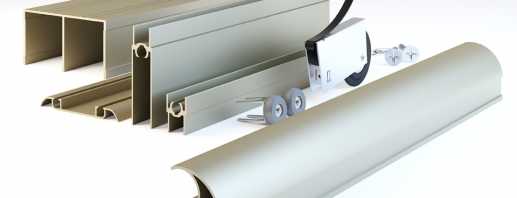
- metal drill - for installing an aluminum base.
Of the additional tools for assembling furniture yourself, a jigsaw, drill and sandpaper can come in handy. It is also necessary to prepare all the details of the cabinet, and this means - check the scheme for matching the number of items. Pay attention to accessories and mechanisms: if there are drawers in the cabinet, ball guides should be included.
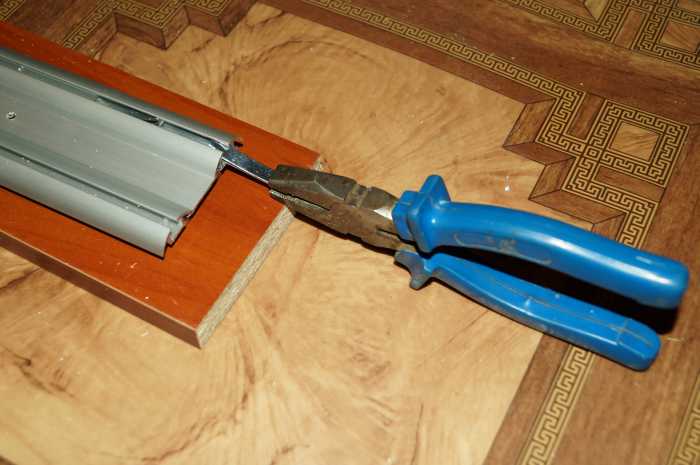
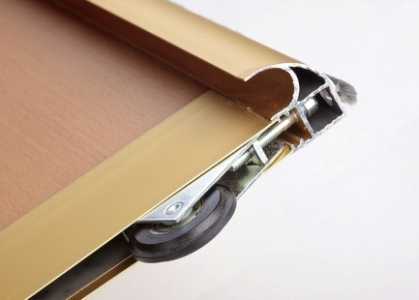
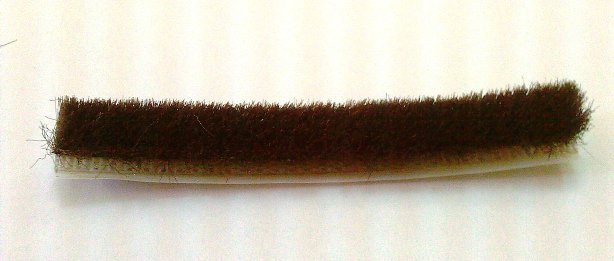
Doors for the product are often delivered ready-made. They have pre-installed rollers and a strip of soft material. It is necessary to mount the door in the final phase.
Assembly steps
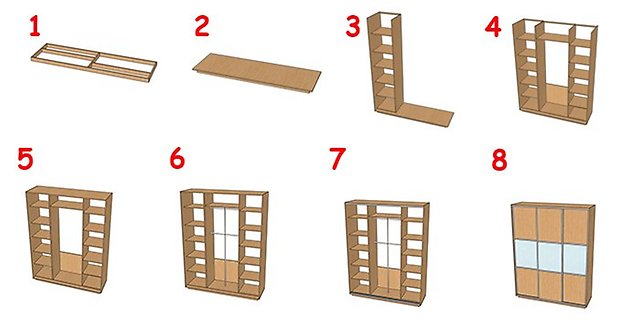
To know where to start work, it is worth familiarizing yourself with its stages. Most closets are assembled according to the following algorithm:
- basement;
- housing;
- installation of the back wall;
- installation of shelves and rails;
- installation of compartment doors.
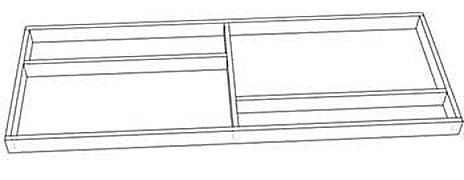
After the completed steps, the implementation of internal additional elements is carried out. These include pull-out baskets, drawers, rods, hanging hooks and pantographs. Consider installing each cabinet element separately.
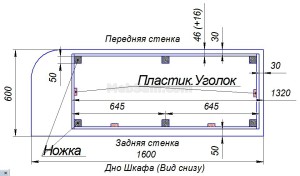
Cap
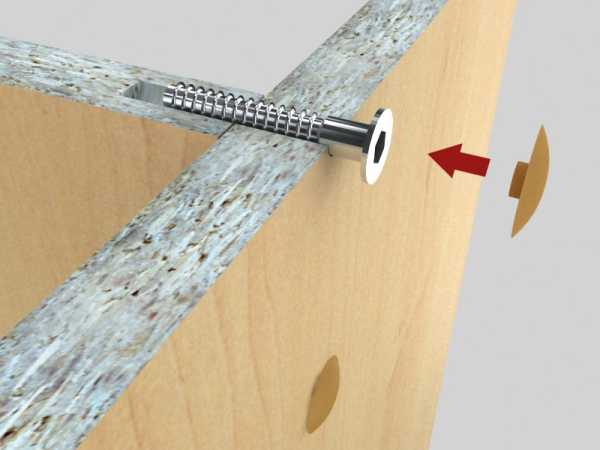
The assembly of sliding door wardrobes, the video of which is presented below, starts from the bottom, which accounts for the entire load during operation. We find the part that will perform this function, and put it in front of us. In order for the process to go correctly, we use such tools as screwdrivers or a screwdriver, a hexagon, a pencil and a tape measure for marking. Also check for the presence of self-tapping screws and special camouflage plugs.
The action algorithm looks like this:
- on the details for the bottom there is a place for installing the base;
- sometimes instead of basement planks, adjustable legs are used, a place for which also needs to be outlined;
- drill holes for fasteners;
- we attach the bottom to the slats with the help of confirmations (corners) - for this, self-tapping screws and a screwdriver are used;
- We collect the transverse supports of the base, designed for stability.
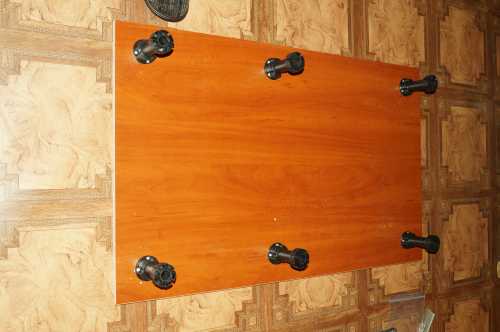
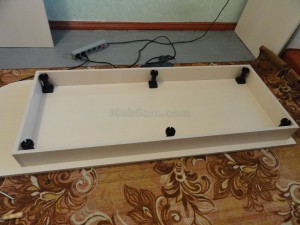
Some products, such as the Phoenix coupe models, require installation with adjustable legs. It is simple to do: plastic plugs are cut with a knife, and the legs themselves are screwed into the holes 10 mm in diameter prepared at the bottom.
Depending on the size of the assembled closet, the number of legs will be adjustable. So, for large planes, more than 6 support elements are required.
Housing
Before disassembling and assembling sliding wardrobes from scratch, it is important to familiarize yourself with the general structure of the existing product. Carefully study the circuit, because the assembly of the case should ensure the safe operation of the cabinet. From how securely it is installed, the stability of the internal elements will matter.
In order for the furniture assembly to be accurate, you should additionally check the floor surface for evenness. Use the construction level: if there are differences on the floor - tighten the adjustable legs. Only then assemble the product box.
To qualitatively carry out the installation of the housing, follow these steps:
- it is better to assemble the product while standing, because in a lying position it is very difficult to mount a perfectly fitted cabinet. But it is important to remember that for complete assembly it is necessary to leave at least 100 mm for roof mounting;
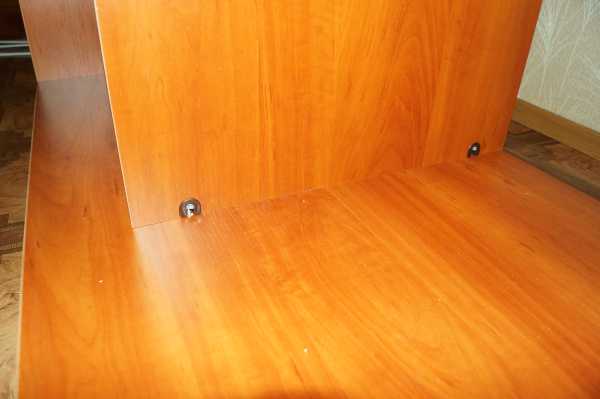
- in the part that is responsible for the bottom, you must first drill several holes and insert the anchor. Racking strips will be mounted on installed fasteners;
- installation of stand panels is carried out by two: in order not to get confused, you can view the assembly instructions for the sliding wardrobe presented in the video material. First, the left sidewall is inserted, one person holds it, while the second inserts the right sidewall;
- at the next stage, the average stand, if it is present, is mounted. After its installation, the roof is installed. If the cabinet is assembled in a standing position, then this part will be fixed correctly to corners or confirmations.
It’s a little more difficult to assemble a wardrobe of the maestro’s model, which has many functions. Its installation is carried out slowly, preferably by several people.
Rear wall installation
To assemble the compartment yourself, in particular, attach the back wall of the product, you must correctly select the consumables - fasteners. Often, assemblers use improperly selected consumables, which is why over time the panel from the fiberboard departs from the furniture product. In Soviet times, the hardboard on the back wall was collected using nails, which is undesirable today.
For greater reliability, fasten the fiberboard wall to the cabinet using self-tapping screws. This is how the product will not be damaged during operation.
When assembling furniture for yourself, it is important to make a high-quality assembly of the sliding door wardrobe with your own hands: the video, which is presented below, clearly shows all the complex nuances. Perform the following manipulations:
- get the hardboard panel behind the cabinet;
- holding the sheet with your hands, use short self-tapping screws and screw them at a distance of 10-20 cm with a screwdriver or screwdriver.
If the cabinet has several rear walls at once, they must be butt-mounted. Use special tightening fasteners, and then screw the screws on the back of the middle bar.
Mounting shelves and rails
So that you do not have to disassemble the product and redo your work, check the reliability and stability of the frame, and then proceed with filling with internal elements: shelves, rods, drawers and guides. It is possible to engage in self-assembly of a sliding wardrobe according to the video, which is at the bottom of the article. It visually provides information about all the important points of the process.
You should pay attention to such nuances:
- shelf fastening can be done with the help of corners and screws. For this, drilled holes already exist on the parts themselves. First we note the distance between the shelves and fasten them to the sidewalls and the central pillar;
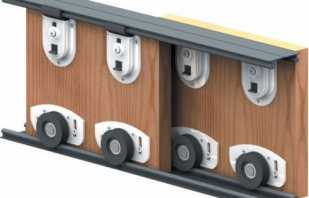
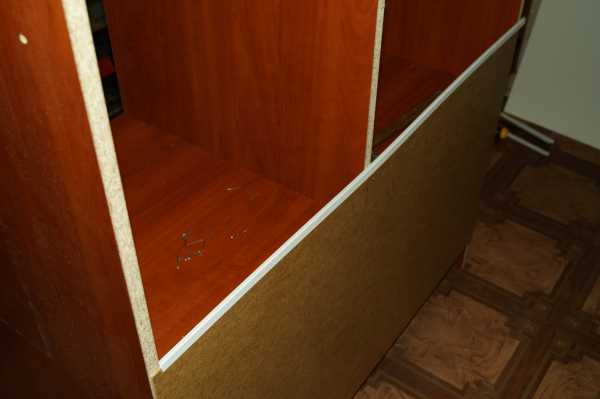
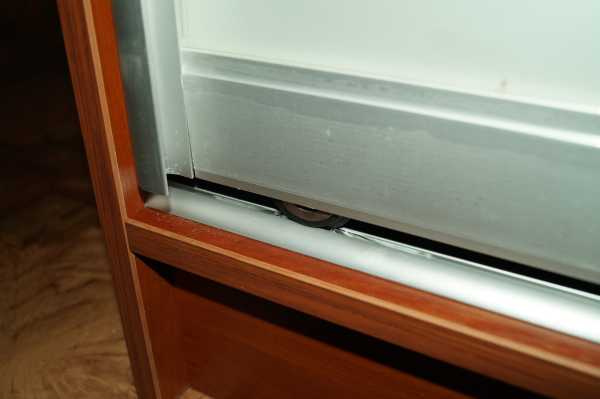
- First, the upper rails for the doors are installed, after which the lower rails are mounted. It is worth emphasizing that the installation of these elements should be carried out strictly in a straight line - the correct course of the doors will depend on this;
- the rod is mounted on special flanges that come with it. If necessary, the length of the pipe is filed with a hacksaw for metal. If the fortune model cabinet is being assembled, it is worth paying attention to a large number of elements and not to confuse them;
- drawers and drawers are inserted into the product after attaching the mechanisms for their operation.
Before you mount the internal filling yourself, check the availability of all accessories and consumables.

Door installation
Installation of coupé doors is considered the final stage of work. A correctly assembled cabinet assumes that the upper rails are fixed to the level with the front edge of the sidewalls, and the lower rails slightly deviate from them by 8-15 mm.
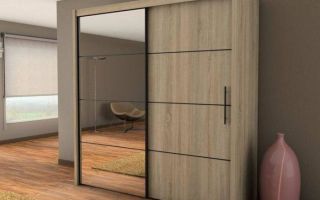
Answering the question of how to assemble a sliding wardrobe with your own hands, an important place is given to the installation of doors. First, the sash that will walk along the rear rail is installed. Please note that a mirrored door has a high cost and will be unpleasant if it falls out due to an illiterate installation.
The end is the installation of stoppers for the door, which do not allow it to jump off the sliding system. Dismantling of a sliding wardrobe is possible if moving or transportation of furniture is planned. Then the wardrobe is dismantled: you can disassemble and assemble the product according to the instructions specified in the article.
Video