How to assemble a corner cabinet, expert advice

The main distinguishing feature of corner cabinets is functional capacity and space saving. A process such as assembling a corner cabinet can be carried out independently at home. In order to perform the job correctly, it is worth familiarizing yourself with its main nuances.
Content
Features of angular construction
Angular type constructions are usually installed in rooms of non-standard dimensions or with a small area. Such furniture is designed to provide comfort and add originality to the interior. Corner cabinets have design features, among which there are pros and cons.
In order to independently mount this cabinet without assemblers, it is necessary to highlight the features of the products:
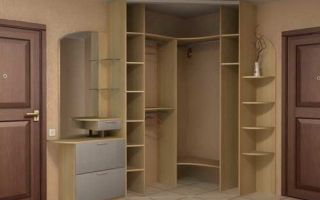
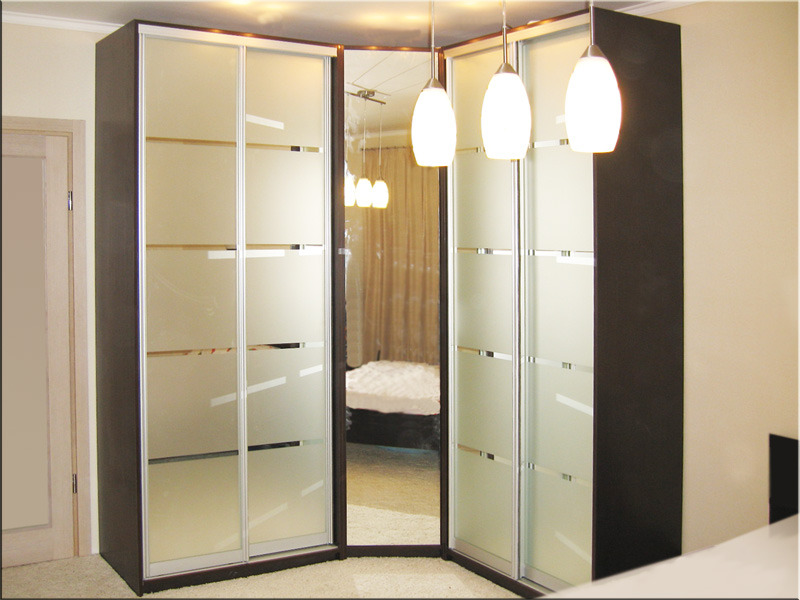
- the cabinet has 4 walls, unlike standard models: 2 of them are adjacent to the wall, others serve as side support strips of the housing;
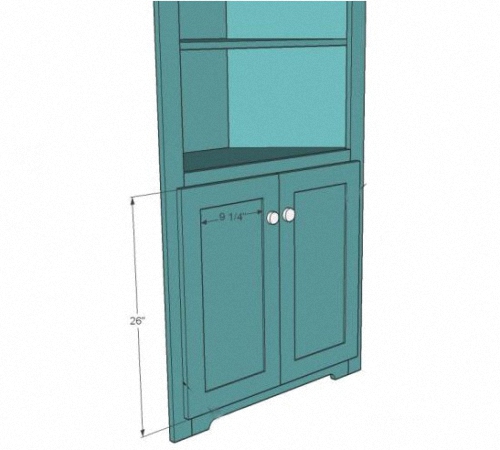
- the dimensions must be accurate - before choosing a model in the room, it is necessary to reliably measure all indicators: depth, height, width of the cabinet;
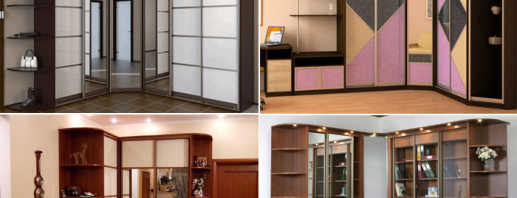
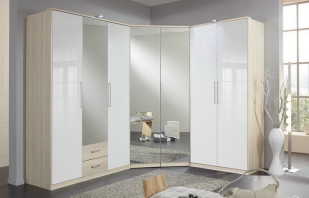
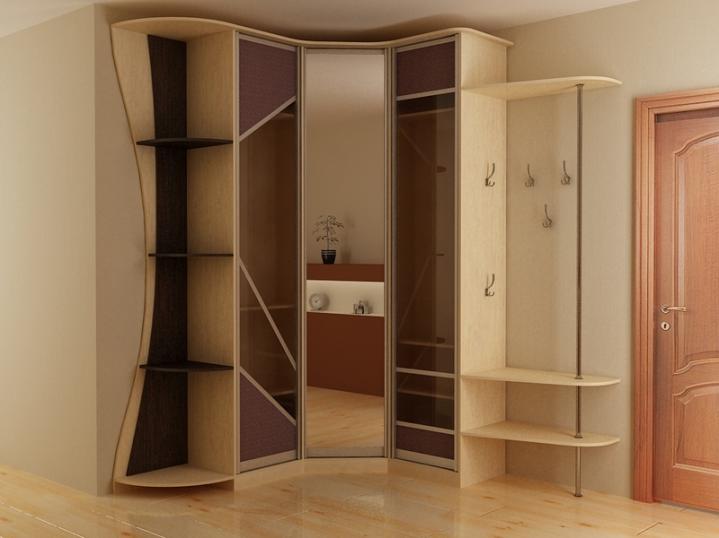
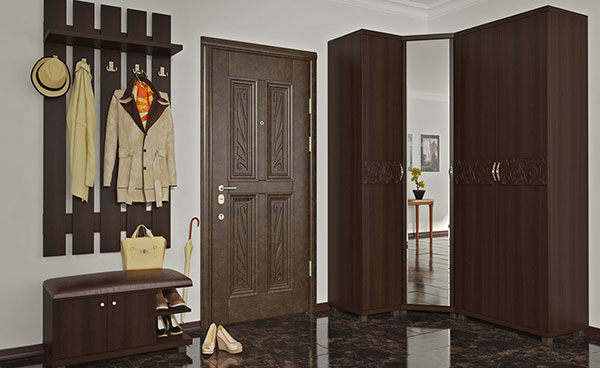
- models can have various forms: g-shaped, five-walled, triangular and trapezoidal;
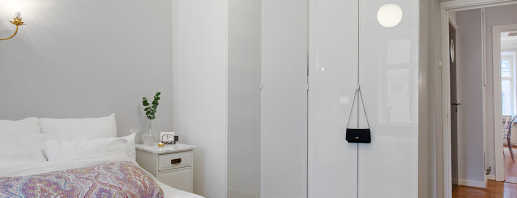
- the cabinet of angular type is completed with oar or sliding doors.
For self-assembly, it is better to purchase models of corner structures with swing wings. They sit on the hinges and screwed to the body.
Each product usually comes with installation instructions: some companies insist on calling assemblers and do not complete models with circuits. In this case, it is necessary to remind the seller at the time of purchase.

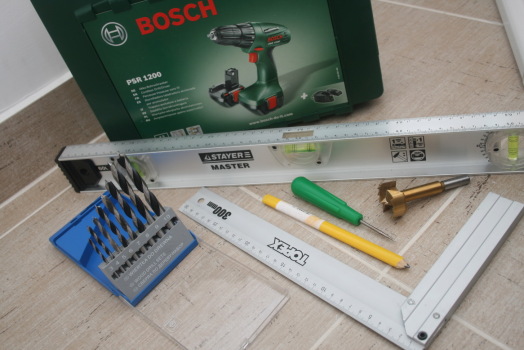
Materials and Tools
The life of the cabinet depends on the raw material the cabinet will be made of. Today, materials can be divided into 2 groups:
- natural wood;
- Particleboard or MDF.
Materials of natural origin look elegant, but have a high cost. Externally, such options for cabinets are made in an elegant style reminiscent of retro. Chipboard products are slightly inferior in quality, but have a rich color palette. Assembly of the structure from laminated chipboard will be easier.
Self-assembly of the product requires the following tools:
- puncher or drill - for drilling holes in the material;
- screwdriver - for tightening self-tapping screws, fasteners when installing shelves and other filling;
- a set of hex wrenches - for untwisting and tightening nuts, bolts;
- hammer - for hammering nails;
- screwdriver - often needed to screw the screw deeper;
- a hacksaw will be needed to cut off unnecessary centimeters of material.
The phased assembly of the product is presented in the video below - after viewing it, you can easily mount the cabinet in a few hours. The specified tools can be found at each owner.
Assembly
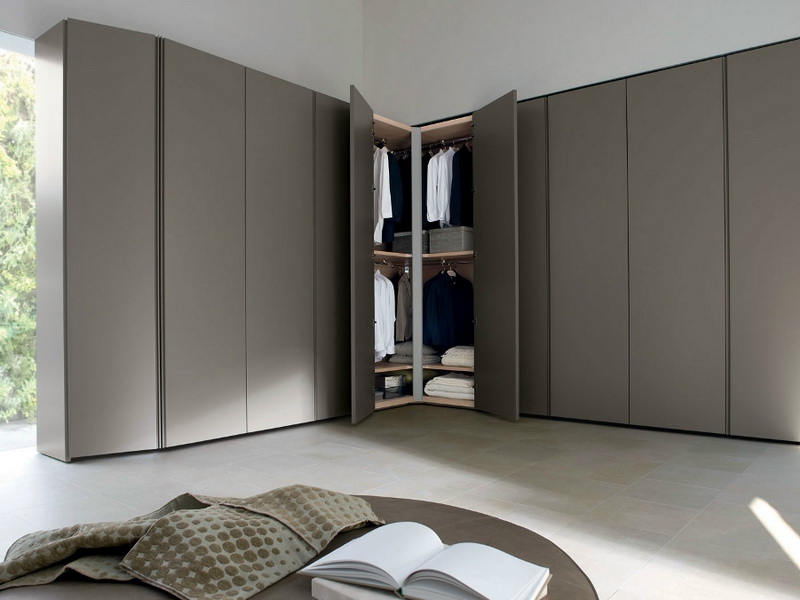
The corner cabinet allows not only filling an empty corner in the room, but also effectively using non-working areas near other furniture. Depending on the type of construction, it can be adjacent to another closet made as a compartment.
If, when assembling the hinged corner cabinet with your own hands, there are concerns that the compartment door, which is adjacent to the side, will hit the product, put the stops on the doors. They will not allow the device to become unusable.
Before assembling the corner cabinet yourself, it is recommended that you familiarize yourself with the assembly diagram. The algorithm of work, its features are presented below:
- unpack the product; cardboard should not be thrown away from the packaging. It must be spread on the floor and laid out on it all the details;
- familiarize yourself with the standard diagrams and drawings of the cabinet to understand what elements it consists of;
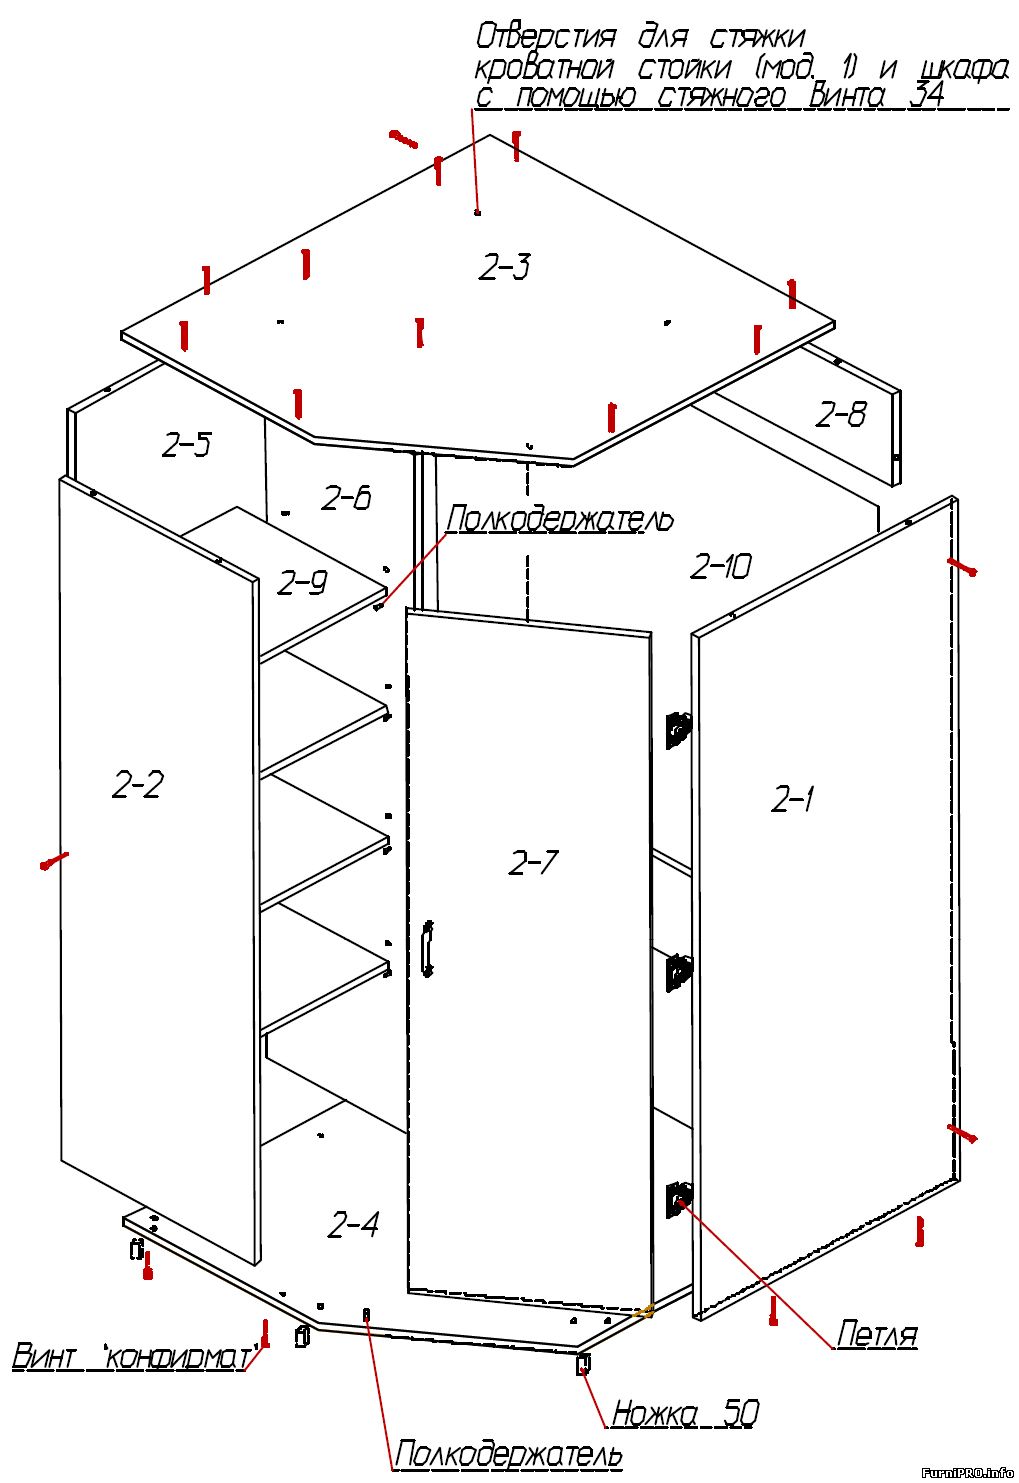
- check the complete set of panels The standard cabinet of angular design contains the left and right side, rear hardboard and panel, shelves, top, bottom. Pay attention to the internal elements: rods, drawers;
- Initially, large large parts are assembled, after which we assemble smaller parts. Mount the base and the bottom, then assemble the side panels and install the cabinet roof. Next, proceed with fastening the shelves - they will additionally hold the frame. At the end, the assembled product is hammered with hardboard from the back;
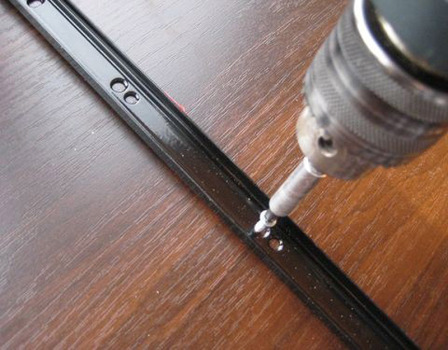
- the final step will be the installation of the door. If it is a sliding system, rails are mounted on the roof and bottom. If the cabinet is hinged - hinges are attached to the walls where the doors are hung.
At the end of the assembly, the appearance of the product is improved. To do this, close all visible screws with special plugs in the color of the material. For installation of directing boxes and drawers, and also rods - use a building level. It will help to achieve an even arrangement of filling elements.
Installation
Often the assembly of the product by assemblers takes place on the floor. After work, they gradually raise the cabinet and fit it into the corner. It is inconvenient to assemble the corner structure on the floor. It is better to carry out the process directly at the installation site. Well, if the assembly will be attended by 2 people - so the work will go faster.
In the case of a built-in corner cabinet, where there are no rear slats and hardboard, the model is assembled directly near the wall. To do this, the side parts are attached to the wall with reinforced hinges. In addition, fixing is carried out to the floor and ceiling, if the product does not have a roof.
The assembly instruction for the semi-built-in corner cabinet does not differ from the standard scheme. After installing the side supports, the shelves and other internal direction are mounted. Installation of doors of any type is carried out strictly after the product is assembled in an upright position.At the end of the assembly, it is necessary to adjust the door. If it is a sliding system, the adjustment takes place in the area of the guides.
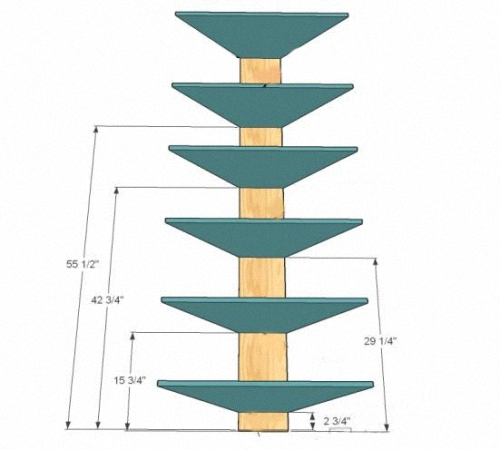
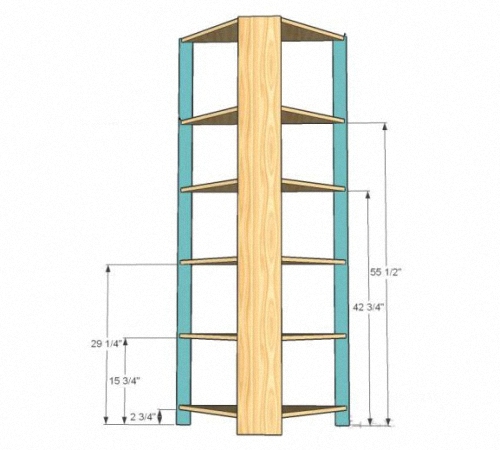
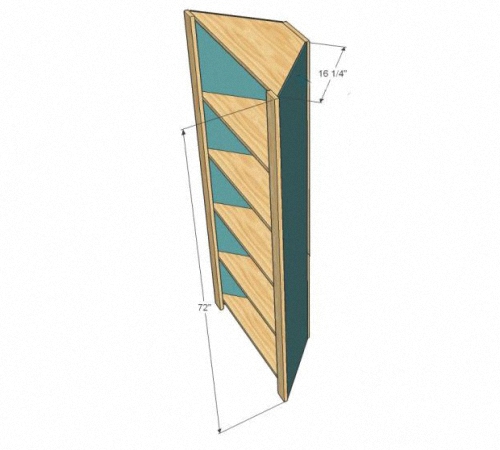
Drawings and schemes
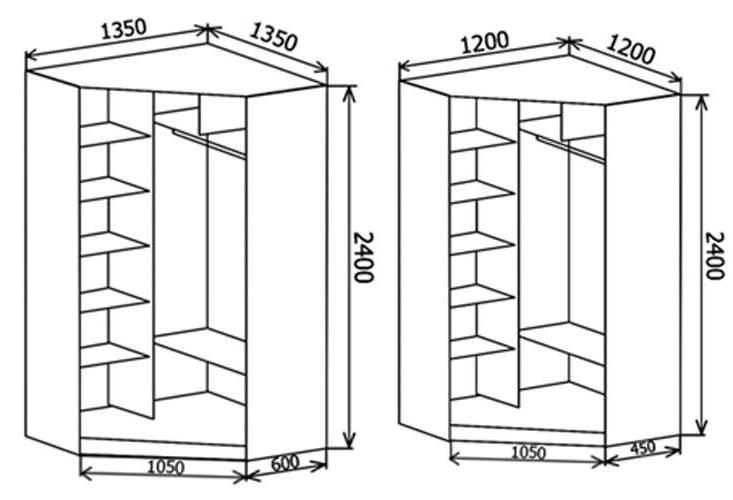
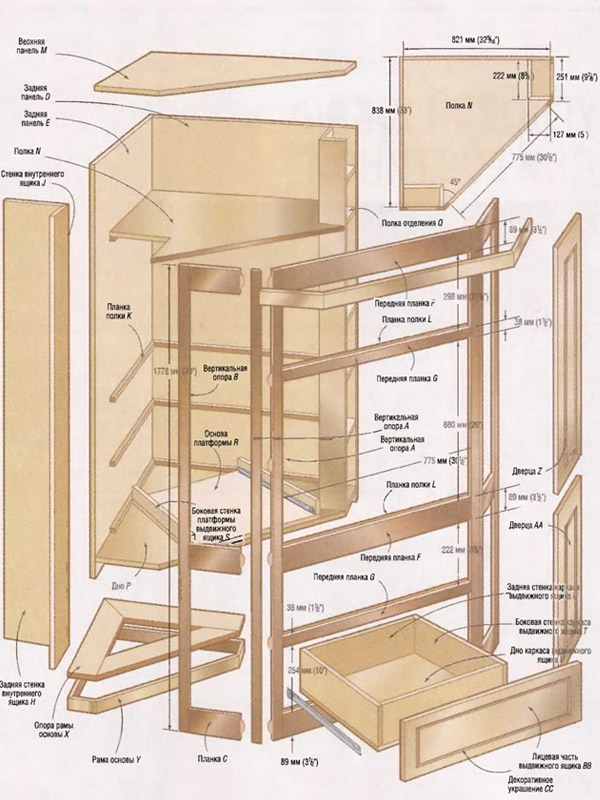
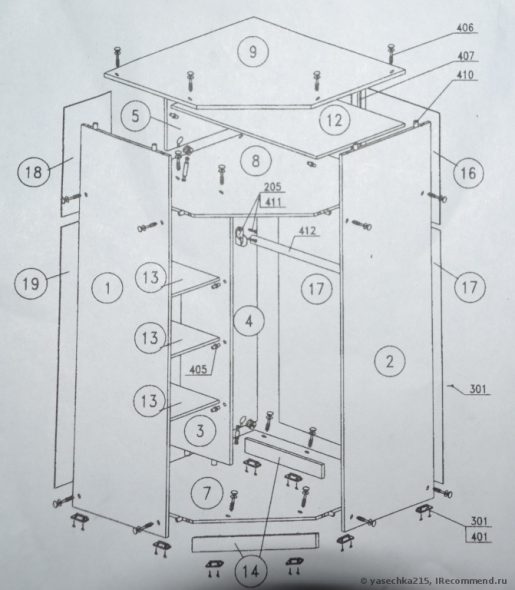
The diagram of the angular design of the cabinet is usually presented in several versions:
- view from above;
- view from the side of the facades;
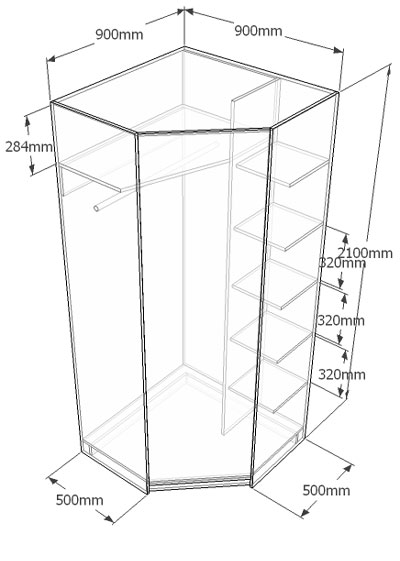
- type of internal filling.
Such drawings allow you to independently assemble the product. In this case, step-by-step instructions usually come with the materials. In the diagram above, the manufacturer indicates the dimensions of the cabinet depth; its bending angle is often 45 degrees. The dimensions of the width of the doors are also visible from above.
In the figure of the facades, the height and width of the flaps, as well as the attachment points of the fittings are indicated. The drawing with internal filling allows you to see the installation diagram of shelves and other elements. If difficulties arise during the assembly process, and the cabinet has non-standard indicators - it is better to entrust the matter to professionals. They will be able to assemble the product in a few hours.
Video