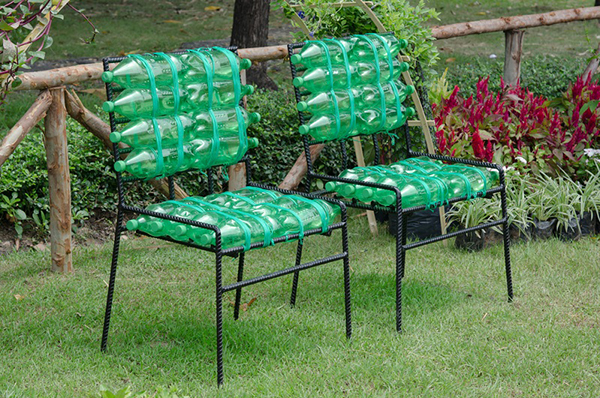
DIY assembly of chairs from plastic bottles, stages of work
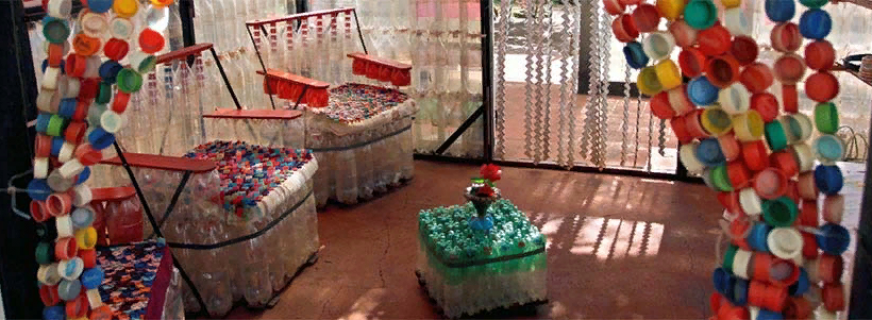
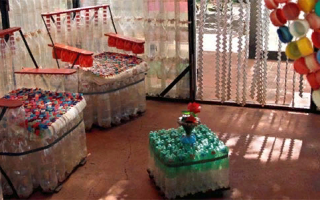
Furniture made from plastic bottles is increasingly being installed in garden houses and cottages. Many people are happy to place non-standard models in city apartments: in children's rooms, on loggias and even in living rooms, made in the style of extravagant Art Nouveau. The demand for such furniture is determined by the low cost and ease of manufacture, for example, an armchair made of plastic bottles with your own hands can be built in one evening. In terms of functionality, the product will not differ from that purchased in the store. And if its appearance seems too ugly, you can always cover the chair with a beautiful cover or drag upholstery.
Content
Design selection
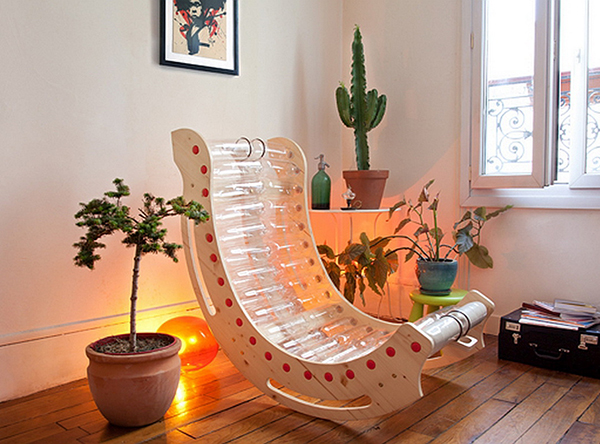
To start making furniture from bottles should be to determine the appropriate design. The chair can be built like a classic model with armrests and a back, in the form of a rocking chair, or you can choose an original shape for it. The first option is the most popular, since it is the easiest to make such furniture. Depending on the size you want, 90 to 250 empty bottles may be needed.
At the initial stage, it is useful to draw up a small project, outline a schematic drawing, it should take into account the amount of free space that can be used for furniture, as well as the types of structures that will be convenient to place here.
Enterprising craftsmen came up with several ways to make chairs from plastic bottles. You can build a product from vertically mounted elements - with proper execution, such a model looks quite respectable. You can also combine plastic containers with wood or wire, upholstered with foam rubber and covered with fabric. Combined options are good for high-tech interiors. Soft types of furniture will appeal to lovers of comfort and coziness.

Materials and Tools
Making a regular chair is a long and time-consuming process, in addition, costly in finance. It is necessary to cut parts from wood or plywood and assemble them, which requires at least an electric jigsaw, carpentry glue, nails, a hammer, self-tapping screws, screws. To independently make a simple chair from plastic containers, you will need to stock up on the minimum amount of necessary materials, most of which are literally at hand:
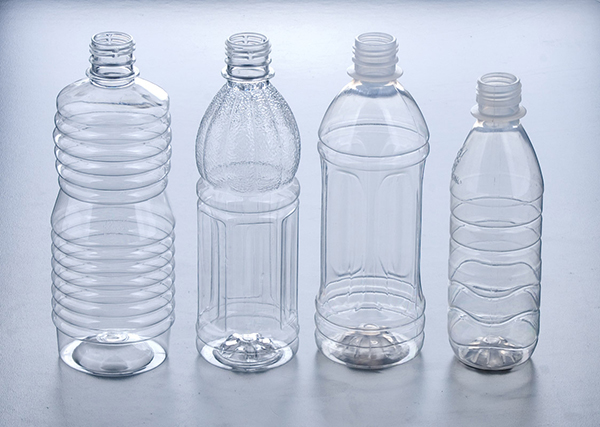
- directly bottles of the same color, design and size (from 90 to 200 pieces, depending on the desired dimensions of the finished product);
- strong adhesive tape, food or stretch film;
- knife and scissors;
- fabric for creating covers;
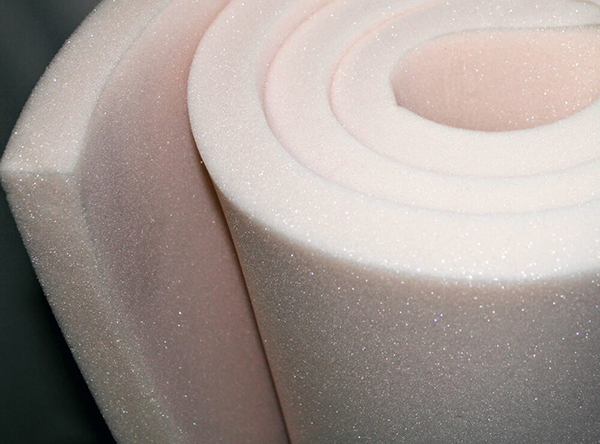
- foam rubber for softness;
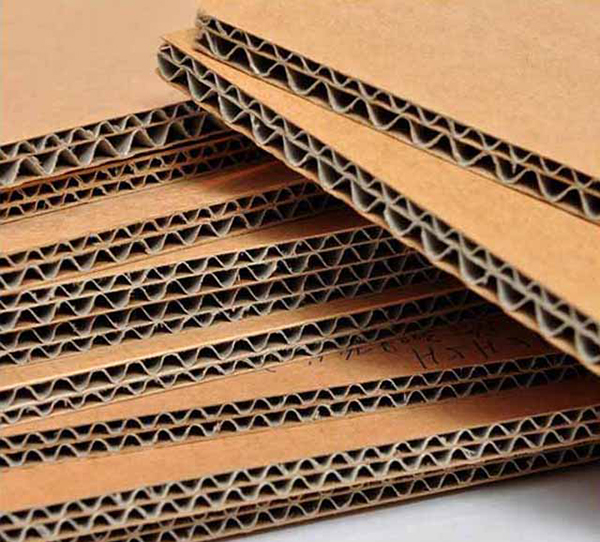
- cardboard sheets and wire for the frame (if necessary).
All of the above materials and tools are designed to make a simple chair. A variety of additional elements may be required depending on the design of the intended product. For example, for the manufacture of the body of the rocking chair, you will need parts cut from chipboard or fiberboard.
Manufacturing steps
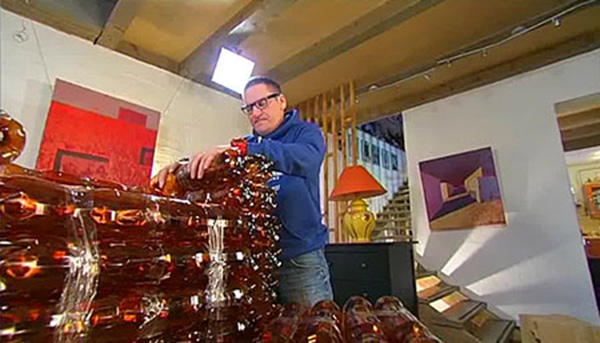
Having decided on the desired type of furniture, you can proceed to its manufacture. It is necessary to calculate the required number of bottles in advance and prepare them. Some fans of recycling things collect the main material gradually. After waiting for a certain amount of empty containers to be filled, they combine the bottles into a block. The resulting modules are stored in a suitable place - a garage, closet, basement. After a sufficient number of plastic bottles have been collected, they proceed to form furniture directly.
Creating a drawing and preparatory work
When preparing the drawing, it is desirable to evaluate as accurately as possible the place that the manufactured piece of furniture will occupy. So it will turn out to correctly determine the height of the chair and its width, seat depth, the size of the armrests. Then compare the dimensions obtained with the dimensions of the materials available. In this case, it is necessary to take into account the thickness of the auxiliary elements - adhesive tape, film, covers. After creating a frame made of plastic, the structure is supplemented with soft foam, the stiffness of the seat is given through the use of plywood or chipboard, furniture is decorated with fabric, however, this does not significantly affect the occupied space.
To make a chair, you will need to create several sketches that scale out the desired piece of furniture in different angles. The drawing can be done schematically. Having previously designated the length, width, height of all the elements and having applied these parameters to the drawings, it is possible to calculate how much material will be needed to put the idea into practice. When making a chair, you need to periodically (after creating each individual element) check the drawing.
In preparation for work, all plastic must be washed, cleaned of stickers and dried naturally.
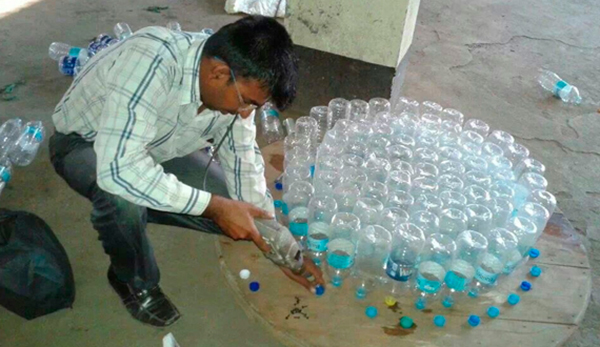
Making blocks from bottles
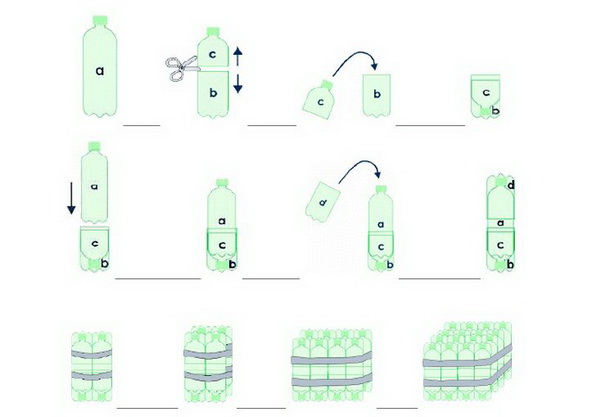
Once all the necessary materials for the manufacture of the chair are collected, the preparatory work is completed, you can proceed to the first stage. To make the blocks, which then make up the frame, you will need several bottles and scotch tape. Step by step the whole procedure looks like this:
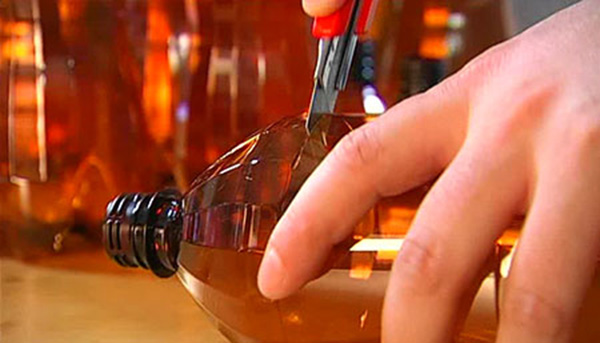
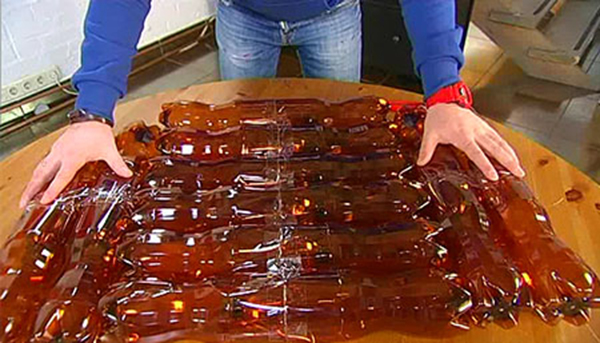
- Two-thirds of all plastic bottles need to be cut in half. The part on which there is a neck is directed with the lid down and inserted into the other half with a bottom. Then a whole bottle is installed in the resulting structure, on the top of which it is necessary to put on the lower part of another cut tank. The neck from the second bottle goes to waste. The result is a pretty hard plastic element that resembles a loaf.
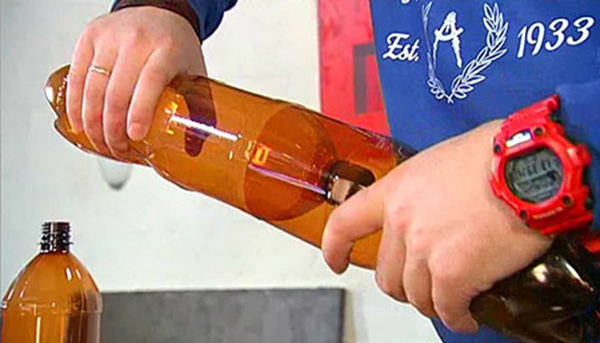
- Having made a sufficient (according to calculations) number of such blanks, they should be combined into a single module using adhesive tape. For better stability, all bottles should be placed with their neck down.
- Wrap the construction with adhesive film as tight as possible. Thus, it will be possible to obtain an element that does not deform during subsequent operation.
At the end of the work, several finished blocks should turn out: a base, two armrests, a back. At this stage, it is necessary to measure all parts of the future chair and check with the parameters reflected in the drawing. In the event that some parts are smaller or larger, the block structure is unwound, adjustments are made, and everything is assembled again.


Assembly
You need to start assembling the chair from the bottles with the installation of blocks in the form of a rectangle or square on the floor.Referring to the scheme, it is necessary to fasten them with a wire. Thus, the foundation of the future product will be obtained. The same blocks should be laid on top of it, but they should be placed across. If necessary, assembly in several rows, you can stack the elements in a checkerboard pattern. Next, you need to raise the rows to the height at which the seat is supposed to be made.
At the corners of the base, it is recommended to add “risers” with a height of one or two bottles to give the structure a strength. They are formed from rounded blocks with a thickness of 10-12 elements. To fasten all the modules used tape or cling film. The same round blocks are used to design the armrests. The back is created last - it can be made round or square, if desired.

Upholstery and soft seat
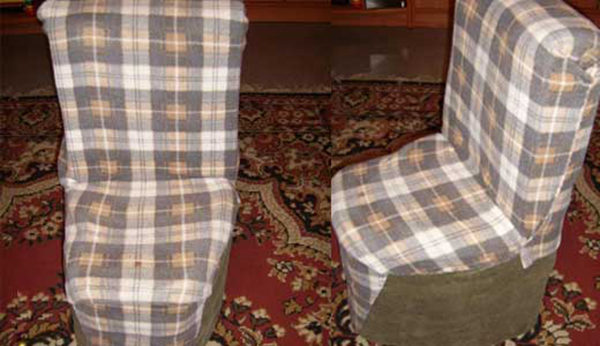
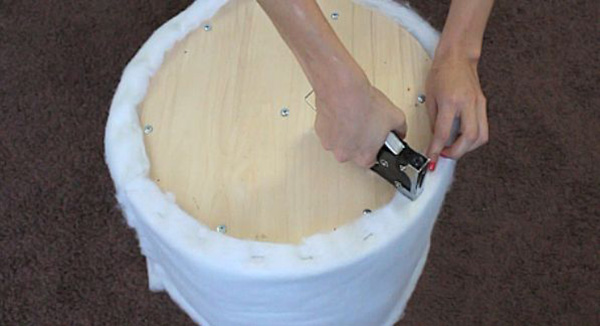
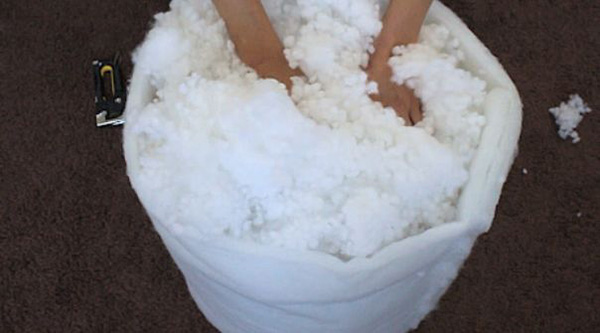
For the upholstery of the chair from plastic bottles, foam rubber is required, which, if necessary, can be folded into several layers. On the seat, you can make an extra pillow according to the type of chairs that are sold in stores. The same can be done for the back of the product.
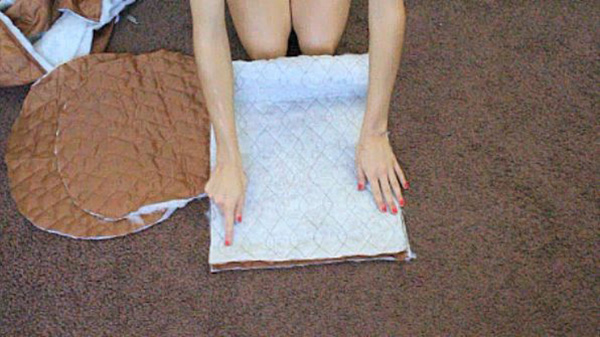
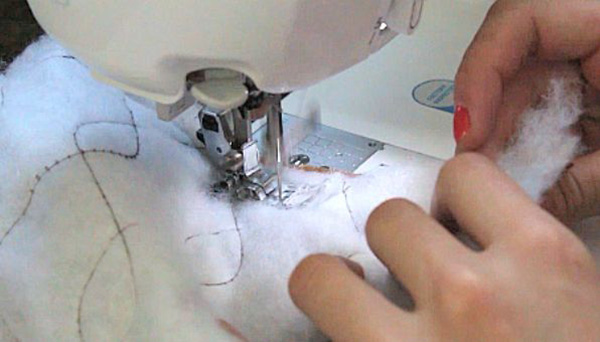
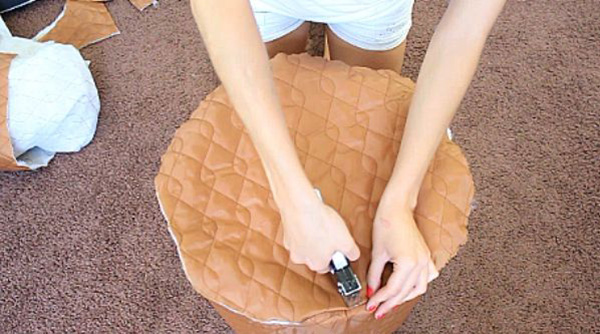
Over the foam pad, the chair is covered with a suitable fabric. If there is no time to create a full-fledged cover, you can simply throw a blanket over the product. If there is a possibility and desire, the furniture can be decorated with flock, nubuck, chintz, artificial leather, jacquard. If the product is intended for a summer residence or garage, do not use expensive materials - the cover can be sewn, for example, from old blankets. But at this stage, every master assembling a chair from plastic bottles with his own hands is free to give a flight of imagination.
What else can be done from bottles
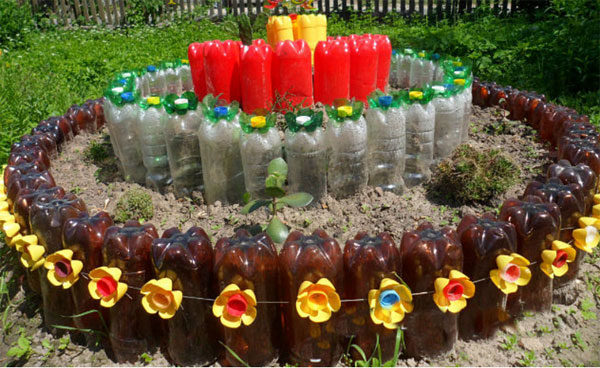
A lot of useful and interesting things can be constructed from plastic containers. They are great not only for the manufacture of various furniture. New master classes and technologies for creating crafts, interior elements (vases, curtains, coasters, caskets) and products for the cottages and country houses are constantly appearing: bird feeders, gutters, flower beds, garden figures, lampshades, irrigation devices, washbasins.
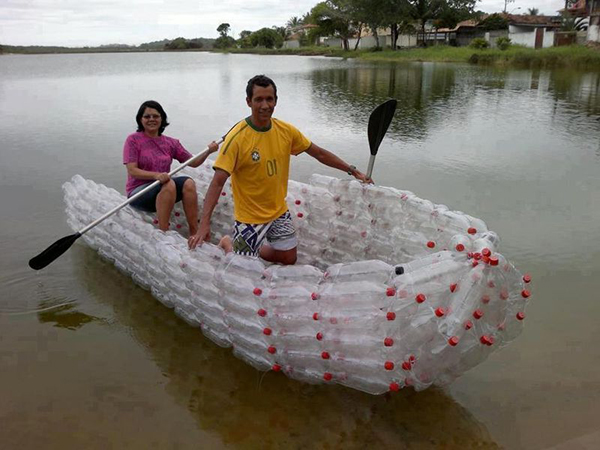
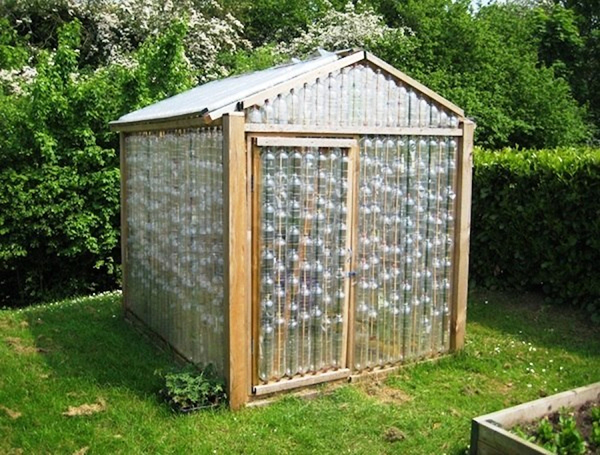
In households, plastic bottles are also used to create greenhouses and country greenhouses. Small summer buildings can be built by first collecting the right amount of material. Experienced craftsmen can even make a boat that will be no worse than an inflatable rubber or wooden one.
Furniture made of plastic containers is cheap, convenient and lightweight, it can be moved from one place to another without any problems. Not afraid of her neither heat, nor cold, nor rain. That is why there are all new product options: shelves, cabinets, cabinets, pouffes, chairs, stools, tables, sofas, beds.
Original stool
You can make a convenient stool out of bottles that will appeal to both adults and children. The creation process is understandable for beginners. For work, identical plastic bottles of 2 liters are needed (they will need 5-7 pieces), scotch tape or film, plywood or thick cardboard, universal glue. If there is a desire to make the stool more stable, you must first pour water into the container or pour sand into them. The creation of the original product is carried out according to a step-by-step algorithm:
- Prepared items are placed on the floor with the neck up so that you end up with a round block.
- The whole bundle is fixed with tape or tape.
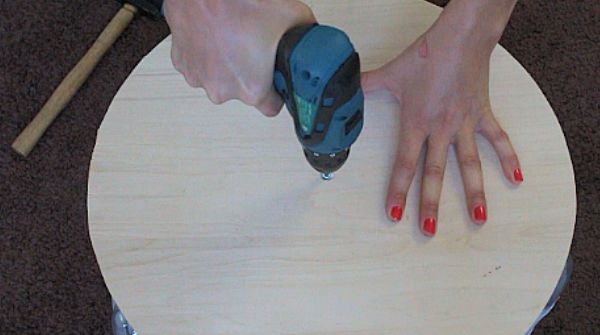
- A round or square seat is cut out of plywood or a piece of thick cardboard along the width of the resulting stool leg and is attached to the bottles with glue.
If the seat is hard, it can be covered with foam. The finished design is decorated with fabric, self-adhesive wallpaper, plain white paper.When using the latter option, it is worth allowing the child to paint the stool with funny faces or some other figures.


Comfortable chair with back
To make a chair out of plastic bottles, one must act in approximately the same way as in the manufacture of a chair. Of the three containers - the whole and two cut - you need to collect 16 blanks. Then connect them into blocks, fastening together at first 2 bottles, then - 4. So until all 16 elements form a single module.
Then the back is formed. It is better to make it two bottles thick, the length is at the discretion of the master. Each row is fastened with adhesive tape, the last one for beauty can be built in one container. The plastic back is attached to the seat.
Do not save adhesive tape: the more it is, the more reliable the design.
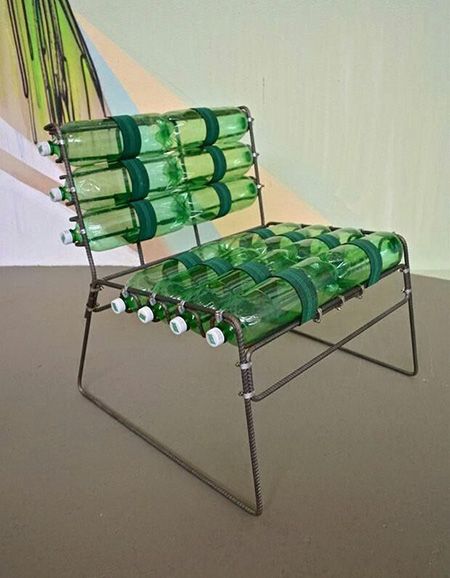
Table made of plastic bottles
If you wanted to furnish the entire cottage with plastic furniture, the next product after the chair, stool and chair may be a table. For him, you need bottles of 1.5 liters, the same in shape and color. For the countertop, you need to prepare a piece of plywood or use the finished version left over from old furniture. From the prepared plastic elements, you need to assemble a block of the required thickness, give it the shape of a circle, rectangle or square.
Next, the cover must be turned over and the points at which it will be attached to the screws should be marked. It is better to arrange them in a circle - the countertop will be located as if on a picket fence made of plastic. The fasteners should be selected along the length so that their sharp ends do not peek out from under the table top. Or screw them on the front side, and then close the caps with putty. Paint or decorate the working surface with wallpaper.
Bottles are glued in pairs by bottoms. The upper part in pair will be without a cover, the lower one will be closed. Then each of the legs is screwed into the lid fixed on the countertop. To strengthen the design, you can tie the necks of the upper and lower elements with wire. The plastic table is ready.
Video